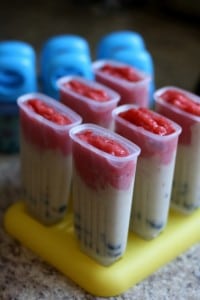
Red, White and Blue Popsicles are a fun, festive and delicious treat! These real fruit popsicles are easy to make, low in sugar and make for a perfect refreshing snack on a hot summer day.
When you are in the mood for a fun and cool treat to serve at your next backyard BBQ, look no further than this fruit pop. These red, white and blue popsicles are an amazing healthy snack to give to your kids or for you to enjoy as well!
What are Red, White & Blue Fruit Popsicles?
This is a fantastic and fun homemade fruit pop that is sure to be a new family favorite! These popsicles are made with fresh fruit and juice, it does not get any easier or delicious than this. I love making these frozen treats once the weather warms up, they are great snacks for back yard gatherings. They are appetizing and cool you off on a hot summer day. Another great thing about this homemade popsicle recipe is that it is versatile, you can use fresh fruit that is currently in season or whatever you have on hand. Sure, making them red, white, and blue is super fun and festive but you can switch it up if you want to as well. Give these amazing fruit pops a try today!
Red, white, and Blue Fruit Popsicles Ingredients
Fruit Pops
Bananas: You will need 2 cups of frozen bananas for one of the amazing layers in this popsicle.
Pineapple: Add in a 1/4 of a fresh pineapple to this delightful fruit pop.
Lemon juice: Use 1 tsp of lemon juice for great added flavor in this frozen treat.
Blueberries: For the blue layer in this popsicle, use 1 cup of fresh blueberries.
Strawberries: You need 1 1/2 cups of fresh strawberries for the delicious red layer.
Watermelon: Adding in 1 1/2 cups of watermelon (frozen), adds amazing flavor and texture to this treat.
Orange juice: If desired, have a small amount of orange juice on hand to thin out the mixture.
Equipment
Molds: You will need popsicle molds or Dixie cups with popsicle sticks to make these homemade popsicles. I use small popsicle molds and feel like they work the best. But whatever you have on hand will work great.
This recipe makes 6 large popsicles and 6 small popsicles
Easy instructions for how to make Red, White & Blue Popsicles
Prep
Prepare ahead of time by freezing the bananas and watermelon, this helps create amazing popsicle texture by having these frozen.
Popsicles- Step 1
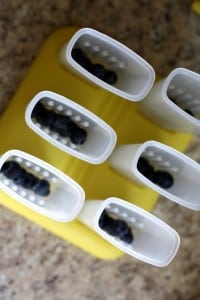
Start by putting several blueberries into each popsicle mold, fill molds about 1/3 of the way with the whole blueberries.
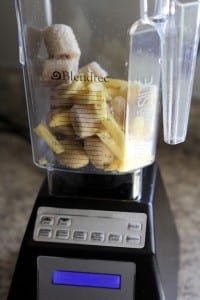
Then, in a blender, combine the frozen bananas, fresh pineapple and lemon juice.
**If at any point the fruit mixture isn’t blending well, just add a TBSP or two of orange juice- it really helps to smooth the mixture out.
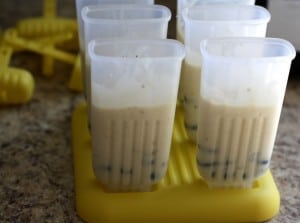
Next, spoon or pour the banana mixture into each mold, covering the blue berries. Tap the molds on the counter to make the banana mixture settle down into the mold. The molds should be about 2/3 full at this point.
Proceed to place the popsicles in the freezer for about 20-30 minutes to let that layer set.
Popsicles- Step 2
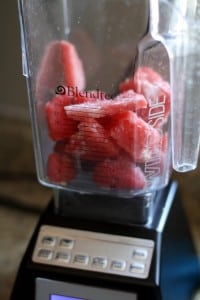
After that, blend the strawberries and frozen watermelon together until smooth. Spoon this mixture into each mold on top of the frozen banana layer, filling them almost to the top.
**If at any point the fruit mixture isn’t blending well, just add a TBSP or two of orange juice- it really helps to smooth the mixture out.
Place the popsicle sticks into each pop and put them back in the freezer.
Freeze until firm, about 2-3 hours.
Because these pops are made with all fruit, they are a bit softer than other homemade popsicles. It is why I feel smaller molds worked better.
Once the popsicles have frozen solid, serve immediately and enjoy!
What other fruits can be used for these Fresh Fruit Pops?
One of the great things about this homemade fruit popsicle is that you can make it your own and use the fruit you love the most! You can still make these fun with the red, white and blue them too! If you are not a huge fan of banana you can eliminate that ingredient and use Greek yogurt for the white layer instead. For the blue layer in this frozen pop you can swap out the blueberries for blackberries. The blue layer may be a bit darker in color but it will still taste amazing! And lastly, if you want to only include strawberries or just the watermelon for the red layer you can do that as well. Or mix it up and use raspberries even, YUM!
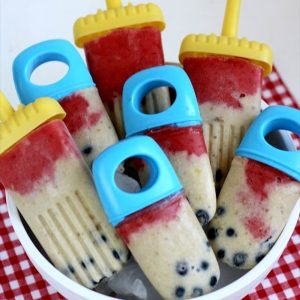
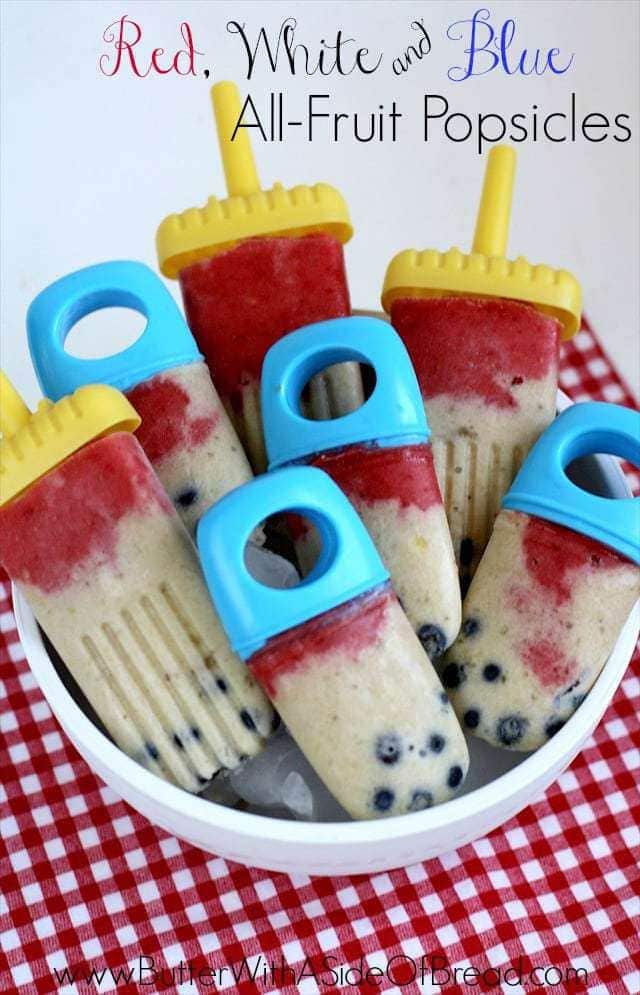
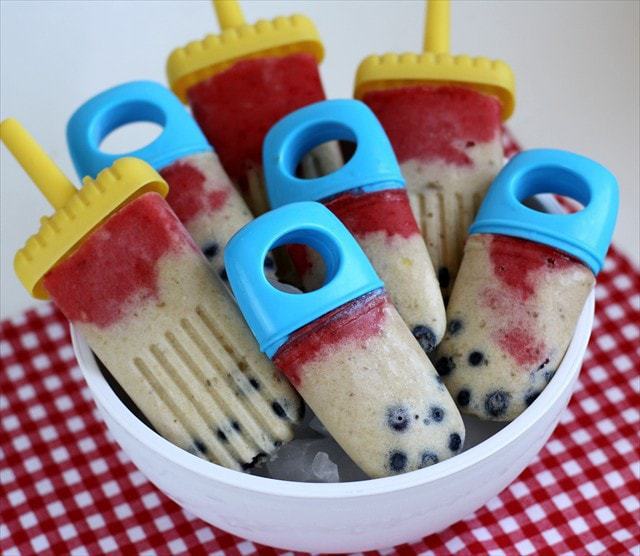
Red, White and Blue Popsicles
Ingredients
- 2 cups frozen bananas
- ¼ of a fresh pineapple
- 1 tsp Lemon juice
- 1 cup fresh Blueberries
- 1 ½ cup fresh Strawberries
- 1 ½ cup Watermelon frozen
- 2 tbsp Orange juice to thin out the mixture.
Instructions
Prep
- Prepare ahead of time by freezing the bananas and watermelon, this helps create amazing popsicle texture by having these frozen.
Popsicles- Step 1
- Start by putting several blueberries into each popsicle mold, fill molds about 1/3 of the way with the whole blueberries.
- Then, in a blender, combine the frozen bananas, fresh pineapple and lemon juice.
- **If at any point the fruit mixture isn’t blending well, just add a TBSP or two of orange juice- it really helps to smooth the mixture out.
- Next, spoon or pour the banana mixture into each mold, covering the blue berries. Tap the molds on the counter to make the banana mixture settle down into the mold. The molds should be about 2/3 full at this point.
- Proceed to place the popsicles in the freezer for about 20-30 minutes to let that layer set.
Popsicles- Step 2
- After that, blend the strawberries and frozen watermelon together until smooth. Spoon this mixture into each mold on top of the frozen banana layer, filling them almost to the top.
- **If at any point the fruit mixture isn’t blending well, just add a TBSP or two of orange juice- it really helps to smooth the mixture out.
- Place the popsicle sticks into each pop and put them back in the freezer.
- Freeze until firm, about 2-3 hours.
- Once the popsicles have frozen solid, serve immediately and enjoy!
Notes
Nutrition
📫 Save this recipe! Send it to your email! 📩
I consent to receiving emails from this site.
How long are homemade popsicles good for?
If you store these popsicles in an airtight container or a ziplocked bag these popsicles will last up to 6 weeks. Yes, they can last this long!
What is the best storage for homemade popsicles?
If you wrap each single popsicle in a resealable plastic bag and store them in an airtight container they will hold up better. If you are storing in an airtight container, use a layer of wax paper between each layer to they do not stick together and hold their shape well.
What type of blender should I use?
Since you are blending the fruit for this popsicle recipe, it is important to use a good blender. Blendtec and Vitamix are two popular high powered blenders, but Oster makes good blenders as well! If you don’t have a high powdered blender, you might have to stir the ingredients in the blender once or twice.
Try some of our other favorite frozen treat recipes here!
- Banana Split Milkshakes
- Frozen Peanut Butter Pie
- Easy Kool-Aid Sherbet
- Easy Oreo Ice Cream Cake
- Quick Strawberry Ice Cream
- Strawberry Banana Sorbet recipe
- Strawberry Ice Cream Pie
- Apple Pie Milkshakes
- Skinny OREO Milkshakes
Red, White and Blue Popsicles are a festive and delightful treat! These real fruit popsicles are simple to make and are a perfect snack on a hot summer day.




Aimee @ Like Mother Like Daughter says
yum! I love popsicles and love making them healthy! these look delicious and festive 🙂
Elizabeth says
I'm loving everyone's red, white, and blue recipes this week! These are super cute.<br /><br />You should stop by and link up to my summer recipe round up! http://lifelovelibrarianship.com/summer-recipe-round-up/<br /><br />~Visiting from Melt in Your Mouth Mondays~
Linda Bouffard says
So nice and patriotic, too. Come share this at what to do Weekends Party. It's perfect for weekends or anytime! Following on social media… Linda<br /><br />http://www.craftsalamode.com/2013/06/what-to-do-weekends-26.html
Heather Whoneedsacape says
Love it! My kids would gobble these UP! YUM Saw you at Dessert Now Dinner Later<br /><br />It would be fantastic if you would stop over to Who Needs a Cape and link up to our Super Sunday Linky Party – it's going on now 😉 http://whoneedsacape.com/2013/06/super-sunday-party-4/
Life With The Crust Cut Off says
This looks amazing!!! We would love it if you would link up at our We Scream For Ice Cream linky party/giveaway:<br />http://www.lifewiththecrustcutoff.com/we-scream-for-ice-cream-linky-party/<br />Live the whole month of July. <br />Hosted by:<br />http://www.lifewiththecrustcutoff.com/ Parrish @ Life with the Crust Cut Off<br />http://thissillygirlslife.com/ Dana @ This Silly Girl's Life<br
Amber Brady says
Yummy, healthy & pretty! I love it! Thanks for sharing at Sweet & Savory Saturdays #19!<br /><br />~Amber @ Dessert Now, Dinner Later!<br />http://www.dessertnowdinnerlater.com
Kim~madeinaday says
Stopping by to let you know I featured these today on Made in a Day!! Have a great 4th! <br />Kim<br />
Pint Sized Baker says
These are so cute! Love them! Sounds great! Pinned! Thanks for sharing on Two Cup Tuesday!