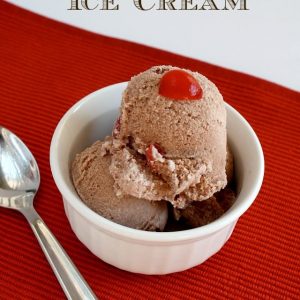
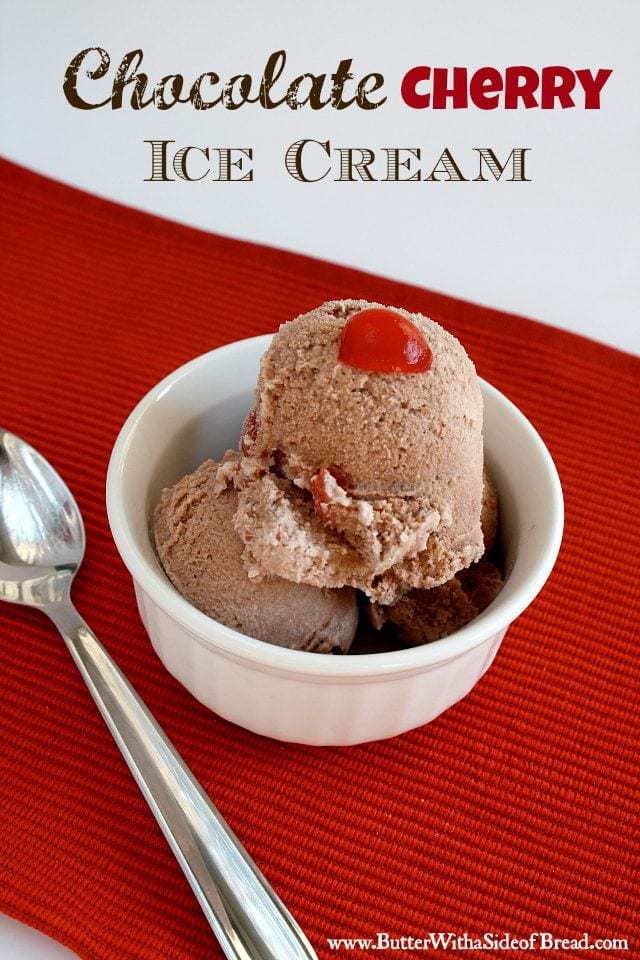
Chocolate Cherry Ice cream is a sensational, creamy and delicious dessert! Making this homemade ice cream recipe is so simple and is ready to enjoy in just 30 minutes!
Homemade Chocolate Cherry Ice Cream
Tips for making a great Homemade Chocolate Ice Cream dessert!
If you are new to the ice cream game, here are a few tips and tricks for making a delicious homemade ice cream treat!
- Be careful not to add too many ingredients to the ice cream machine. You don’t want to over fill it or it won’t be able to do it’s job as well. You want to fill it about 2/3 of the way to ensure you have the best possible results. If you are adding ingredients to this recipe, consider reducing the amount of cherries to accommodate the other addition.
- Storing your ice cream properly is also a key to success. You want it in the coldest area of your freezer, on a middle shelf is the preferred spot. You want to avoid storing it in the door, this is typically the spot where ice cream will get freezer burn.
- Listen carefully as your ice cream maker is churning, sometimes it is done sooner than the machine says. When you start the machine you should hear a more high-pitched sounds. As the ice cream thickens the sound will deepen, this is a cue it is almost done. You want the ice cream to have a soft-serve like consistency, it will harden during the chilling process.
Cherry Chocolate Ice Cream Ingredients
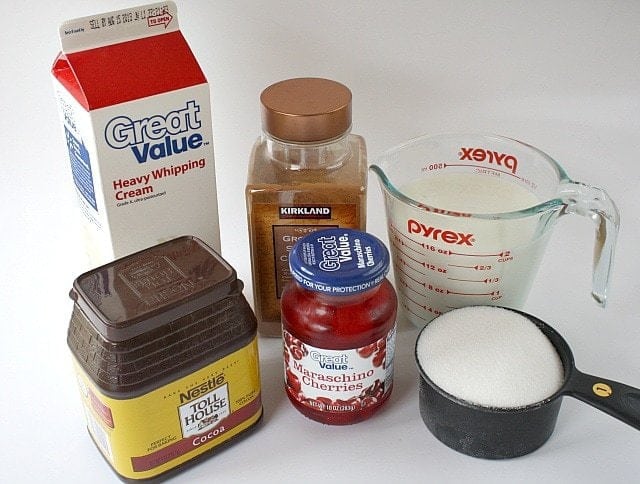
Whipping cream: You will need 2 cups whipping cream to create this soft and creamy treat!
Milk: Adding in 2 cups milk will give this frozen treat the perfect texture and consistency. You can use whatever milk, whole, 2%, non-fat, whatever you have on hand or your particular preference. We like 2% in our house and is what I used to make this recipe.
Sugar: Using 1 cup sugar will help give this dessert a nice sweet flavor.
Cinnamon: For a wonderful added spice to this treat, add in 1/4 tsp cinnamon.
Cocoa powder: You need 3 Tbsp cocoa powder to give this ice cream a nice chocolatey taste!
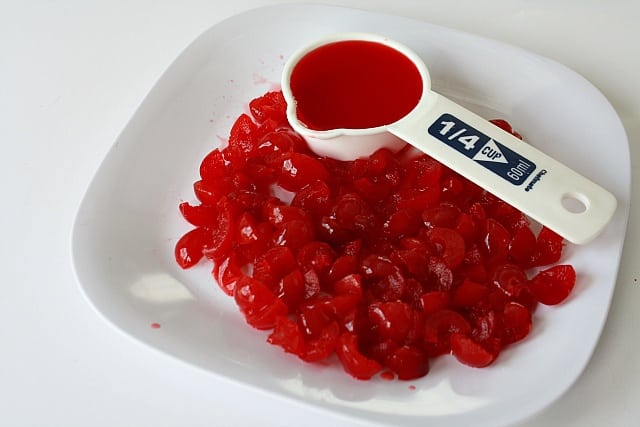
Cherry juice: Use 1/4 cup maraschino cherry juice to give this ice cream a rich flavor that pairs perfectly with the chocolate.
Cherries: Add in 20 maraschino cherries, quartered, to this treat and you won’t be disappointed!
Step by step on how to make Chocolate Cherry Ice Cream
Ice Cream Prep
In a large bowl, combine the whipping cream, milk, sugar, cinnamon, cocoa powder, and cherry juice, mix with a handheld electric mixer for about 2-3 minutes.
After that is complete, pour the mixture into the ice cream maker and run according to normal instructions. This is about 25-30 minutes, see tips above for when to know the churning is complete!
While you are waiting for this step, get your cherries prepped. Cut each cherry into quarters, you want nice bite sized pieces.
Then, about 5 minutes before the ice cream is done, add in the cherries.
Chilling
Once the ice cream has been churned, it should have a soft-serve like consistency and texture. If you like your ice cream this way, feel free to enjoy it immediately.
If you prefer your ice cream a bit more frozen and thicker consistency, stick it in the freezer for a few hours. I set mine in there for 3-4 hours and it turned out absolutely delicious!
If you want to add some extra toppings like mini-chocolate chips or sprinkles, feel free!
Serve and enjoy!
Cherry Chocolate Ice Cream
Ingredients
- 2 cups Whipping cream
- 2 cups Milk whole, 2%, non-fat, whatever you have on hand or your particular preference. We used 2% in this recipe.
- 1 cup Sugar
- ¼ tsp Cinnamon
- 3 tbsp Cocoa powder
- ¼ cup Cherry juice
- 20 Maraschino cherries quartered
Instructions
Ice Cream Prep
- In a large bowl, combine the whipping cream, milk, sugar, cinnamon, cocoa powder, and cherry juice, mix with a handheld electric mixer for about 2-3 minutes.
- Pour the mixture into the ice cream maker and run according to normal instructions. This is about 25-30 minutes, see tips in post for when to know the churning is complete!
- While you are waiting for this step, get your cherries prepped. Cut each cherry into quarters, you want nice bite sized pieces.
- Then, about 5 minutes before the ice cream is done, add in the cherries.
Chilling
- Once the ice cream has been churned, it should have a soft-serve like consistency and texture. If you like your ice cream this way, feel free to enjoy it immediately.
- If you prefer your ice cream a bit more frozen and thicker consistency, stick it in the freezer for a few hours. I set mine in there for 3-4 hours and it turned out absolutely delicious!
- If you want to add some extra toppings like mini-chocolate chips or sprinkles, feel free!
- Serve and enjoy!
Notes
Nutrition
📫 Save this recipe! Send it to your email! 📩
I consent to receiving emails from this site.
How long is homemade ice cream good for?
If you store homemade ice cream properly it will be good for about 2 weeks. The perfect amount of time to enjoy a few times!
How do you store homemade cherry chocolate ice cream?
This amazing treat should be stored in an airtight container in the freezer. It also should be stored in the coldest part of the freezer, preferably not in the door. To prevent ice crystals from forming you do not want the ice cream to melt and refreeze. Store on a shelf, in the middle section of the freezer for maximum results.
Can I add or change the ingredients in this recipe?
You sure can! If you are not a fan of cherries, you can replace them with chocolate chips, or even your favorite nut. Another option would be to make the ice cream as plain chocolate then adding hot fudge, whipped cream and a fresh cherry on top!
Like FROZEN DESSERTS? Here are a few more of our favorites!
- Banana Split Milkshakes
- Frozen Peanut Butter Pie
- Easy Kool-Aid Sherbet
- Easy Oreo Ice Cream Cake
- Quick Strawberry Ice Cream
- Strawberry Banana Sorbet recipe
- Strawberry Ice Cream Pie
- Apple Pie Milkshakes
- Skinny OREO Milkshakes
Chocolate Cherry Ice cream is a wonderful and delicious treat that the whole family will love! Making this homemade ice cream recipe is so easy too and cam be ready to enjoy in just about 30 minutes!






sew sweet vintage says
Sweet. I don't have an ice cream maker, but now I want one. Would love to make my own ice cream! Pinning and sharing on Facebook! Stop by http://www.sewsweetvintage.com/2013/07/bicycle-basket-up-cycle.html
Jes Humrich says
This looks soooo good! I plan to figure out how to make this in my blendtec!
Ruthie Knudsen says
Oh my goodness… looks sinful! Thanks so much for coming to share at Super Saturday Show & Tell… you've been Featured! Come on over and grab a button. Love to have you share again- http://www.whatscookingwithruthie.com Have a fabulous weekend! xoxo ~Ruthie
Ali @ JamHands.net says
Woot! You have been featured this week at <a href="http://www.jamhands.net/search/label/Recipe%20Sharing%20Monday%20Party" rel="nofollow">Recipe Sharing Monday</a>! The new link party is up and I'd love to see you back. Have a great week. 🙂
Cathy Compeau says
I would love for you to share and link up at my weekly TGIF Link Party if you haven't already this week. Your favorite posts, most popular, recent or new! The party is open every Thursday night and closes Wednesday's at midnight. Followed by (Not SO) Wordless Wednesday! http://apeekintomyparadise.blogspot.com/.<br /><br />I would be honored if you join us and follow to stay connected Have