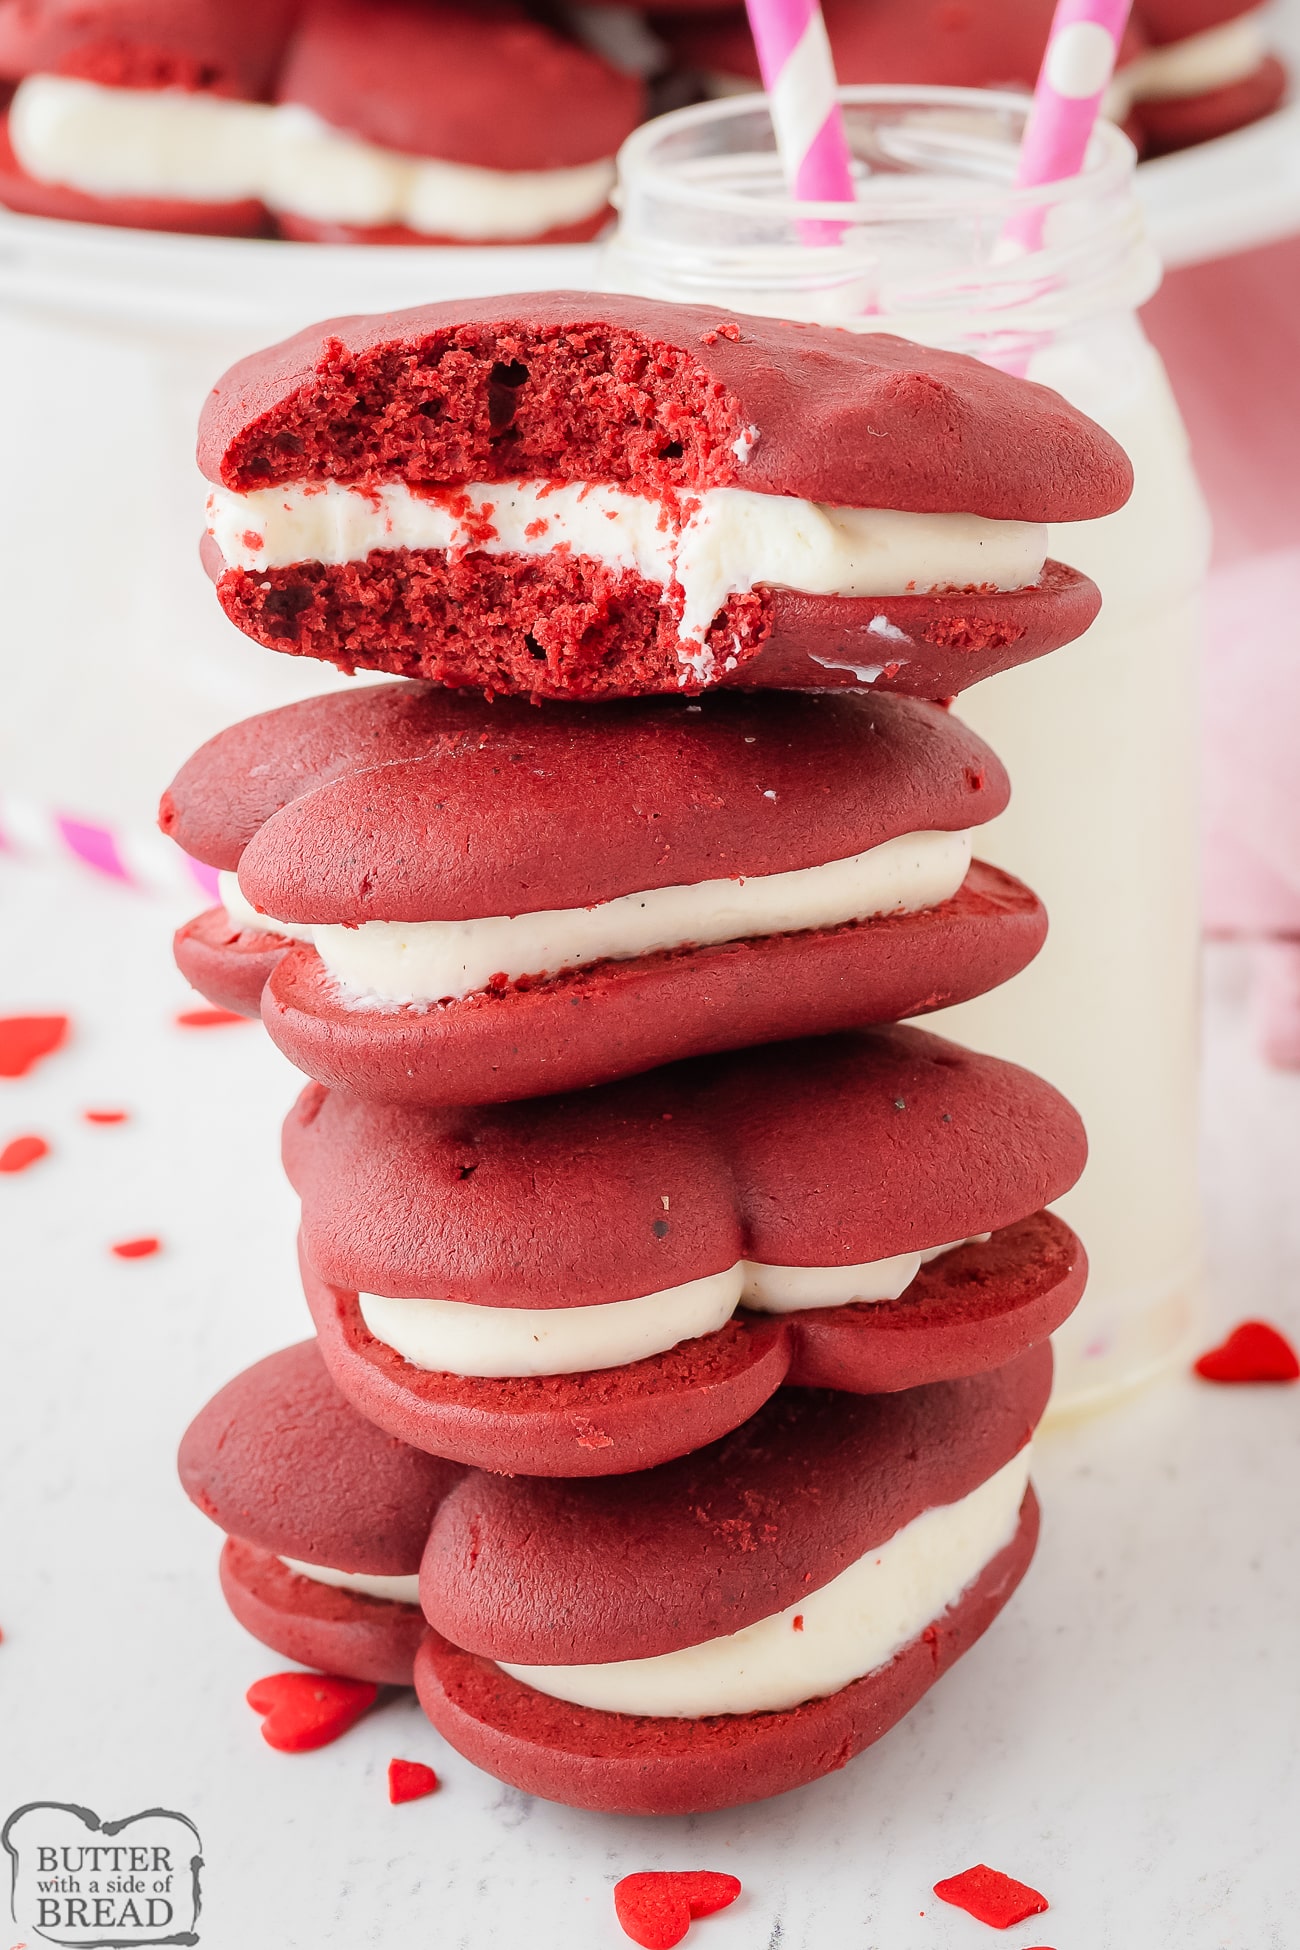
Festive red velvet Valentine’s Whoopie Pies made from scratch with butter, sugars, buttermilk, cocoa powder & red coloring! Soft & decadent heart shaped pies filled with silky cream cheese frosting everyone loves!
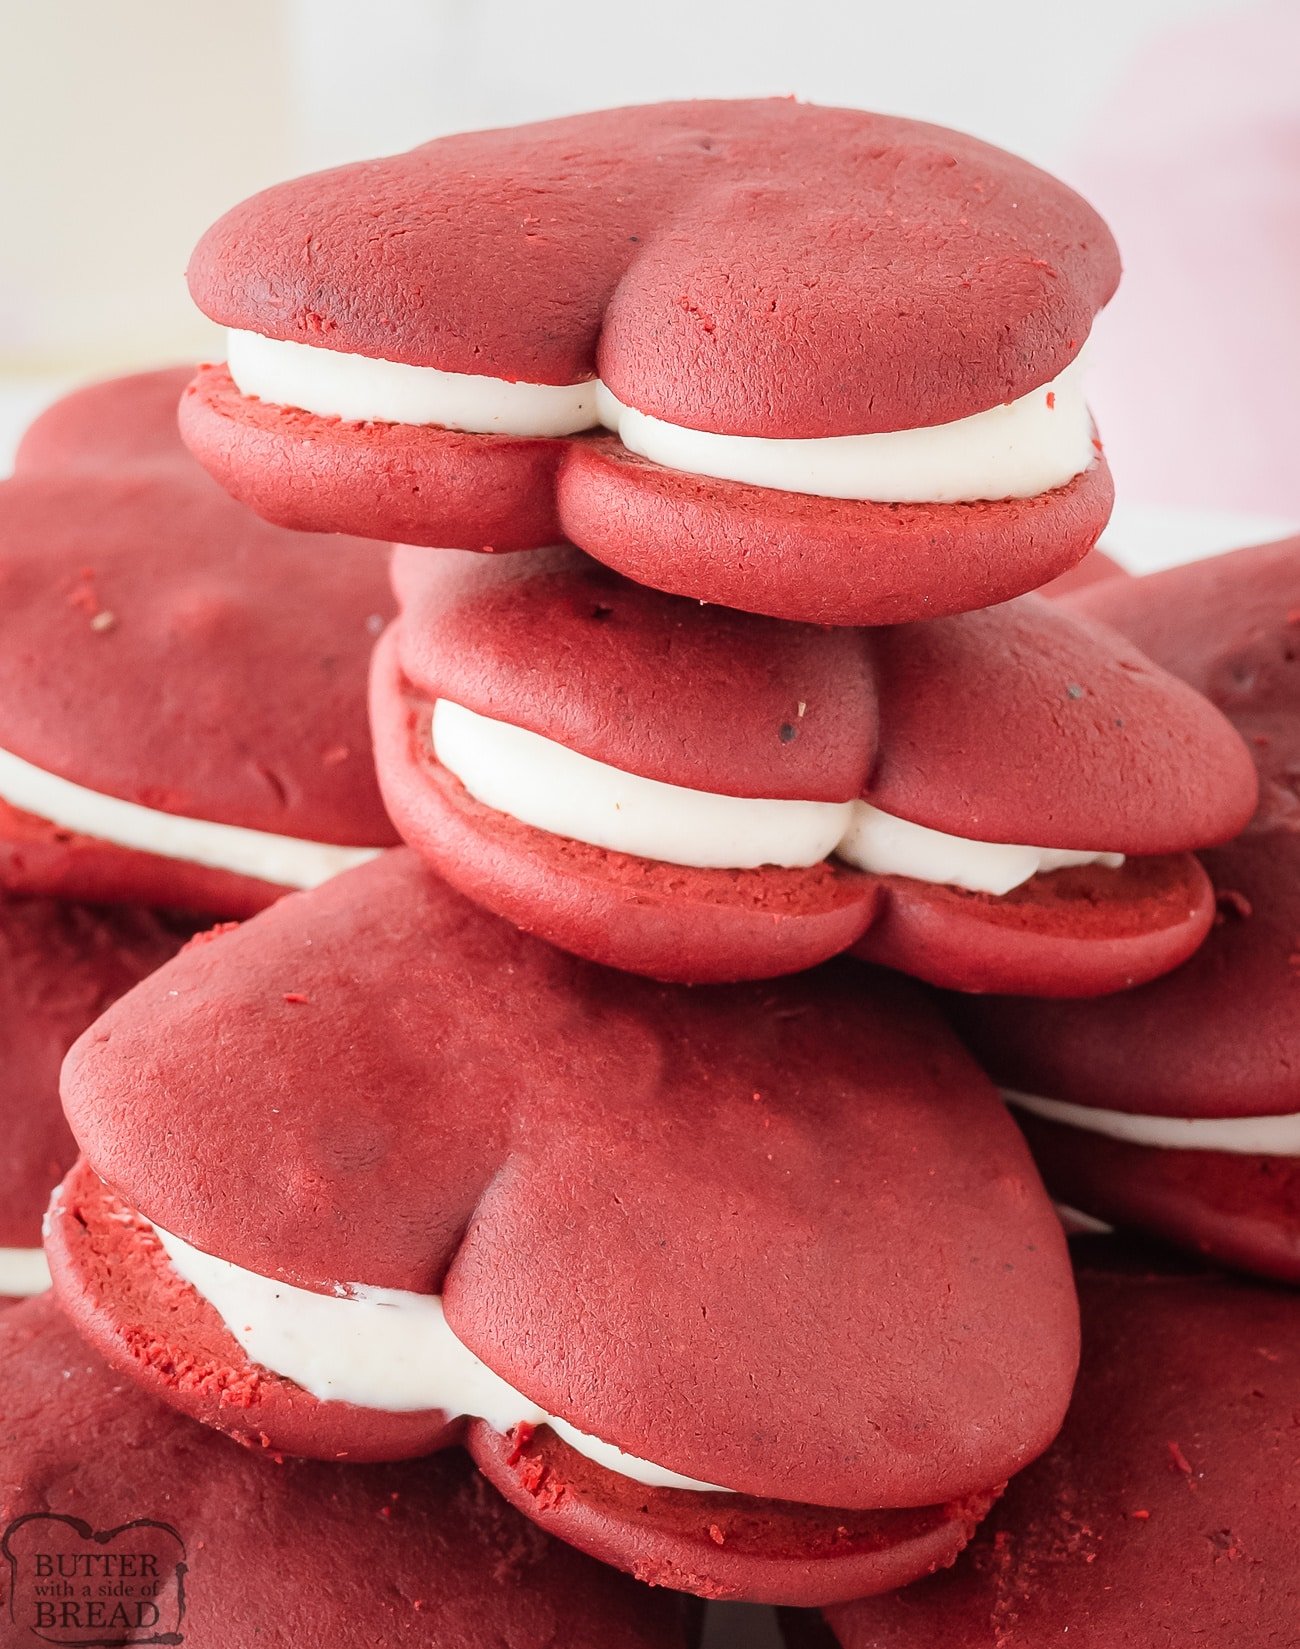
Valentine’s Day conjures images of heart-shaped candies and romantic gestures, but nothing says ‘I love you’ quite like a homemade treat! Enter the red velvet whoopie pie: a festive, soft, and decadent confection that combines rich cocoa flavor with a vibrant red hue.
These heart-shaped delights are the perfect way to capture the spirit of the holiday and show affection through baking. Whether served as a sweet end to a romantic dinner or shared as a handmade gift, these whoopie pies are sure to charm any Valentine.
Why You’ll Love these Valentine’s Whoopie Pies
These Valentine’s Whoopie Pies are the quintessence of love in dessert form. They start with a velvety, rich red velvet cake that’s soft and tender to the bite. It’s a treat that combines the indulgent flavors of cocoa with a vibrant red hue, perfect for celebrating the spirit of Valentine’s Day. Here’s why you’ll love them too:
- Homemade Goodness: Every whoopie pie is made from scratch, ensuring a fresh and flavorful experience. There’s something special about homemade treats, particularly when they’re crafted with care for someone you love.
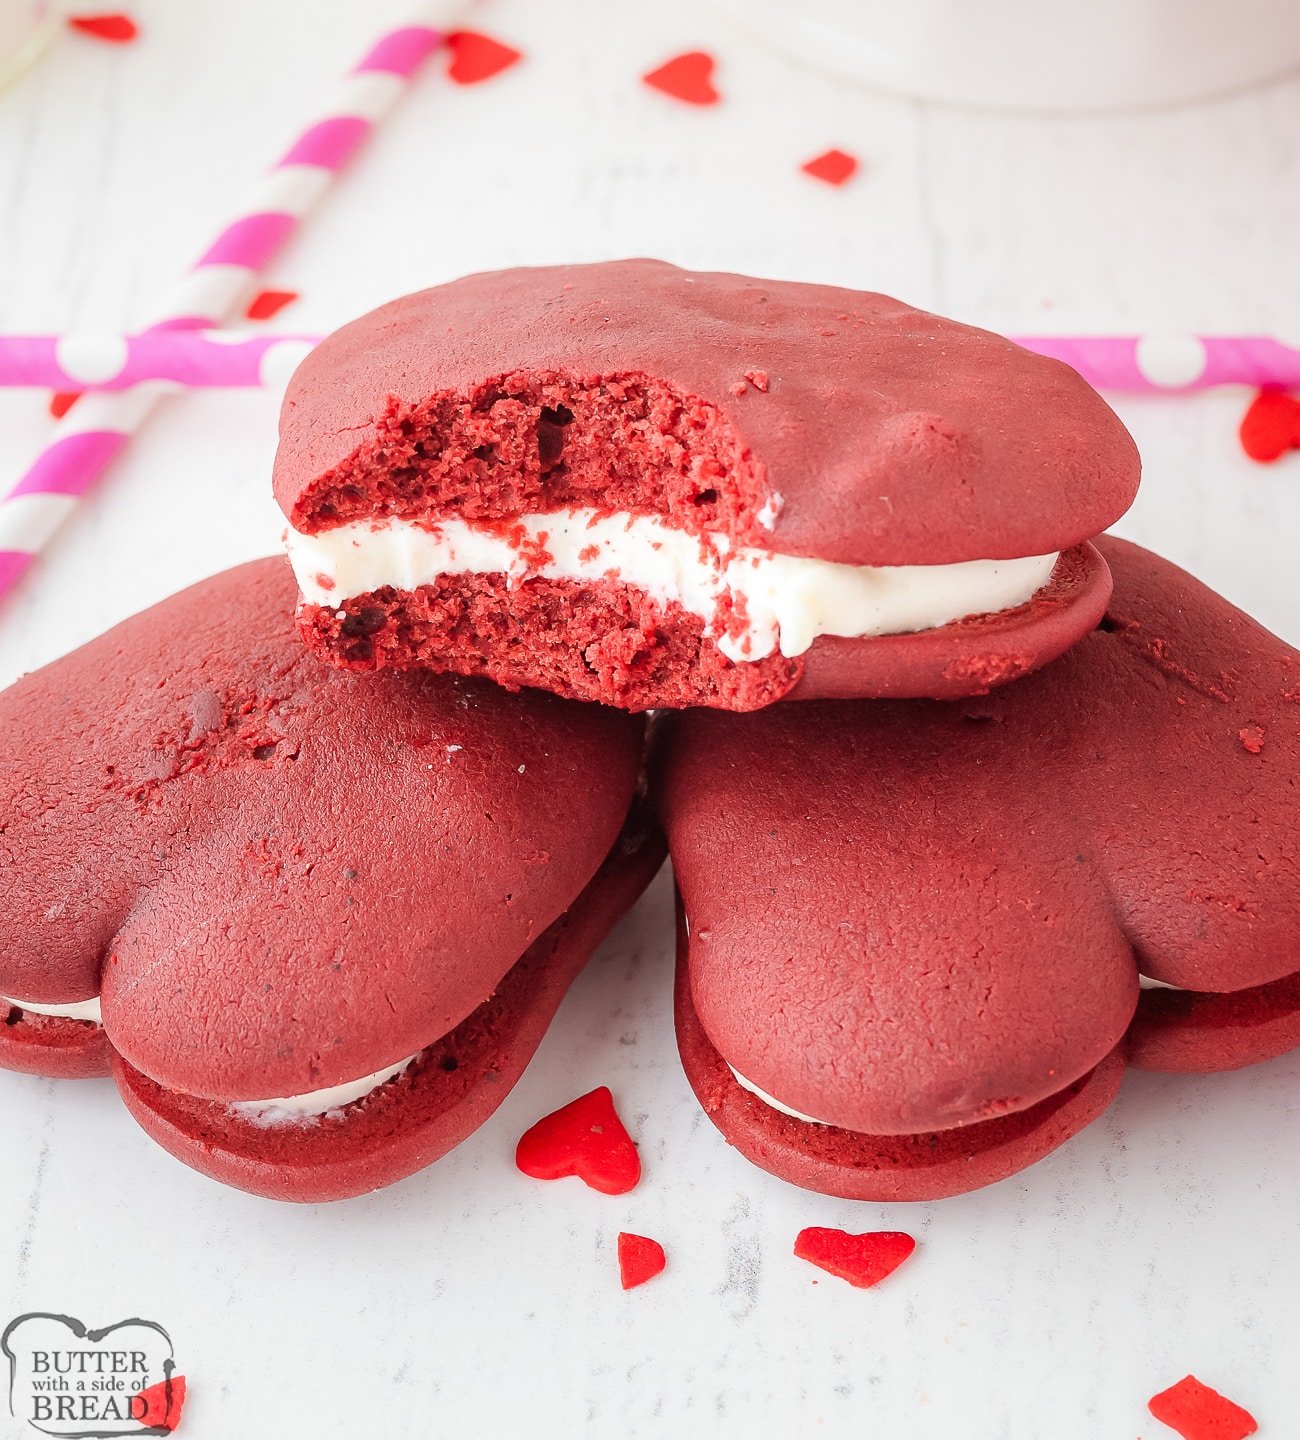
- Tempting Textures: The cake’s pleasing softness is paired with a smooth and silky cream cheese filling. This irresistible combination provides a satisfying contrast in textures that melts in the mouth with each bite.
- Perfectly Festive: Shaped into charming hearts, these whoopie pies are not just delicious; they’re also a visual treat!
- Versatile Dessert: Whether serving them at a Valentine’s Day party, enjoying them as a cozy night in treat, or packing them up as thoughtful gifts, these whoopie pies are perfect for the day.
- Ease of Preparation: With straightforward instructions, bakers at any skill level can create these delectable pies. The process is as enjoyable as eating the final product, making for a fun Valentine’s Day activity.
Preparation Overview
Making red velvet Valentine’s Whoopie Pies involves simple steps beginning with preparation of the baking sheet and preheating the oven, combining wet and dry ingredients separately, blending to form a vibrant red batter, and shaping it into heart-shaped pies before baking, this is how it’s done:
Preheating and Sheet Preparation
Begin by preheating your oven to 350°F (175°C). Take a baking sheet and line it with parchment paper to prevent sticking and ensure easy removal of the whoopie pies after baking.
Mixing the Wet Ingredients
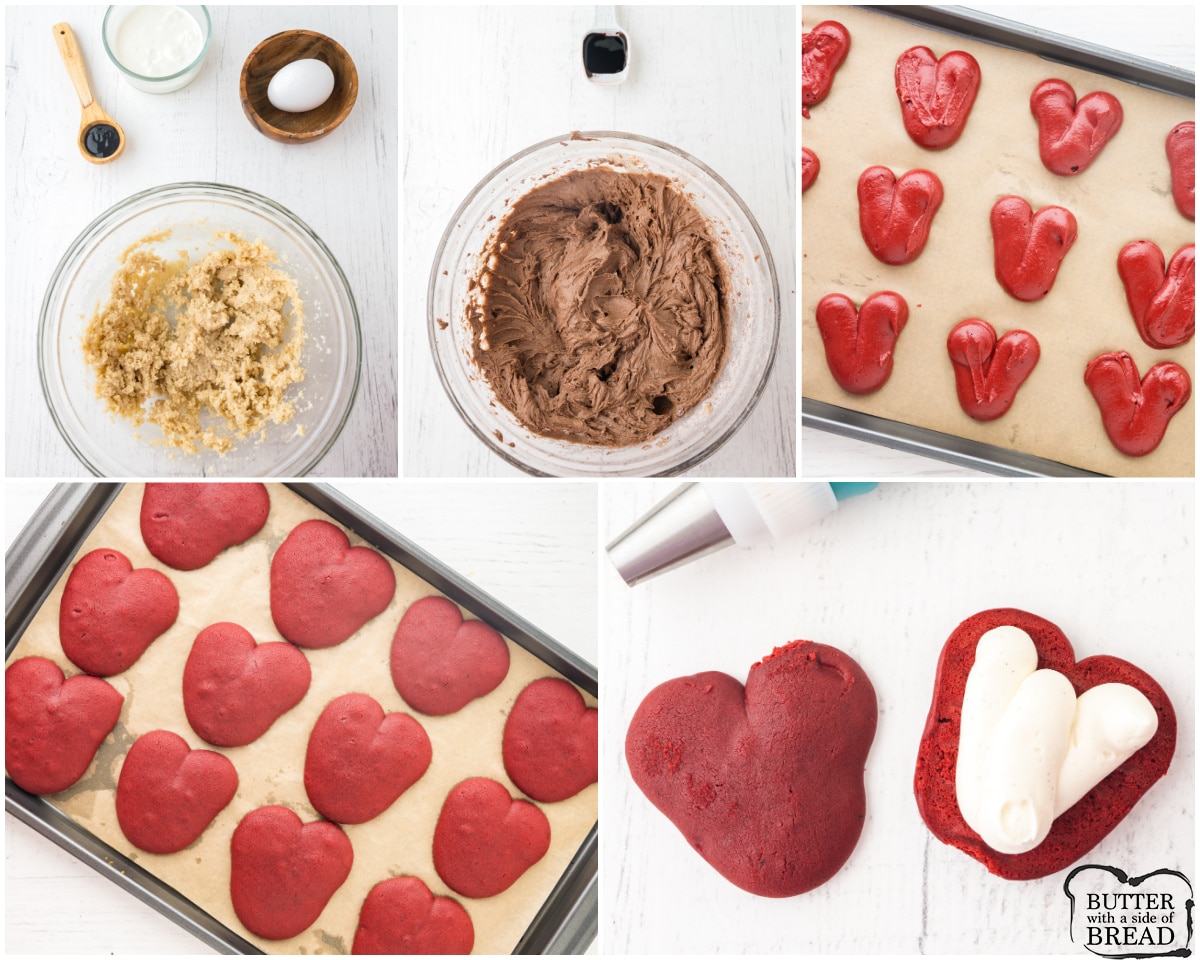
In a large bowl, cream together 1 stick of butter, ½ cup sugar, and ½ cup brown sugar until the mixture is light and fluffy. This could take about 2-3 minutes. To this, add and mix in 1 egg, ¼ cup sour cream, and 2 teaspoons vanilla until well incorporated.
Combining Dry Ingredients
In a separate bowl, whisk 2 ½ cups flour, ¼ cup cocoa powder, 1 teaspoon baking powder, and ½ teaspoon salt. This dry blend will later be added to the wet ingredients in stages to form the batter.
Creating the Batter
Slowly combine the dry ingredients mix and ½ cup buttermilk into the wet mixture, alternately adding a bit of each at a time, and ending with the dry mix. Finish by stirring in 2 teaspoons red gel food coloring until the color is consistent throughout the batter.
Shaping Heart Pies
Spoon the batter into a piping bag fitted with a 1/2 inch circle tip. Pipe the batter onto the prepared baking sheet in a “V” shape to resemble a heart, being aware that it will spread slightly.
Baking the Heart-Shaped Whoopie Pies
These heart-shaped delights are baked for a sweet spot of 10-12 minutes, being careful not to overbake. They’re then allowed to rest in the pan for 10 minutes before being transferred to a cooling rack to cool completely.
Frosting Preparation
The frosting is a simple mix of cream cheese, sugar, and vanilla. In a clean bowl, beat these ingredients together until the mixture is smooth and spreadable. Cut the tip of a piping bag and fill with the cream cheese frosting.
Filling the Whoopie Pies
To assemble, one must pipe or spread a generous amount of the cream cheese frosting onto the flat side of a pie. Gently press the flat side of a second pie on top of the frosting, sandwiching them together. This should be done carefully to avoid squeezing the filling out of the sides.
Serve and Enjoy!
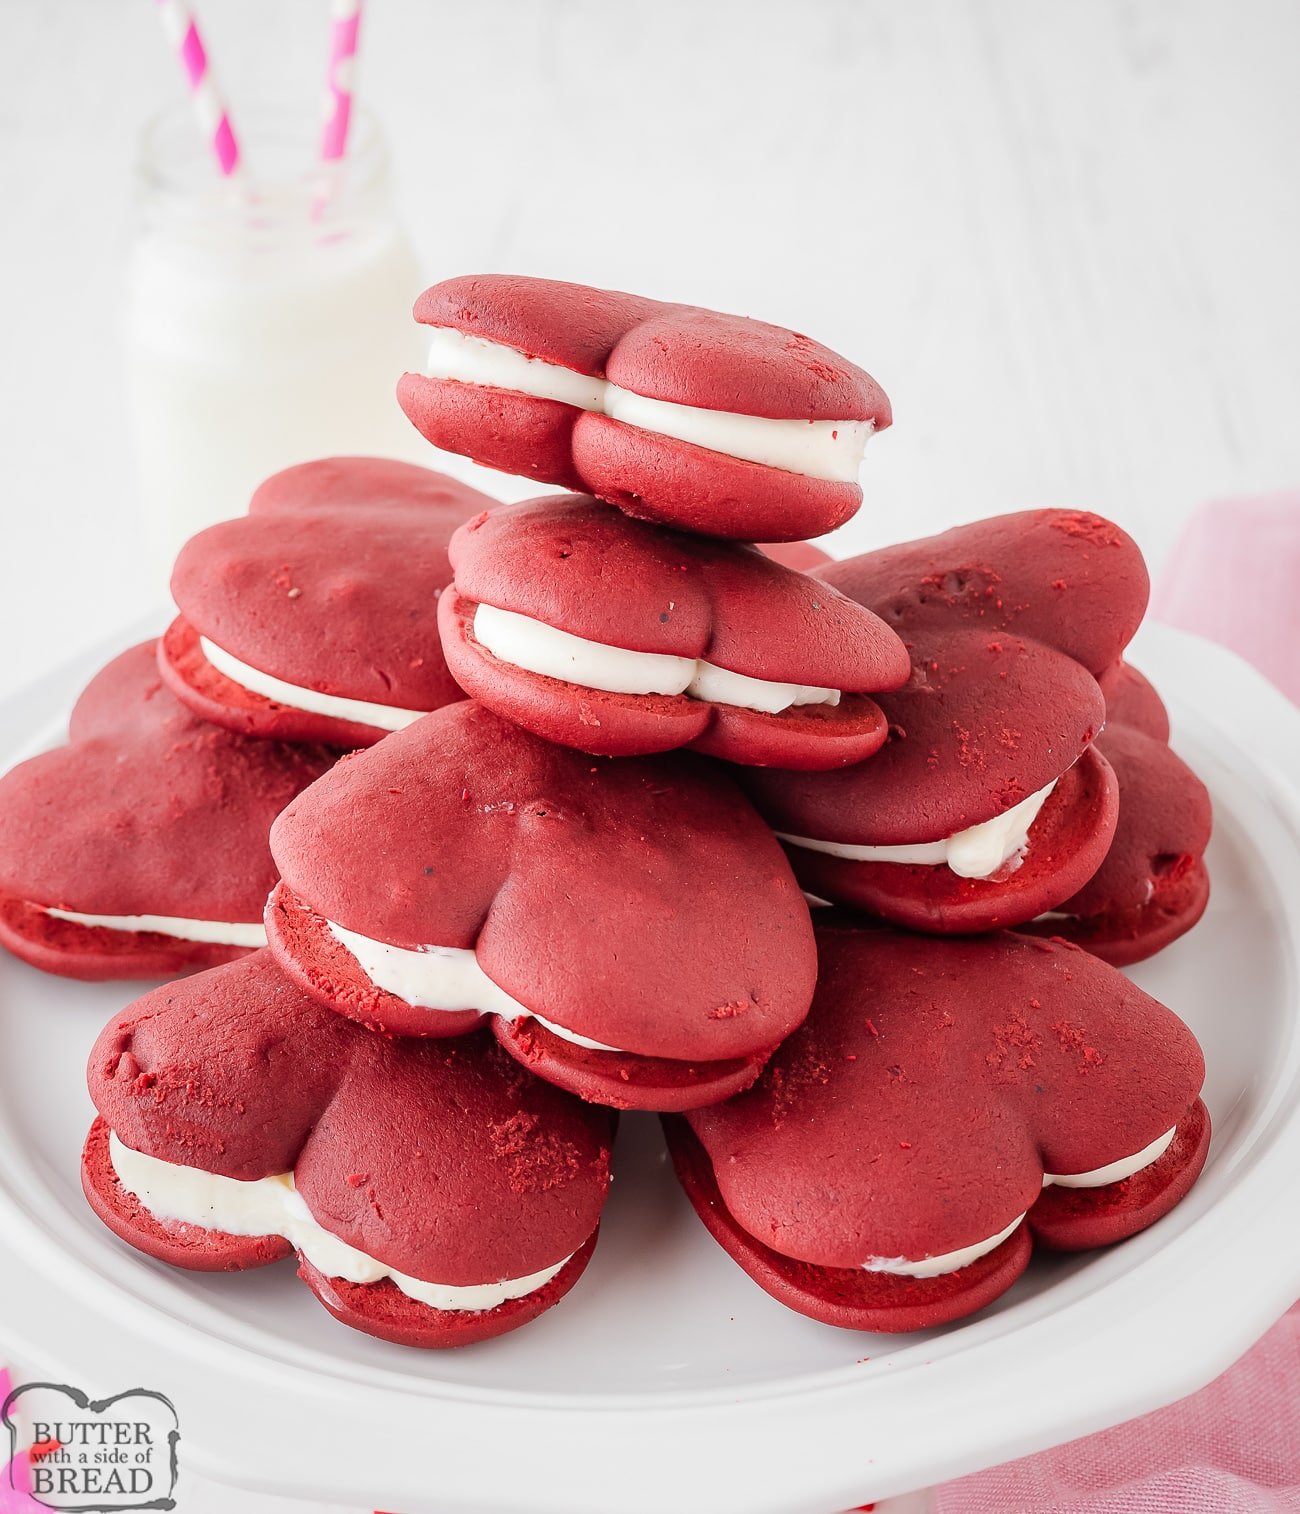
After preparing the red velvet Whoopie Pies, let them cool completely. This ensures the cream cheese filling stays put between the pies. Once cooled, they’re ready to serve. Place Whoopie Pies on a decorative plate for a visually appealing display.
For a festive touch, garnish with:
- A dusting of powdered sugar
- Sprinkles that match the occasion
- A drizzle of chocolate sauce for extra indulgence
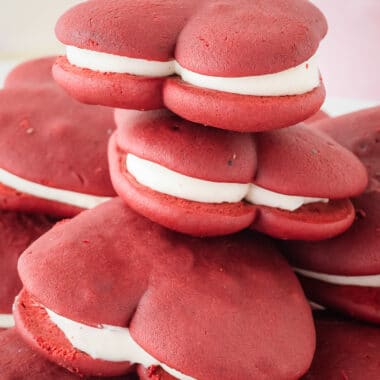
Valentine’s Whoopie Pies
Ingredients
- ½ cup butter 1 stick
- ½ cup sugar
- ½ cup brown sugar
- 1 egg
- ¼ cup sour cream
- 2 teaspoons vanilla
- ½ cup buttermilk
- 2 ½ cups flour
- ¼ cup cocoa powder
- 1 teaspoon baking powder
- ½ teaspoon salt
- 2 teaspoons red gel food coloring
Cream Cheese Filling:
- 8 oz cream cheese
- ¼ cup sugar
- 2 teaspoons vanilla
Instructions
- Preheat oven to 350°F and prepare a baking sheet with parchment paper. Set aside.
- In a large mixing bowl, whisk butter, sugar and brown sugar until light and fluffy, about 2-3 minutes. Add egg, sour cream and vanilla, mixing again to incorporate those.
- In a medium bowl add flour, cocoa powder, baking powder and salt and whisk together.
- Add flour mixture and buttermilk to butter mixture alternating a little of each at a time finishing with flour. Add red food coloring and mix until the batter is uniform in color.
- Transfer batter to a piping bag with 1/2 tip ( a large circle tip.) Pipe batter in a V shape onto prepared pan, keeping in mind that the batter will spread a little.
- Bake hearts for about 10-12 minutes; don’t over bake. Let cool for 10 minutes in the pan then transfer to cooling rack to cool completely.
- Whisk together cream cheese frosting ingredients and transfer to a piping bag. (Or use a butter knife to just spread frosting on.) Pipe frosting on the bottom of one heart and top with a second heart to make whoopie pie. Enjoy!
Notes
Nutrition
📫 Save this recipe! Send it to your email! 📩
I consent to receiving emails from this site.
What distinguishes red velvet flavor?
Red velvet flavor is known for its distinctive sweet taste with hints of cocoa and buttermilk. It’s less chocolaty than traditional chocolate cakes, and its unique flavor comes from the balance of these ingredients, and often a little vinegar that brightens the taste. The vibrant red hue is achieved with food coloring.
What can I substitute for buttermilk in red velvet whoopie pie recipes?
If you don’t have buttermilk, you can make a substitute by adding 1 tablespoon of white vinegar or lemon juice to a cup of milk and letting it sit for 5-10 minutes. This will create a similar tangy flavor profile and act as a leavening agent along with the baking powder.
Is there a variation of red velvet whoopie pies that includes a marshmallow filling?
Yes, some bakers enjoy adding a twist to the traditional cream cheese filling by using marshmallow filling instead. To make a marshmallow filling, typically you would whip together marshmallow fluff with butter and powdered sugar until it’s light and fluffy.
What are the essential ingredients I need to make red velvet whoopie pies at home?
The essentials for red velvet whoopie pies include butter, white and brown sugars, an egg, sour cream, vanilla extract, buttermilk, flour, cocoa powder, baking powder, salt, and red food coloring. For the cream cheese filling, you’ll need cream cheese, sugar, and vanilla.
How to Store Red Velvet Whoopie Pies
Proper storage of Red Velvet Whoopie Pies ensures they retain their moist texture and decadent flavor. Follow these tips to keep your treats fresh:
Room Temperature:
- Store in an airtight container.
- Keep in a cool, dry place.
- They remain fresh for up to 3 days.
Refrigeration:
- Place whoopie pies in a container with a tight-fitting lid.
- Separate layers with wax paper to prevent sticking.
- Consume within 5 days for optimal freshness.
When handling these soft and decadent heart-shaped pies, be gentle to maintain their shape. Remember to allow the pies to reach room temperature before serving to ensure the best texture and flavor.

Can you freeze Whoopie Pies?
Yes, one can certainly freeze Whoopie Pies. This is a practical way to extend their shelf life and enjoy them later. However, there are right and wrong ways to go about freezing these treats.
Preparing Whoopie Pies for Freezing:
- Ensure the Whoopie Pies have cooled completely before beginning the freezing process.
- For the best results, freeze the pies without the cream cheese filling, as dairy can change texture upon freezing and thawing.
Steps to Freeze Properly:
- Wrap each individual Whoopie Pie tightly in plastic wrap.
- Place the wrapped pies into a resealable freezer bag or an airtight container.
- Label the container with the date to keep track of how long they’ve been in the freezer.
Thawing Instructions:
- Thaw Whoopie Pies in the refrigerator for a few hours before serving.
Note: It’s recommended to add the cream cheese filling after thawing the pies for the freshest taste.
Storage Duration:
- Whoopie Pies can be frozen for up to 3 months. After this period, they’re still safe to eat but may not taste as fresh.
More festive Valentine’s Day treats:
- VALENTINE’S SOUR GUMMY CANDY
- CHOCOLATE HEART VALENTINE’S SUGAR COOKIES
- VALENTINE CREAM PUFFS
- RED VELVET VALENTINES CAKE MIX COOKIES
- EASY SWOON-WORTHY VALENTINE’S DAY DESSERTS
- VALENTINES MARSHMALLOW POPS
- VALENTINE’S GUMDROP FUDGE
- STRAWBERRY COOL WHIP COOKIES
- VALENTINES SUGAR COOKIES
- VALENTINES CREAM CHEESE BUTTER MINTS
- LAYERED VALENTINES JELLO CUPS
- VALENTINES MARSHMALLOW CHOCOLATE BARK
- STRAWBERRY VALENTINE CHEX MIX
- EASY VALENTINES DONUTS
In short, these Valentine’s Whoopie Pies are more than just a dessert; they’re a celebration of love! They beckon with their vibrant color, homemade charm, and creamy filling, making them an irresistible addition to any Valentine’s Day festivity. I hope you love them!




Leave a Reply