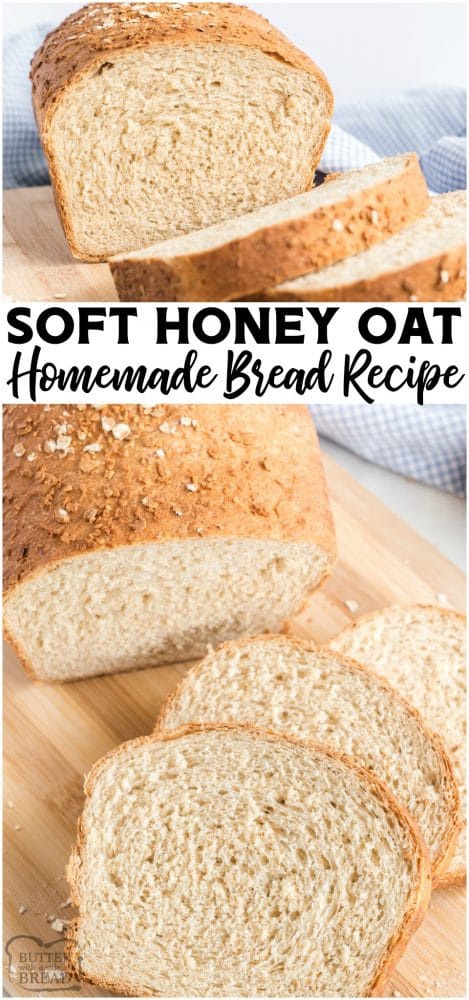
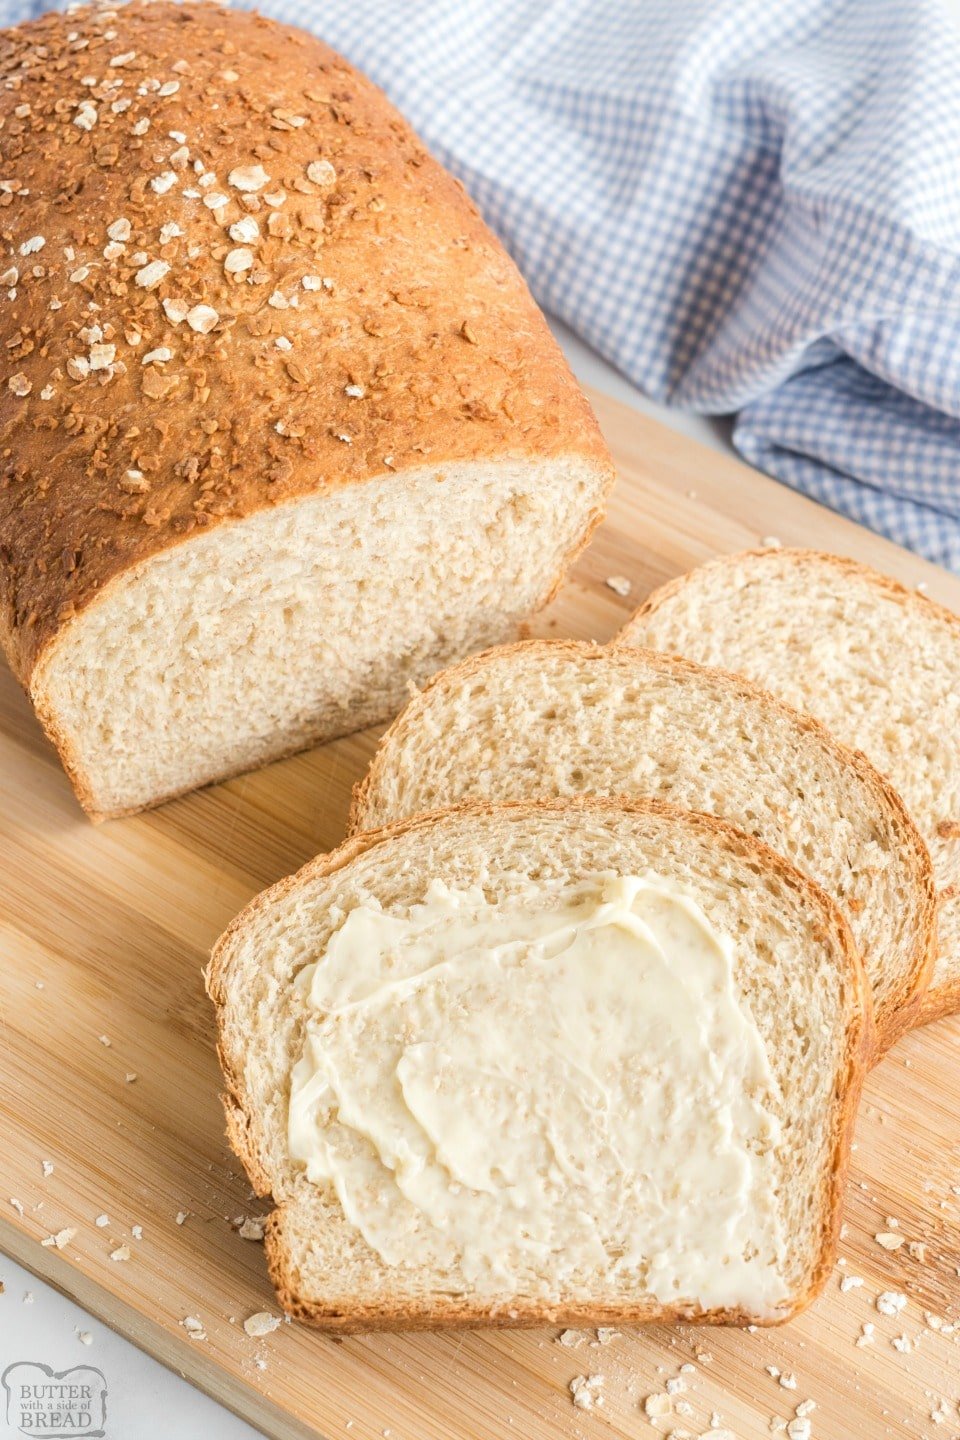
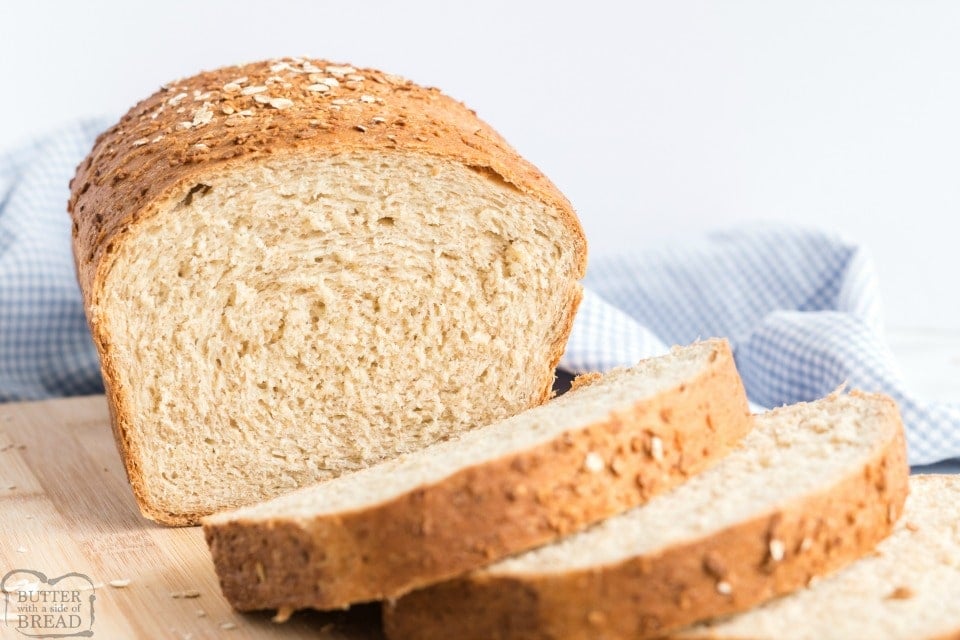
Honey Oat Bread is a loaf of soft, utterly delicious homemade bread made with classic ingredients including oats, milk, olive oil & honey.

Honey Oat Bread is truly my favorite! There’s something special about baking fresh bread at home, and when I stumbled upon this recipe, I couldn’t wait to give it a try. The result was incredible! I believe homemade bread tastes best on the day it’s baked, so I sliced some for my kids’ after-school snack and served the rest at dinner.
Ingredients for Honey Oat Bread
Dry Ingredients
3 cups all-purpose flour (or half whole wheat flour): Provides the structure and texture of the bread.
¾ cups oats (either instant or old-fashioned): Adds flavor and a chewy texture.
1 TBSP instant yeast: Acts as the leavening agent, helping the dough rise for a light and airy loaf.
1 ½ tsp salt: Enhances the overall flavor
Wet Ingredients
1 cup milk: Adds moisture and richness, contributing to the bread’s soft crumb and enhancing flavor.
¼ cup lukewarm water: Activates the yeast, helping it to rise effectively when combined with other ingredients.
2 TBSP light olive oil: Provides richness and a tender texture, contributing to the overall flavor and mouthfeel of the bread.
¼ cup honey: Naturally sweetens the bread
Toppings
1 ½ to 2 TBSP oats: Sprinkled on top for added texture and visual appeal
1 ½ to 2 TBSP warmed honey: Adds a glossy finish and an extra touch of sweetness on top of the loaf.
Making Homemade Honey Oat Bread
If you’ve never made bread before, here is the basic formula for making your own at home:
Step 1: Combine Dry Ingredients
In a large mixing bowl, whisk together the flour, oats, yeast, and salt until evenly combined.
Step 2: Combine Wet Ingredients
Warm the milk until it’s just slightly warm to the touch (not hot). In a small bowl mix the warmed milk, water, melted butter, and honey.
Step 3: Mix and Knead the Dough
Stir the wet and dry ingredients together until a soft dough forms. Mix with a dough hook until it just comes together. Continue to knead in the mixer, with the dough hook attachment, for about 7-10 minutes. You want the dough smooth and elastic.
Tip: If the dough feels too sticky still after 5 minutes of kneading, add a little flour, one tablespoon at a time. If the dough is too dry, add water, 1 teaspoon (5 ml) at a time, to soften it up.
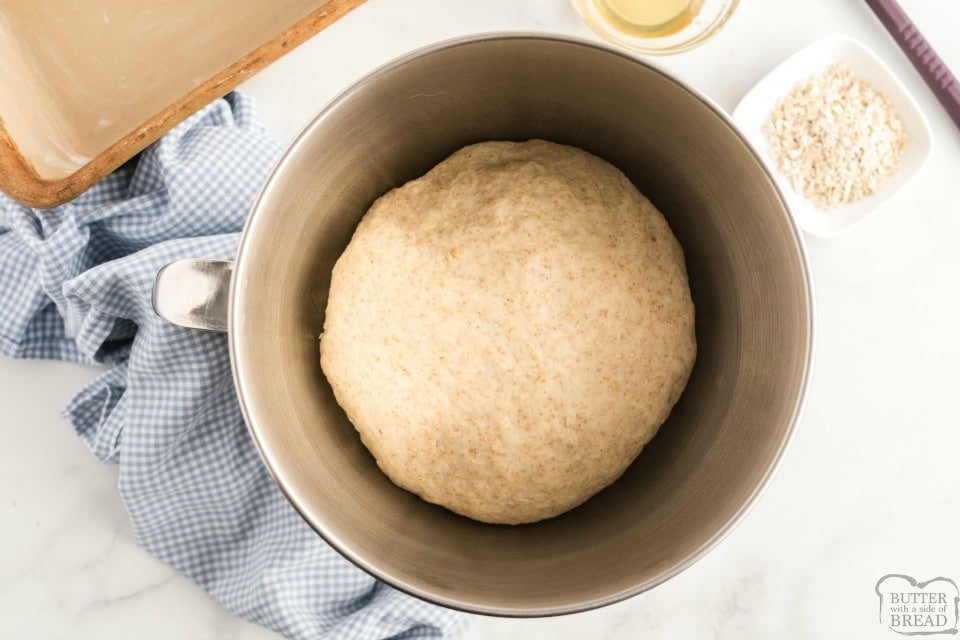
Step 4: First Rise
Place the dough in a lightly greased bowl and cover it with a clean towel or plastic wrap. Let it rise in a warm place until doubled in size, about 30–60 minutes.
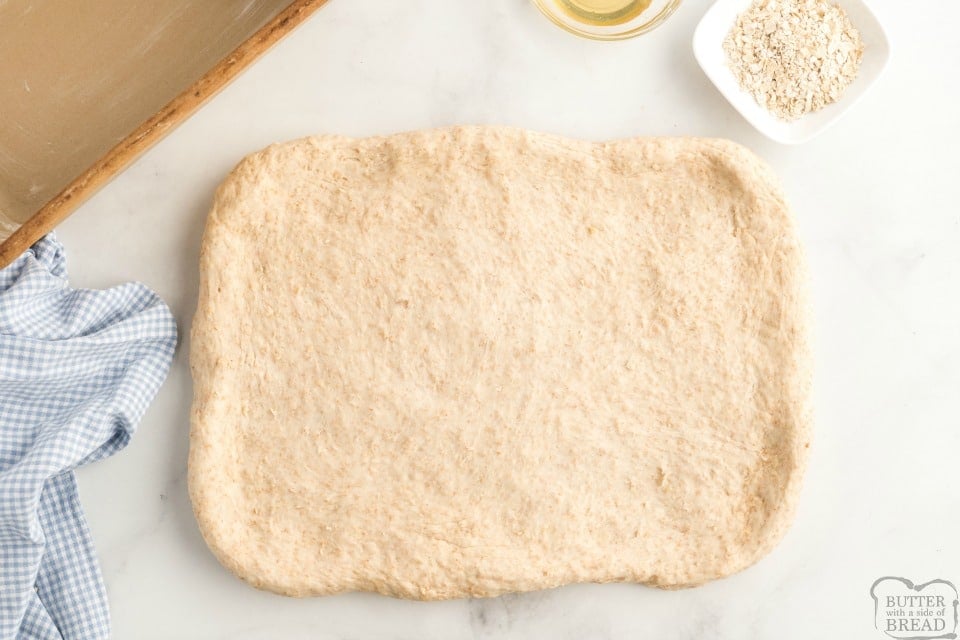
Step 5: Shape the Dough
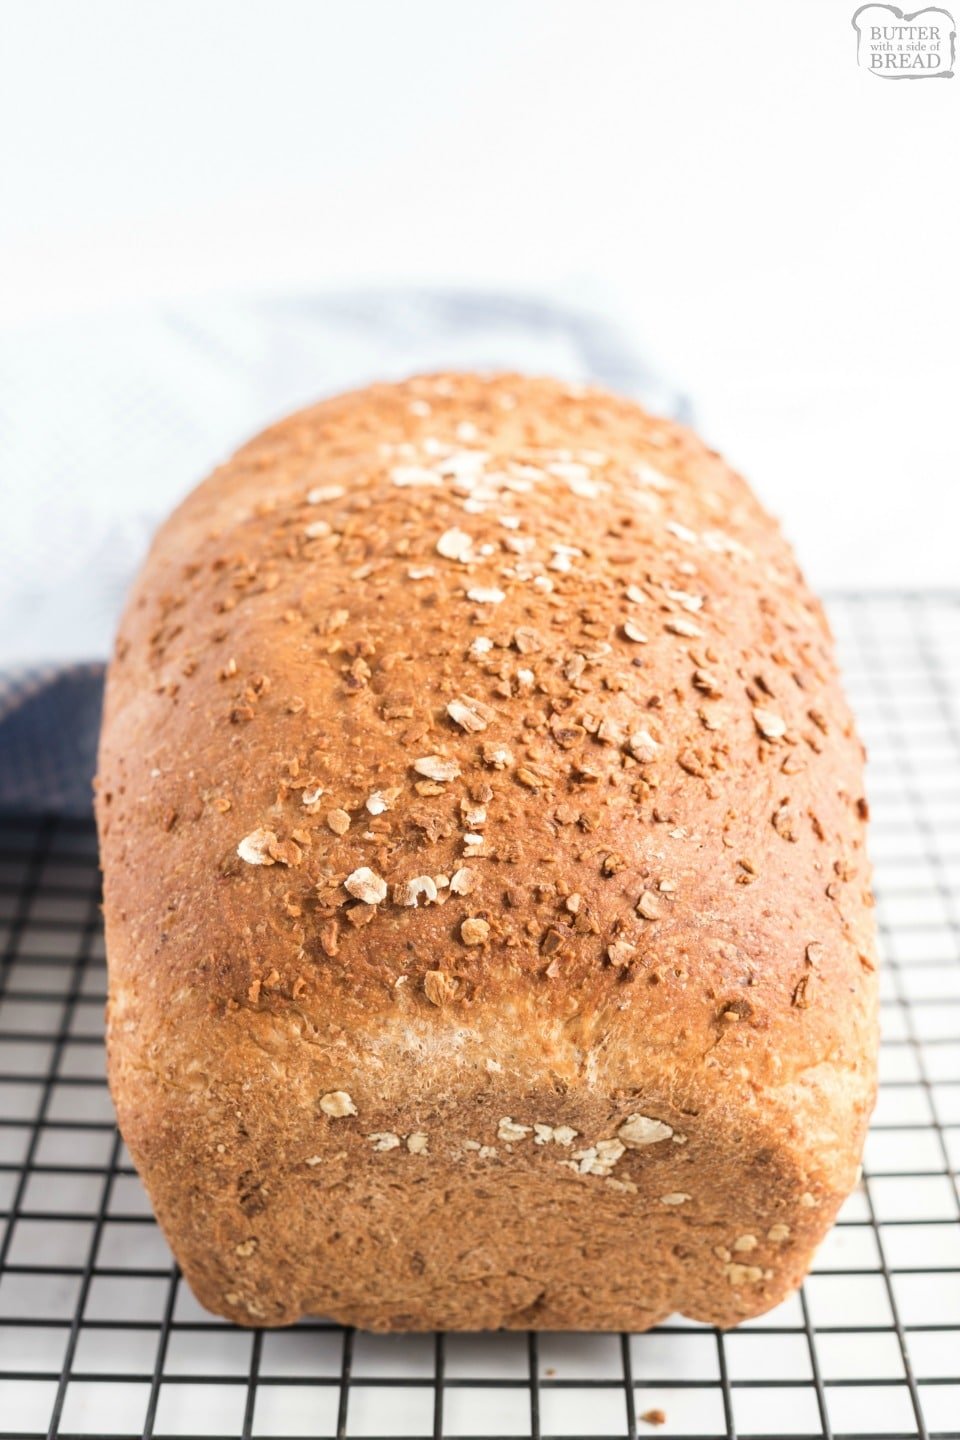
Once doubled, transfer the dough to a lightly floured surface if needed. Flatten into a 9×12-inch rectangle, then roll tightly into a loaf, tucking in the ends. Place in a greased 9×5-inch pan, brush with warmed honey, and sprinkle with oats.
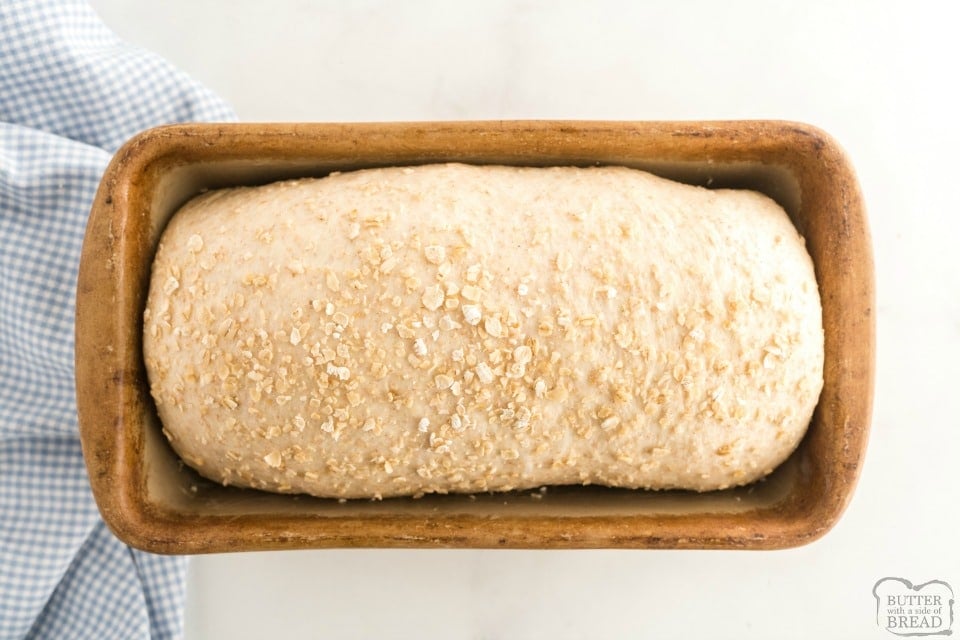
Step 6: Second Rise
Cover the loaf loosely and let it rise again in a warm spot until doubled, about 30 minutes. (In colder weather, I use a slightly warmed, turned-off oven with the light on.)
Step 7: Bake the Bread
Bake for 40–50 minutes, or until the top is deep golden brown and the internal temperature reaches 190–200°F (Breads with milk should reach closer to 200°F.)
Step 8: Cool the Bread
Let the bread cool in the pan for about 10–15 minutes, then transfer it to a wire rack to cool completely.
Allow at least 20 minutes before slicing—cutting too early can cause the loaf to collapse or become gummy.
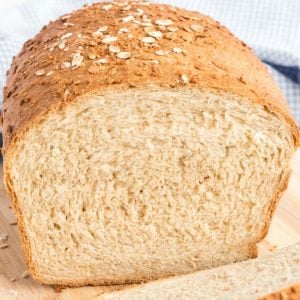
Honey Oat Bread
Ingredients
- 3 cups all-purpose flour can use half whole wheat flour
- ¾ cups oats either instant or old fashioned
- 1 TBSP instant yeast
- 1 ½ tsp salt
- 1 cup milk
- ¼ cup water lukewarm
- 2 TBSP light olive oil
- ¼ cup honey
Toppings
- 2 TBSP honey warmed
- 2 TBSP oats
Instructions
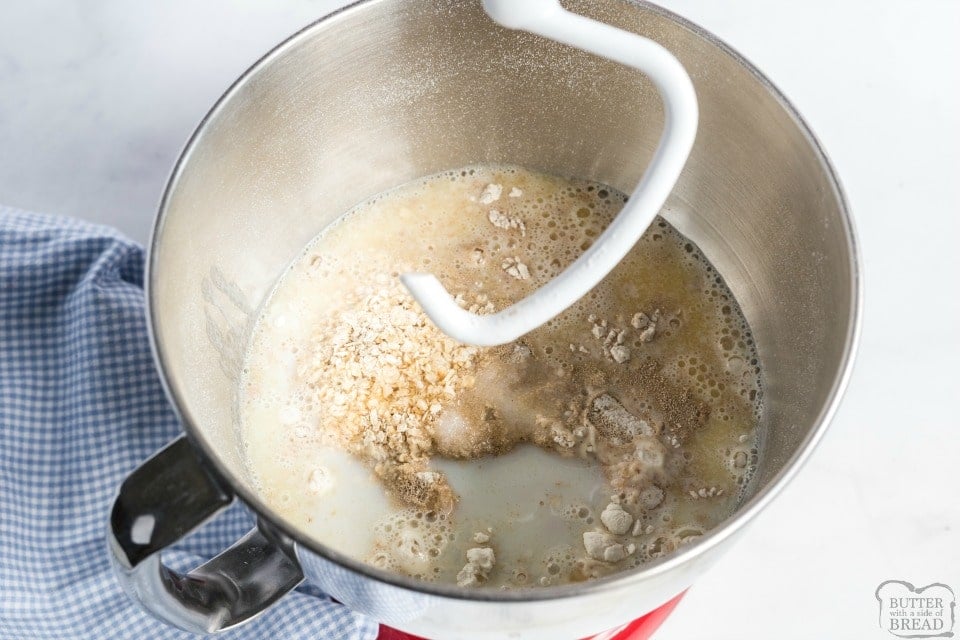
- In a large bowl, or the bowl of a standing mixer, combine the flour, oats, yeast, and salt.
- In a small bowl, warm the milk slightly, but not boiling. Add the olive oil, then stir in the water and honey.
- Pour the milk mixture into the flour mixture, mixing with a dough hook until it just comes together to form a dough. Knead with the dough hook attachment, for 7-10 minutes, until the dough is smooth and elastic (if you’re making this recipe by hand, the dough will be very sticky at first; flour your hands and work surface generously and be patient). If the dough is still very wet and sticky after 5 minutes of kneading, add more flour, 1 TBSP at a time, until the dough is barely tacky. If the dough is too dry, add water, 1 tsp at a time, to soften it up.
- Place the dough in a lightly oiled bowl, cover, and allow to rise until doubled, for about 30-60 minutes.
- Once doubled, place the dough on a clean, dry work surface. If the dough is too sticky, lightly flour the surface before continuing. With your fingers, flatten the dough into a 9×12-inch pan. Tightly roll the dough, tucking the ends as needed, into a loaf. Brush the top with the warmed honey and sprinkle with the oats. Allow the loaf to rise in a slightly warm location until doubled, about 30 minutes.
- When dough has doubled, preheat oven to 350 degrees (180 C). Bake for 40 to 50 minutes, until the bread is deep golden brown and the internal temperature is about 190-200 degrees. Transfer to a wire cooling rack and allow to cool completely before serving. Slice, serve, & enjoy!
Video
Notes
Nutrition
📫 Save this recipe! Send it to your email! 📩
I consent to receiving emails from this site.
How do you store homemade bread?
Fresh honey oat bread is best enjoyed within 2–3 days when stored at room temperature. Keep it tightly wrapped or in an airtight container to maintain softness. These bread bags are pretty amazing!
Freezing is also highly recommended if you want it to last longer. Wrap tightly in plastic wrap and place in a freezer bag or airtight container. It keeps well for about 2–3 months in the freezer.
To use, thaw at room temperature, or warm slices in the toaster or oven for a fresh-baked feel.
Can I use all whole wheat flour?
Yes, but the bread will be denser. For best results, I recommend using half all-purpose and half whole wheat flour so the loaf stays soft and light while still having a hearty flavor.
Why didn’t my dough rise?
This usually happens if the yeast is expired or the liquid was too hot or too cold. Make sure your yeast is fresh and your milk is warm—not hot—to help activate it properly.
Best Bread Pan?
I bake a lot of bread and the pans I prefer are either ceramic, glass or cast iron. These pans will bake bread more evenly and release the bread more easily after baking. I don’t like using dark or nonstick pans because the bread cooks unevenly. It darkens on the outside before the bread is cooked on the inside, so the coloring is uneven. Read more about which bread pan is the best here!
Why is my bread dense?
This can happen if too much flour was added, the dough wasn’t kneaded enough, or it didn’t rise long enough. The dough should be soft and slightly tacky, not dry.
Try more amazing soft, homemade bread recipes here:
- This easy homemade bread comes out soft, fluffy, and bakery-worthy every single time—and you only need a few pantry staples and about 2 hours. If you’ve ever wanted to bake fresh bread from scratch without the stress, this foolproof recipe is the one to start with.
- Try our easy, beginner-friendly honey wheat bread recipe that makes homemade bread feel totally doable (and absolutely worth it).
- Copycat Cheesecake Factory brown bread is soft and slightly sweet with hints of molasses, brown sugar, and honey in every bite. It’s an easy homemade version of the restaurant favorite.
- Tender and unbelievably easy to make, this homemade buttermilk bread is made with just 6 simple ingredients. With rich flavor and that melt-in-your-mouth texture you’ll want to make on repeat.
- Homemade vegan bread—no one will guess it’s dairy-free! It’s an easy, foolproof recipe that makes two beautiful sandwich loaves you’ll want to use for everything.
This honey oat bread is made with wholesome ingredients like whole wheat flour, milk, and honey. It’s the kind of cozy homemade loaf that works just as well for snacks as it does alongside dinner.


Rhiannon says
Absolutely amazing bread! So light and fluffy! And the flavour…oh man!! My boyfriend doesn’t like the flavour of bread on its own but when I had him taste it he stole the whole piece! Lol
The single issue I had was that some of the honey that I brushed on the dough ran down to the bottom and caused the underside to be sticky and burned. Easily cut off though. I think next time I’ll brush it on after the second rise.
Nicole says
So glad you liked it! Sorry to hear about the honey mess 🙁
Christine Gardner says
I love this bread and make it often. I get so many compliments. Thank you so much for sharing. One thing I’ve noticed is the knead time with stand mixer is a lot longer than the 7-10 minutes. I usually turn my stand mixer on a 2 and sometimes it can take 25 minutes. I just do it till the dough starts coming away from the walls of the bowl and starts clinging to the dough hook. Again, live this recipe!
Jessica says
Interesting about the knead time- I’ll have to try it! THanks Christine!
Mike says
I make this regularly and everyone loves it! Which is actually a little surprising to me, because it always comes out a little heavy/dense. I have read and analyzed the recipe over and over again, I cannot figure out what I am doing wrong. I do use 100% white flour and I mix by hand. The stickiness goes away within a minute or two and I kneed for another couple minutes before it starts getting stiffer, it does not take me 7-10 minites. I’ve tried adding a bit more water, and kneeding it in more, doesn’t seem to make a difference in the end. The dough doesn’t seem to rise as much as I would expect, it certainly doesn’t “double” as the recipe indicates. Any ideas? Could it just be the flour?
Thanks!
Jessica says
Hi Mike, ok I have a few thoughts. First- how warm is the environment you’re rising your bread in? During winter at my house, I often opt to raise bread dough in the oven! I just turn it on for 2-4 minutes, until it gets to just above 100*F, then turn it off. Cover the bowl with plastic wrap and set it in the warm oven.
Another idea- add a bit less flour. Sticky bread dough is not really what we want, but we don’t want all the tackiness to go away. Even though you don’t feel your dough “needs” another 5 minutes of kneading time, do it anyways! A proper knead goes a long way in improving the texture of bread. This is where a stand mixer comes in handy, but you can knead by hand.
These are my 3 ideas- warmth, a tad less flour and proper kneading time. Let me know how it goes!! –Jessica
Mike says
Thanks Jessica, I will take those things into consideration on my next bake!
Aurelia Troilo says
Maybe your yeast is no good that could be the problem
Liesl C says
I haven’t made this yet but am getting ready to right now. One of the most valuable lessons I’ve learned when it comes to baking is to measure your flour. This way you can’t go wrong. A cup of all-purpose floor weighs 120 grams. Some folks scoop the floor out of it’s container and that can seriously compress the floor and cause one to use a lot more than need be. Weighing it had rectified most all the baking issues I’d ever had.
Gee says
I’ve been looking for a good honey oat bread and came across your recipe, and I’m so excited to try! One thing though is that I ran out of whole wheat flour. Can I substitute this for blended oat flour? I know I can use all purpose flour but I’d like to add a little more grain.
Nellie says
The consistency may be a little more dense, but I would guess it would work just fine! Please let us know if you experiment!
Carly says
I love this bread as does my husband perfect for anything we do
Sara says
Absolutely delicious! I only had one packet of yeast left and those are just shy of one full tablespoon. I was nervous about the yeast not doing its thing without blooming it first especially since I only had that one packet, so I made sure the liquid mixture stayed around 110 degrees before adding to the dry ingredients. After that I just followed the recipe, except for the bit at the end about waiting until it’s completely cooled 👀
Jessica says
Ha!! So glad to hear you like it Sara!
emily says
amazing recipe, always fluffy never dense and taste amazing ive made this recipes for maybe 5 years now and always amazing, if i dont have rolled oats i add steel cut there never hard though and theres not much difference to me ive used whole wheat and white flour and always amazing i kneed for recommended time in mixer and sometimes add more flour if needed. then i always need a little extra on counter to make sure the feel is right. perfect recipe.
Ly says
Bread came out perfect and so delicious! Wondering if this recipe can also work for a 13” x 4” pan or do I need to adjust the ingredient measurements? If so, could you please let me know what measurements to use? Thanks so much!
Jessica says
I’ve not tested it in a pan that size, sorry!
faith bremmer says
Ill make this in my bread machine
Jessica says
Great idea Faith!
Tiffany says
Have made this multiple times. I use half whole wheat, half AP and follow instructions exactly. Whole family loves it!
Jessica says
So glad to hear Tiffany!
B. Yenco says
The bread is delicious-soft, but not too sweet- I used all AP flour, and brushed butter and sprinkled oats on the dough before baking- slices well, great for snacking and toasted- highly recommend!
Kelsey says
Hi! Would this recipe work the same if I doubled the ingredients to make two loaves? Would you change anything in regards to kneading and rise times?
Jessica says
Yes, it’ll be fine to double it, just make sure whatever you have to mix and knead is big enough & powerful enough!