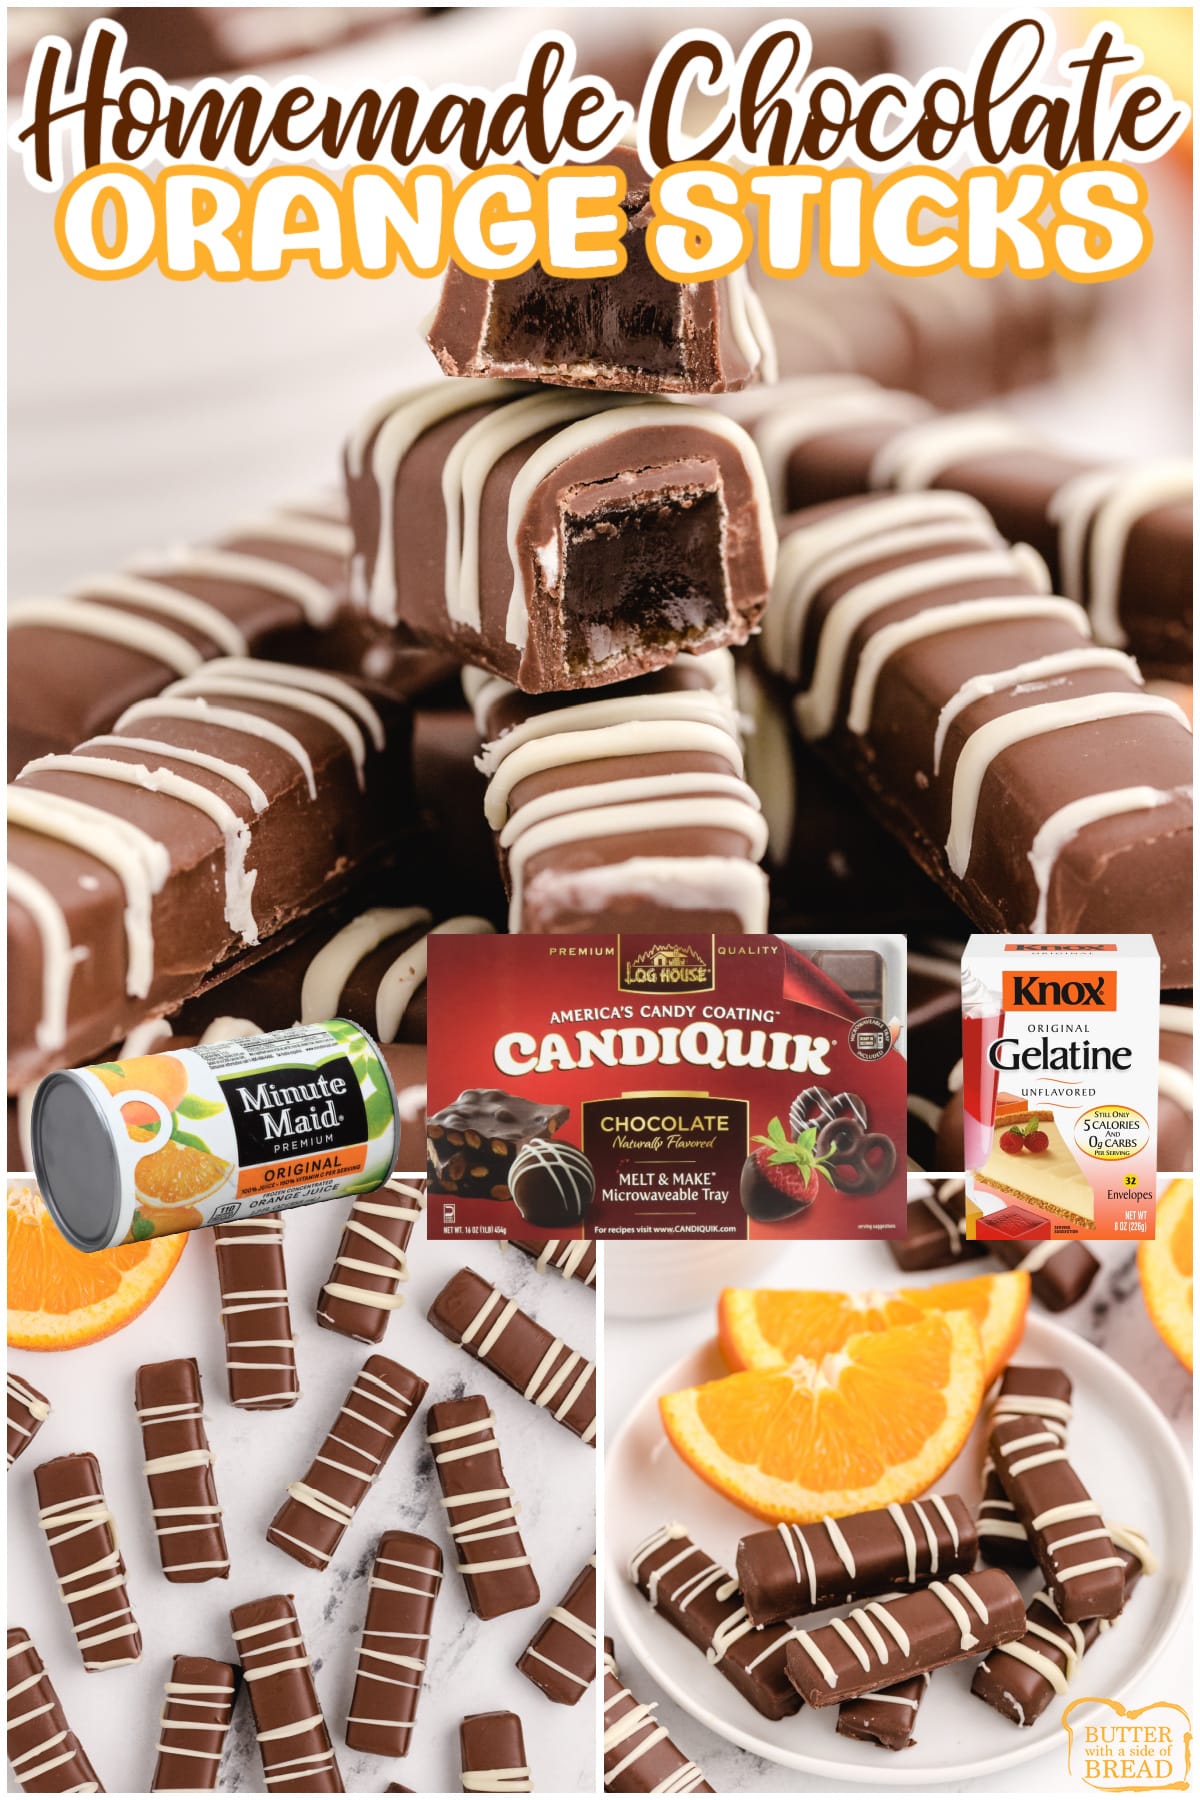
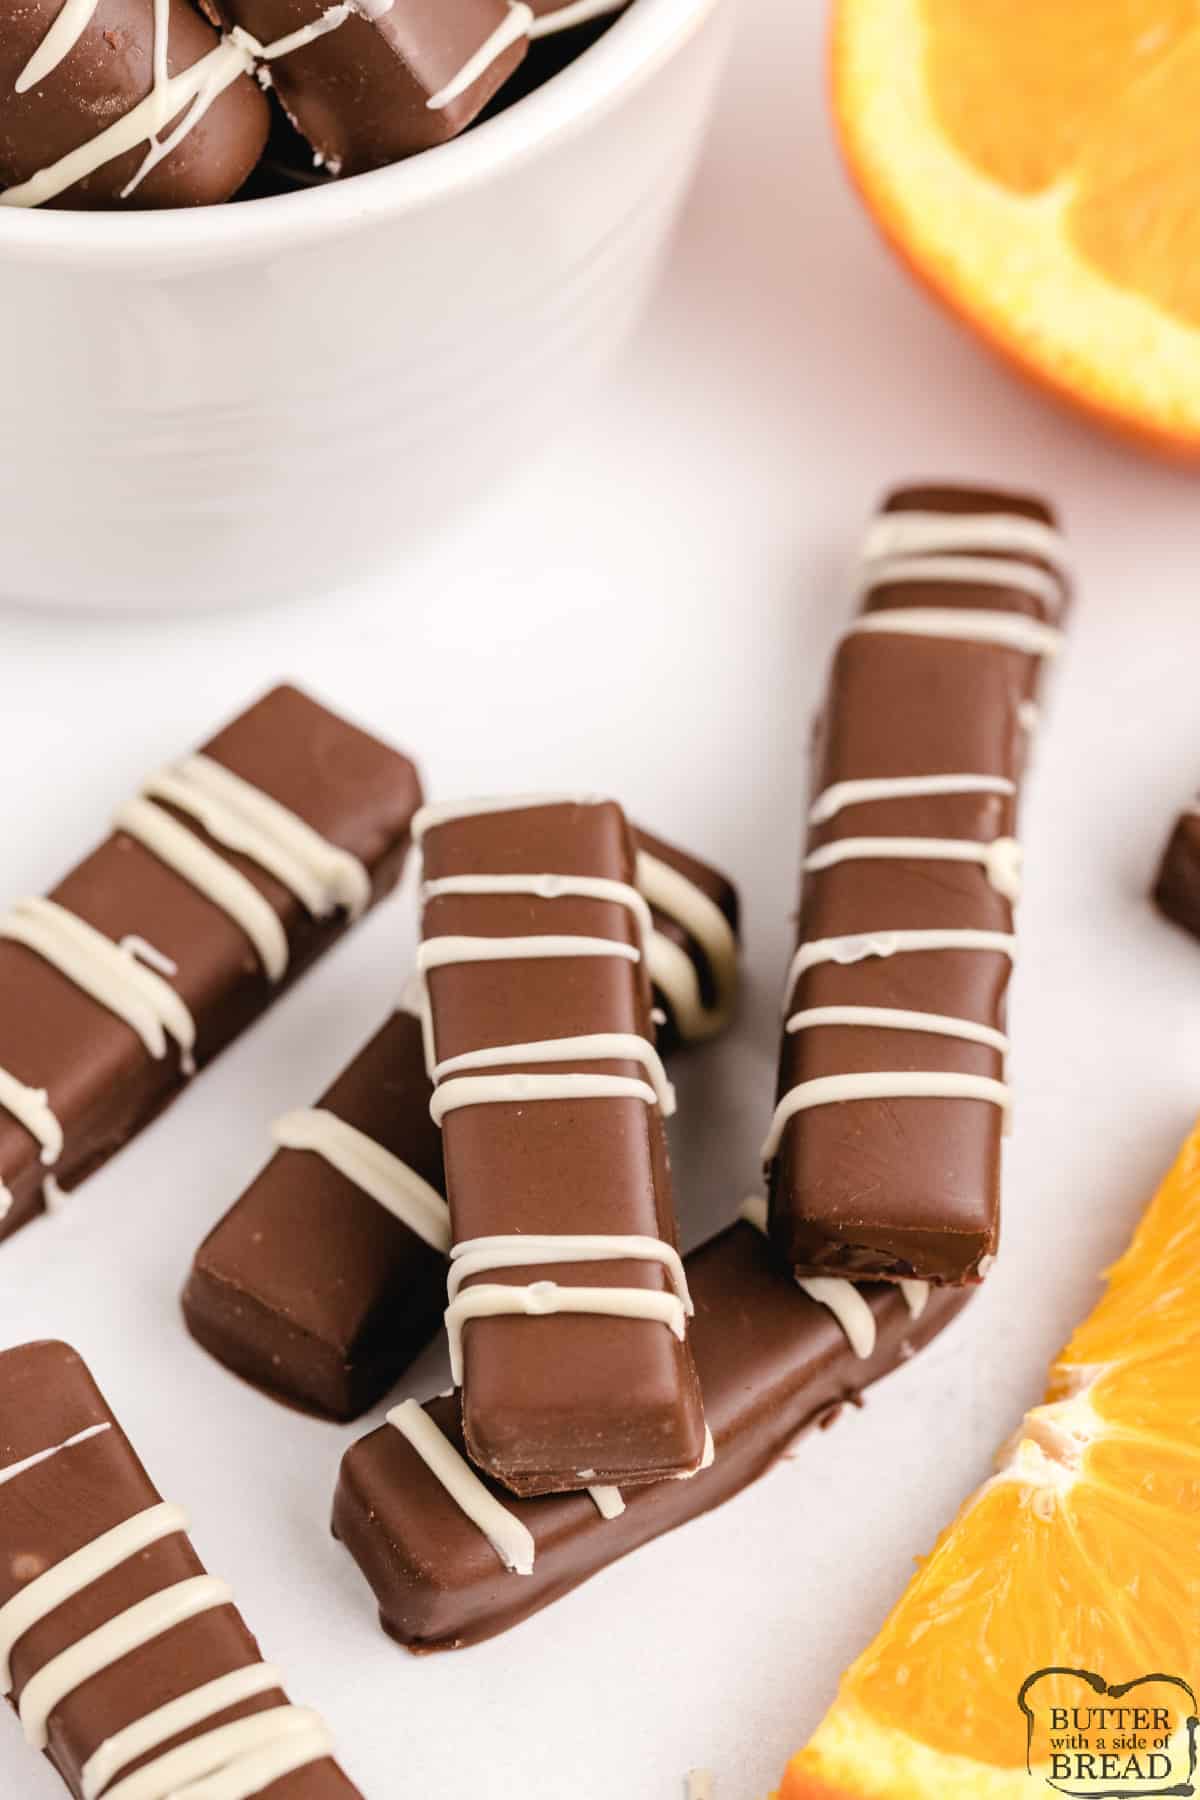
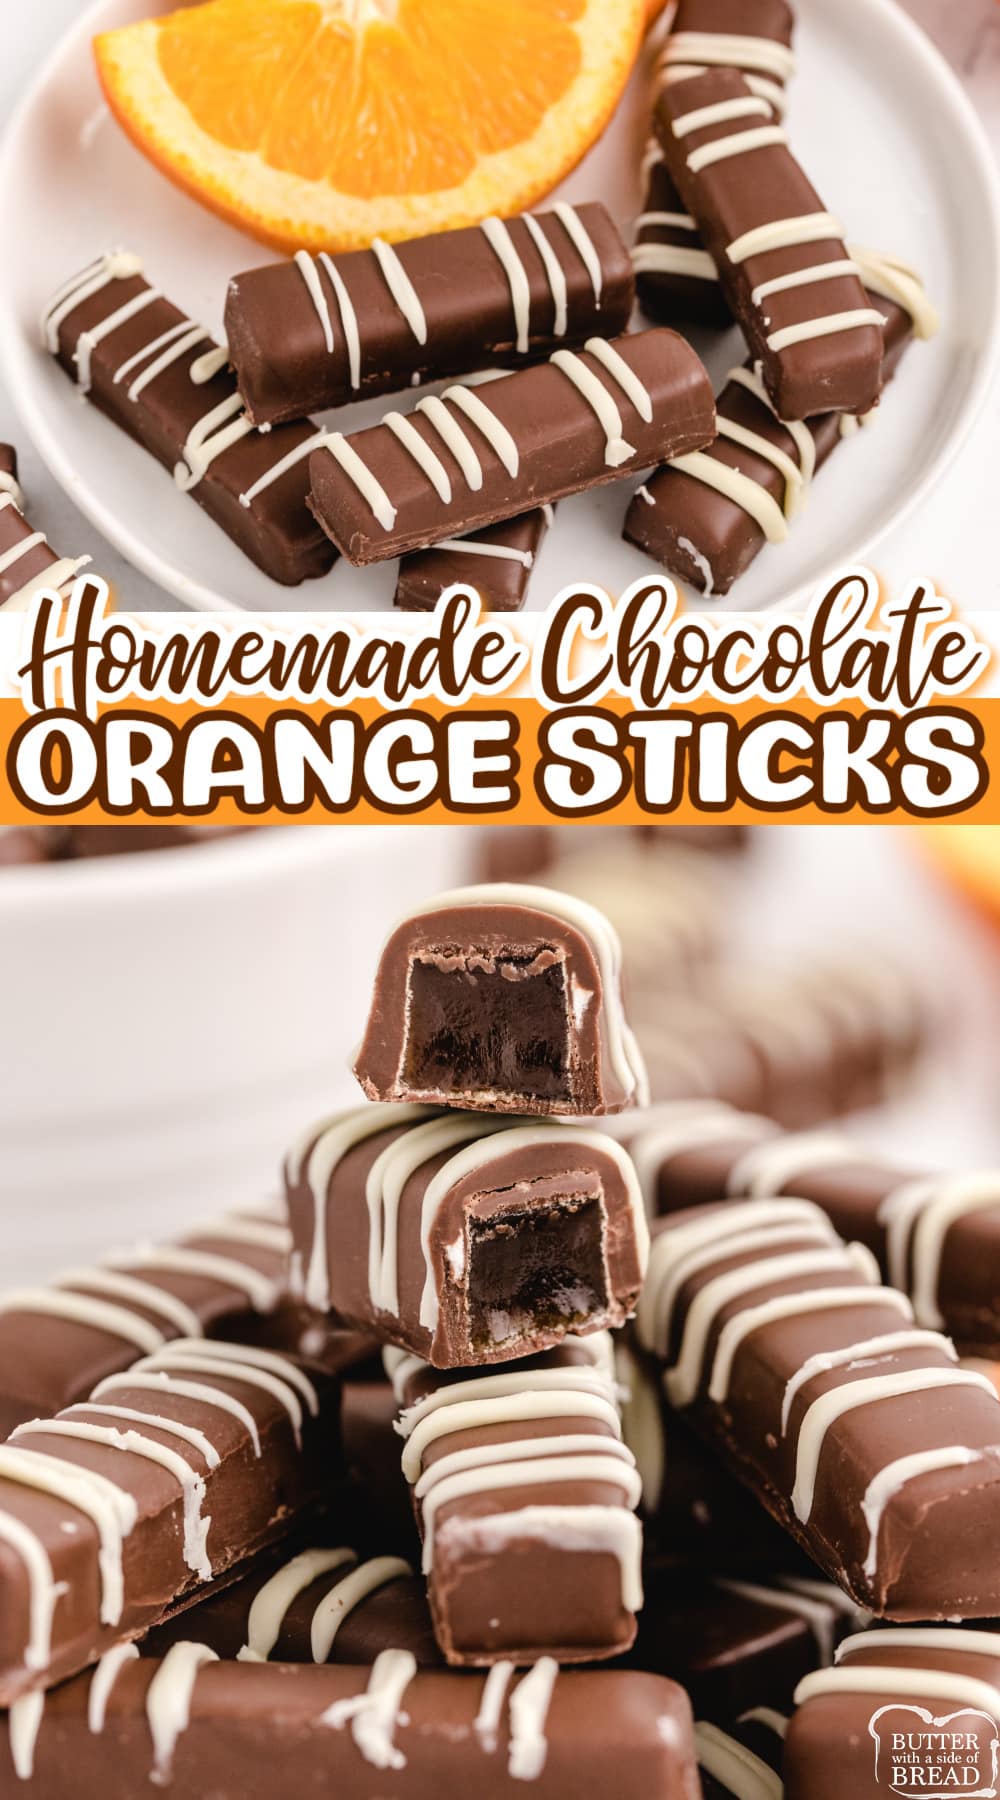
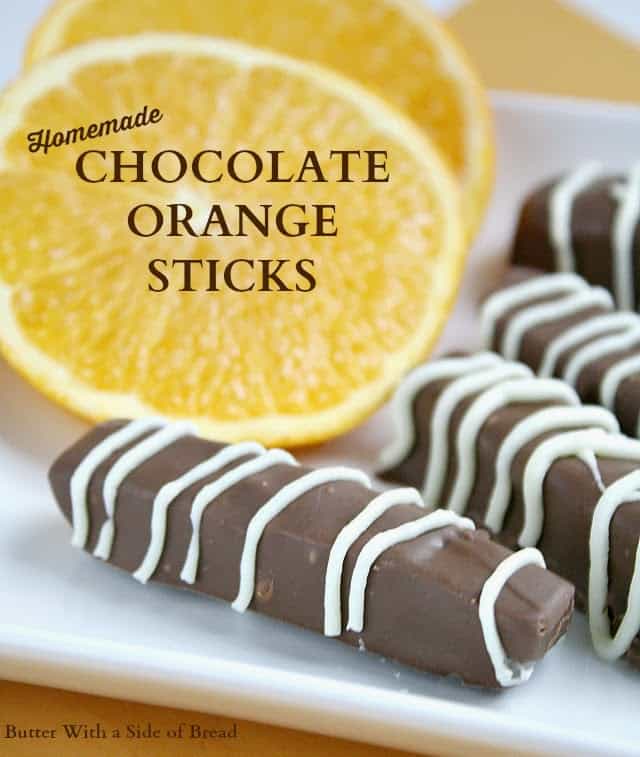
Homemade Chocolate Orange Sticks are made with a delicious orange jelly filling dipped in melted chocolate. Simple chocolate candy recipe that is so easy to make!
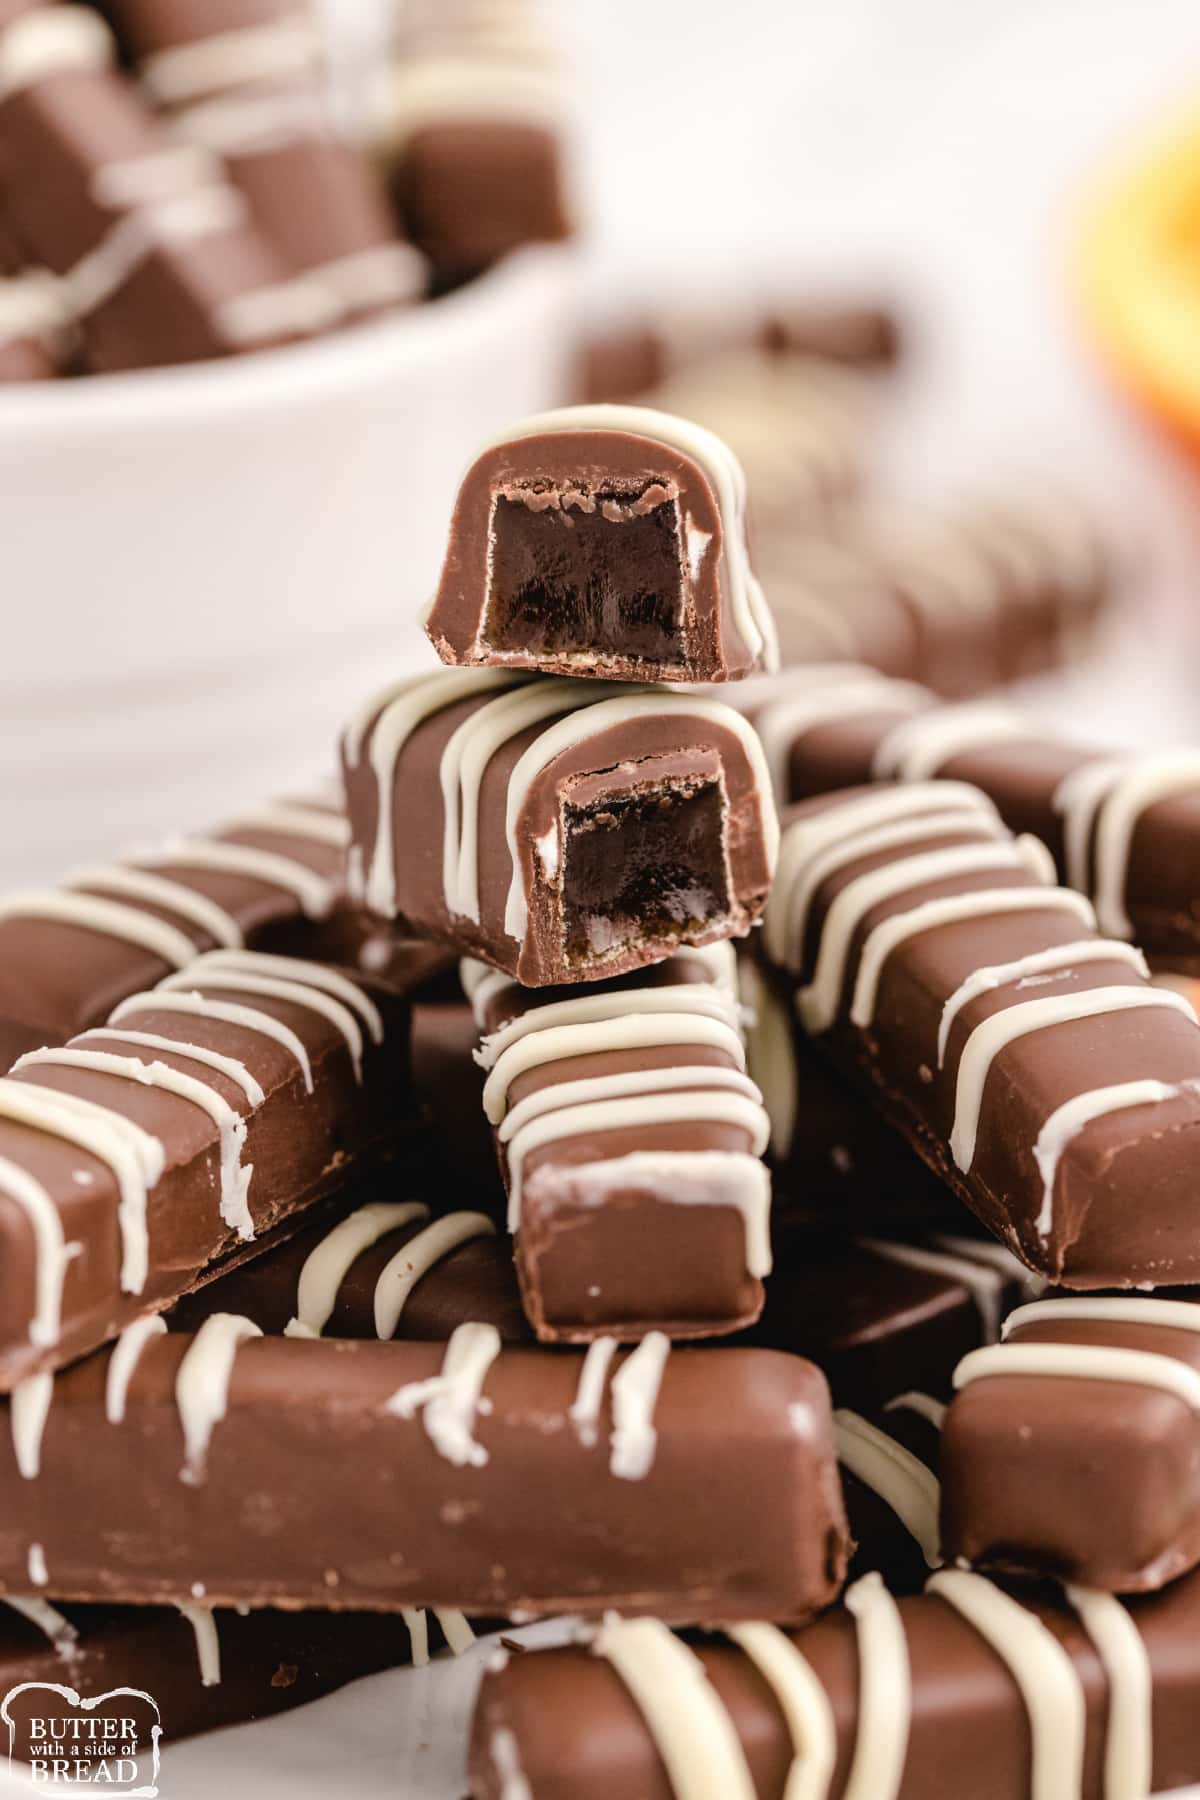
Chocolate Orange Sticks are one of my absolute favorite holiday treats. When I was a kid, every year my dad would get a box of chocolate covered orange sticks in his stocking for Christmas and he was always very nice to share so I learned to love them too.
I never even thought about making them myself, but then years ago, I found a recipe for this special treat. Initially, I was pretty skeptical and doubted that they would taste as good as the kind in the box, but the homemade version is even better. Like, so so so good. We now make these every single year around the holidays and make enough to share with neighbors and friends. Everyone loves them!
Update: I also created a raspberry version of these and they are amazing too! I can’t decide which ones I like better, so I usually just make both every time!
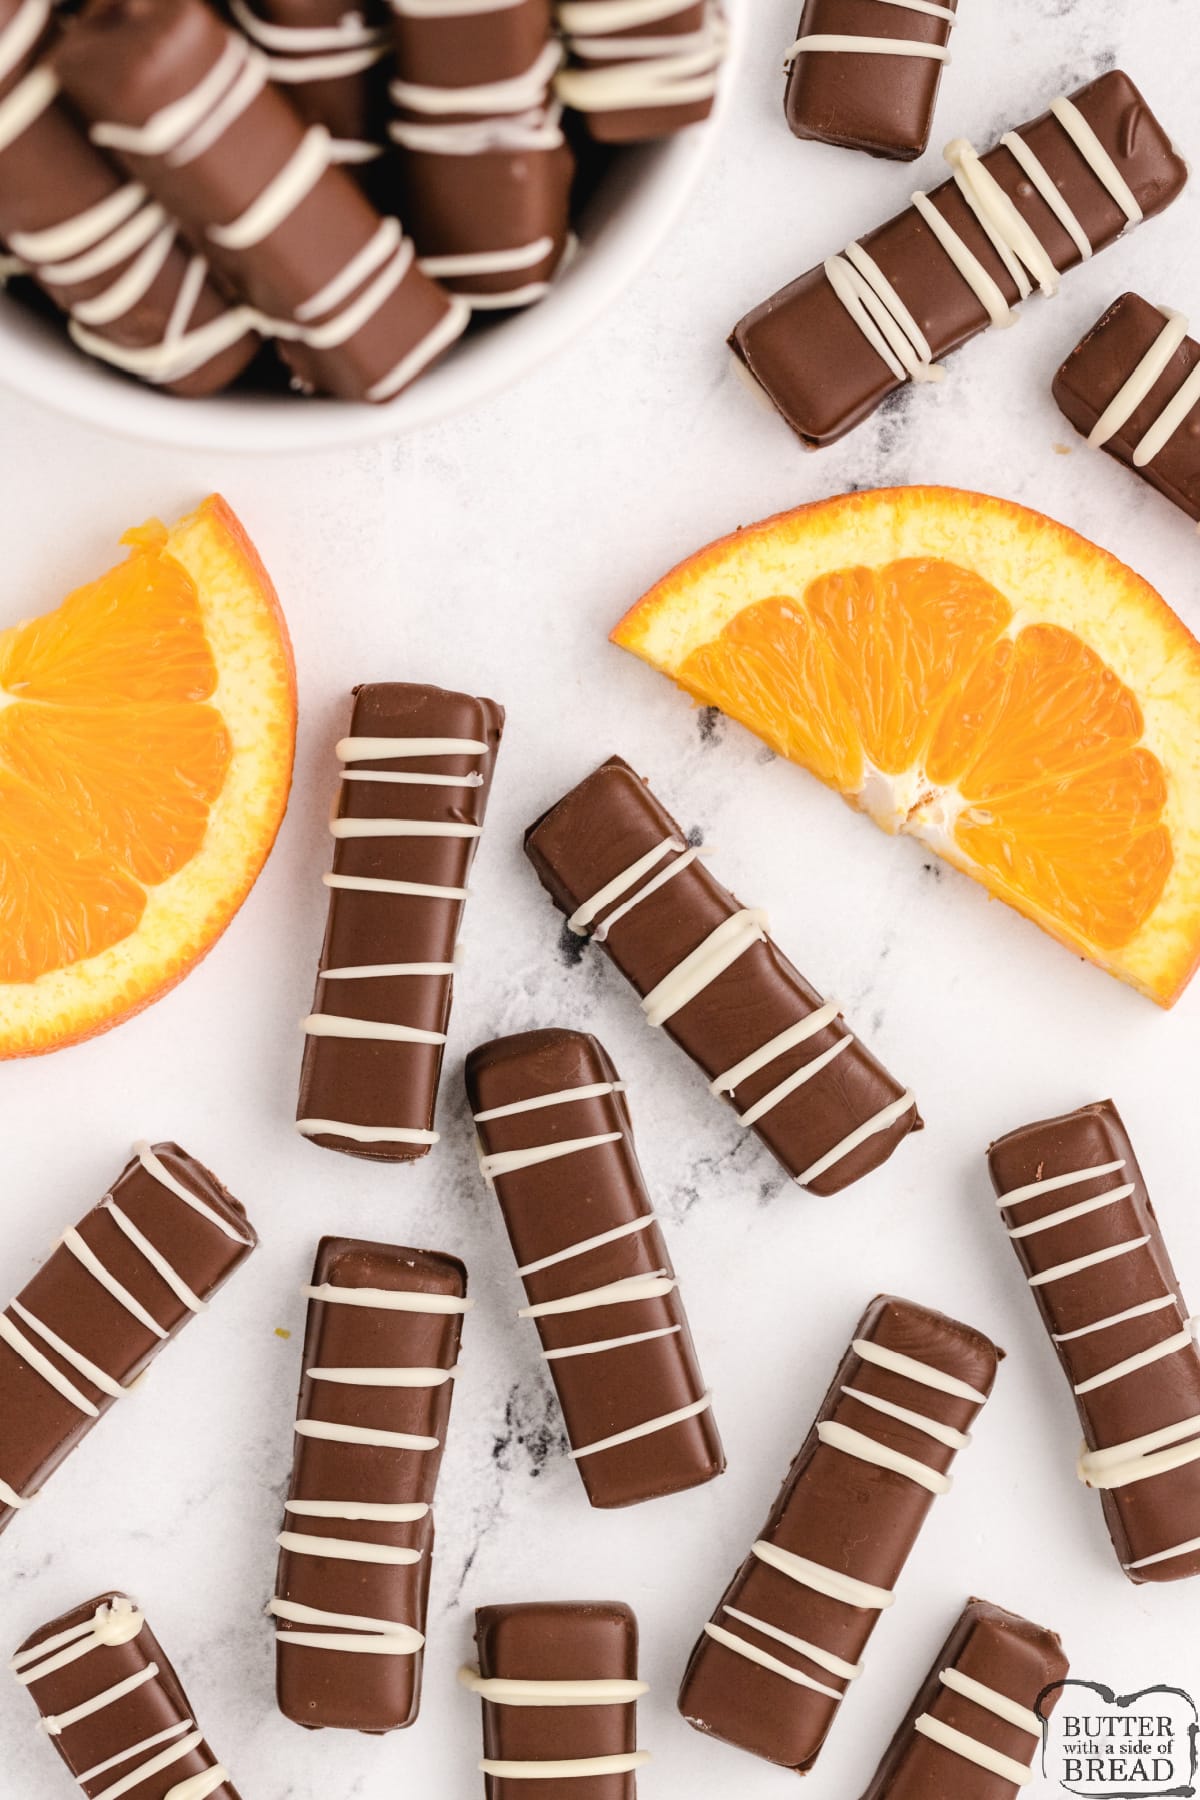
What are Chocolate Orange Sticks?
Chocolate Orange Sticks are a candy that is most easily found in stores during the holiday season. This is candy that has an orange jelly filling that is dipped in chocolate. These chocolate candies can be stored at room temperature for days and make the perfect gift for friends and neighbors.
INGREDIENTS IN HOMEMADE CHOCOLATE ORANGE STICKS
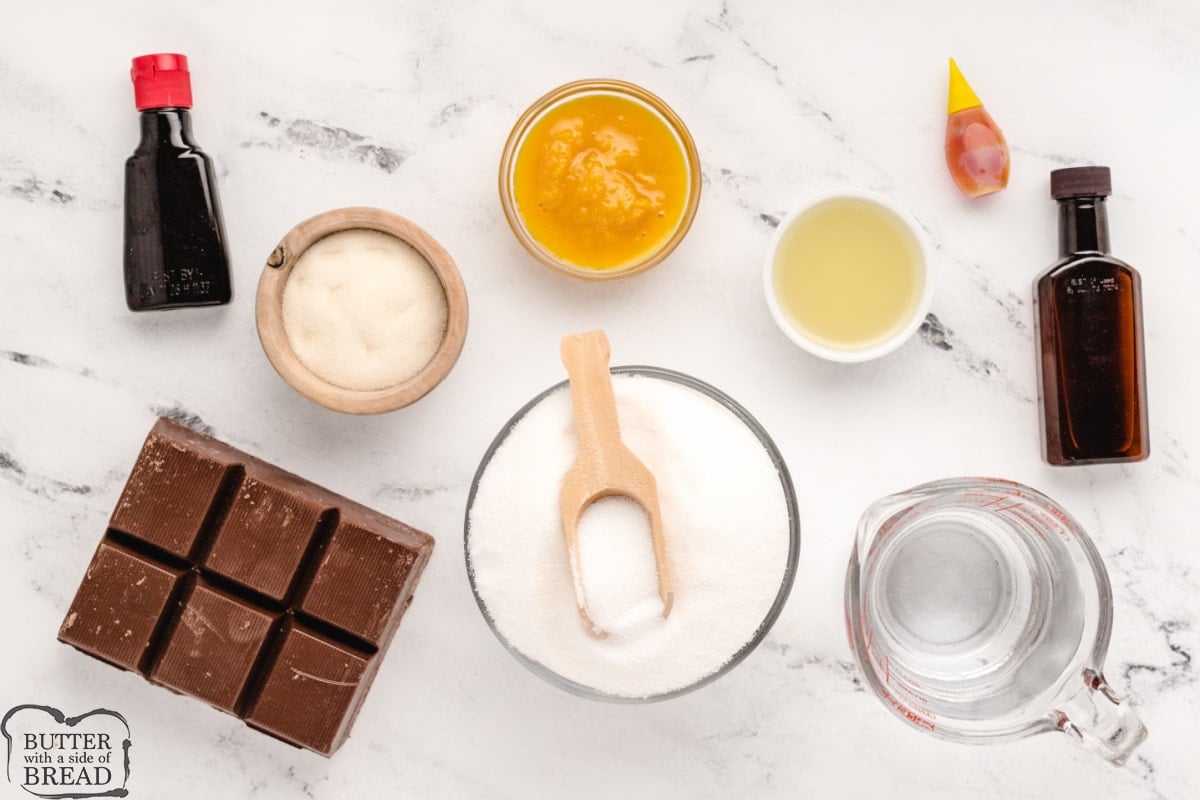
Unflavored gelatin – You will need 3 tablespoons of unflavored gelatin. This usually comes in a box that has small little packets. You will need 4 of the little packets to get the necessary 3 tablespoons.
Sugar – Two cups of granulated sugar are needed to make the candied orange jelly mixture.
Water – You need a half cup of cold water to dissolve the gelatin in. You need half a cup of hot water (hot tap water is fine) to mix with the sugar to help dissolve it before boiling.
Orange juice concentrate – To get the most amazing orange flavor, you will need two tablespoons of frozen orange juice concentrate. You can just scoop this right out of the can and save the rest of the concentrate for future batches!
Lemon juice – You need two tablespoons of lemon juice. I use the kind from the bottle, but fresh squeezed lemon juice will work also. The first time I made this recipe, I was a little nervous because I didn’t really want lemon sticks! But I promise that you won’t be able to taste the lemon flavor at all. Somehow it just enhances the orange flavor. 🤷🏼♀️
Lemon extract – You will need 1/2 teaspoon of lemon extract. Again, I promise you won’t be able to taste the lemon at all!
Orange extract – One teaspoon of orange extract will strengthen the orange flavor in the chocolate orange sticks.
Orange food coloring – You don’t have to add the orange food coloring, but it does make the candy a lot darker and more visibly orange. Totally up to you!
Chocolate – You need 12 ounces of melting chocolate or chocolate almond bark. Regular milk chocolate pairs so well with the orange, but dark chocolate is also amazing and white chocolate works as well. Use whatever kind of chocolate you like best!
HOW TO MAKE CHOCOLATE ORANGE STICKS
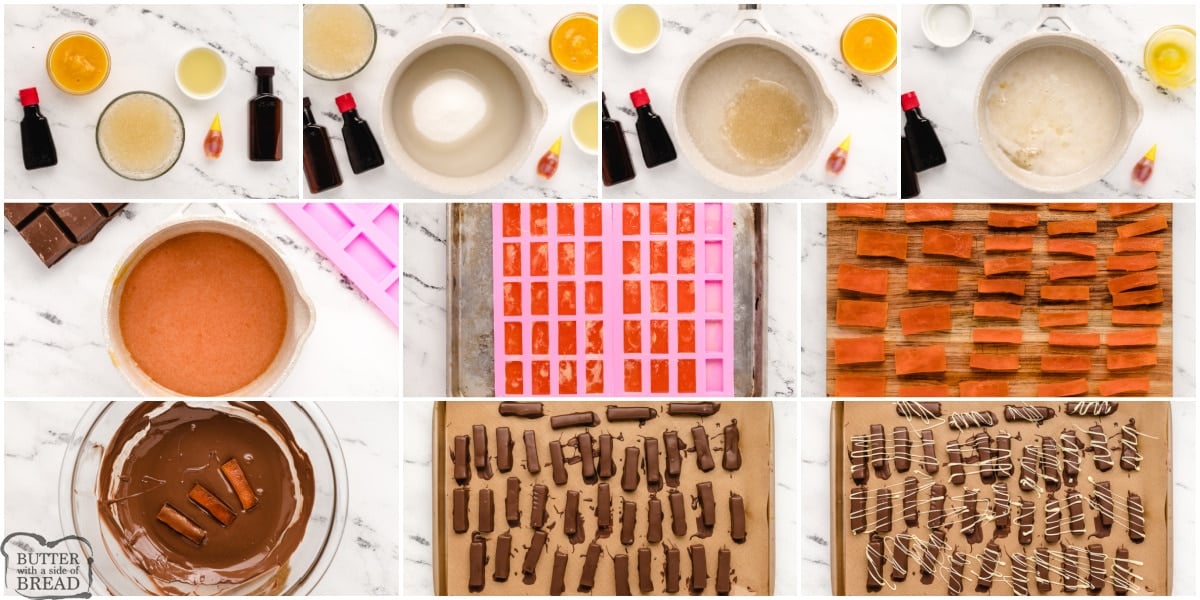
Mix the unflavored gelatin in the half cup of cold water and set aside so that the gelatin can soften up.
In a small saucepan over medium heat, combine sugar and hot water and stir until dissolved. Turn the heat up to medium-high, and bring the mixture to a boil. Add the gelatin mixture and slowly boil on medium-low heat for 20 minutes. Make sure to stir the mixture occasionally. Remove from heat and add the remaining ingredients, stirring the mixture until smooth.
Use non-stick spray to prepare the molds you will be using. Carefully pour the mixture into the well-greased molds. I purchased this mold from Amazon, but before I had the mold, I used several mini loaf pans and the loaf pans work just as well as the silicone mold.
Let stand over night and then remove the jellied orange mixture from the molds. Cut the candy into the desired shape. If you use the same molds that I did, you will just need to slice each rectangle in half to create the thin rectangles that are very similar to the store-bought orange sticks. If you use a mini loaf pan, you will need to make slices that are about 1/3″ wide.
Now it’s time to melt the chocolate. If you are using melting wafers or Candiquik, just follow the melting directions on the package. Dip the sliced rectangles into the melted chocolate. Place the dipped chocolates on wax paper.
If you’d like to make them look a little bit fancier, you can drizzle a little white chocolate on top just for fun. Just make sure the chocolate coating is set and dried before adding the drizzle.
HOMEMADE CHOCOLATE ORANGE STICKS
Ingredients
- 3 Tbsp unflavored gelatin I used 4 of the little packets
- 2 cups sugar
- ½ cup hot water
- ½ cup cold water
- 2 Tbsp frozen orange juice concentrate
- 2 Tbsp lemon juice
- ½ tsp lemon extract
- 1 tsp orange extract
- 5-6 drops orange food coloring
- 12 oz melting chocolate or chocolate almond bark
Instructions
- Mix the unflavored gelatin in the half cup of cold water and set aside so that the gelatin can soften up.
- In a small saucepan over medium heat, combine sugar and hot water and stir until dissolved. Turn the heat up to medium-high, and bring the mixture to a boil. Add the gelatin mixture and slowly boil on medium-low heat for 20 minutes. Make sure to stir the mixture occasionally. Remove from heat and add the remaining ingredients, stirring the mixture until smooth.
- Use non-stick spray to prepare the molds you will be using. Carefully pour the mixture into the well-greased molds. I purchased this mold from Amazon, but before I had the mold, I used several mini loaf pans and the loaf pans work just as well as the silicone mold.
- Let stand over night and then remove the jellied orange mixture from the molds. Cut the candy into the desired shape. If you use the same molds that I did, you will just need to slice each rectangle in half to create the thin rectangles that are very similar to the store-bought orange sticks. If you use a mini loaf pan, you will need to make slices that are about 1/3" wide.
- Now it's time to melt the chocolate. If you are using melting wafers or Candiquik, just follow the melting directions on the package. Dip the sliced rectangles into the melted chocolate. Place the dipped chocolates on wax paper.
- If you'd like to make them look a little bit fancier, you can drizzle a little white chocolate on top just for fun. Just make sure the chocolate coating is set and dried before adding the drizzle.
Video
Nutrition
📫 Save this recipe! Send it to your email! 📩
I consent to receiving emails from this site.
WHAT KIND OF CHOCOLATE IS BEST FOR CANDY MAKING?
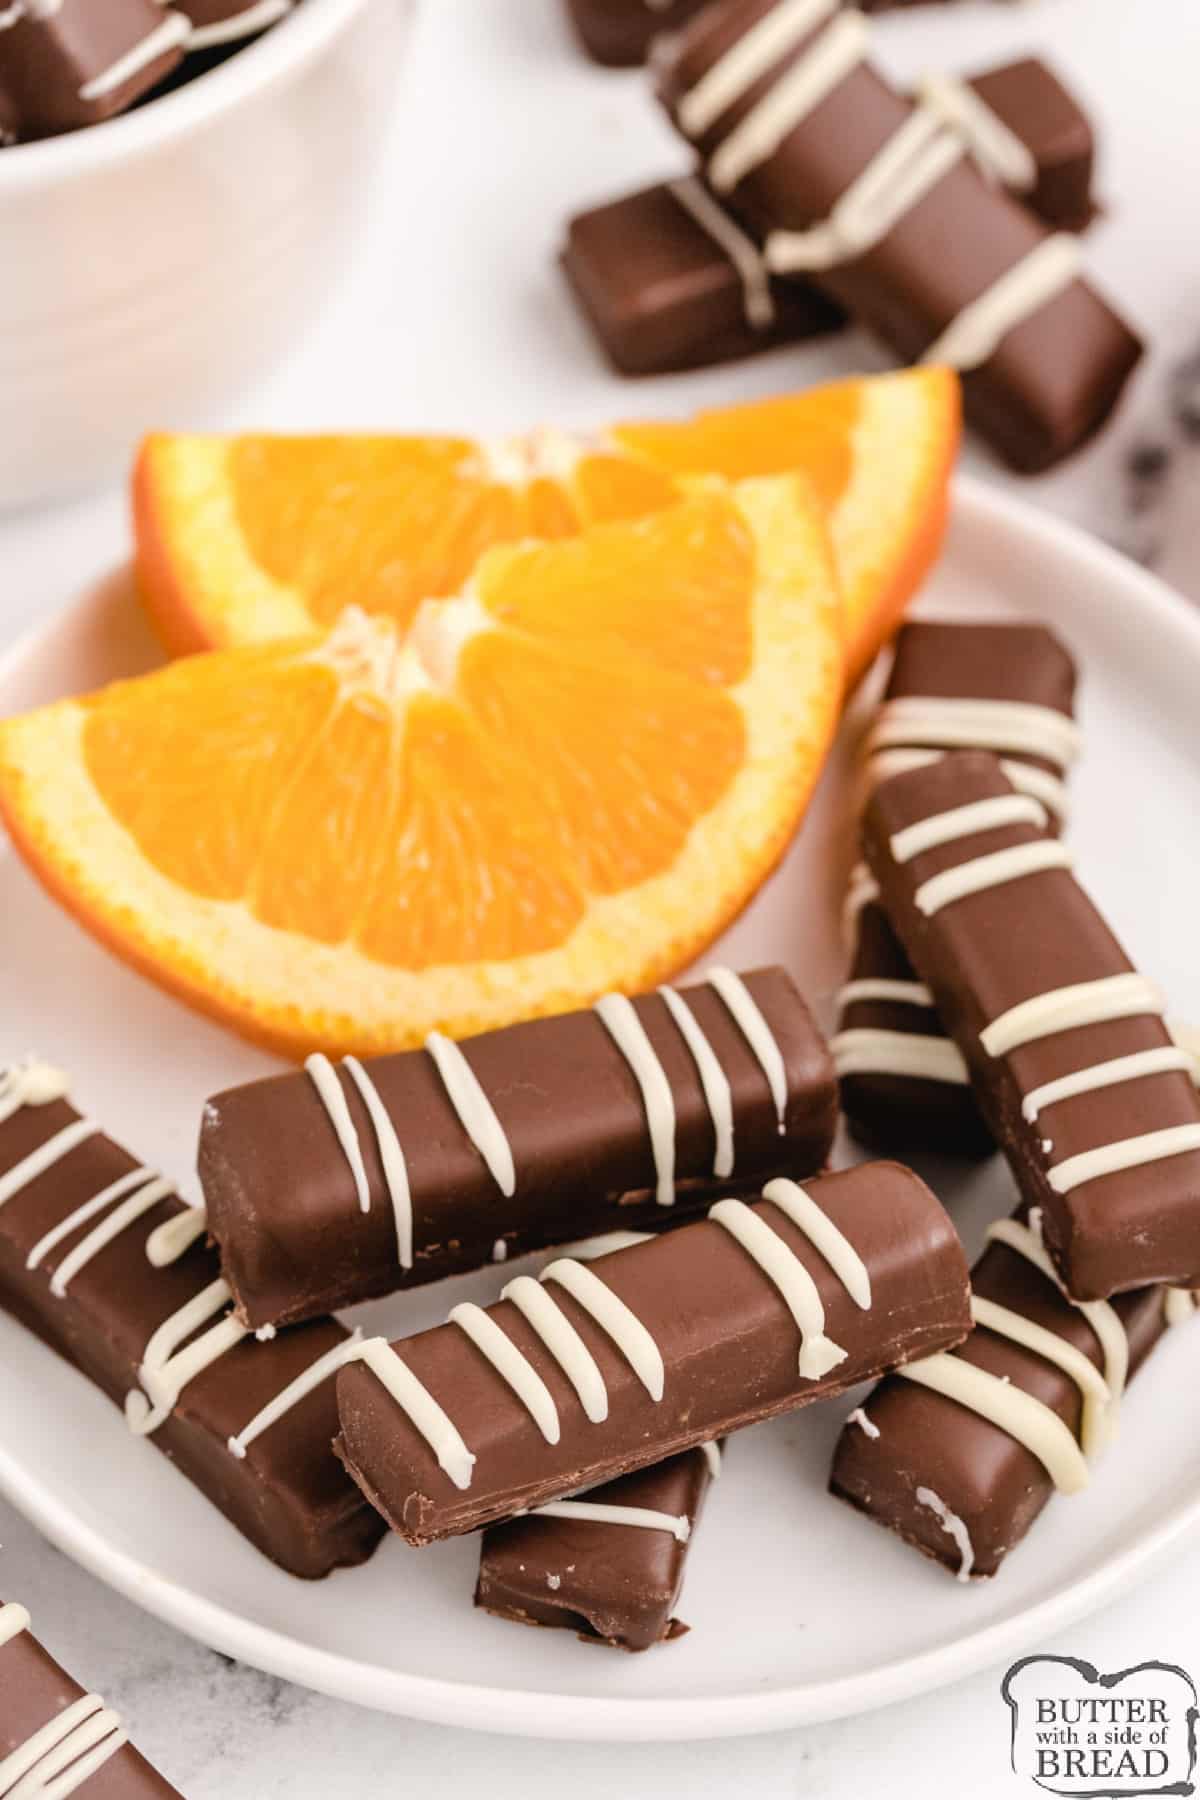
If you can melt it, you can use it. While I recommend using chocolate specifically meant for melting (like Wilton melting wafers or Candiquik), you can use your own melting chocolate of choice. Just make sure that you can get it nice and smooth once it’s melted so that it can easily coat the jelly sticks. I think that milk chocolate pairs best with the orange flavor, but you can also use dark chocolate or white chocolate instead if you prefer.
How to store Homemade Chocolate Orange Sticks
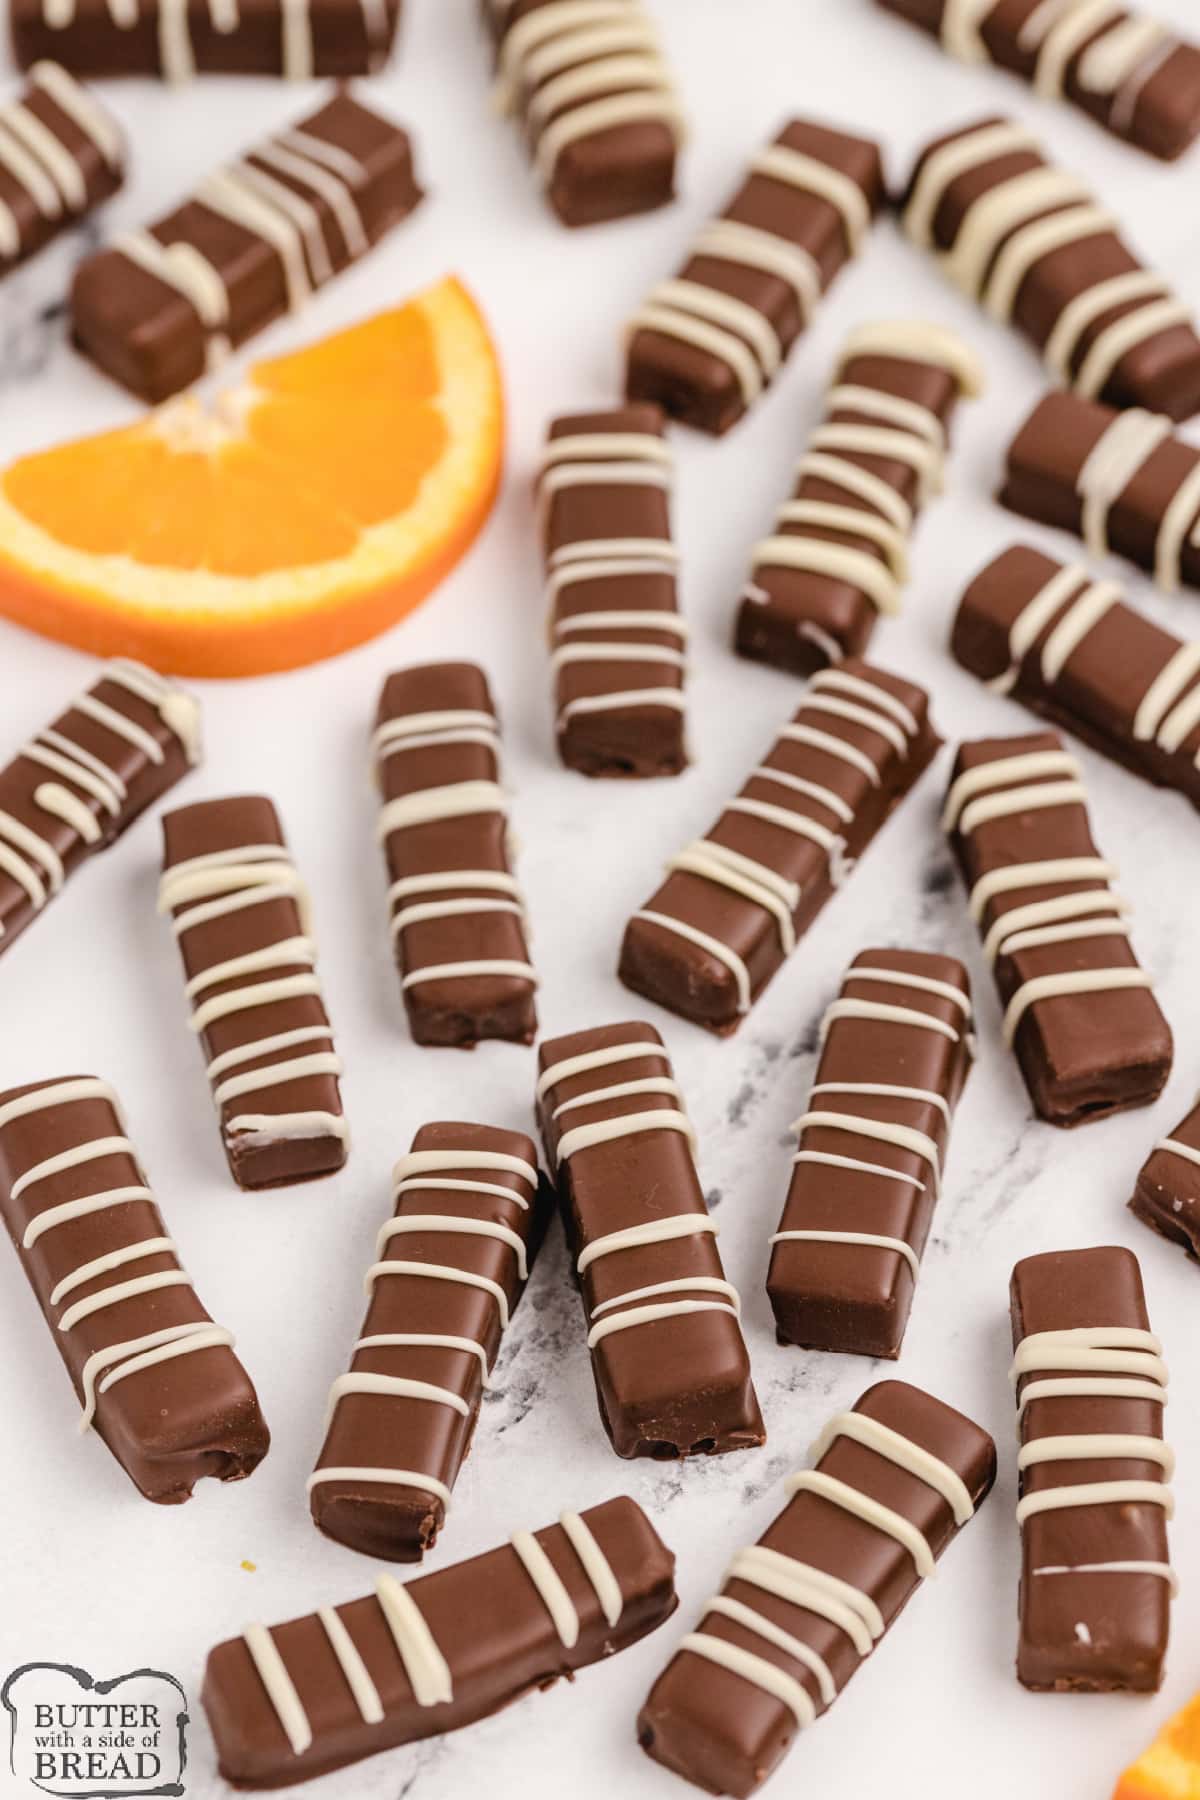
You can store these for a week at room temperature (maybe longer, but they’ve never lasted that long at my house!) and they still taste fresh! They taste great chilled too, so you can store them in the refrigerator for at least 2-3 weeks in an airtight container.
Since they are so easy to store, this makes this candy the perfect treat to ship to friends and family who live far away – these hold up better than a lot of other homemade treats.
CAN I USE OTHER SHAPE MOLDS?
Absolutely! You can use any silicone mold shape you want to create fun shapes. Imagine hearts around Valentine’s Day, or mini donuts either would be well received. You can adjust the molds to fit themes, holidays and events!
ENJOY EASY HOLIDAY CANDY RECIPES? HERE ARE MORE WE LOVE:
- Easy Oreo Balls
- Buckeye Balls Candy
- Saltine Cracker Toffee recipe
- Tiger Butter Fudge
- Easy Chocolate Peppermint Patties
- Raspberry Jelly Candy
- Easy Mint Chocolates
- Chocolate Raspberry Sticks
- Homemade Almond Joy Bars
- Microwave Pumpkin Spiced Caramels
- Chocolate Peppermint Truffles
- Martha Washington Candy (Coconut Pecan Truffles)
- Rolo Pretzel Turtles
- Peanut Clusters
- Cherry Jelly Hearts Candy
Homemade Chocolate Orange Sticks are made with a delicious orange jelly filling dipped in melted chocolate. Simple chocolate candy recipe that is so easy to make!





Khrystal says
Can you use real orange juice or does it have to be concentrate. Would love to make them for my love, but I do and will not use concentrated juices ever. So can I make some orange juice and freeze it? Or will this change the flavor too much? Thank you 😀
Nellie says
I have never tried it with just regular orange juice, but the main problem is that the juice will have less flavor than the concentrate so the candy might not end up tasting quite as “orange” as normal. You could probably add a little bit of extra orange extract to make up some of the flavor and it might not be too noticeable. I’ve also made a raspberry version of these that do not require juice concentrate, but flavored Jello instead. So basically you would be substituting orange jello for some of the unflavored gelatin to help add flavor without the concentrate. You can find this recipe here: https://butterwithasideofbread.com/chocolate-raspberry-sticks/ . Hope that helps!
John Wilson says
Why the big hang up about concentrated juices? That only means some of the water has been removed. Nothing changed at all. No additives, nothing. You really need to educate yourself. Not meaning to be rude, but that is just ridiculous.
Cindy Brady says
Why won’t the chocolate stay on the jellies after they are set up, it cracks and breaks off.
Jessica says
Are you chilling the candy afterwards? Are you putting them down on a cold pan? I find that sometimes makes my chocolate crack.
Trina says
Are you using the little Lorann lemon and orange extracts?
Nellie says
Trina- I just used the lemon and orange extracts at my local grocery store. I believe they are actually McCormick brand!
Sara says
Oh my! I would trip a 3 year old for these! My ex father in law loved these, he always called them orange gels. Got me hooked on them then the only place around to get them closed and moved. There was also raspberry gels that were amazing. The recipe doesn’t look overly complicated, so when the rain stops I am definitely gonna make em! I will give a shout and tell ya’ll if I managed ok. Now, can you replicate the raspberry? That would be wonderful if you could. Thank you😁
Sara says
Sorry, I got so excited I didn’t notice the recipe for the raspberry gels. Lol. Gonna save that one, also.
Jessica says
Yep, we love them both! Thanks Sara!
Nina says
Can the gels be made in a block and then sliced when set up? Trying not to go buy one more pan for my kitchen storage.
Jessica says
Yes, you can set the gels in a block and slice them!
Christina Willey says
Do these stay soft when you bite into them?
Kara says
Any altitude adjustments to consider? I live at just under 5000 feet altitude. Thank you!
Nellie says
Nope, altitude shouldn’t make a difference here – I’ve made these at several different altitudes with no problems!
Nichole Oswald says
How many silicone molds does one recipe fill? I am excited to make these. They are a Christmas must have at our house!
Nellie says
One batch fills up about 2 of the molds that each have 20 rectangle indentations. The rectangles are kind of wide so I usually cut them in half once set. So you’ll get about 40 orange sticks out of a batch. If you have extra mixture left after filling your molds, you can pour it in a small loaf pan – those work great too!
Tonya Tingey says
I am sooooo excited to make these for my father for Father’s Day!! I love them too! Thanks and also thanks for the raspberry ones too! I love your site. . .so many good recipes! Thank you!
Randi says
Can I just pour this into a 9×13 baking pan instead of a mold? Then cut afterwards?
Nellie says
I’ve never tried that, but I imagine it would work just fine! Just make sure the pan is well greased or it might get tricky!
Bret says
I would just lightly spray your pan with oil, then line it with parchment paper. This is how I do other candies and it works great. The parchment paper makes it really easy to remove and the little but of cooking spray helps keep the parchment paper in place while you poor in the hot liquid.
Brandie Ann Faron says
Do you refrigerate the molds after you pour the gelatin in or just let them set a room temp overnight to set up?
Nellie says
I just let them set up at room temperature – works great!
Fiona says
Can you make these with pectin or something instead of gelatin?
Nellie says
I’ve never tried, but please let us know if you experiment!
Heather says
I’m curious if you tried the pectin and how it worked out if you did. I can’t have gelatin, but I really want to make these! I think I’m gonna try them with pectin myself too!
Megan says
Can I make it without the extract, Would extra juice work the same? And also, why the lemon? Does it enhance the orange flavor, or can you taste the lemon in it?
Nicole says
juice has less flavor than extract so you do want to use extract for a more concentrated flavor. the lemon once added tastes almost like orange and really helps to enhance the flavors well.
Alice says
Great recipe. I used yours as a base guide to make it into my own sugar-free version. Surprisingly enough, such little concentrate is used that it balances out to such a ting amount of sugar per serving. Absolutely spot on orange flavor!!! Brilliant. Thanks so much for this great recipe. I would never have thought of the concentrate on my own. P.s. even sugar free these are delicious!!!
Nicole says
Im glad to hear it!
EJ says
Mine came out more like gummy bears not a soft gel. Any suggestions?
Nellie says
They are supposed to be a little bit gummy, but should not be hard or tough either. If you think they aren’t soft enough, the mixture may have boiled a little bit too much.
Bret says
So I attempted to make this and it turned out a very pale yellow and almost rubbery and hard to cut. It was also opaque and not any where near translucent. I could have fixed the pale yellow if I had used food coloring, but I did not have any. Other than that I followed the recipe exactly. The flavor was pretty good, but it had a really weird smell. I think what happened is that I cooked it to too high of a temperature. You said to cook it for 20 minutes, but what I think you really mean to say is cook it to a certain temperature. Since this is effectively candy making, different final temperatures will have radically different impacts on the finished product. Some stove tops are going to put out a lot more heat than others and 20 minutes on them (like mine) will be way to much. Could I ask that you give me the final cooked temperature?
Nellie says
The next time I make them, I will check the temperature, but I’ve made them on a variety of stoves (I’ve moved quite a few times) and the results have been consistent at the 20 minute mark.
Debra Gardiner says
I made this twice now. The first time to much gelatin but the second time they came out great but getting the chocolate on to them is so messy and everywhere. Some stick to it some didn’t and I can’t get them coated completely please tell me a better way to do that. Thankyou
Nellie says
I just use a couple of forks and completely submerge the sticks in the chocolate before lifting them up and letting the excess chocolate drip off before transferring them to the wax paper.