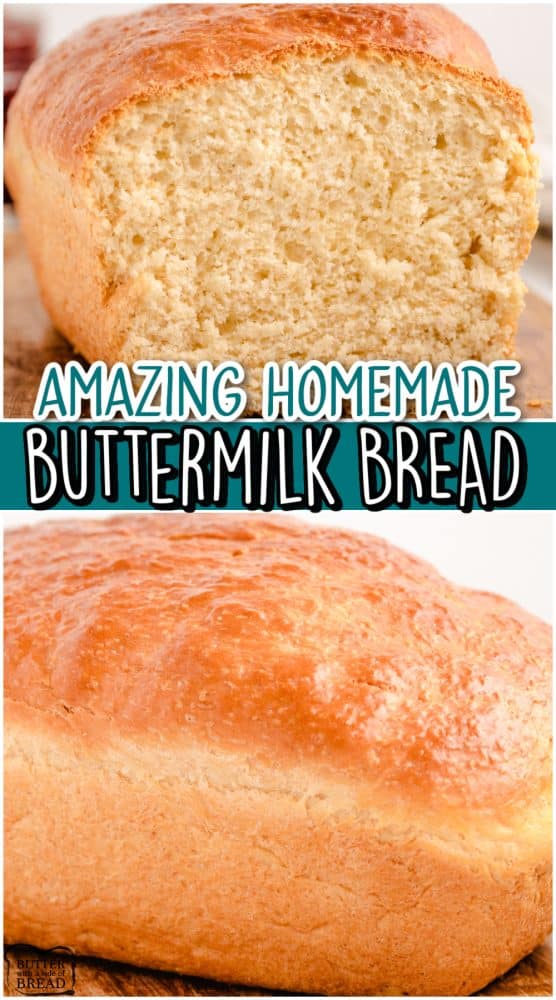
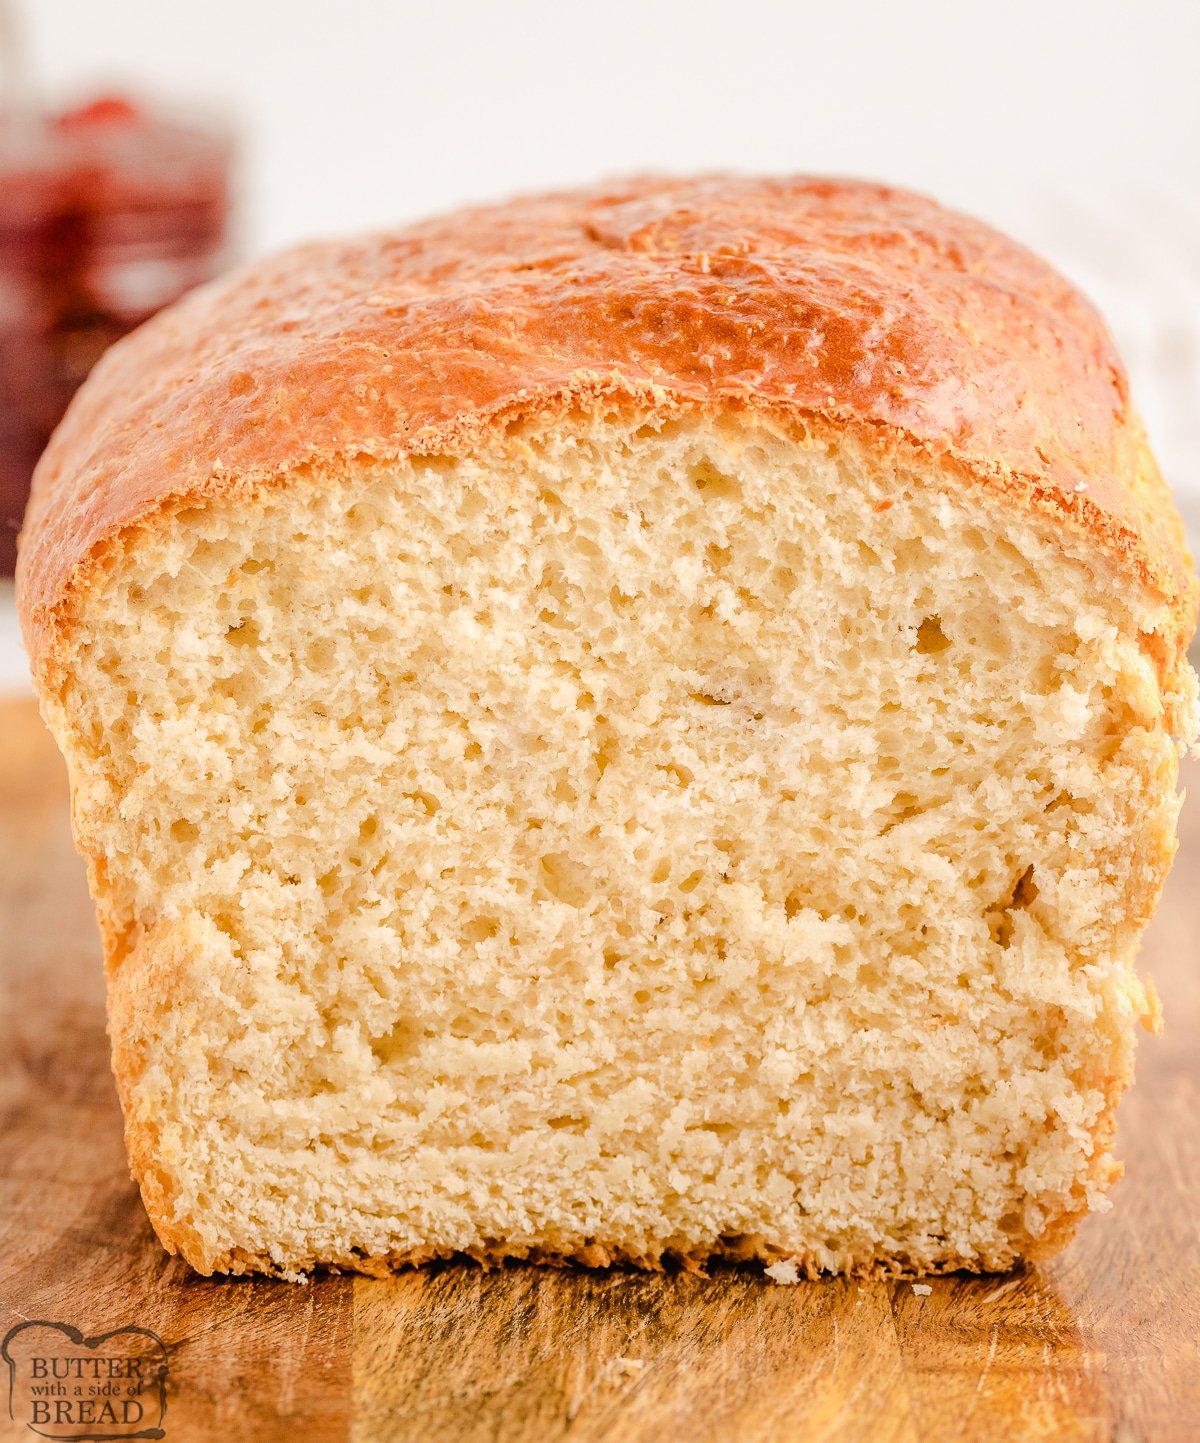
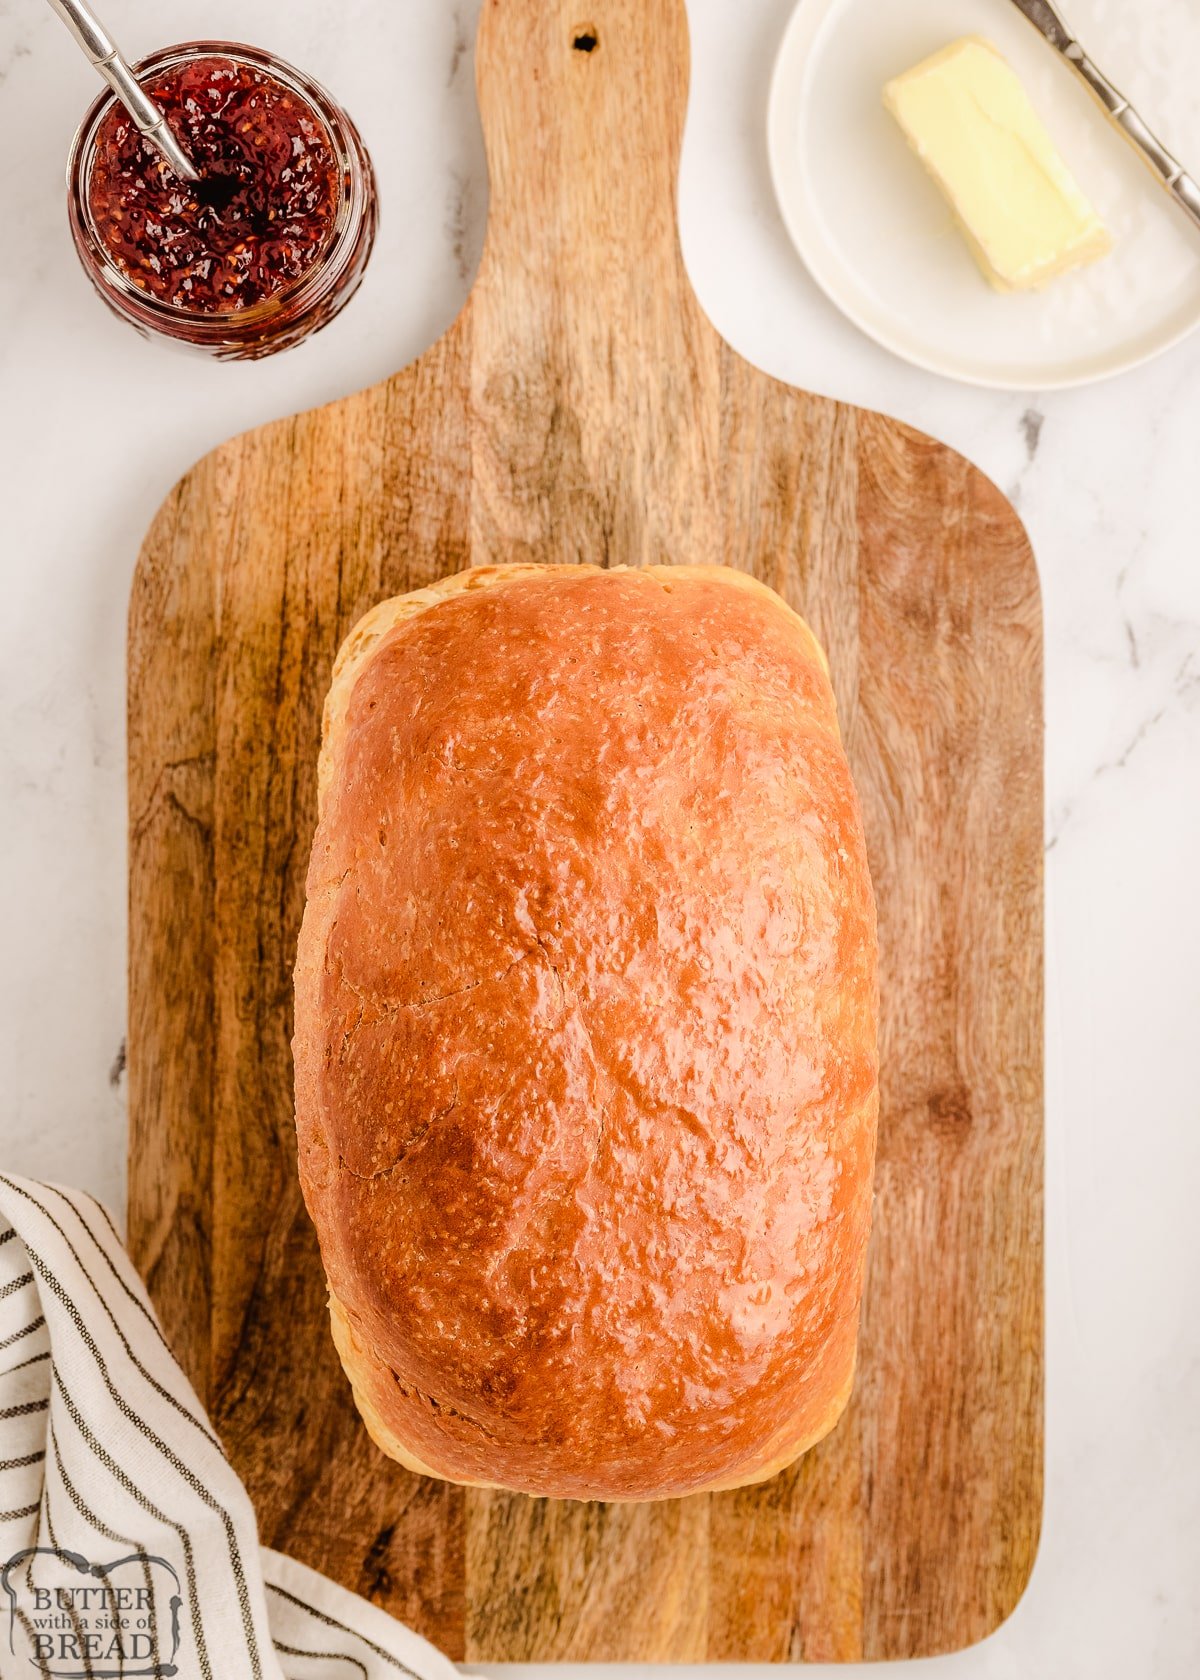
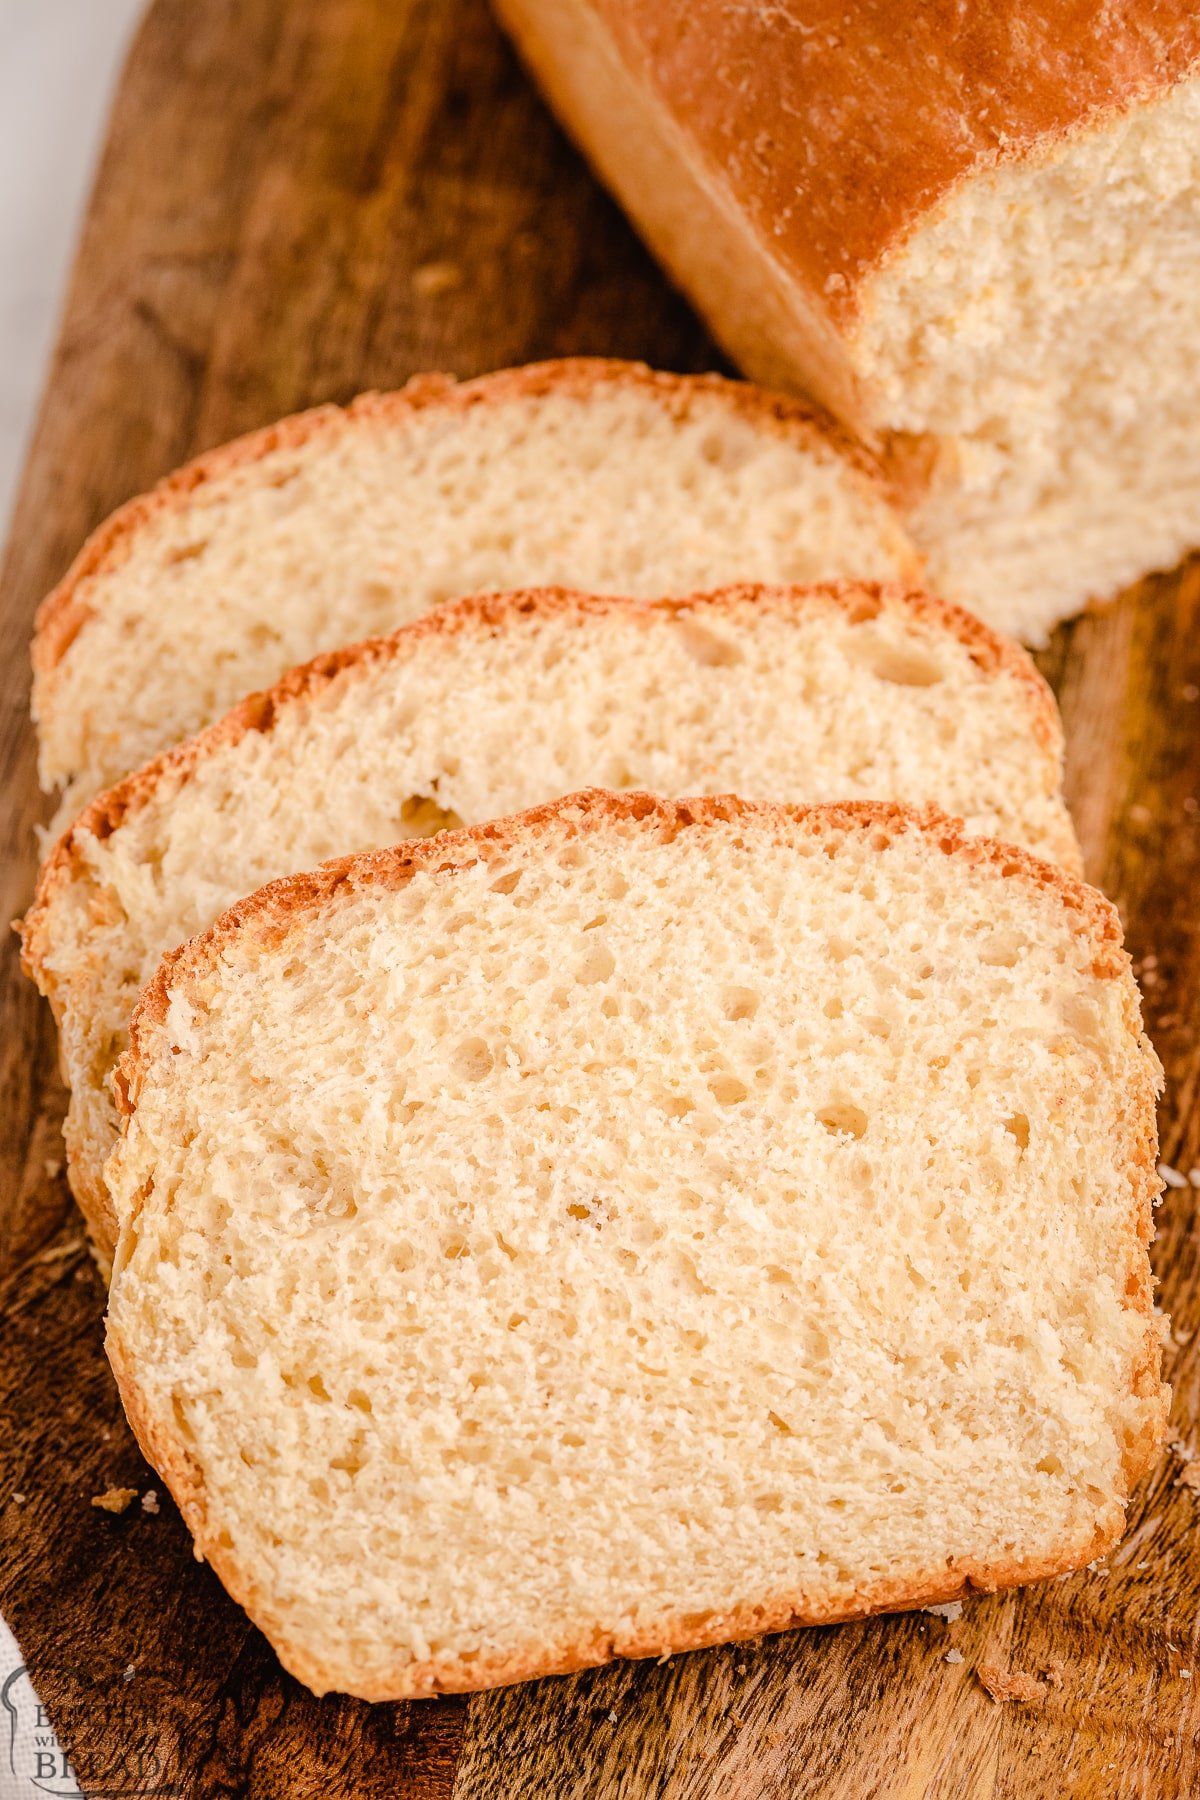
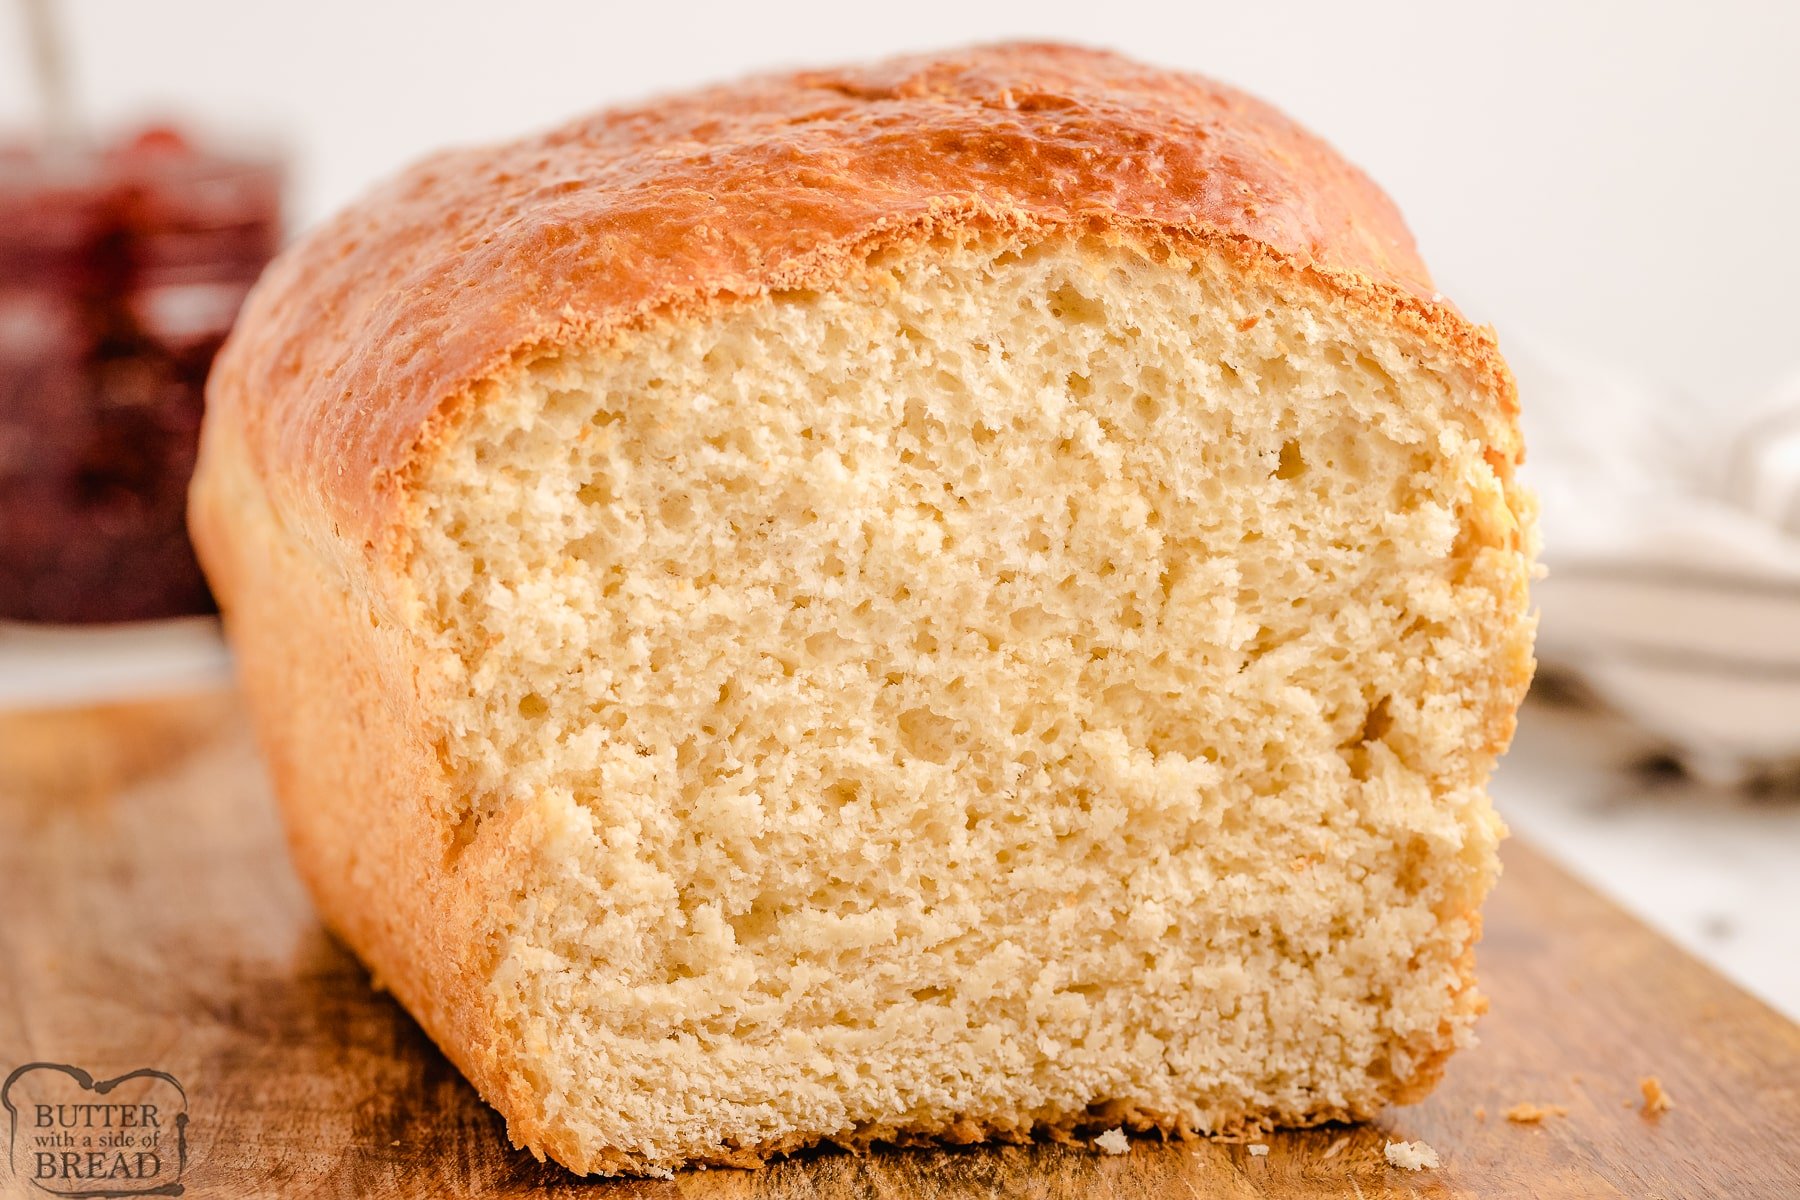
Homemade Buttermilk Bread made easy at home with 6 ingredients! This buttermilk bread creates a soft loaf that has incredible texture & tastes divine!
Making this soft bread recipe is so simple, made with just a handful of ingredients that are most likely already in your kitchen and pantry. Buttermilk bread has such a delicate texture and tastes incredible too, give it a try today and see how amazing it is!
This buttermilk bread is a fantastic next step after you’ve figured out how to make bread from scratch.
Tips to create the BEST bread every time
If you have never baked homemade bread before, here are a few tips that will help you make the most delicious and soft bread ever.
- Remember to fully knead. The recipe below kneads for 10 minutes and it is worth every minute. Kneading dough helps to develop the flavor and texture of the bread, so don’t skimp on kneading time.
- Weather can affect your ingredients. If you live in a moist climate, chances are you will need at least the recommended amount of flour, maybe even 1/4 cup to 1/2 cup more. Bread dough should be sticky, but still manageable, especially after the first rise. While you are kneading, the dough should come together and pull away from the sides of the bowl, leaving the bowl mostly clean. (I try not to add too much flour because your bread will be more dense.) When you pick the dough up, some will stick to your fingers. After the first rise, it will be easier to handle!
- Kitchen too cool to rise? In the wintertime when my house is cooler than normal, I like to turn the oven on for 2-3 minutes, then turn it off and let the bowl of dough rise in there. The oven traps the heat for a longtime and it is the perfect atmosphere for rising dough.
- After the first rise, don’t overwork the dough. I usually knead and shape my dough in about 1 minute, then it is back in the pan to rest, for the 2nd rise. I like to have the pan rise in the oven for this second rise so that I don’t have to worry about moving risen dough. I just turn the oven on and set the timer to bake!
Can I made this Homemade Buttermilk Bread in a Bread Machine?
YES! I have had wonderful results making this Buttermilk Bread in my bread machine. You don’t have to make any ingredient changes either- simple add them to your bread machine pan in the order listed below. I used the “Basic White Bread” setting with a light crust and it turned out beautifully.
Homemade Buttermilk Bread Ingredients
Buttermilk: You will need 1 ½ cups of buttermilk* to create the most amazing homemade bread.
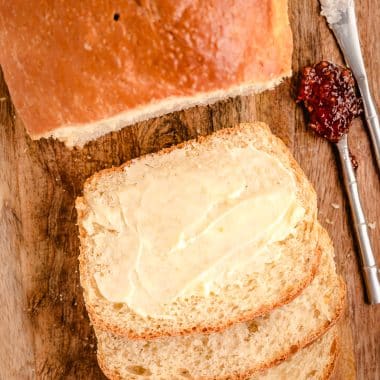
Butter: Adding in 2 tablespoons of melted butter will make this bread rich in taste.
Sugar: Use 2 tablespoons of sugar to help sweeten this bread up perfectly.
Salt: You will want to add in 1 teaspoon of salt to help balance the flavors in this bread well.
Flour: The base of this recipe is 3 ½ cups of all-purpose or bread flour.
Yeast: To make the bread rise properly, you will need 1 tablespoon of yeast.
Helpful Tips when Making Your a Loaf of Soft Bread:
If you’ve never baked homemade bread before, here are a few tips:
1. Remember to fully knead
The recipe below kneads for 7 minutes and it’s worth it! Kneading dough helps to develop the flavor and texture of the bread, so don’t skimp on kneading time.
2. Weather can affect your ingredients
If you live in a moist climate, chances are you’ll need at least the recommended amount of flour, maybe even 1/4 cup to 1/2 cup more. Bread dough should be sticky, but still manageable, especially after the first rise. While you’re kneading, the dough should come together and pull away from the sides of the bowl, leaving the bowl mostly clean. I usually aim to have the very bottom of the dough still attached to the bowl. Try not to add too much flour because your bread will be more dense. When you pick the dough up, some will stick to your fingers. After the first rise, it will be easier to handle!
3. Temperature affects how long your bread takes to rise
If your house is cool, your bread will take longer to rise. In the wintertime when my house is cooler than normal, I like to turn the oven on for 2-3 minutes, then turn it off and let the bowl of dough rise in there. The oven traps the heat for a longtime and it’s the perfect atmosphere for rising dough.
4. Don’t overwork the dough
Try not to go crazy kneading your bread after the first rise. I usually knead and shape my dough in about 1 minute, then it’s back in the pan to rest, for the 2nd rise. I like to have the pan rise in the oven for this second rise so that I don’t have to worry about moving risen dough. When it’s fully risen, I just turn the oven on and set the timer to bake!

HOMEMADE BUTTERMILK BREAD
Ingredients
Instructions
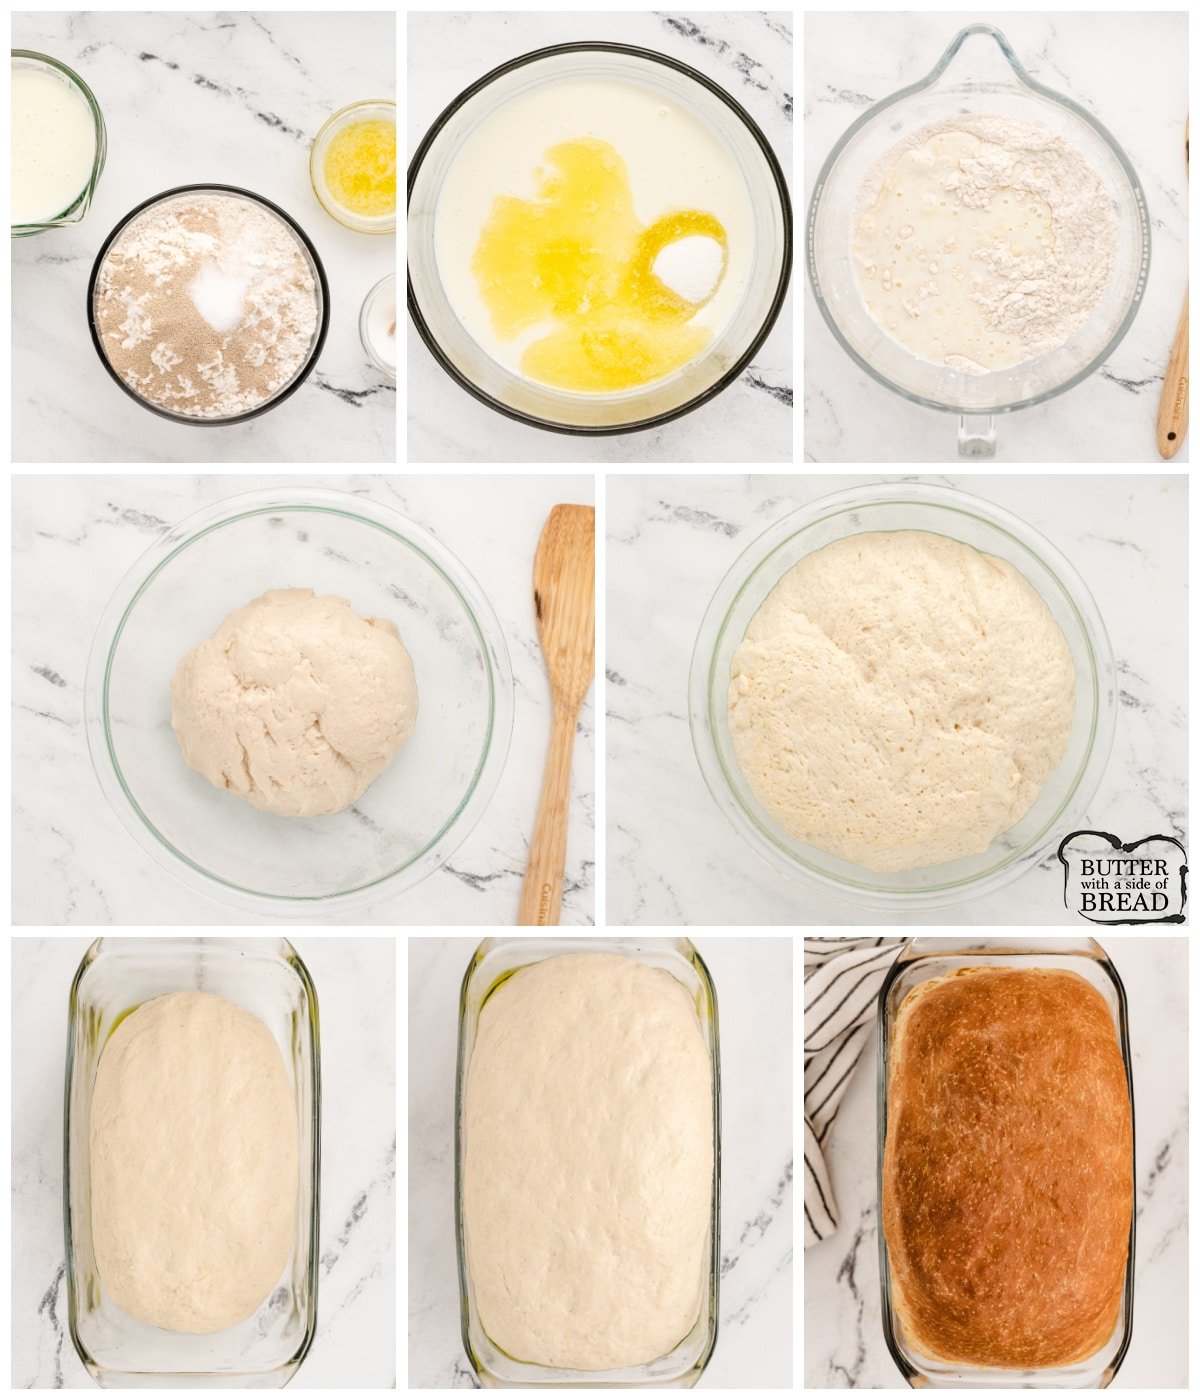
- Dough prep: Start by combining the buttermilk, melted butter and sugar in a large mixing bowl.*
- Then, in a separate bowl, combine the salt, flour and yeast. Whisk the dry ingredients together to combine, then add them to the wet buttermilk mixture in the mixing bowl. Mix all ingredients together until well combined (I use a KitchenAid Mixer.) I like about a quarter sized amount of dough to be sticking on the very bottom.
- If your dough looks a bit dry, add in another splash of buttermilk. Once you have achieved a good consistency, mix the dough on low for about 6-7 minutes (or knead by hand about 10 minutes). Proper kneading is critical to great textured homemade bread!
- First rise: Once the dough is done kneading, proceed to cover the bowl with a towel and let it rise in a warm place for about 1 hour; until the dough has doubled in size.
- Second rise: After the first rise, punch the dough down and knead several times, then shape the dough (I like to roll mine, then tuck the ends under) and place in a greased bread loaf pan. Place the dough back in the warm spot and let it rise for another 30-45 minutes.
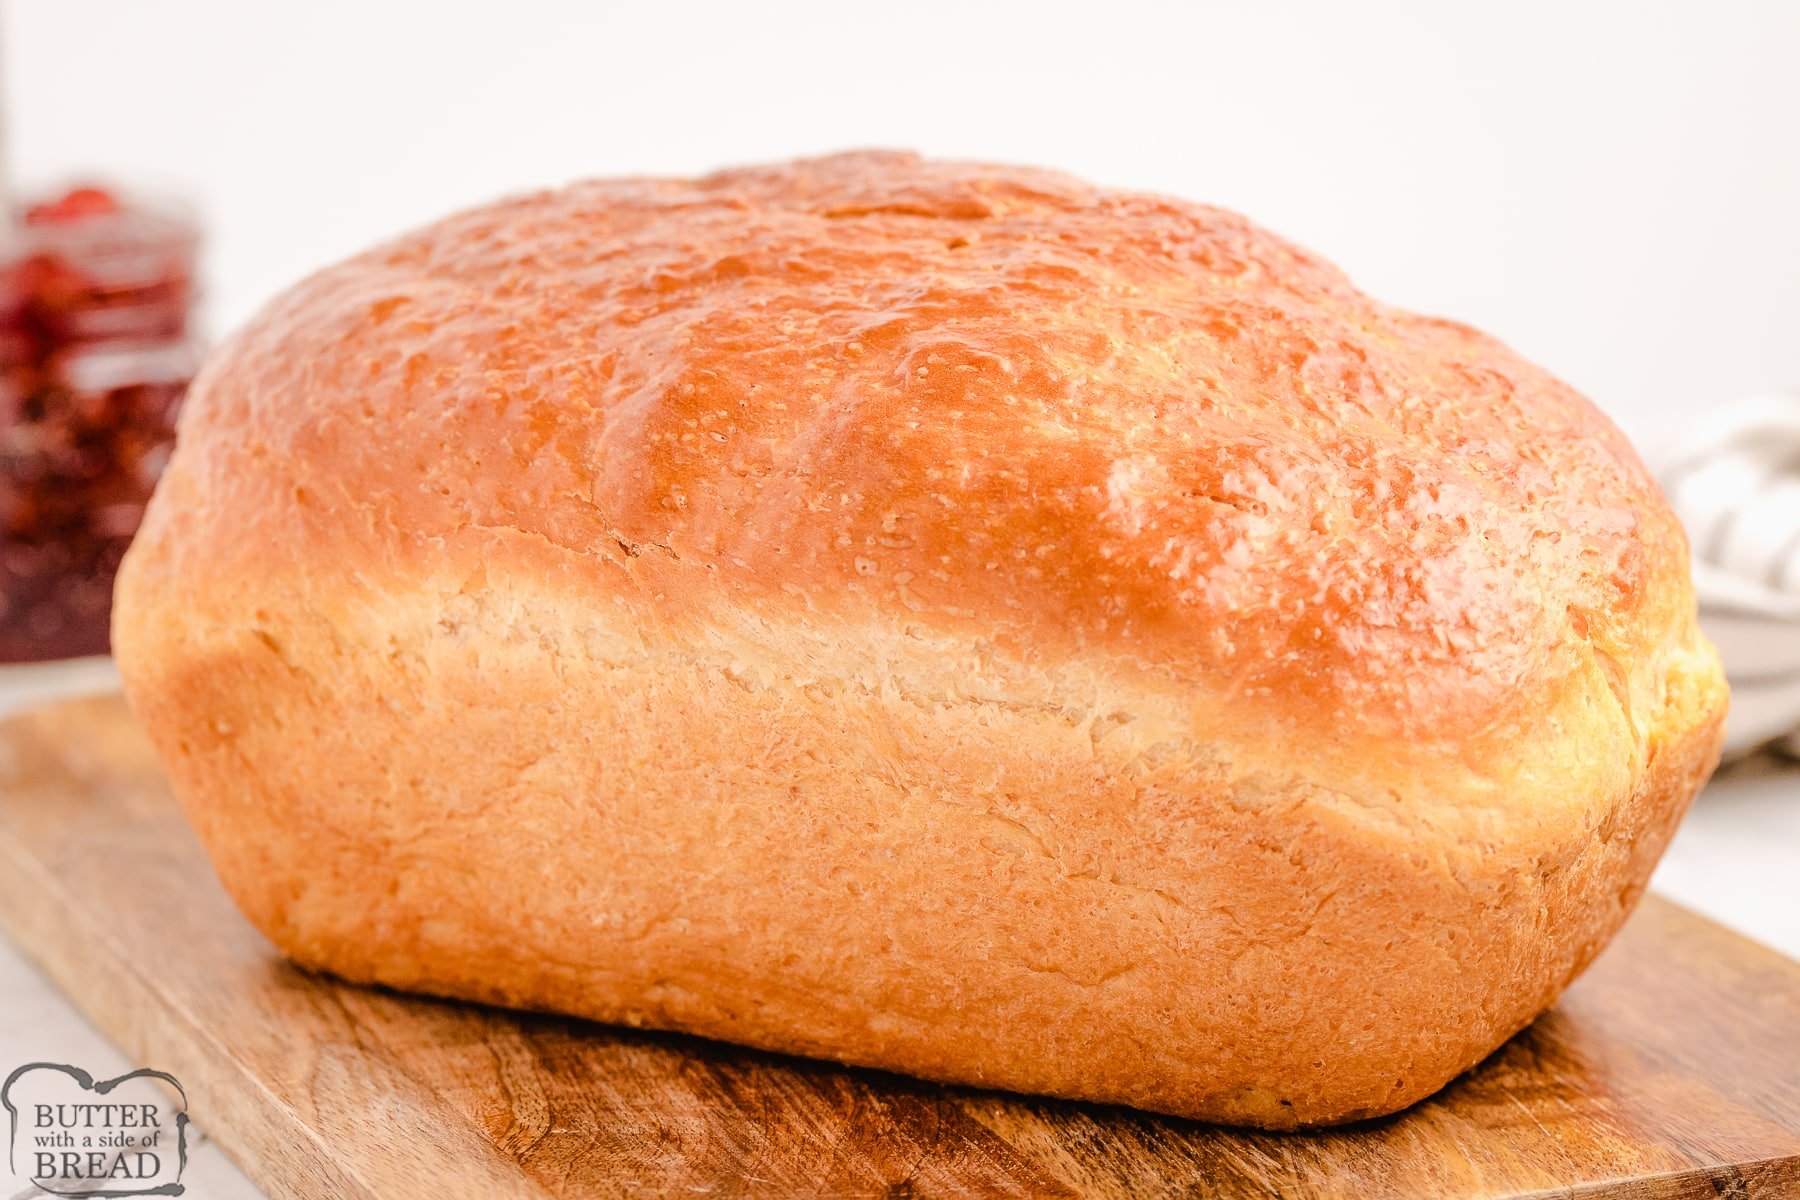
- Bake: Get the oven preheating to 350 degrees F. Once the second rise is complete, bake the dough for about 30-35 minutes, until the top is golden brown. Let the bread cool in the pan for 10-15 minutes after baking is complete, then overturn the pan and turn the loaf out onto a cooling rack or folded towel to finish cooling. When ready to enjoy, slice, serve and enjoy!
Video
Notes
Nutrition
📫 Save this recipe! Send it to your email! 📩
I consent to receiving emails from this site.
HOW TO AVOID SUNKEN BREAD
The easiest and best way to avoid sunken bread is to use a cooking thermometer to check the inside of the loaf. Fully cooked bread will register 200°F on a thermometer. My all-time favorite thermometer is the Thermapen. It’s super fast and incredibly durable. Another great cooking thermometer is the ThermoPop which is a more basic version that works just as well!
BEST BREAD PAN?
I bake a lot of bread and the pans I prefer are either ceramic, glass or cast iron. These pans will bake bread more evenly and release the bread more easily after baking. I don’t like using dark or nonstick pans because the bread cooks unevenly. It darkens on the outside before the bread is cooked on the inside, so the coloring is uneven. Read more about which bread pan is the best here!
How can you tell if bread is fully baked?
I like to use a food thermometer. Mine is digital, so it’s very easy to use. Fully cooked bread will be 190-200 degrees F. Since this bread contains a lot of milk, I don’t take it out of the oven until it reaches 200 degrees F. The top will be golden brown.
Here are even more recipes for homemade bread to try:
- Honey Wheat Bread
- Homemade Hawaiian Bread
- Honey Oat Bread recipe
- Cinnamon Raisin Bread
- Fabulous French Bread
- Homemade Hawaiian Bread
- Potato Bread Recipe
- White Bread Recipe
Homemade Buttermilk Bread can now be baked easily and fresh from the comfort of your own kitchen with 6 ingredients! This buttermilk bread creates a soft loaf that has incredible texture & tastes divine!


Renee says
What type of yeast! Instant or active dry yeast? Thank you
Nicole says
active dry yeast
Marilyn says
I’ve baked lots of bread but not with buttermilk. This is the only recipe that didn’t say warm the milk, so I didn’t. I also got NO rise at all. Yes, I had fresh yeast. This was a waste of time and ingredients
Nicole says
Sorry to hear that this recipe didnt work out for you. What kind of yeast did you use? Did you use cold buttermilk straight from the fridge or was it at room temperature? How did you store the dough while it was rising? (was it well covered and in a warm draft free location?) Any number of things could have gone wrong and caused the bread to not rise properly. We do hope that you give it another try.
Marilyn says
The buttermilk was cold. I used active dry yeast. I warmed the over for a couple minutes, put the dough in a greased bowl, covered with saran then a towel. I left the oven light on. After 2 hours, I took the unrisen dough out, mixed another pkg of yeast with a little water, flattened the dough , poured the extra yeast over, added some flour and re kneaded. I stuck it back in a warmer oven that buttermilk biscuits came out of and in 1 1/2 hrs it rose. I think after the second rise it was really too big. The bread doesn’t stay together well, but tastes fine. I will do it again, but warm the buttermilk a little bit.
Jud says
Not thinking either to read the comments beforehand or that this was the first bread recipe I’d seen that didn’t call for at least lukewarm liquids, I used buttermilk straight out of the refrigerator. By the time the dim bulb lit up over my head, the dough was in the slightly-warm oven trying to rise, I decided to do a science experiment. Reasoning that yeast is a pretty fragile ding-danged spore if cold milk actually kills it, my hypothesis was that that there’s simply a time penalty, perhaps substantial. I had an encouraging rise after an hour and full double in bulk 45 minutes later. The only variable I can think of is that I measured the buttermilk in a measuring cup with the melted butter. I can’t imagine this had much effect on temperature. Or possibly my dough was less dense.
The resulting loaf has excellent volume, texture, and taste. Thanks for the recipe!
Nicole says
The colder the buttermilk is the longer the bread will take to rise. Room temp or 110 degrees would definitely cut down on the time needed but if you have patience and a warm draft free location for the bread to rise the results should be very similar. We’re happy you still got a great loaf out of it!
Marty says
Same, same. My dough is only half risen and i can still see kernels of inactive yeast in it. Very poorly laid out recipe.
I’ve made enough bread to know that normally the yeast is added to the liquid. But I figured the author knew best. Not impressed.
Nicole says
Sorry to hear that 🙁
Renate says
Will the bread rise if you just add the yeast to the dry ingredients? Shouldn’t you proof it first? Do you warm the buttermilk? If so, what temp do you warm it to? Thanks.
Nicole says
Some yeasts (like the one that we use) does not require proofing so we can add it straight to the dry ingredients making the prep work a little easier. The buttermilk will work best or more quickly if slightly warmed or room temperature.
Jen says
Made this yesterday and it turned out perfect. It was one of the best homemade breads I have ever had. The bread turned out soft and fluffy with a nice tangy flavor. Thank you for a great recipe.
Nicole says
Thats so awesome! Happy to hear you had a successful experience.
Sally Lorraine Smith says
The ingredients should state the type of yeast and that the buttermilk should be warmed. If you’re experienced at baking bread you nay know these things but a novice would not. I also have always covered the dough during the second rise, so did do this time, though it isn’t stated in the instructions.
mike says
I’ve made lots of bread and enjoy trying variations. The buttermilk was a great addition. I actually doubled the recipe and shared the results with a friend. I would recommend adding to instruction #1 that the buttermilk should be either at room temp or heated to about 90F. If you are not familiar with yeast breads this will impact the rise.
Today I will try the sour cream bread.
Excellent recipe, thanks!
Nicole says
Thank so much!
Robin says
I found this dough to be very friendly. It came together quite nicely in the stand mixer with excellent texture.
I do have baking experience, home cooking, but follow recipe directions closely. If a recipe does not instruct me to proof yeast, then I use instant fast-rising.
My family really likes the flavor and texture of the loaf this recipe produced.
Nicole says
im happy to hear that
Earl says
When you do the second raise in the oven, how does the time spent in the oven while its preheating impact the cooking time?
Nicole says
The second rise does not mean placing the bread loaf pan into the oven as it preheats. Those are two separate steps. To put it in while the oven comes to temp means that you are slowly cooking it, which is not what we want. Just before starting the recipe, I recommend preheating the oven to 200 degrees F and turning it off. Then you can do both bread rises in there using the warm draft-free residual heat leftover from that preheating. Once the bread has done the second rice, remove it from the oven and preheat it to the baking temperature on the recipe cards. then bake as directed.
Cathy Land McClung says
It was stated at the beginning of the recipe in tips that u did this without preheating. You didn’t like moving risen bread.
As quoted
“After the first rise, don’t overwork the dough. I usually knead and shape my dough in about 1 minute, then it is back in the pan to rest, for the 2nd rise. I like to have the pan rise in the oven for this second rise so that I don’t have to worry about moving risen dough. I just turn the oven on and set the timer to bake”!
I was wondering the same thing Earl stated. Thank you! I’m anxious to try this bread
Lorice says
This is a great recipe! I am a beginner baker, and I wanted a recipe that was fairly simple to follow. Perfect recipe! I’ve made this recipe several times, without appliances, kneading by hand for the recommended 10 minutes (thank you for the tip!). And my husband cooks the bread outdoors in our propane smoker. The bread has turned out fabulous every time we make it!
We’ve modified your recipe just a little: At step 3, I punch down the dough, then divide the dough in half to make two smaller loaves, which are easier to cook in the smoker. I shape each dough, place in a greased bread pan, and let them rise again in the warm spot. At step 4, my husband gets the smoker to about 300 degrees, and bakes the two loaves with apple wood for about 50 minutes to get the tops golden brown. The bread does not taste “smoky”, but there is an added flavor to the bread that makes it extra yummy!
Note: My husband posted pictures of the bread on a Facebook “smoking for beginners” page, and the post refers readers to your website “butter with a side of bread” for the recipe. Thank you again for the recipe!
Frame says
When my daughter flew into town we made this recipe because we were already making butter together ( at her suggestion) as a father ,daughter thing. So my buttermilk wasn’t cultured and tangy so I was hoping this would work. After following your steps precisely using a stand mixer, and a warm spot outside in Arizona at night, this turned out to be one of my best go-to bread recipes that I’m going to use forever. Golden brown top, very tender crust, the best crust, great crumb, great structure on the inside. Basically perfect homemade sandwich bread, in the best way possible. My only critique is salt level, but I don’t think I’ll adjust that because I’m worried it’ll affect the rise. So I’m just going to put extra salty butter on there ,(oh no the tragedy!) 9.1/10 for everyday eating bread. Thank you. ( Making more now)
Nicole says
So glad you liked this bread recipe
Melinda Stoeckle says
I love this recipe. I did use bread flour and added two table spoons of vital wheat gluten this time. Living in Arizona my bread proofs in about 30 minutes.
Nicole says
Sounds great!
Melinda says
I have been making this bread for awhile now. Today I added two tablespoons of vital wheat gluten and one tablespoon less sugar. It turned out amazing.
Nicole says
I love using vital wheat gluten
Kiley says
This is the best bread recipe I have ever made. Thank you
Nicole says
Thanks for letting us know you liked it!
Joan says
I love this buttermilk bread. I have tried so many different recipes but this one is the best. Super easy. I mix it in my bread machine on dough cycle then I split the dough in half and form into shaped rounds. I place my dough in 2 separate greased, cast iron (6 inch or sometimes 8 inch) skillets, cover, let rise again then bake at 350 degrees for about 20 minutes. I can’t say enough about this bread recipe. Perfect soft bread for sandwiches or toast. 2 are baking right now!!!!! Thank you, Nicole.
Nicole says
Love cast iron baked bread!
Kiley says
This is the best bread recipe I have ever made. It actually makes a loaf you can use for sandwiches and doesn’t crumble into pieces. I have substituted a cup of flour for wheat flour and it is great. Thank you!
Nicole says
So glad you liked it!
Sandy says
I’ve made this recipe many times. I warm the buttermilk and use instant yeast. Basically I use this recipe for dinner rolls. It makes a dozen large rolls baked for 15-20 minutes at 350 degrees.
Nicole says
Ah that sounds delicious!
Dee says
So I read the ingredients and I quickly realized that it has nothing warm to activate the yeast. I warmed the buttermilk but it wasn’t hot and I used rapid rise yeast. This turned out beautiful. I brushed melted butter on top of the bread when I had 15min left of baking time and it turned out golden brown on top. If you don’t warm the milk at least leave it out to room temp before using the buttermilk.
Nicole says
Sounds good
Chris says
It was noted in the preface to the recipe that a bread machine could be used so I used my Cuisinart I have been using a bread machine for over twenty-five years. This was a disaster. I wish I could add a picture here because words cannot describe it. It ballooned up to the top of the machine, overflowed the bucket and was undercooked. (And yes my machine can handle up to a two pound loaf.) I would advise everyone to forego a bread machine this recipe.
Jessica says
Well it certainly seems like something didn’t go quite right there! I make this often in my bread machine and it comes out perfectly!
J Harris says
I made this bread tonight for supper, and it was amazing!!! We loved it and will be making it many times in the future- Thank you for posting this recipe!!
Jessica says
So glad you enjoyed it J!
Bill Franklin says
I don’t know where I went wrong, but I followed the recipe, and the loaf came out very airy , and crumbled when I sliced it, after cooking. I kneaded it in kitchen aid mixer for about 6 minutes as you recommended, but I see here in the manual, that kneading for 2 minutes is equivalent to kneading 10 – 12 minutes by hand. “KitchenAid® does not recommend kneading bread dough for more than 2 minutes at Speed 2, and that the total mixing and kneading time does not exceed 4 – 6 minutes”.
So , the bread tasted fine, but it really fell apart easily, so I’ll try it again with 2 minutes of kneading. I did use standard yeast, and let it rise twice.
Jessica says
Is your house pretty warm? Sounds to me like the rise times were too much. Maybe try reducing both the 1st and 2nd rise by 20 mins or so? Most people don’t knead for enough time, so I’m hesitant to suggest less kneading. But you can try it!
William Franklin says
Hi Jessica, yes, I think I may have let the dough rise a little too long, in a slightly preheated oven, so I let it rise at room temp, and reduced the kneading time slightly,; it turned out delicious, texture was much better! Thank you! 🥰
Jessica says
Glad to hear it worked out!!