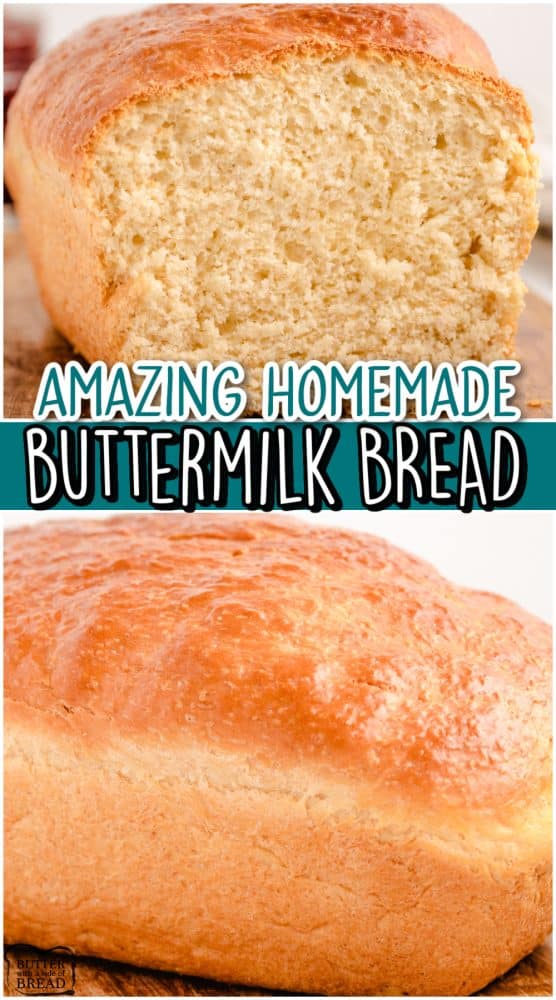
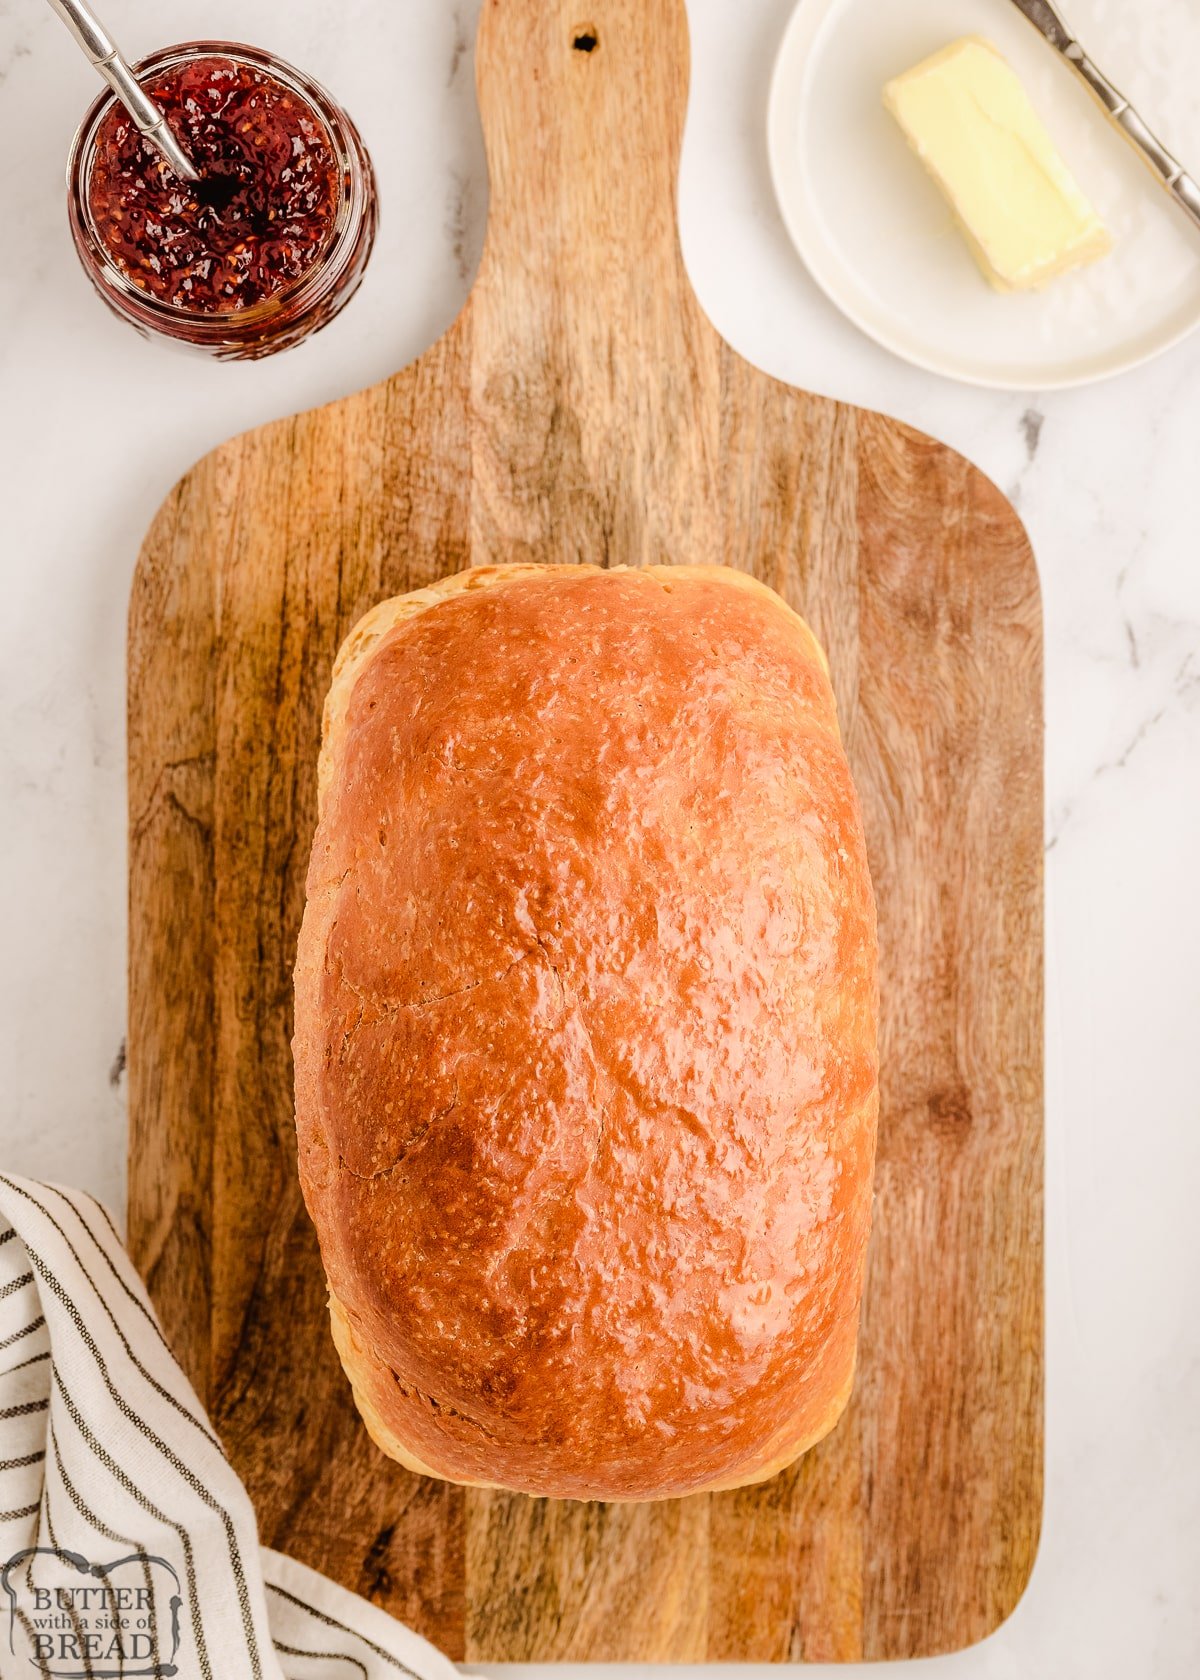
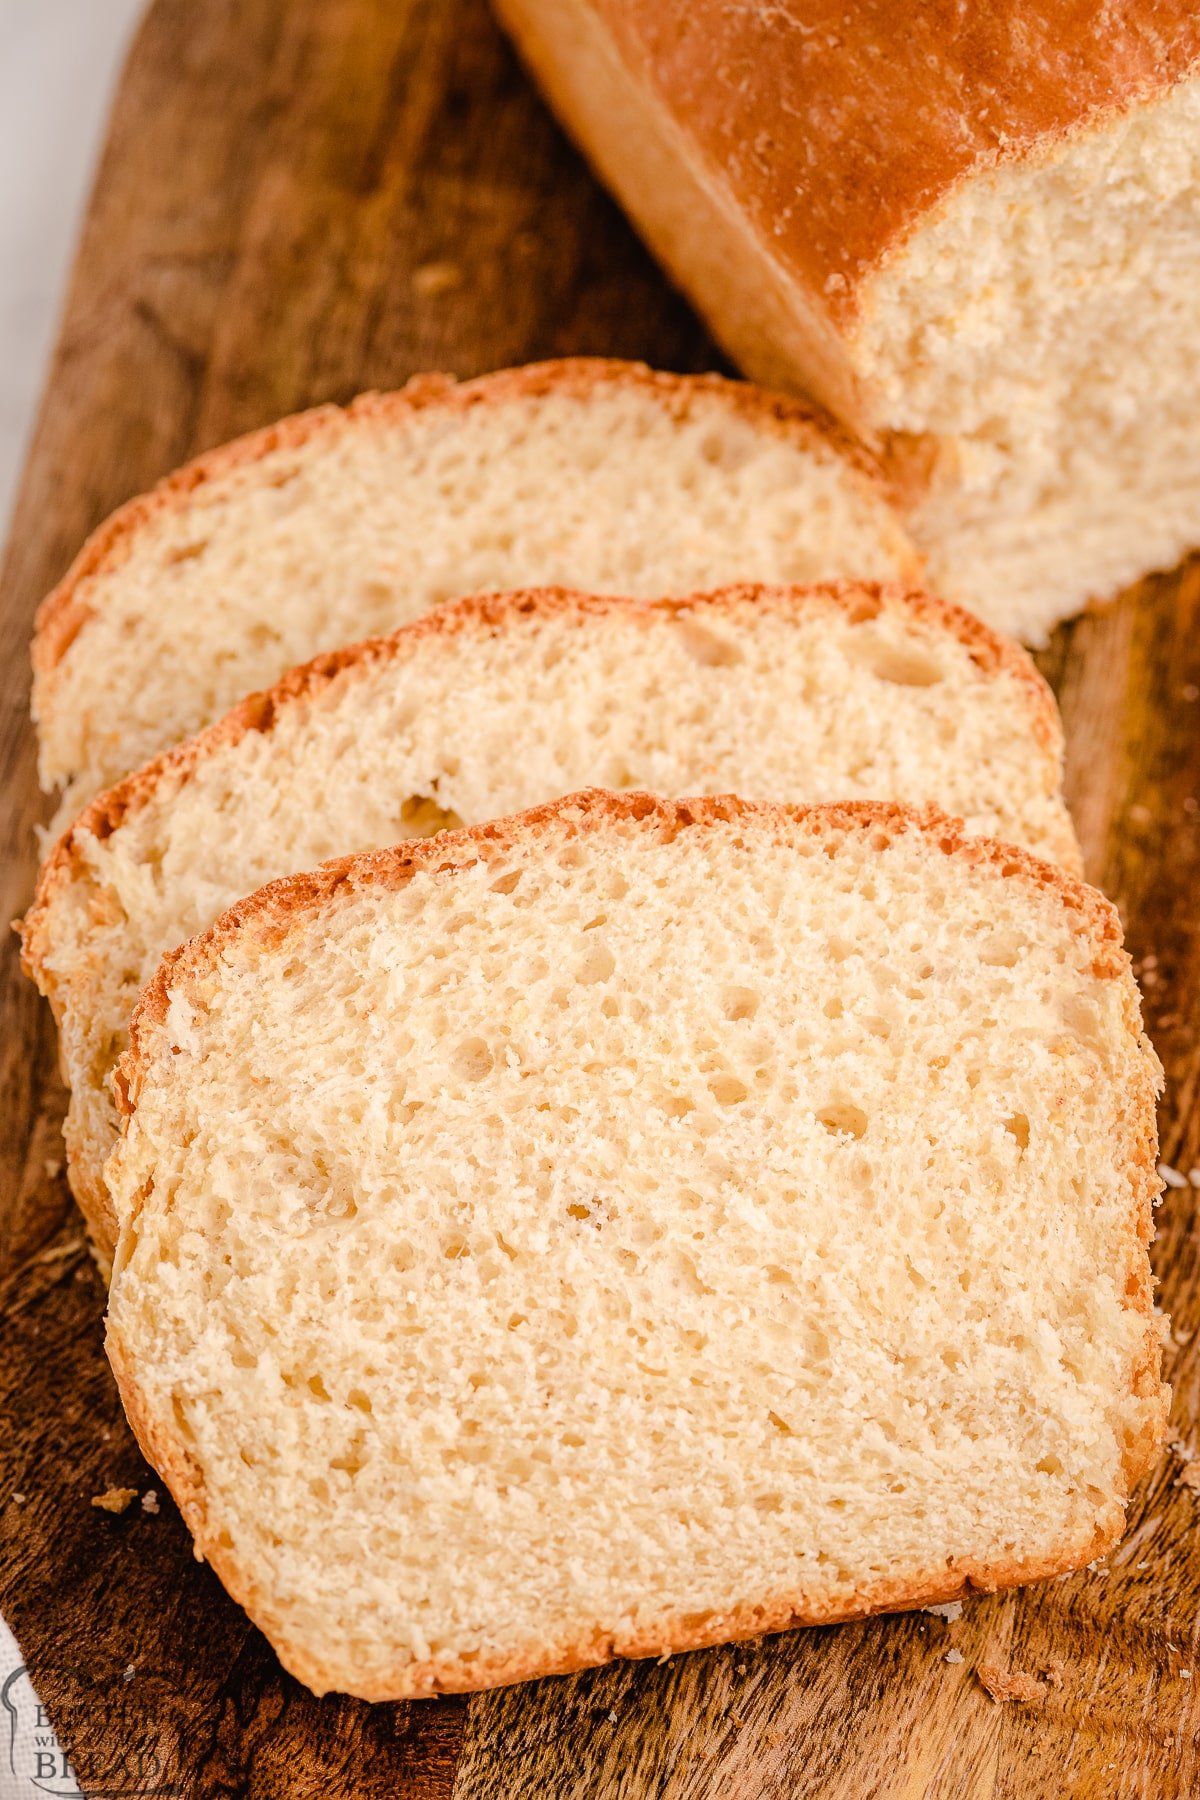
Homemade Buttermilk Bread made easy at home with 6 ingredients! This buttermilk bread creates a soft loaf that has incredible texture & tastes divine!
Making this soft bread recipe is so simple, made with just a handful of ingredients that are most likely already in your kitchen and pantry. Buttermilk bread has such a delicate texture and tastes incredible too, give it a try today and see how amazing it is!
This buttermilk bread is a fantastic next step after you’ve figured out how to make bread from scratch.
Tips to create the BEST bread every time
If you have never baked homemade bread before, here are a few tips that will help you make the most delicious and soft bread ever.
- Remember to fully knead. The recipe below kneads for 10 minutes and it is worth every minute. Kneading dough helps to develop the flavor and texture of the bread, so don’t skimp on kneading time.
- Weather can affect your ingredients. If you live in a moist climate, chances are you will need at least the recommended amount of flour, maybe even 1/4 cup to 1/2 cup more. Bread dough should be sticky, but still manageable, especially after the first rise. While you are kneading, the dough should come together and pull away from the sides of the bowl, leaving the bowl mostly clean. (I try not to add too much flour because your bread will be more dense.) When you pick the dough up, some will stick to your fingers. After the first rise, it will be easier to handle!
- Kitchen too cool to rise? In the wintertime when my house is cooler than normal, I like to turn the oven on for 2-3 minutes, then turn it off and let the bowl of dough rise in there. The oven traps the heat for a longtime and it is the perfect atmosphere for rising dough.
- After the first rise, don’t overwork the dough. I usually knead and shape my dough in about 1 minute, then it is back in the pan to rest, for the 2nd rise. I like to have the pan rise in the oven for this second rise so that I don’t have to worry about moving risen dough. I just turn the oven on and set the timer to bake!
Can I made this Homemade Buttermilk Bread in a Bread Machine?
YES! I have had wonderful results making this Buttermilk Bread in my bread machine. You don’t have to make any ingredient changes either- simple add them to your bread machine pan in the order listed below. I used the “Basic White Bread” setting with a light crust and it turned out beautifully.
Homemade Buttermilk Bread Ingredients
Buttermilk: You will need 1 ½ cups of buttermilk* to create the most amazing homemade bread.
Butter: Adding in 2 tablespoons of melted butter will make this bread rich in taste.
Sugar: Use 2 tablespoons of sugar to help sweeten this bread up perfectly.
Salt: You will want to add in 1 teaspoon of salt to help balance the flavors in this bread well.
Flour: The base of this recipe is 3 ½ cups of all-purpose or bread flour.
Yeast: To make the bread rise properly, you will need 1 tablespoon of yeast.
Helpful Tips when Making Your a Loaf of Soft Bread:
If you’ve never baked homemade bread before, here are a few tips:
1. Remember to fully knead
The recipe below kneads for 7 minutes and it’s worth it! Kneading dough helps to develop the flavor and texture of the bread, so don’t skimp on kneading time.
2. Weather can affect your ingredients
If you live in a moist climate, chances are you’ll need at least the recommended amount of flour, maybe even 1/4 cup to 1/2 cup more. Bread dough should be sticky, but still manageable, especially after the first rise. While you’re kneading, the dough should come together and pull away from the sides of the bowl, leaving the bowl mostly clean. I usually aim to have the very bottom of the dough still attached to the bowl. Try not to add too much flour because your bread will be more dense. When you pick the dough up, some will stick to your fingers. After the first rise, it will be easier to handle!
3. Temperature affects how long your bread takes to rise
If your house is cool, your bread will take longer to rise. In the wintertime when my house is cooler than normal, I like to turn the oven on for 2-3 minutes, then turn it off and let the bowl of dough rise in there. The oven traps the heat for a longtime and it’s the perfect atmosphere for rising dough.
4. Don’t overwork the dough
Try not to go crazy kneading your bread after the first rise. I usually knead and shape my dough in about 1 minute, then it’s back in the pan to rest, for the 2nd rise. I like to have the pan rise in the oven for this second rise so that I don’t have to worry about moving risen dough. When it’s fully risen, I just turn the oven on and set the timer to bake!

HOMEMADE BUTTERMILK BREAD
Ingredients
Instructions
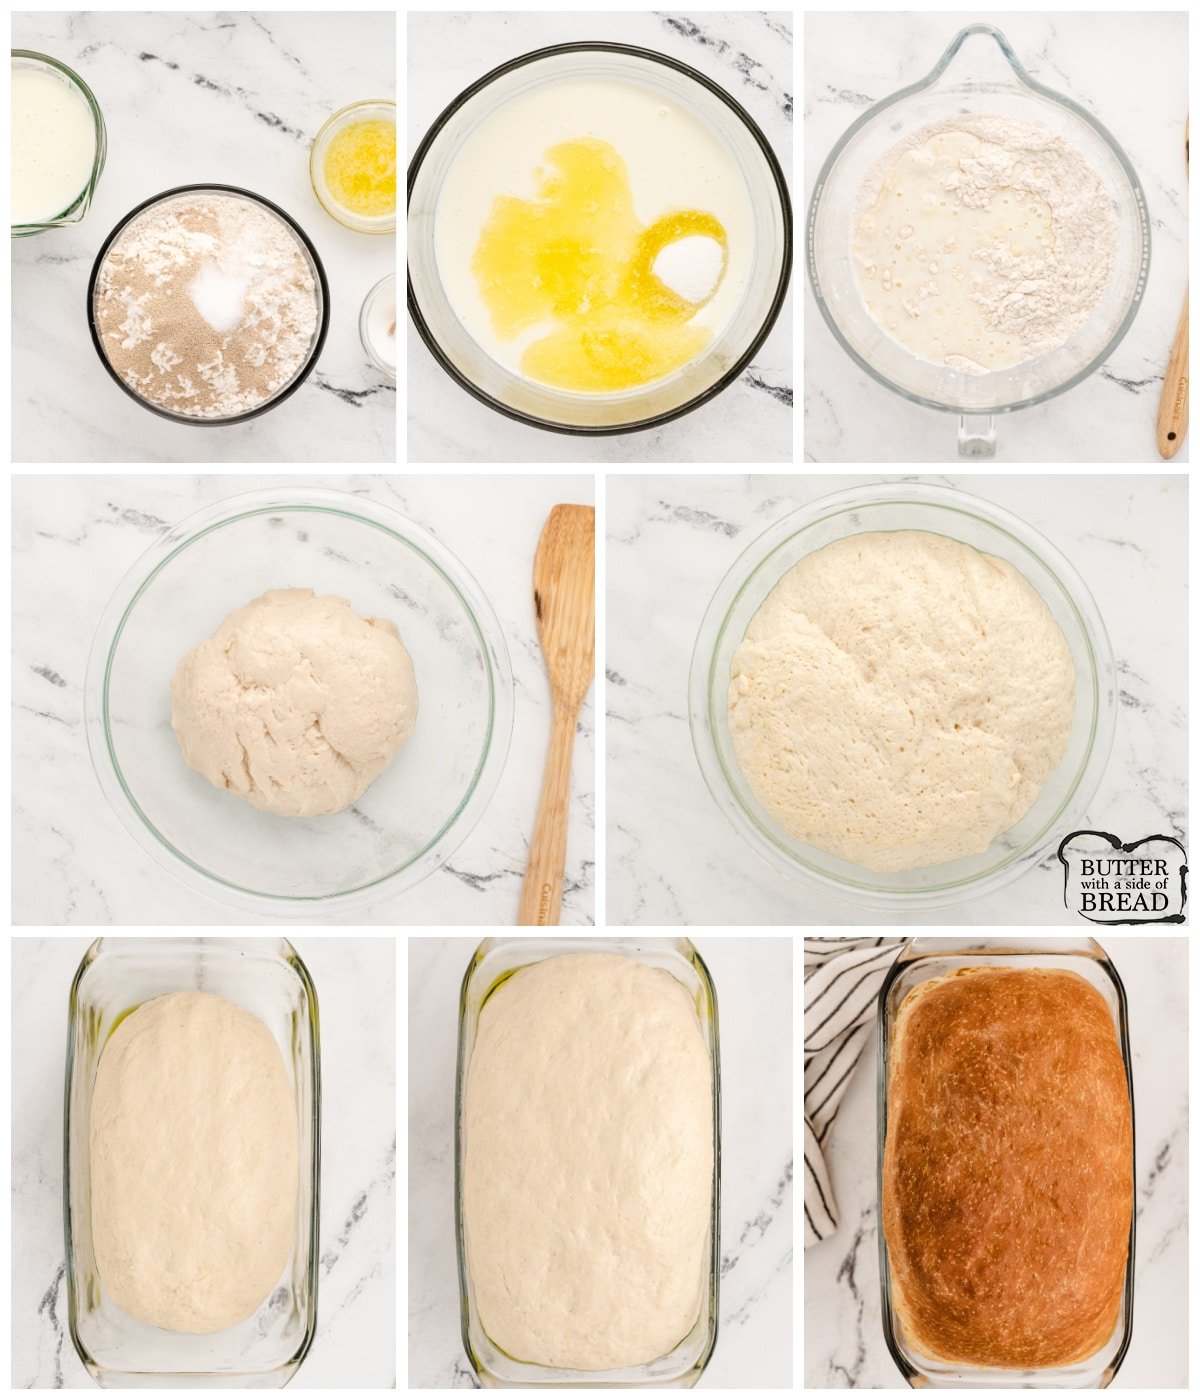
- Dough prep: Start by combining the buttermilk, melted butter and sugar in a large mixing bowl.*
- Then, in a separate bowl, combine the salt, flour and yeast. Whisk the dry ingredients together to combine, then add them to the wet buttermilk mixture in the mixing bowl. Mix all ingredients together until well combined (I use a KitchenAid Mixer.) I like about a quarter sized amount of dough to be sticking on the very bottom.
- If your dough looks a bit dry, add in another splash of buttermilk. Once you have achieved a good consistency, mix the dough on low for about 6-7 minutes (or knead by hand about 10 minutes). Proper kneading is critical to great textured homemade bread!
- First rise: Once the dough is done kneading, proceed to cover the bowl with a towel and let it rise in a warm place for about 1 hour; until the dough has doubled in size.
- Second rise: After the first rise, punch the dough down and knead several times, then shape the dough (I like to roll mine, then tuck the ends under) and place in a greased bread loaf pan. Place the dough back in the warm spot and let it rise for another 30-45 minutes.
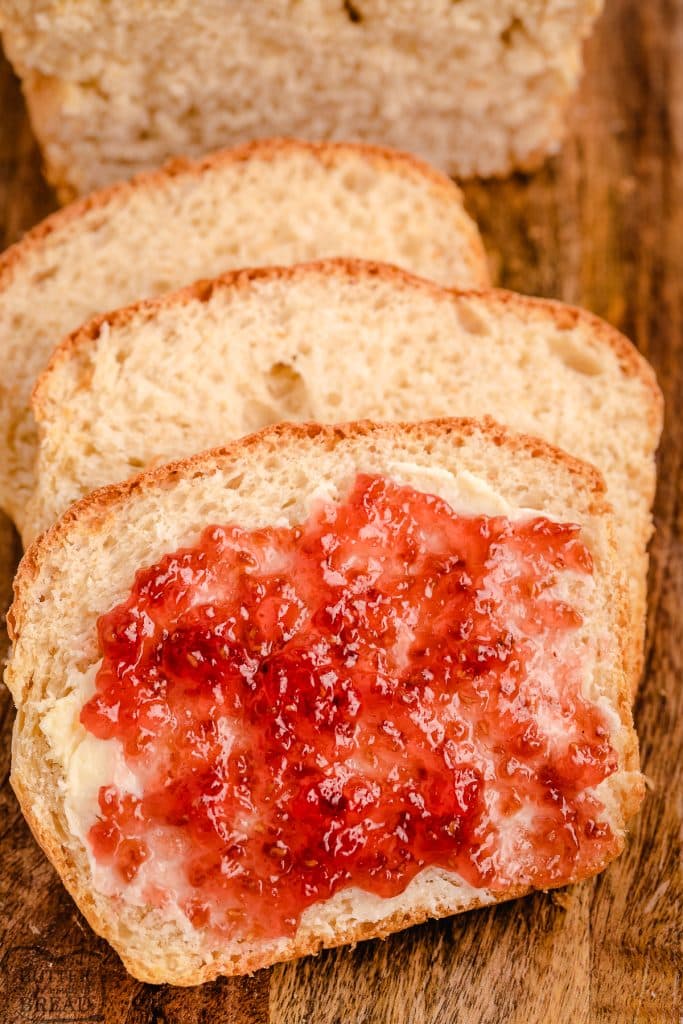
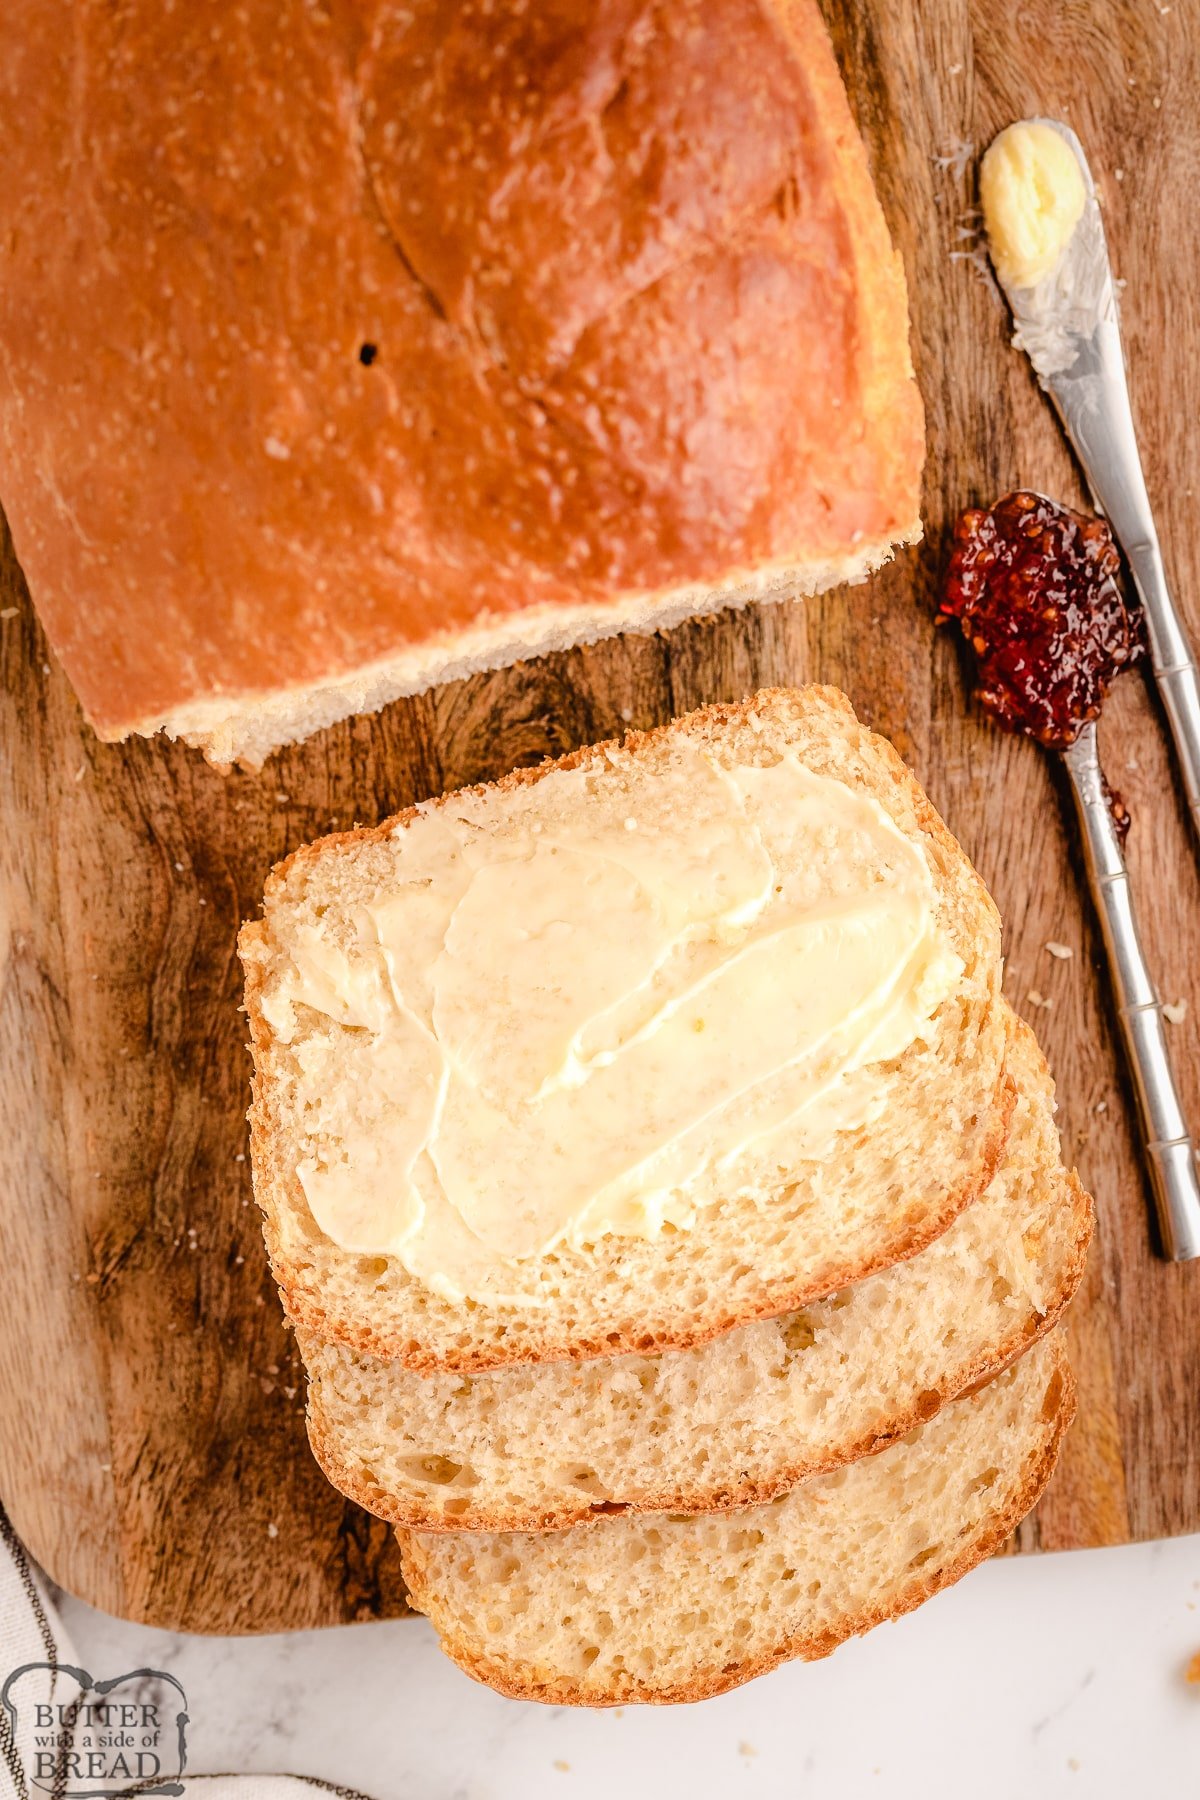
- Bake: Get the oven preheating to 350 degrees F. Once the second rise is complete, bake the dough for about 30-35 minutes, until the top is golden brown. Let the bread cool in the pan for 10-15 minutes after baking is complete, then overturn the pan and turn the loaf out onto a cooling rack or folded towel to finish cooling. When ready to enjoy, slice, serve and enjoy!
Video
Notes
Nutrition
📫 Save this recipe! Send it to your email! 📩
I consent to receiving emails from this site.
HOW TO AVOID SUNKEN BREAD
The easiest and best way to avoid sunken bread is to use a cooking thermometer to check the inside of the loaf. Fully cooked bread will register 200°F on a thermometer. My all-time favorite thermometer is the Thermapen. It’s super fast and incredibly durable. Another great cooking thermometer is the ThermoPop which is a more basic version that works just as well!
BEST BREAD PAN?
I bake a lot of bread and the pans I prefer are either ceramic, glass or cast iron. These pans will bake bread more evenly and release the bread more easily after baking. I don’t like using dark or nonstick pans because the bread cooks unevenly. It darkens on the outside before the bread is cooked on the inside, so the coloring is uneven. Read more about which bread pan is the best here!
How can you tell if bread is fully baked?
I like to use a food thermometer. Mine is digital, so it’s very easy to use. Fully cooked bread will be 190-200 degrees F. Since this bread contains a lot of milk, I don’t take it out of the oven until it reaches 200 degrees F. The top will be golden brown.
Here are even more recipes for homemade bread to try:
- Honey Wheat Bread
- Homemade Hawaiian Bread
- Honey Oat Bread recipe
- Cinnamon Raisin Bread
- Fabulous French Bread
- Homemade Hawaiian Bread
- Potato Bread Recipe
- White Bread Recipe
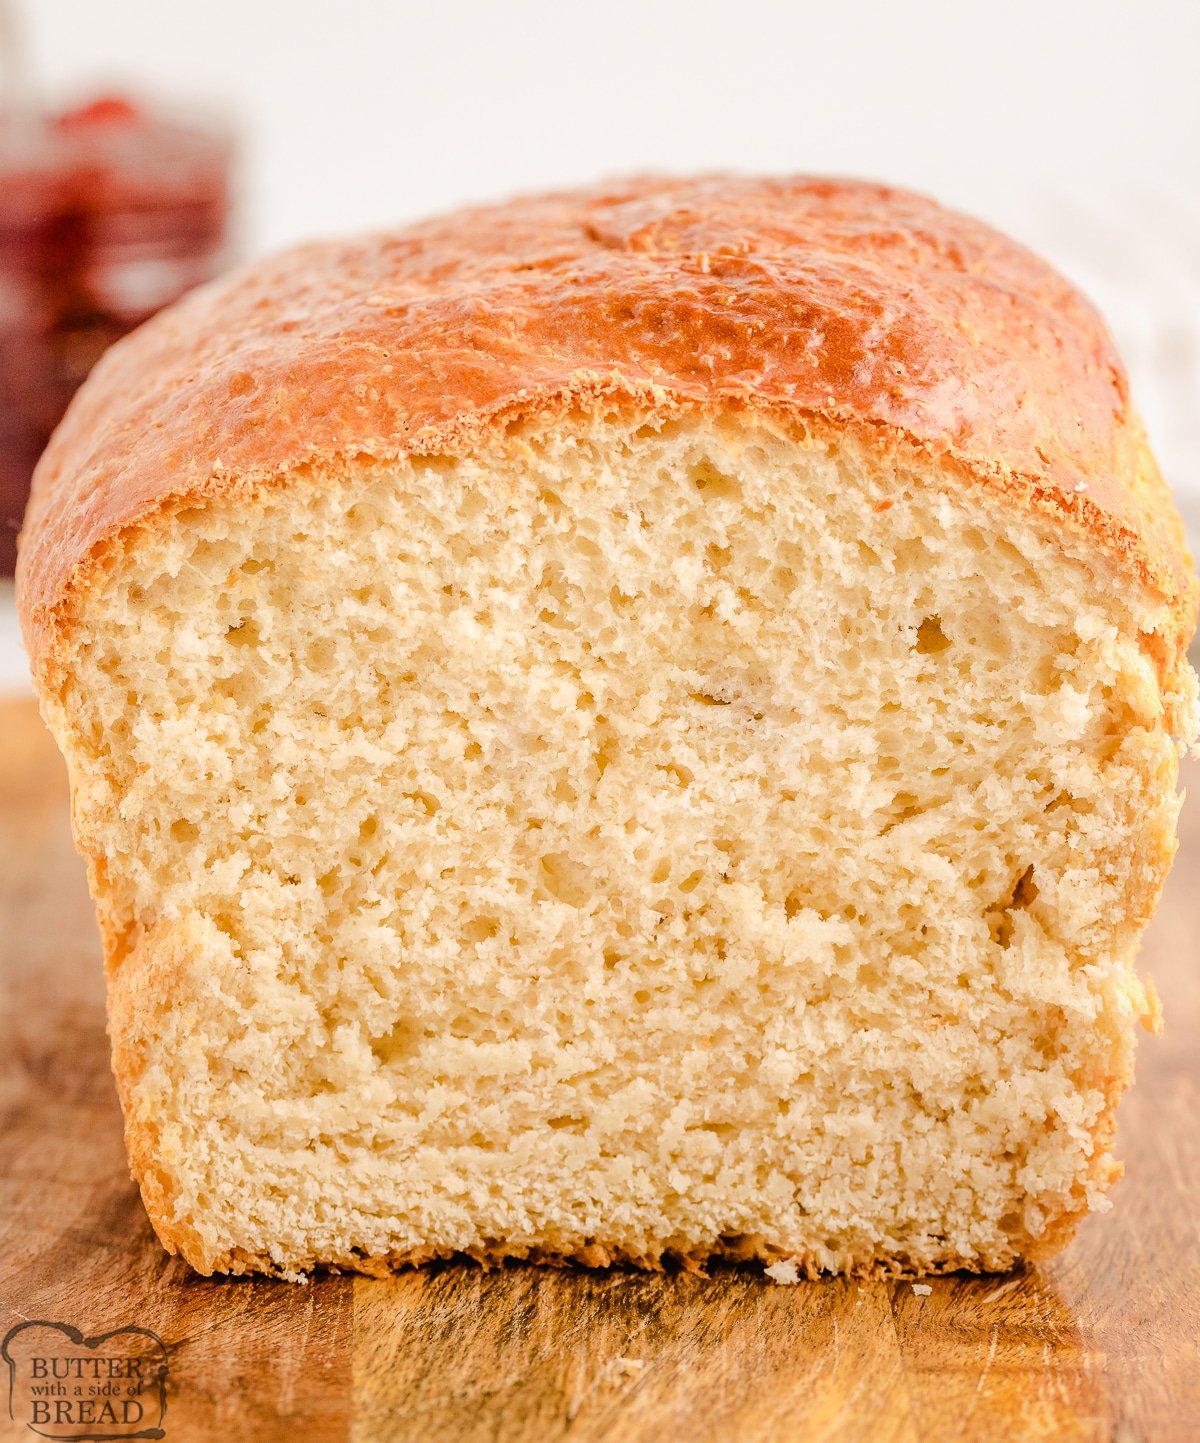
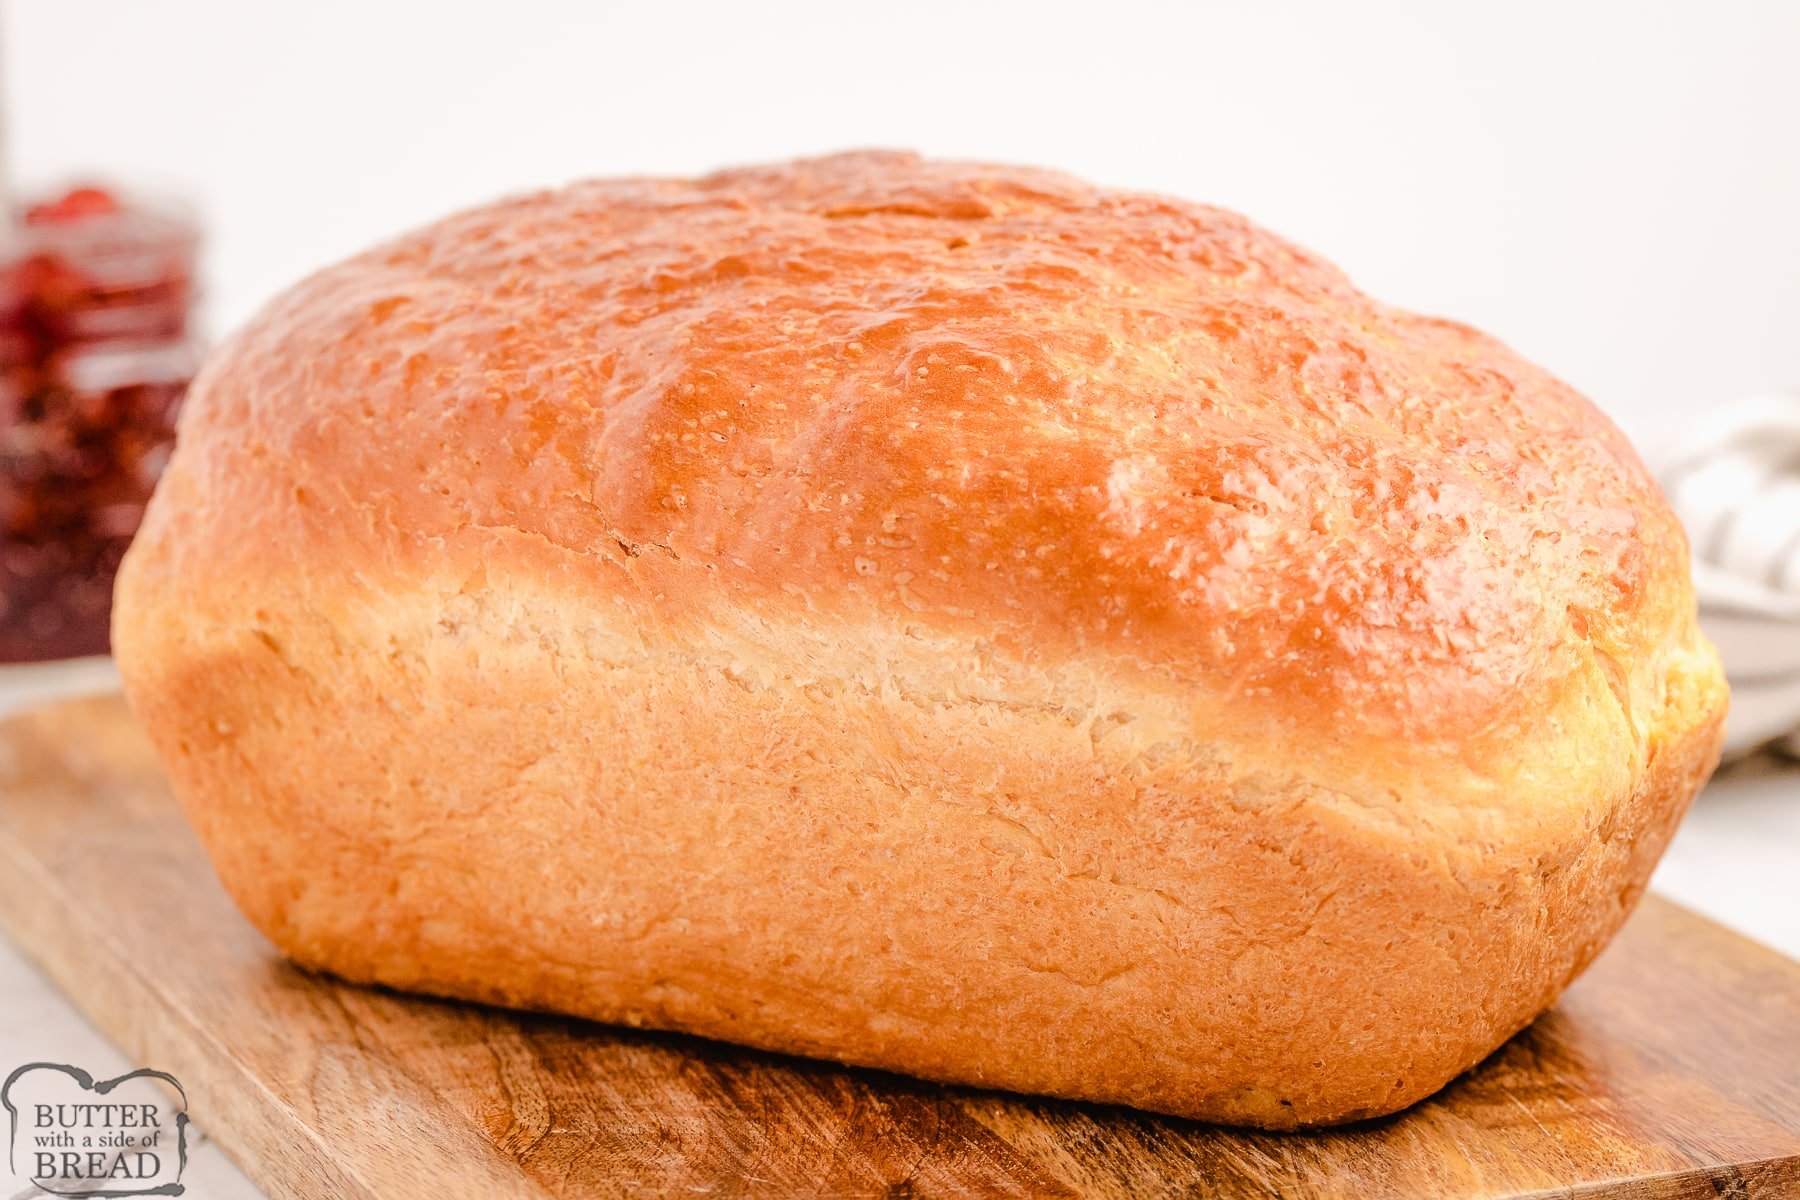
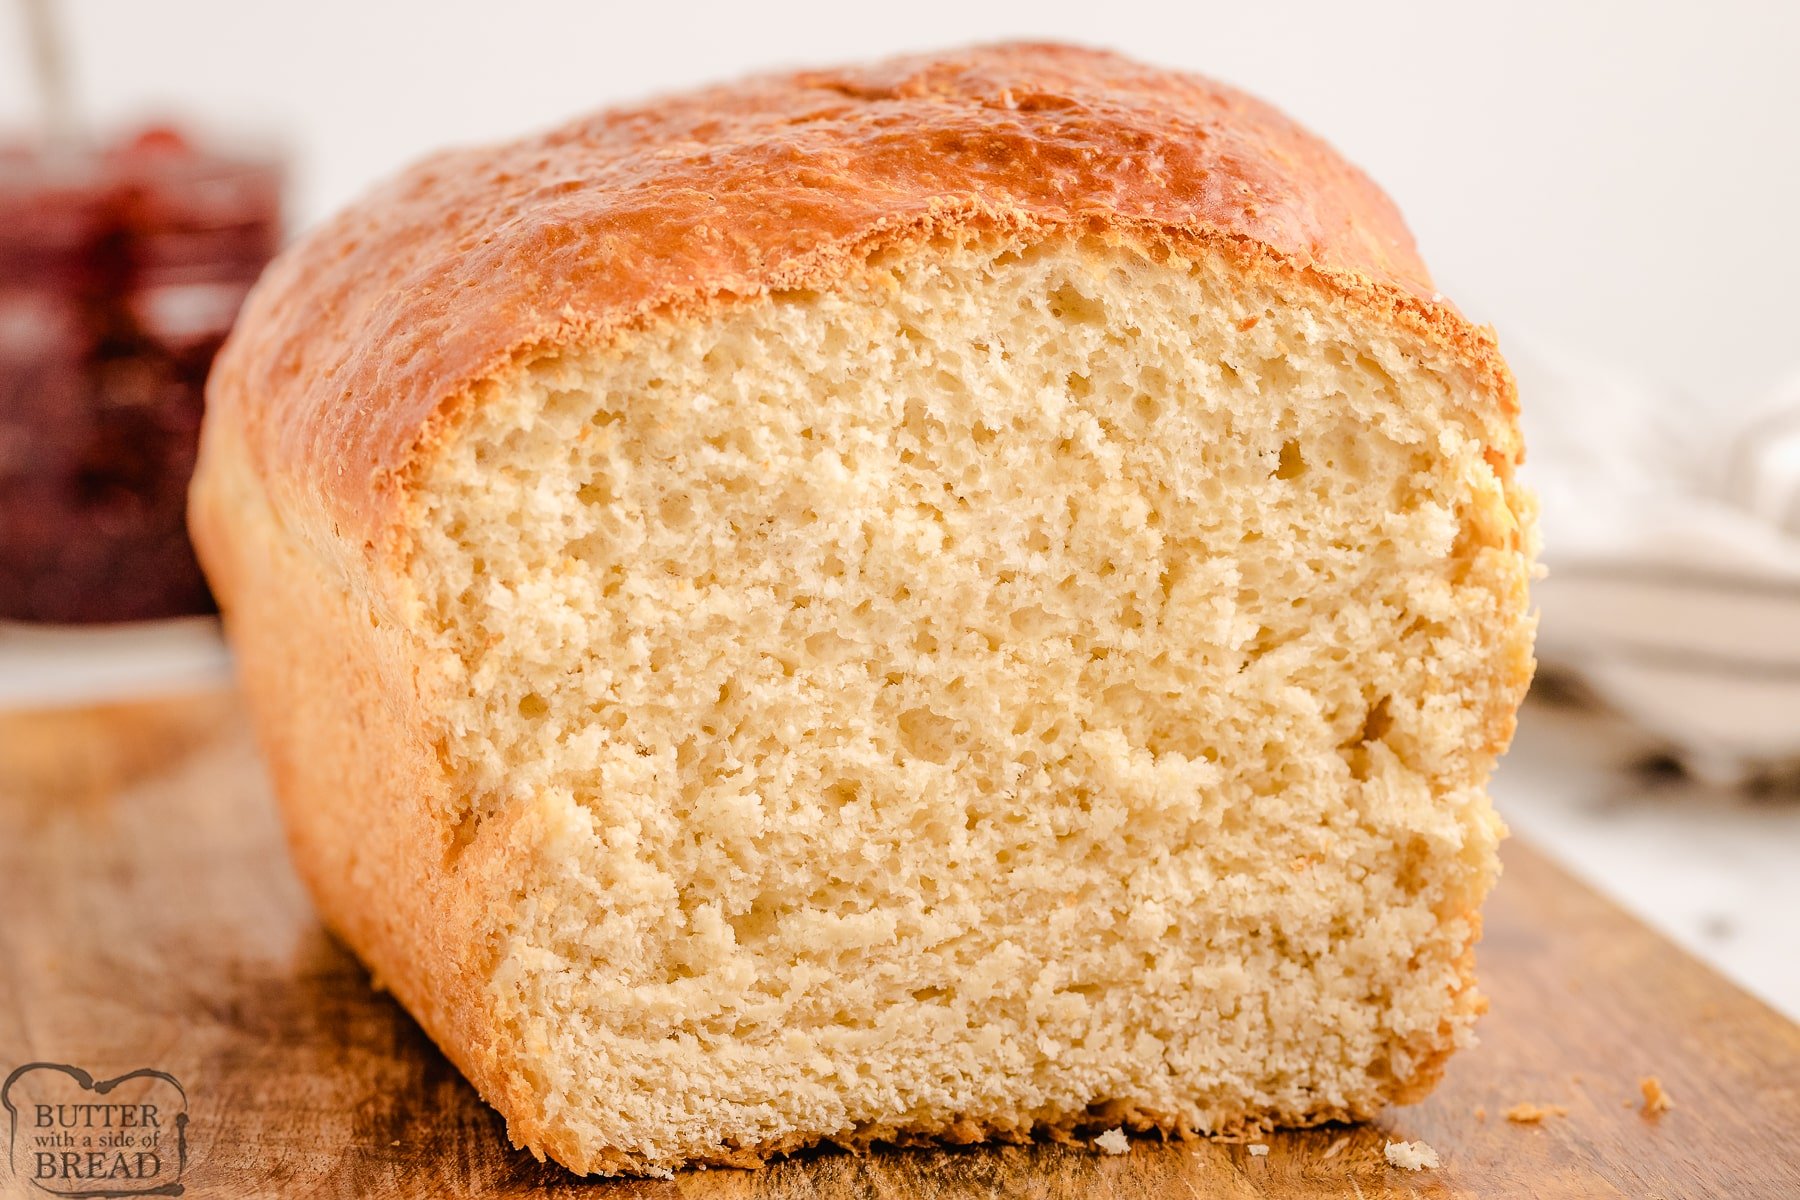
Homemade Buttermilk Bread can now be baked easily and fresh from the comfort of your own kitchen with 6 ingredients! This buttermilk bread creates a soft loaf that has incredible texture & tastes divine!


Roger Martin says
for bread machine – what loaf size to select?
Jessica says
I use the 1-lb loaf option on mine.
PItollie says
I made this in my Cuisinart bread machine. After the first rise it looked perfect. I knew this would be sticky dough so I kept an eye on it. When it was time to remove the paddle, the dough seemed to get real sticky and was no longer in a nice ball, but I left it alone. I left it alone to see what it would do. It rose real well and I thought all was good, then it fell at the end and the top caved in a bit. I ate it anyway. It was delicious. In hindsight, when I removed the paddle, I wish I had added some flour and kneaded it a bit on the counter and then put it back in the machine (I set these up when I’m working from home). The bread is nice and light and real tasty. I will make again. Has anyone substituted honey for the sugar?
Debby says
I would like to try this bread recipe with whey discard from yogurt making. Has anyone substitute whey for the buttermilk and had success?
Jo Anne Stegall says
I have used this recipe as my go to recipe for bread I make once a week. I have been looking for a good recipe for buns but have not found the one. I improvised this recipe for making quick hamburger buns by using double the yeast, two tablespoons. After kneading, shape into twelve buns. Let rise ten minutes and bake at 425 degrees. This made a great bun recipe!
Con says
Would you have rough estimates on calorific intake (I make this for some family members as a treat at times but they were asking!)
Thanks
Jessica says
I added the info- about 177 calories per slice, if you slice it into 12. : )
Haley says
This is SO good! My only problem was that I forgot the salt. I used homemade buttermilk. I made butter the other day with heavy whipping cream, and I used the buttermilk that was left over from that. I also had an open and partially used packet of rapid rise yeast. It used what was left, about 3/4 of the tablespoon, so I add enough of the yeast I had on hand which was active dry yeast to equal the whole tablespoon. It worked! The rise on this bread was awesome. I’m so proud of myself cause it turned out so good. Amazing recipe, great job!
Desiree Gadd says
How long would I bake it if I formed into buns instead?
Jessica says
Depending on the size, I’d bake them for 20-25 minutes.
Jo Anne Stegall says
Another comment on this great recipe: I counted the calories in the ingredients, 1,372 calories a loaf. An average loaf of bread has twenty to twenty four slices, so about fifty seven to sixty nine calories.
Carolyn says
I have to admit I was a bit nervous about trying this recipe, as I’ve never made bread; but it was so easy and it turned out perfect. I made it simply because I had buttermilk and needed to use or waste it. I’m definitely keeping this recipe.
Alison says
This is so great to hear Carolyn! I hope you continue to enjoy this recipe!
Rebecca D. says
For anyone interested in making this recipe in a bread machine using the Express/Quick setting…I heated the buttermilk until it was warm. Also added just a little extra Active Dry yeast (because I didn’t have Rapid Rise yeast). I used the “Express Bake/1.5 lb” setting on my machine, which took only 58 minutes!! The sides were golden and the top soft. Perfect!
Nellie says
Thanks so much for sharing Rebecca! So glad the bread turned out so well in your bread machine!
Pam F says
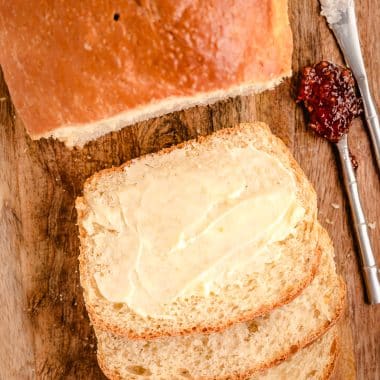
This bread is delicious and so easy! Talk about a pillowy soft texture–yes! My husband and I love it!
Alison says
Thanks so much Pam! I’m so glad you and your husband enjoyed this!
Kim Z says
Can you use this recipe to make cheese bread? It is delicious bread and really easy to make.
Jessica says
I haven’t ever made a cheese bread with this one, but I agree, I think it’d be wonderful!
Virginia Smith says
Can whole wheat flour be used in this recipe? Or perhaps 1/2 all-purpose and 1/2 whole wheat?
Jessica says
Try a 1/3 whole wheat to 2/3 regular ratio first! Then adjust to more ww if you’d like.
Ruth S. says
I found this recipe when I did a search for buttermilk bread. As so often happens, I had a lot of leftover buttermilk and was looking for something that would use up a lot of it. I also happen to love making bread, so your recipe was the perfect solution. I subbed whole wheat for a quarter of the flour, but otherwise pretty much followed your recipe, mixing the dough in my KitchenAid mixer, then finishing kneading by hand. I did refrigerate the dough for a few hours, punched it down and let it rise again before putting the dough in a loaf pan for a third rise. The bread had a great rise. I brushed a little melted butter on top and sprinkled a mix of seeds on top, though most of them fell off when I took the loaf out of the oven. However, it was a beautiful golden brown loaf. I imagine it will taste as good as it looks, but as it’s still cooling on the rack, I can’t answer yet. Thanks for the recipe!
Alison says
Thanks for sharing Ruth! I hope you enjoyed it!
Katy says
Brush the top with beaten egg before sprinkling on the seeds and baking. I use a whole egg with excellent results, but you can use just the white if you wish. The egg wash sticks the seeds to to crust and gives the crust a beautiful shine.
SHIRLEY WILLIAMS says
Can you please be more specific in your recipe, what kind of yeast do I use?
Nicole says
You can use any yeast for this recipe but because we do not proof the yeast beforehand the best yeast to use may actually be rapid-rising, instant yeast, or even bread machine yeast (note that you do not need to use a bread machine in order to use bread machine yeast, it’s just a live yeast kept stored in the fridge).
Mike says
What type of yeast do you use?
Nicole says
I just use regular instant yeast but any active yeast will do just fine
John Walters says
What a simple and delicious recipe! I love the texture and the flavor. I do have one question. Did you warm the buttermilk to a certain temp to help the yeast bloom? And did you use rapid rise or active dry yeast?
Nicole says
Warming the buttermilk up so that it is slightly warmed to the touch is ideal. Yeast likes temperatures of 100-110 degrees F. Any yeast will work just fine in this recipe.
Jessica Brown says
I just made this. And I have dry yeast. And I mixed it with a tsp of sugar and 1/4 cup water to activate. And it was perfect!
Jason says
Can you freeze the dough? If so, how do I cook it after freezing it?
Thanks so much! My kids and I love the bread!
Nicole says
You can freeze the bread dough before the second rise and keep stored well wrapped in plastic wrap and in an airtight container for up to 3 months. Thaw overnight in a bread pan in the fridge and let sit on the counter for an hour before baking or let thaw and rise in a few hours in a bread pan on the counter. Bake as directed.
Tascha says
Making this right now and it’s in its second rise but I don’t have a bread loaf, just banana bread loaf pan (smaller) so I put it in a round casserole dish. Totally experimental and only found your recipe because I bought buttermilk by accident. I really hope it turns out and bakes properly!
Nicole says
Ooh sounds interesting, let us know how it goes!
Carrrie says
Just tried this today, it came out pretty good. I’ve never baked with buttermilk so this was a new experience. I used active yeast so dissolved it in the buttermilk and butter. I cooked it for an extra 10 minutes because it didn’t quite have the golden look I felt it should, though my oven is slightly shody sometimes. Upon taking it out and tasting, the taste was quite unique, richer than normal bread. Great with some butter. However it was quite dense and a little wet, if I make it again I would probably add more flour and let it rise in the pan for up to an hour for a lighter slice. Overall a great easy recipe!
Nicole says
Sounds like it didnt turn out perfectly but you have a pretty solid plan for getting the next loaf right. Hope it turns out well 🙂
Alex says
Oh this recipe was a disaster!! I followed your directions very precisely. I was left with bits of inactivated yeast in my dough, and I had fresh buttermilk wasted 🙁 I ended up chucking it out
Nicole says
Oh no, sounds like something didn’t go quite right. Sorry to hear that 🙁
Troy Taylor says
Just tried this recipe and it turned out perfectly. I make bread once a week and my family said this was by far the best recipe yet.
Nicole says
Thats great to hear!