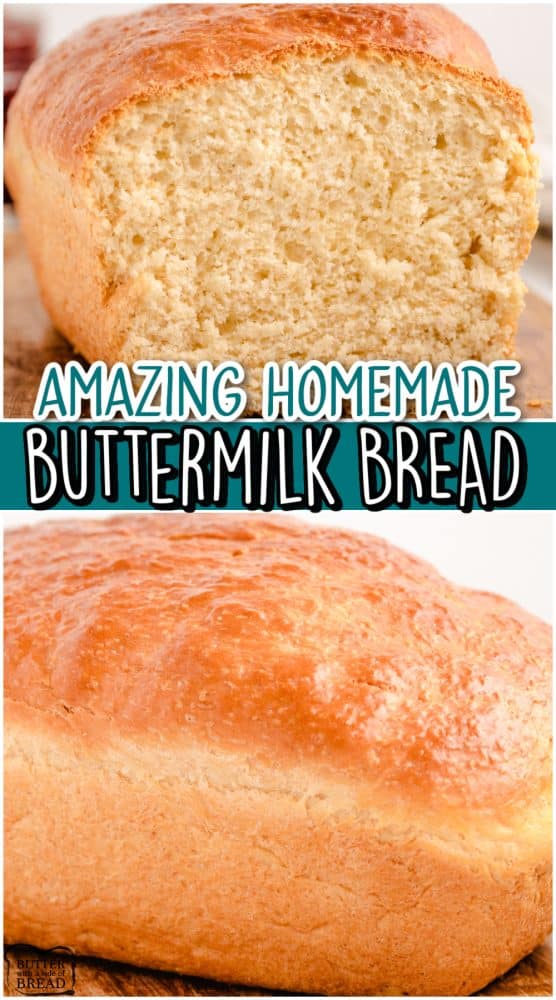
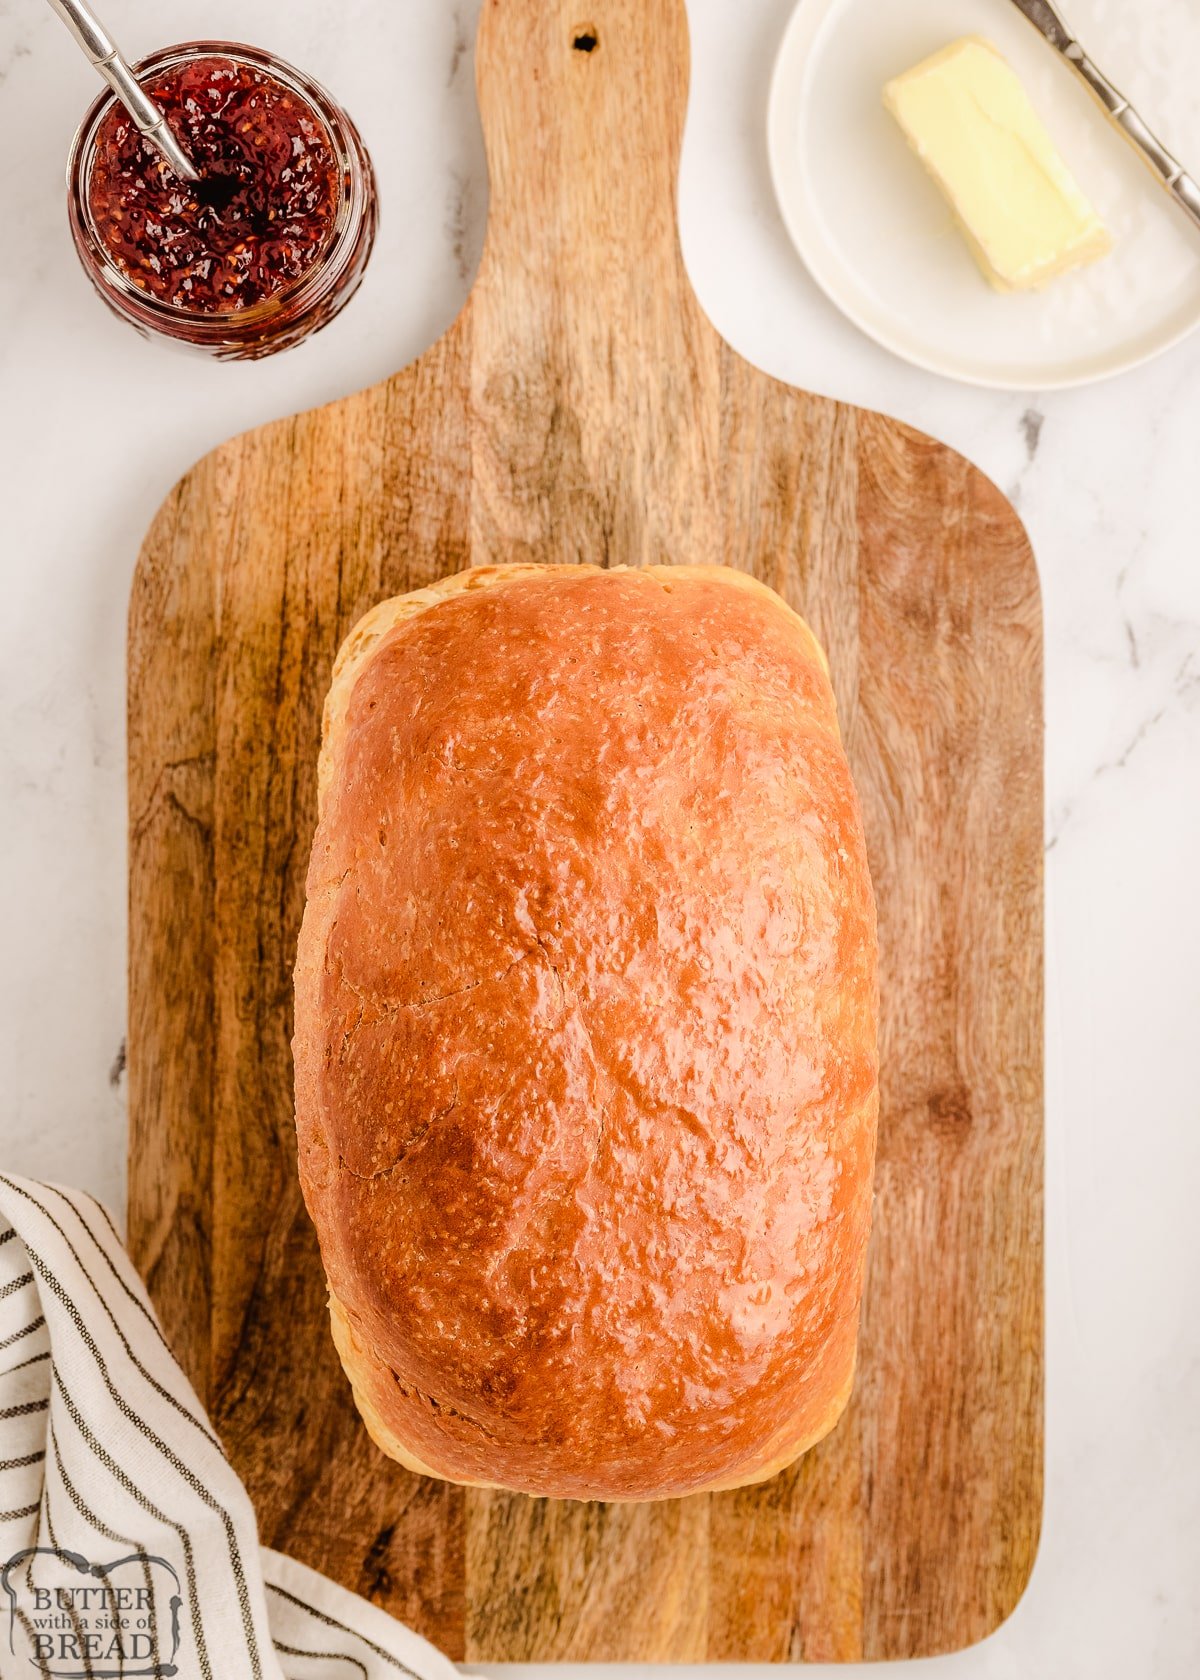
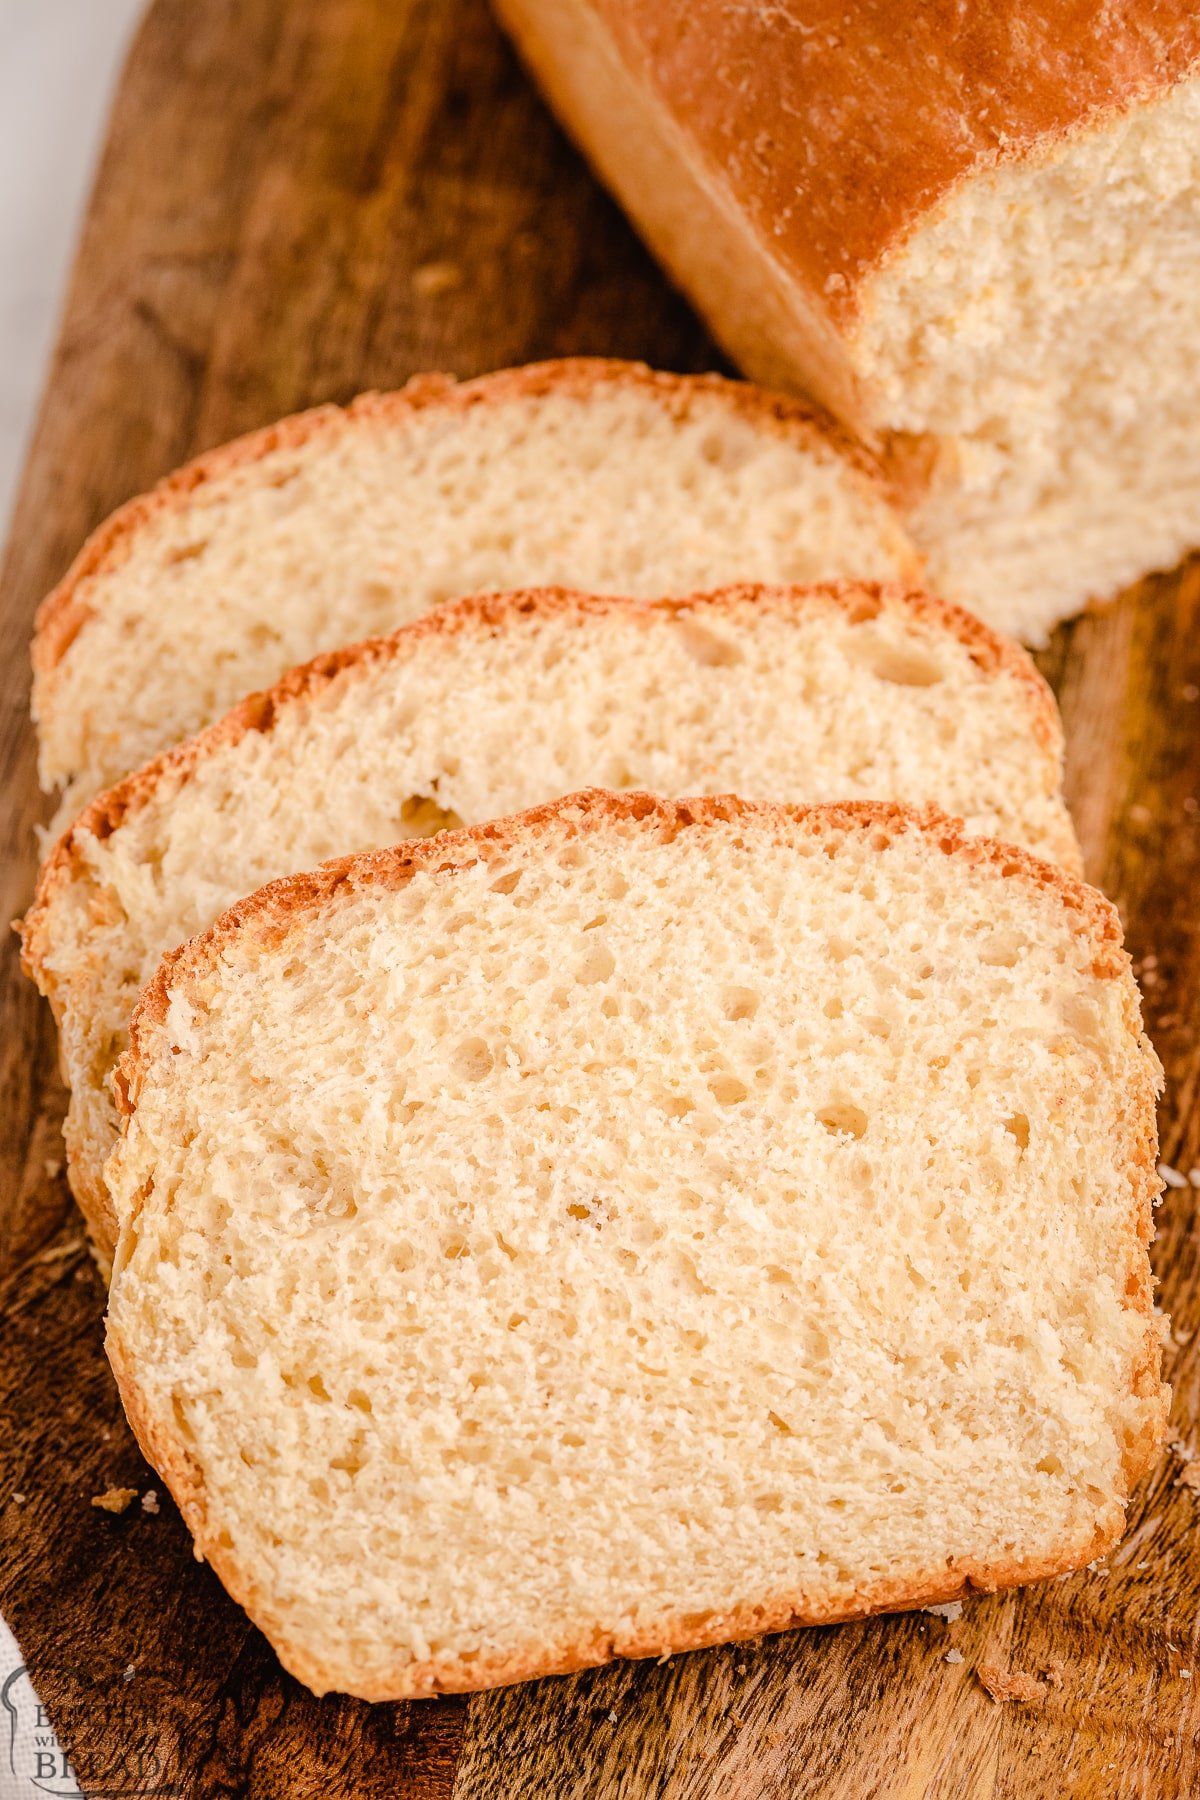
Homemade Buttermilk Bread made easy at home with 6 ingredients! This buttermilk bread creates a soft loaf that has incredible texture & tastes divine!
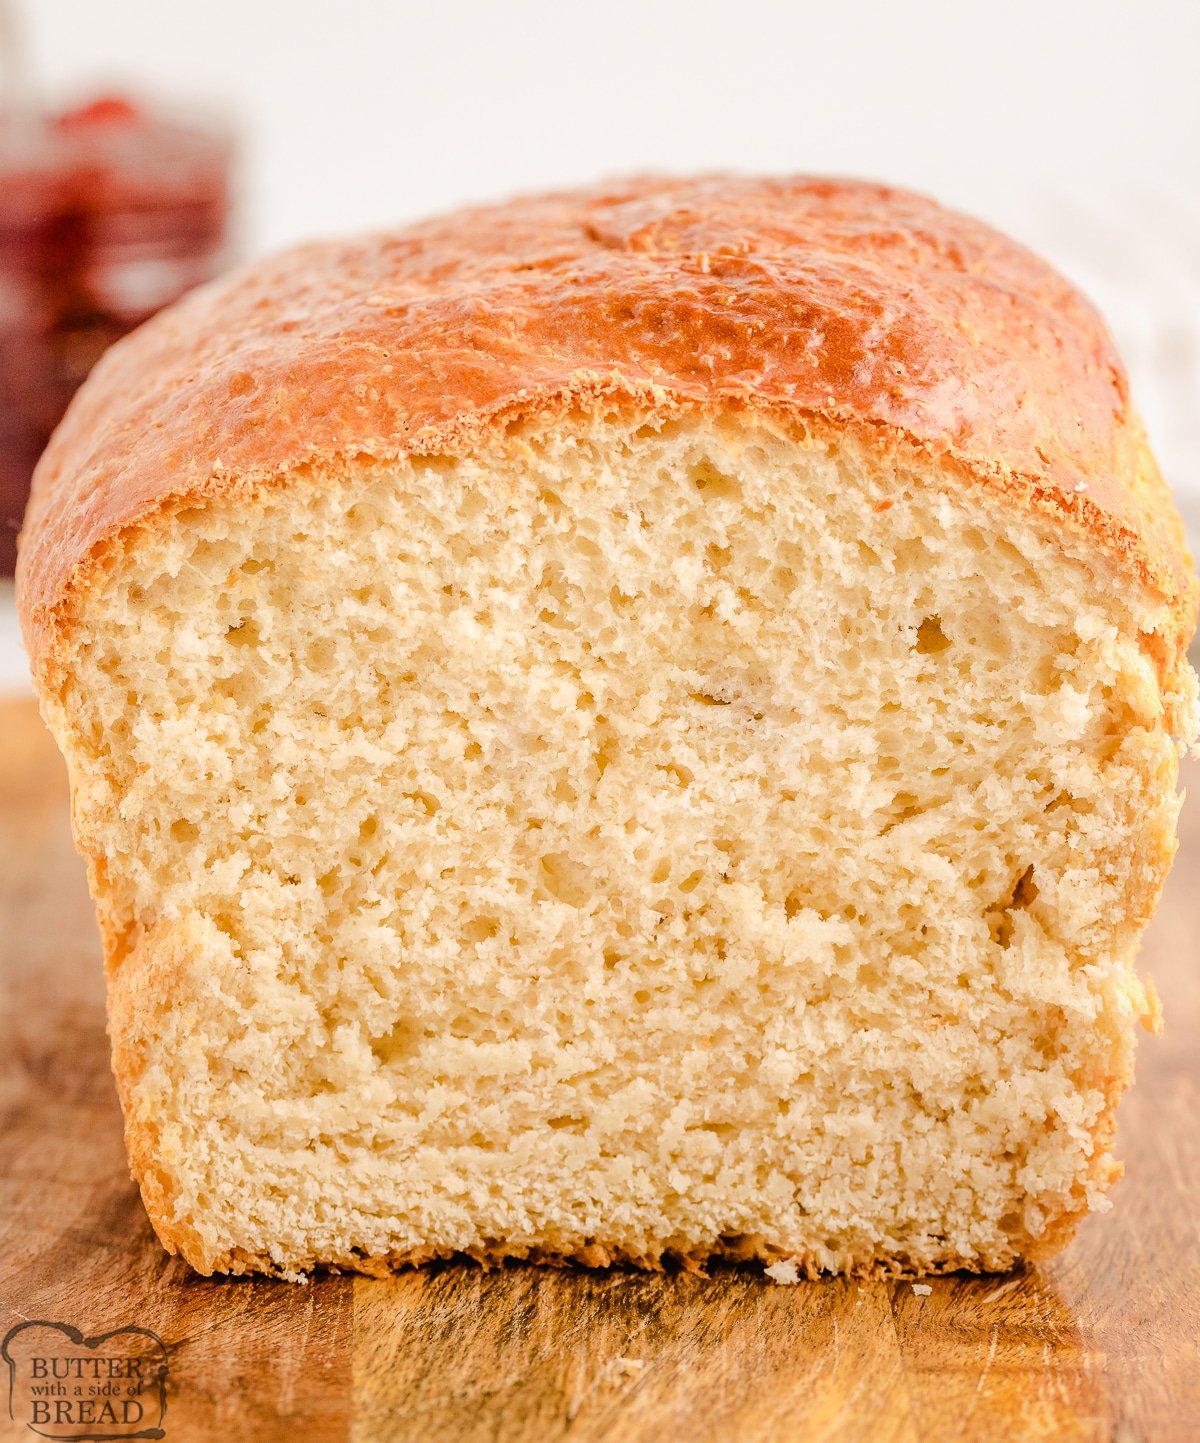
Making this soft bread recipe is so simple, made with just a handful of ingredients that are most likely already in your kitchen and pantry. Buttermilk bread has such a delicate texture and tastes incredible too, give it a try today and see how amazing it is!
This buttermilk bread is a fantastic next step after you’ve figured out how to make bread from scratch.
Tips to create the BEST bread every time
If you have never baked homemade bread before, here are a few tips that will help you make the most delicious and soft bread ever.
- Remember to fully knead. The recipe below kneads for 10 minutes and it is worth every minute. Kneading dough helps to develop the flavor and texture of the bread, so don’t skimp on kneading time.
- Weather can affect your ingredients. If you live in a moist climate, chances are you will need at least the recommended amount of flour, maybe even 1/4 cup to 1/2 cup more. Bread dough should be sticky, but still manageable, especially after the first rise. While you are kneading, the dough should come together and pull away from the sides of the bowl, leaving the bowl mostly clean. (I try not to add too much flour because your bread will be more dense.) When you pick the dough up, some will stick to your fingers. After the first rise, it will be easier to handle!
- Kitchen too cool to rise? In the wintertime when my house is cooler than normal, I like to turn the oven on for 2-3 minutes, then turn it off and let the bowl of dough rise in there. The oven traps the heat for a longtime and it is the perfect atmosphere for rising dough.
- After the first rise, don’t overwork the dough. I usually knead and shape my dough in about 1 minute, then it is back in the pan to rest, for the 2nd rise. I like to have the pan rise in the oven for this second rise so that I don’t have to worry about moving risen dough. I just turn the oven on and set the timer to bake!
Can I made this Homemade Buttermilk Bread in a Bread Machine?
YES! I have had wonderful results making this Buttermilk Bread in my bread machine. You don’t have to make any ingredient changes either- simple add them to your bread machine pan in the order listed below. I used the “Basic White Bread” setting with a light crust and it turned out beautifully.
Homemade Buttermilk Bread Ingredients
Buttermilk: You will need 1 ½ cups of buttermilk* to create the most amazing homemade bread.
Butter: Adding in 2 tablespoons of melted butter will make this bread rich in taste.
Sugar: Use 2 tablespoons of sugar to help sweeten this bread up perfectly.
Salt: You will want to add in 1 teaspoon of salt to help balance the flavors in this bread well.
Flour: The base of this recipe is 3 ½ cups of all-purpose or bread flour.
Yeast: To make the bread rise properly, you will need 1 tablespoon of yeast.
Helpful Tips when Making Your a Loaf of Soft Bread:
If you’ve never baked homemade bread before, here are a few tips:
1. Remember to fully knead
The recipe below kneads for 7 minutes and it’s worth it! Kneading dough helps to develop the flavor and texture of the bread, so don’t skimp on kneading time.
2. Weather can affect your ingredients
If you live in a moist climate, chances are you’ll need at least the recommended amount of flour, maybe even 1/4 cup to 1/2 cup more. Bread dough should be sticky, but still manageable, especially after the first rise. While you’re kneading, the dough should come together and pull away from the sides of the bowl, leaving the bowl mostly clean. I usually aim to have the very bottom of the dough still attached to the bowl. Try not to add too much flour because your bread will be more dense. When you pick the dough up, some will stick to your fingers. After the first rise, it will be easier to handle!
3. Temperature affects how long your bread takes to rise
If your house is cool, your bread will take longer to rise. In the wintertime when my house is cooler than normal, I like to turn the oven on for 2-3 minutes, then turn it off and let the bowl of dough rise in there. The oven traps the heat for a longtime and it’s the perfect atmosphere for rising dough.
4. Don’t overwork the dough
Try not to go crazy kneading your bread after the first rise. I usually knead and shape my dough in about 1 minute, then it’s back in the pan to rest, for the 2nd rise. I like to have the pan rise in the oven for this second rise so that I don’t have to worry about moving risen dough. When it’s fully risen, I just turn the oven on and set the timer to bake!

HOMEMADE BUTTERMILK BREAD
Ingredients
Instructions
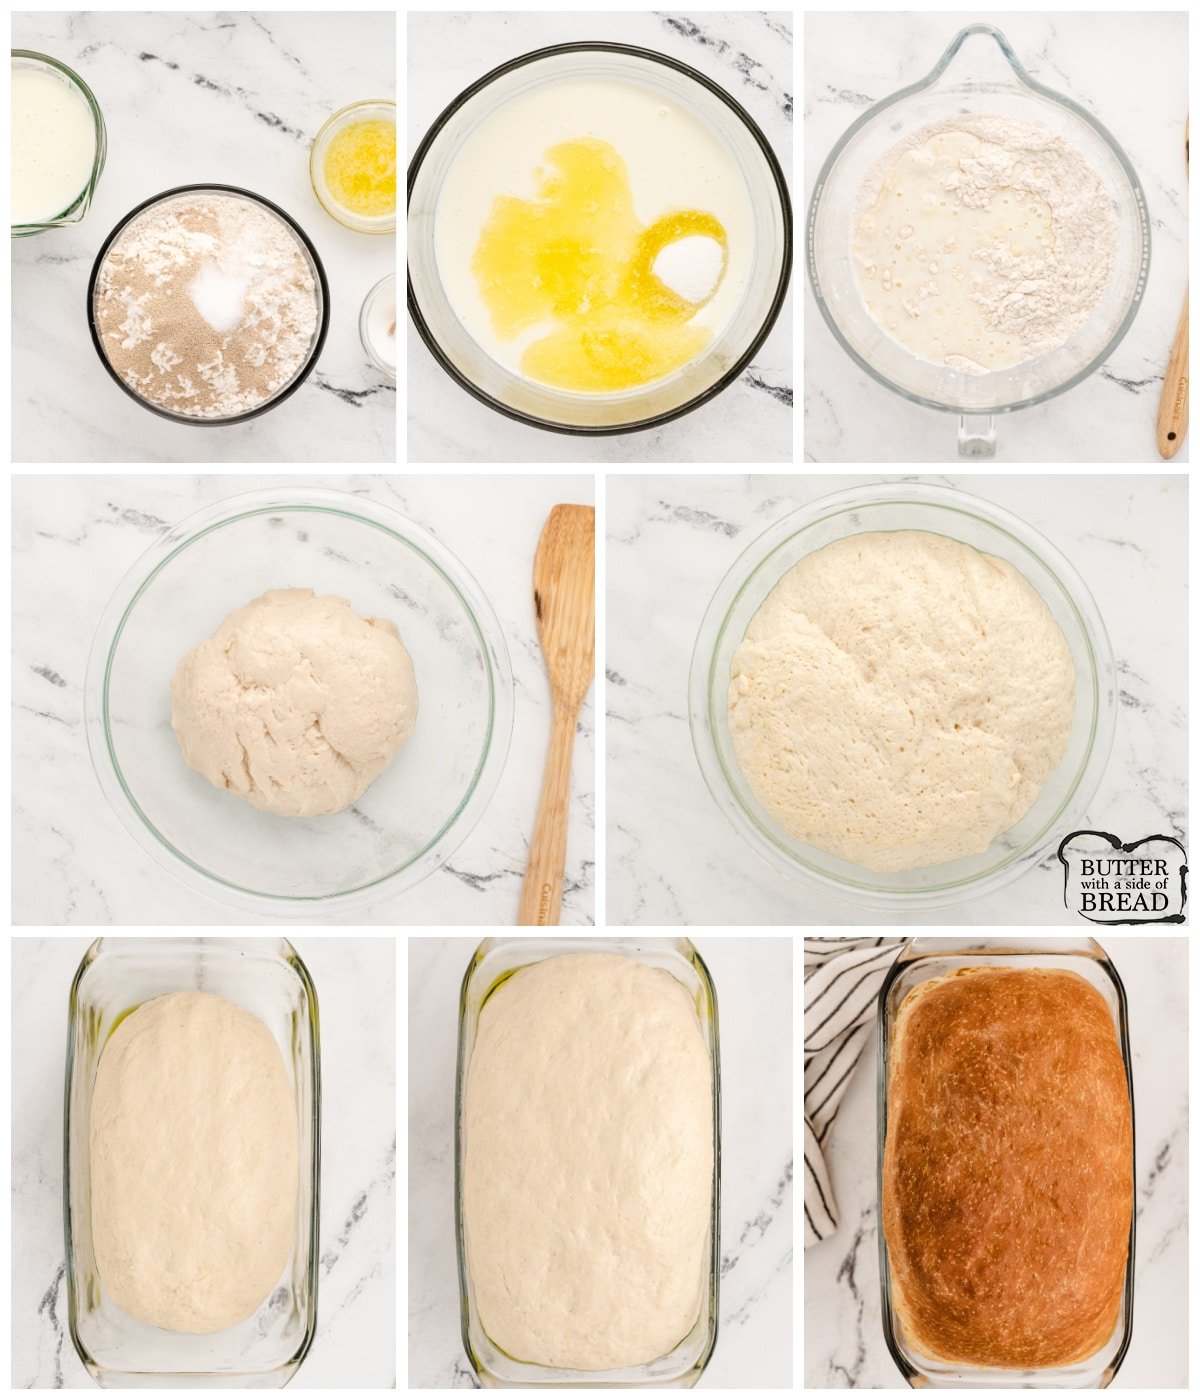
- Dough prep: Start by combining the buttermilk, melted butter and sugar in a large mixing bowl.*
- Then, in a separate bowl, combine the salt, flour and yeast. Whisk the dry ingredients together to combine, then add them to the wet buttermilk mixture in the mixing bowl. Mix all ingredients together until well combined (I use a KitchenAid Mixer.) I like about a quarter sized amount of dough to be sticking on the very bottom.
- If your dough looks a bit dry, add in another splash of buttermilk. Once you have achieved a good consistency, mix the dough on low for about 6-7 minutes (or knead by hand about 10 minutes). Proper kneading is critical to great textured homemade bread!
- First rise: Once the dough is done kneading, proceed to cover the bowl with a towel and let it rise in a warm place for about 1 hour; until the dough has doubled in size.
- Second rise: After the first rise, punch the dough down and knead several times, then shape the dough (I like to roll mine, then tuck the ends under) and place in a greased bread loaf pan. Place the dough back in the warm spot and let it rise for another 30-45 minutes.
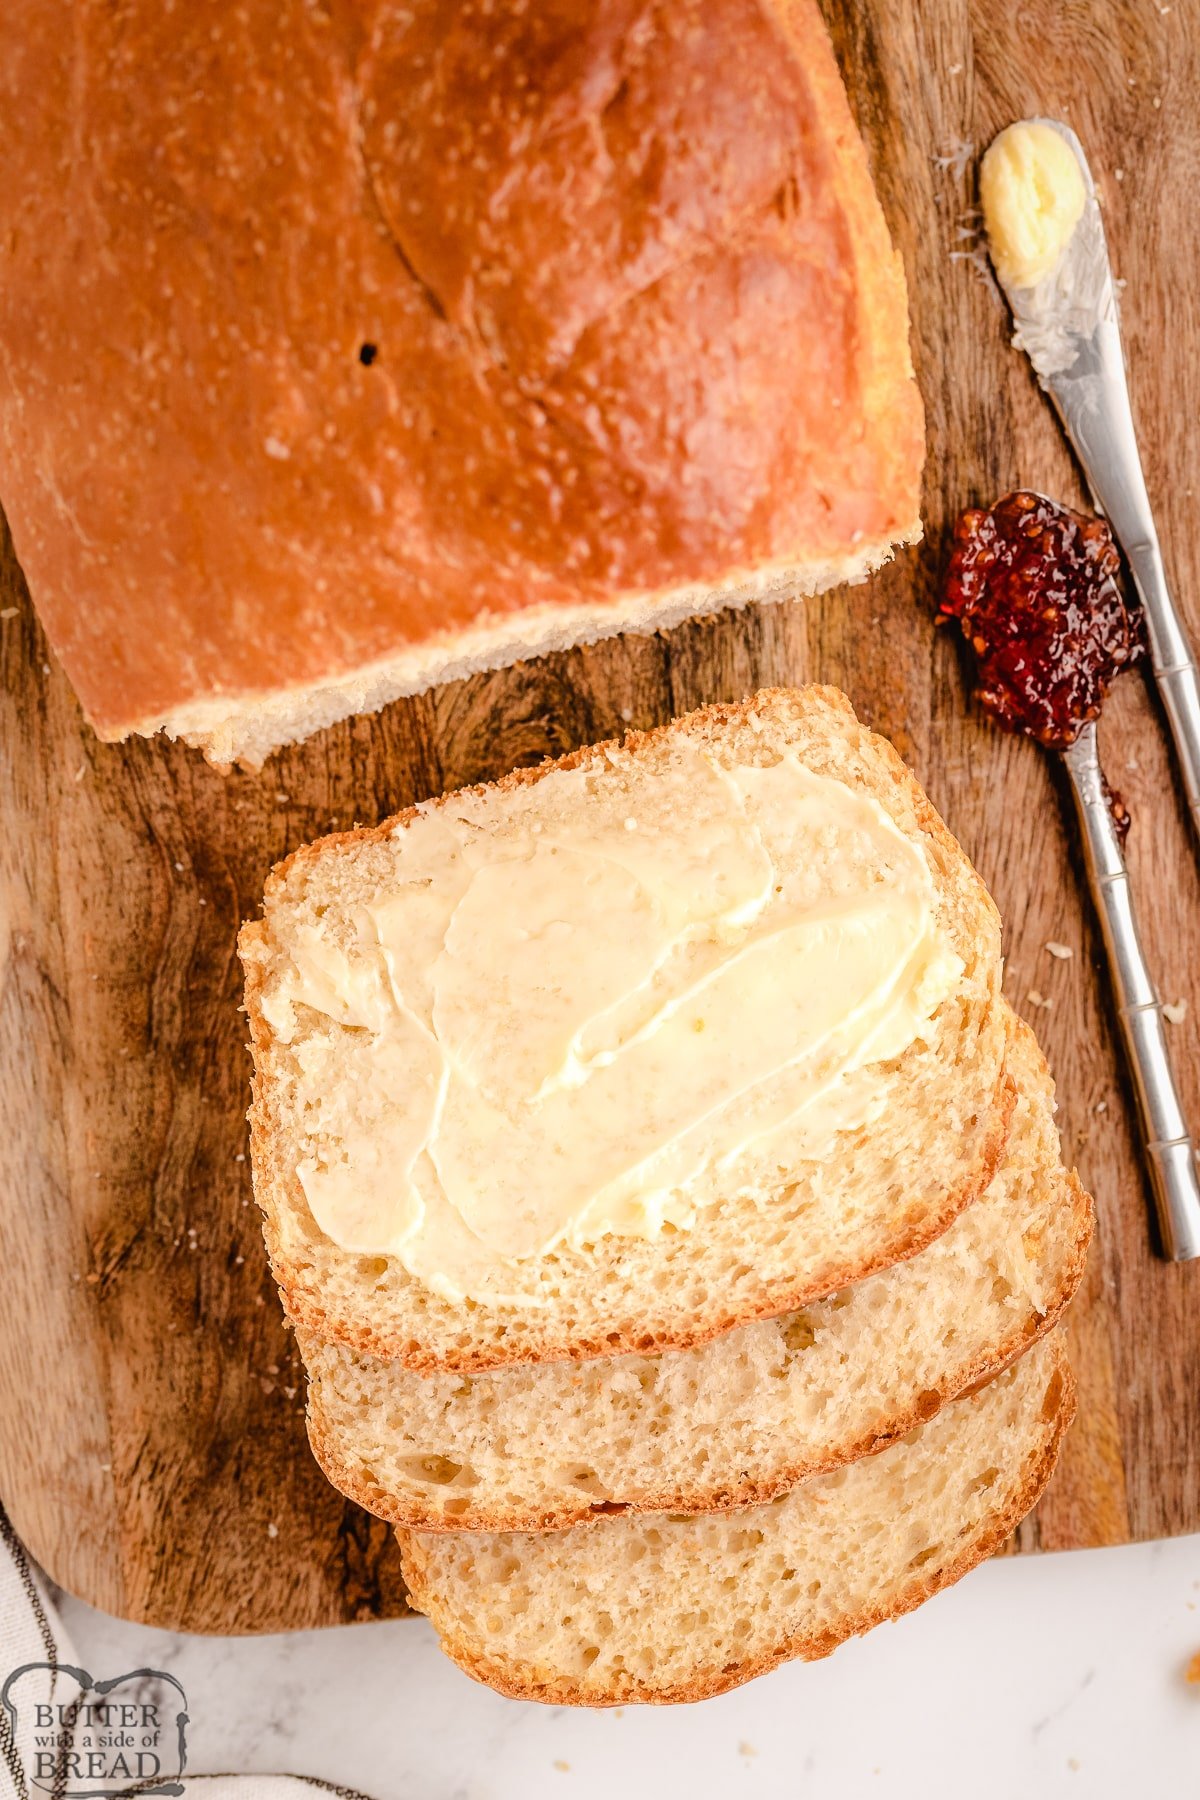
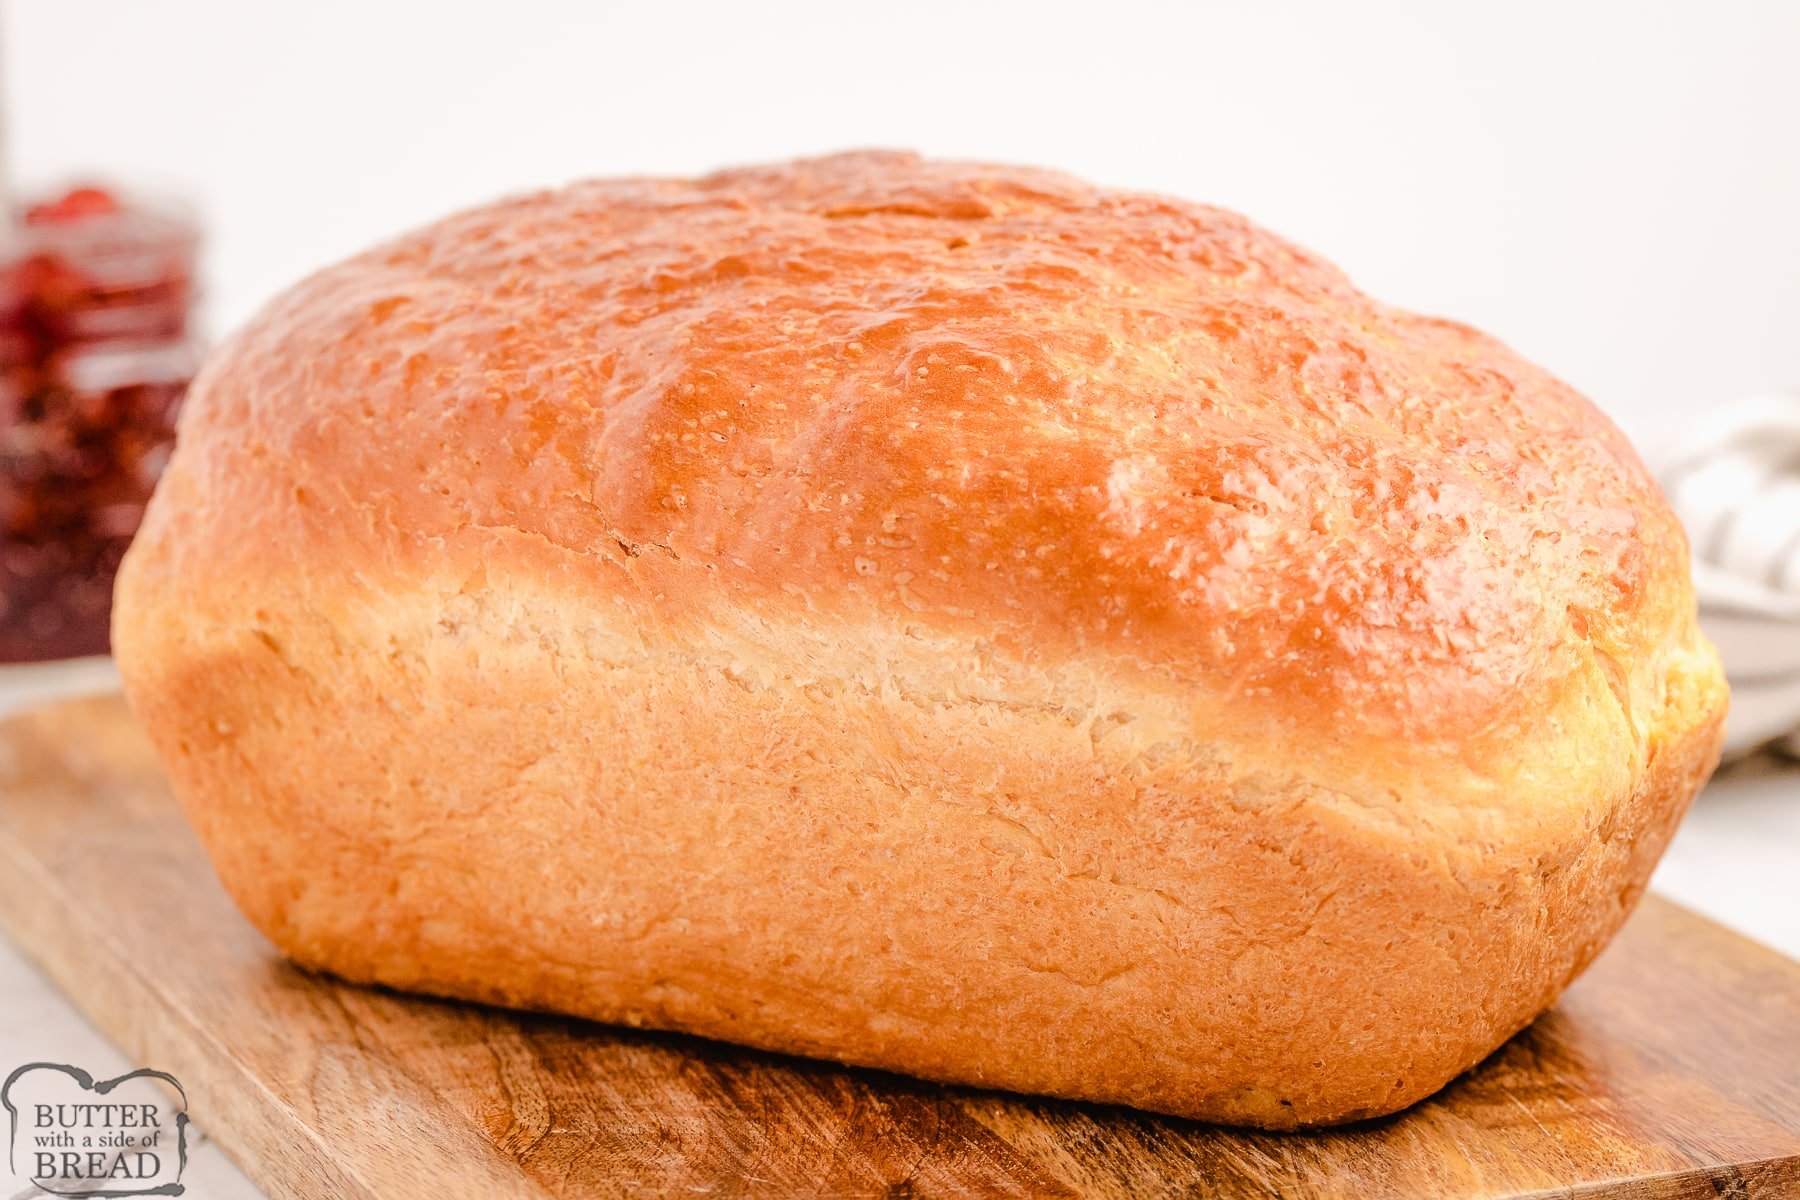
- Bake: Get the oven preheating to 350 degrees F. Once the second rise is complete, bake the dough for about 30-35 minutes, until the top is golden brown. Let the bread cool in the pan for 10-15 minutes after baking is complete, then overturn the pan and turn the loaf out onto a cooling rack or folded towel to finish cooling. When ready to enjoy, slice, serve and enjoy!
Video
Notes
Nutrition
📫 Save this recipe! Send it to your email! 📩
I consent to receiving emails from this site.
HOW TO AVOID SUNKEN BREAD
The easiest and best way to avoid sunken bread is to use a cooking thermometer to check the inside of the loaf. Fully cooked bread will register 200°F on a thermometer. My all-time favorite thermometer is the Thermapen. It’s super fast and incredibly durable. Another great cooking thermometer is the ThermoPop which is a more basic version that works just as well!
BEST BREAD PAN?
I bake a lot of bread and the pans I prefer are either ceramic, glass or cast iron. These pans will bake bread more evenly and release the bread more easily after baking. I don’t like using dark or nonstick pans because the bread cooks unevenly. It darkens on the outside before the bread is cooked on the inside, so the coloring is uneven. Read more about which bread pan is the best here!
How can you tell if bread is fully baked?
I like to use a food thermometer. Mine is digital, so it’s very easy to use. Fully cooked bread will be 190-200 degrees F. Since this bread contains a lot of milk, I don’t take it out of the oven until it reaches 200 degrees F. The top will be golden brown.
Here are even more recipes for homemade bread to try:
- Honey Wheat Bread
- Homemade Hawaiian Bread
- Honey Oat Bread recipe
- Cinnamon Raisin Bread
- Fabulous French Bread
- Homemade Hawaiian Bread
- Potato Bread Recipe
- White Bread Recipe
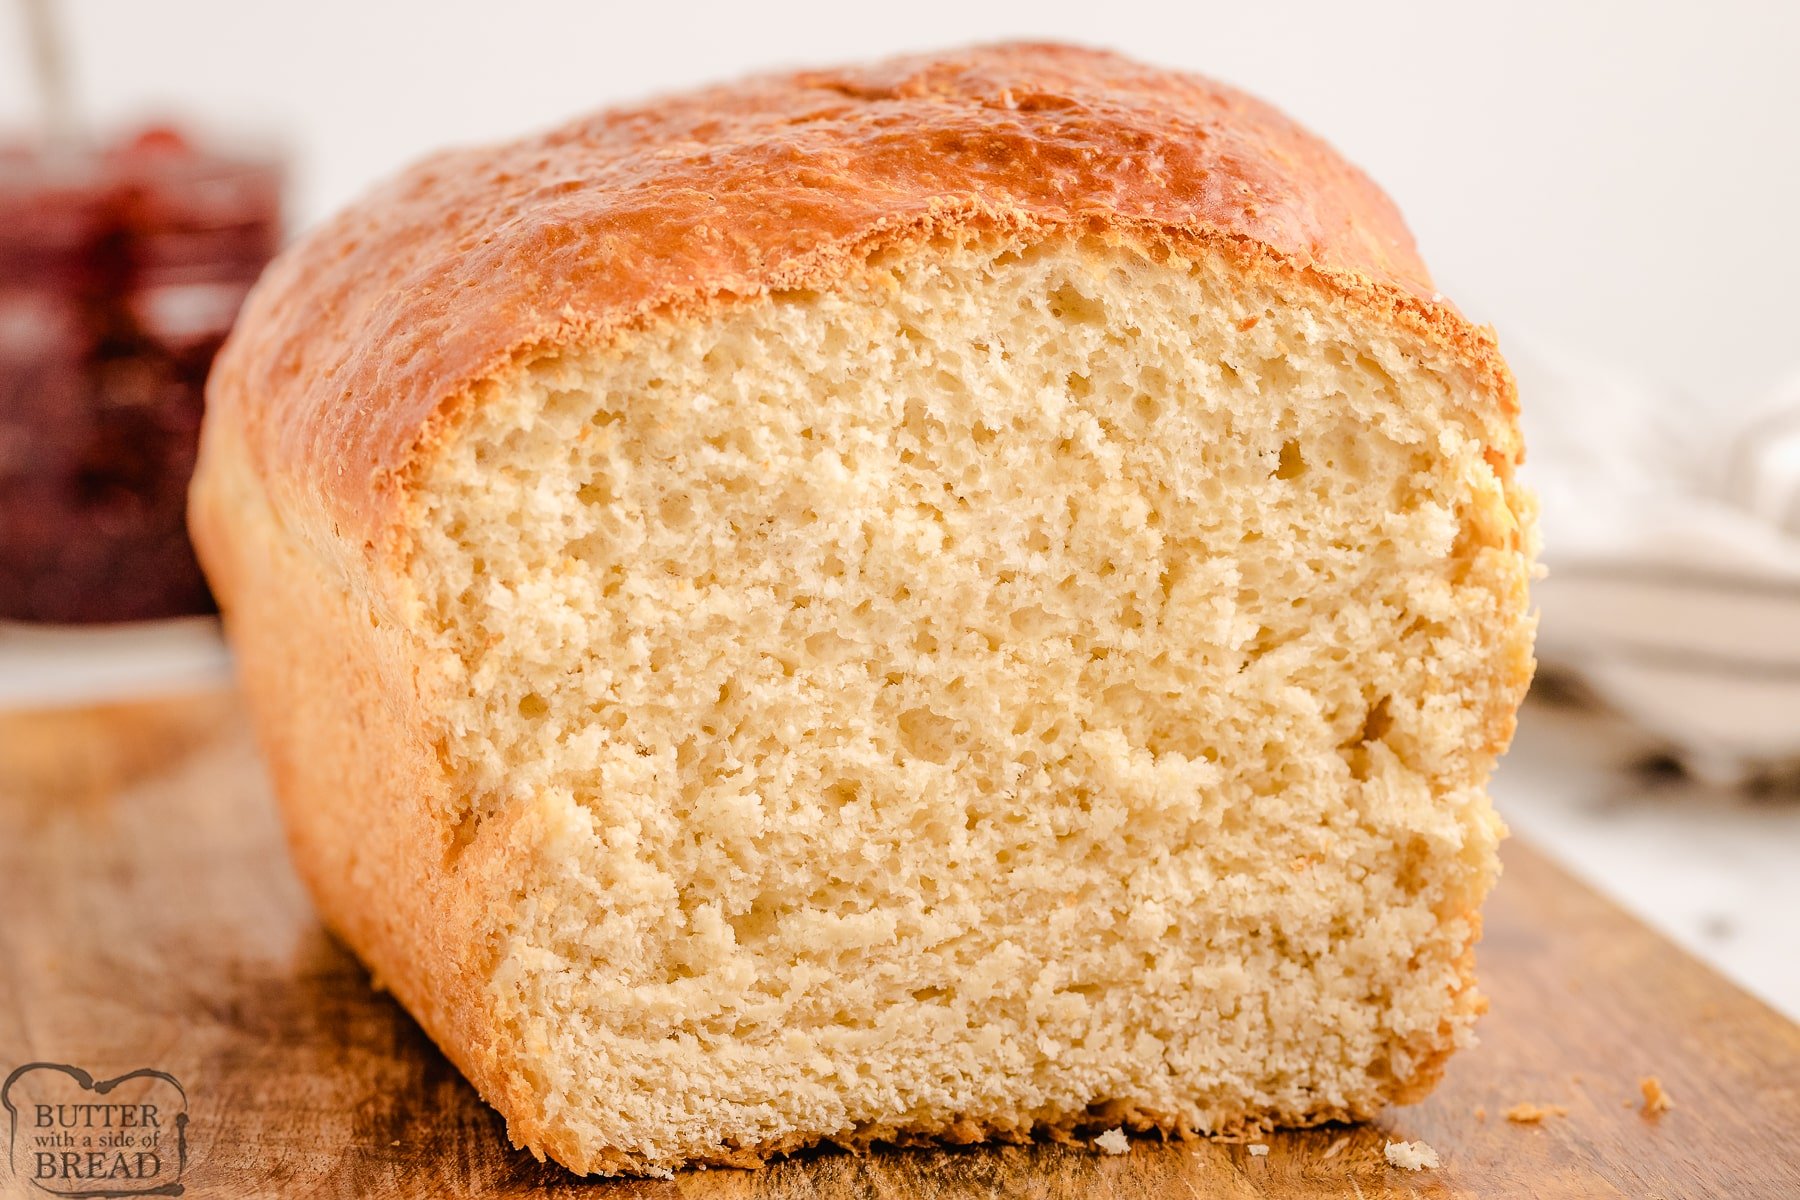
Homemade Buttermilk Bread can now be baked easily and fresh from the comfort of your own kitchen with 6 ingredients! This buttermilk bread creates a soft loaf that has incredible texture & tastes divine!


Emily says
Active dry yeast or instant? Thanks! Oh
Jessica says
You can use either.
Annette says
Yes, But one Tablespoon is a lot of yeast. Frost loaf cake out wet and spilled over the tin.
Next loaf I made with the recipe I only used 2 and a quarter teaspoon came out perfect.
Faeli Vyn says
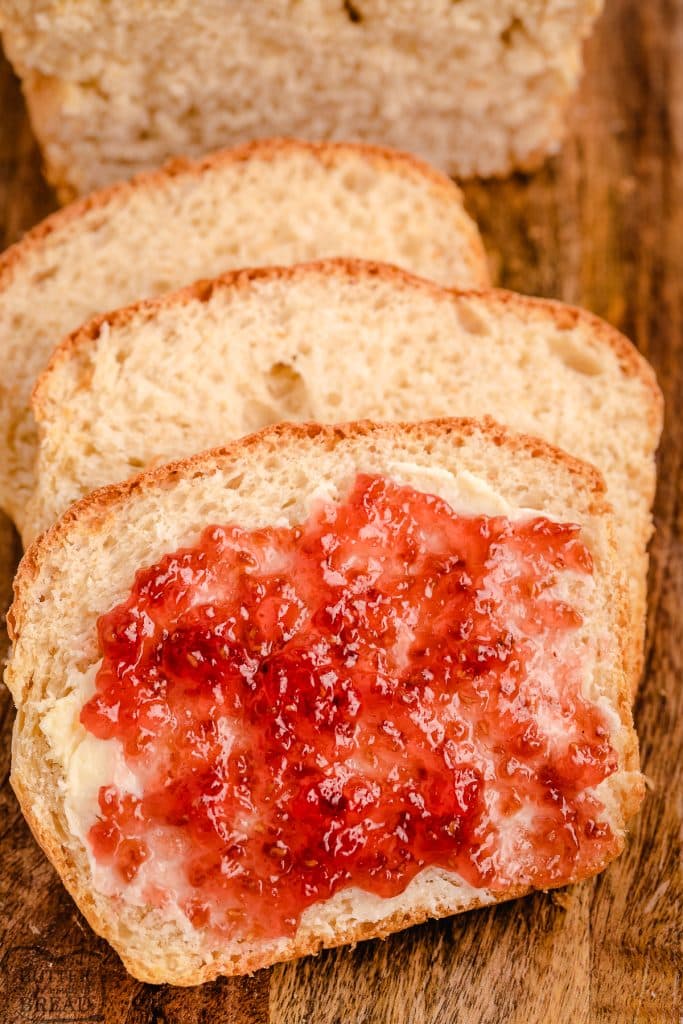
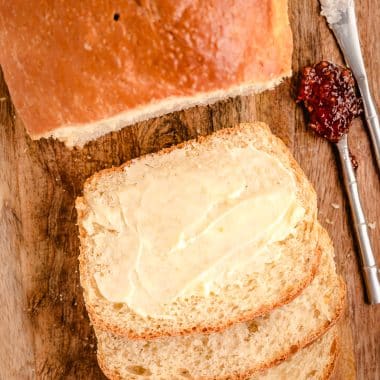
I too, love this recipe! My family loves the bread toasted with butter and jam! Last night I cut up the remaining half of a loaf into small cubes and placed butter and finely chopped garlic into the cast iron frying pan, over low heat and toasted the croutons until brown, they were very good in our green salad…. mmmm
Nellie says
Great idea to make homemade croutons from this recipe – that sounds delicious!
Lauren says
Made this recipe a few times now and it has been great every time, but I am tweaking little things as I am a new bread baker. The first time I think I overproofed it (but it still came out good) and baked it 30 minutes, when it probably needed 35.
Second time I proofed it fine and 35 minutes bake was great! Used a standard loaf tin you would find in a grocery store.
Bought a cast iron pan and used that for my third attempt, and it was my first time using a cast iron loaf pan, and I also put it on convection setting, since the back of my oven cooks hotter than the front. I baked it for 35 minutes, and it was pretty pale, so ended up baking for another 8 minutes. Think it needs even more, maybe a total of 50 minutes, on convection.
But even with these small issues, each loaf has tasted great and hasn’t lasted a full 24 hours in my house! My family is super happy and impressed. It is very moist with a great buttermilk flavor.
Becci says
Amazing
Made with powdered buttermilk and it now my go-to
Bread!! Thanks for sharing
Nellie says
So glad you enjoyed the recipe Becci!
LOUIE TORRES says
Hi, i have a powdered buttermilk too, how much cups you put and how much water to use to dissolve?
Jessica says
I’d follow the instructions on the package of your powdered buttermilk to re-constitute it.
Kay says
Made this recipe for our Easter dinner. It was delicious. My go to recipe from now on
Alison says
Thanks Kay! It is such a happy experience knowing these recipes can be a part of your family traditions!
Stacy says
This looks amazing and I plan on making it this Friday! I have a question: have you ever doubled the recipe or split it into mini loaf pans? Any recommendations? I’ll post a review once I’ve actually made it. Thanks!
Jessica says
I’ve actually not done either doubling or making them into mini loaf pans. I don’t see why it wouldn’t work though! Just make sure your mixer is large enough to accommodate. (For a dough recipe that big I’d use a Bosch if you have one!)
JEANETTE THOMPSON says
I would also weigh your dough when splitting it so your loaves come out even.
Armi says
Can I use plain yogurt to substitute buttermilk?
Jessica says
You can! If your dough seems a bit thick, you can add 1-2 TBSP milk to compensate.
Ana says
Have made this recipe 3x and it gets better and better! My question is is this recipe enough for a stone mini loaf pan? It has 4 compartments. Would love to bake smaller batches and give to neighbors. Thank you for your help!
Jessica says
I’m so glad you like it! I think mini loaves sound lovely! I’d use a food scale to get 4 equal portions, then shape them by rolling and tucking the ends under. Lucky neighbors!!
Rick says
Made this bread. Did not come out as nice as yours. But this was my first bread ever coming over from cookies. I have to figure out the kneeling thing, close but… Oh the bread, Dang was it good. Crust a little hard on removal from oven but softened a little after cooling a bit. I really enjoyed it. I guess I should of let it cool a little before cutting but the butter melted perfect! Will try again and thanks
Alison says
Rick, it gets easier and easier the more you make it! But the thing that counts most is that it tastes good! Glad you enjoyed it!
Caroline says
I’m making the bread right now but I wasn’t sure what temperature the buttermilk needs to be at. I microwaved it a little to long I think but I’ll see how it turns out. What temperature do you have your buttermilk at?
Jessica says
I usually aim for around 95-100 degrees F.
DIANE says
Tasted wonderful.. I do have one question though what size of a loaf is it supposed to make in the bread machine??
Jessica says
I set it at 1-lb loaf setting.
Amy says
I have never commented on a recipe ever before. This bread is SO EASY to make. I use my KitchenAid mixer and it takes all of the work out of it. I have made it twice now and it has turned out perfect both times. Thank you so much for a wonderful recipe.
Alison says
We are honored to be your first comment Amy! Really glad it turned out to be a good one 😉
Jill E Hassing says
Amazing bread. So soft and fluffy. Our family ate the whole loaf in 3 hours. This is the first timevi have ever made bread. Watched my mom a lot but never made myself. My 19 year old daughter helped me too. We are both sold!!#
Jessica says
I’m so glad you enjoyed the recipe- it’s one of my all time favorites! : )
Michael Parsons says
Trying to recipe now. DRY ACTIVE YEAST: It’s hard to find during the Covid-Times, but I found lots in the part of the stores near products like Bob’s Red Mill grains and other gluten free products are often shelved together away from traditional baking products. Was available in larger 8oz packs for just under $3. Not promoting, just sharing.
Alison says
That’s great info, thanks Michael!
Victoria H Couch says
its not rising. I mixed by hand, dont have a stand mixer. Is that what went wrong?
Jessica says
There are several reasons why your bread could have not risen.
1) Yeast is too old
2) Yeast was killed by using water that was too hot (I aim for 95-105 degrees F)
3) It initially rose for too long, then collapsed in the oven. Bread should first rise for 30 mins- an hour, then 2nd rise for about 15-30 minutes- longer isn’t necessarily better.
4) Ratio/ measurements of yeast to flour was off. Too much flour turns bread dense and crumbly. Make sure you dough is tacky- stop adding flour right when you achieve this consistency.
5) You house was too cool. Bread dough will rise in cool temps but it will take a LONG time. I like to do the 2nd rise in my oven. I simply turn it on 350° F for 1 minute, then turn it off. Place bread pan inside and let it rise. When it’s time to bake it, just preheat the oven with the pan inside and decrease bake time by 3-5 minutes.
JEANETTE THOMPSON says
I made this today. It’s SO soft. It turned out beautiful. I’ll be making this again, now that I found some yeast.
Alison says
Hooray for finding ingredients during these crazy times! Glad you loved this recipe!
Sara says
YAAASSSS Queen! Sourdough has been my game since we started quarantine, and she’s still my pretty princess, but this here easy peasy delicioso bread is my new queen! I used a combo bread / AP flour, kneeded by hand – had to watch a video tutorial on how, but turns out its pretty simple and a lot of fun! It’s so light and fluffy and the flavor is heaven on a plate! I could make this and eat it all day! Thanks for the great recipe – and it doesn’t say this but if you want that shiny top, brush with butter right out of the oven!
Jessica says
So glad to hear you enjoyed it Sara! : )
Atul Maru says
Thank you so much for your recipe. It turned out super super soft and flavorful. Just loved it!!!!
Jessica says
So glad you like it Atul!
Jacqueline says
Just made the buttermilk loaf .. simply the best recipe I have cooked
Thank you
Jac
Nellie says
Thanks so much for the kind comment Jac! So glad you enjoyed the bread!
Nena Lim says
Hi jessica
Just made this bread and it was so great, however the dough comes sricky , hard to mold it on the 2nd rise.
I just have question, on.the first rise towasrds one hour , my dough somewhat.shrink for its double size, could you tell whats the problem? But on thethis.2nd rise it did rise, can I put it in.81/2 pan?
Jessica says
How warm is your house? Dough likes a warm environment to rise in. You’ll shape the bread after the first rise, then put it in an 8 or 9″ bread pan for the 2nd rise and baking.
JEANETTE THOMPSON says
Try turning on your oven light, if your oven is electric. It gives a nice warm environment for your rise.
Jayme says
Try using your car, works great!
Mmesoma says
🥰😍🤩😃😄🍞🥪 So lovely. I want to try but I can’t make it 😭.