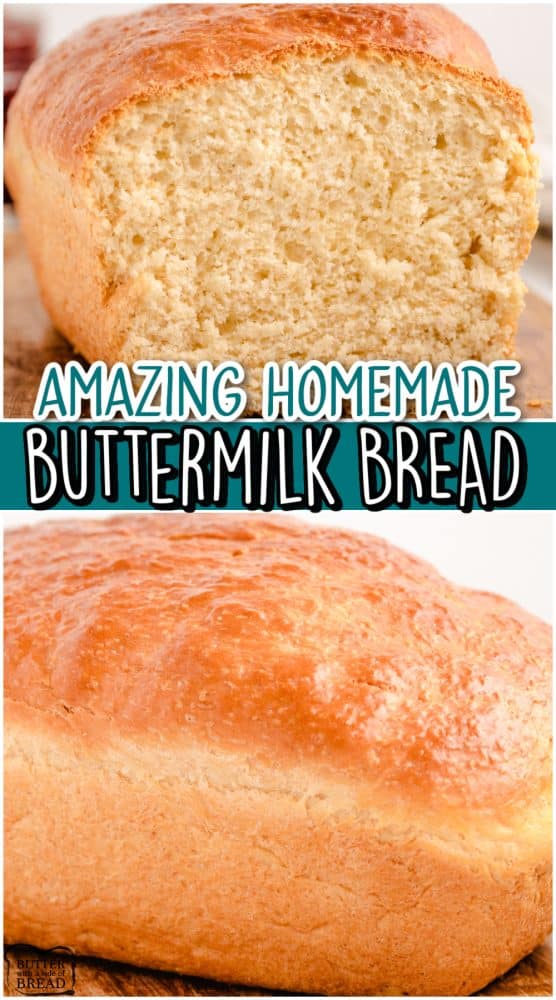
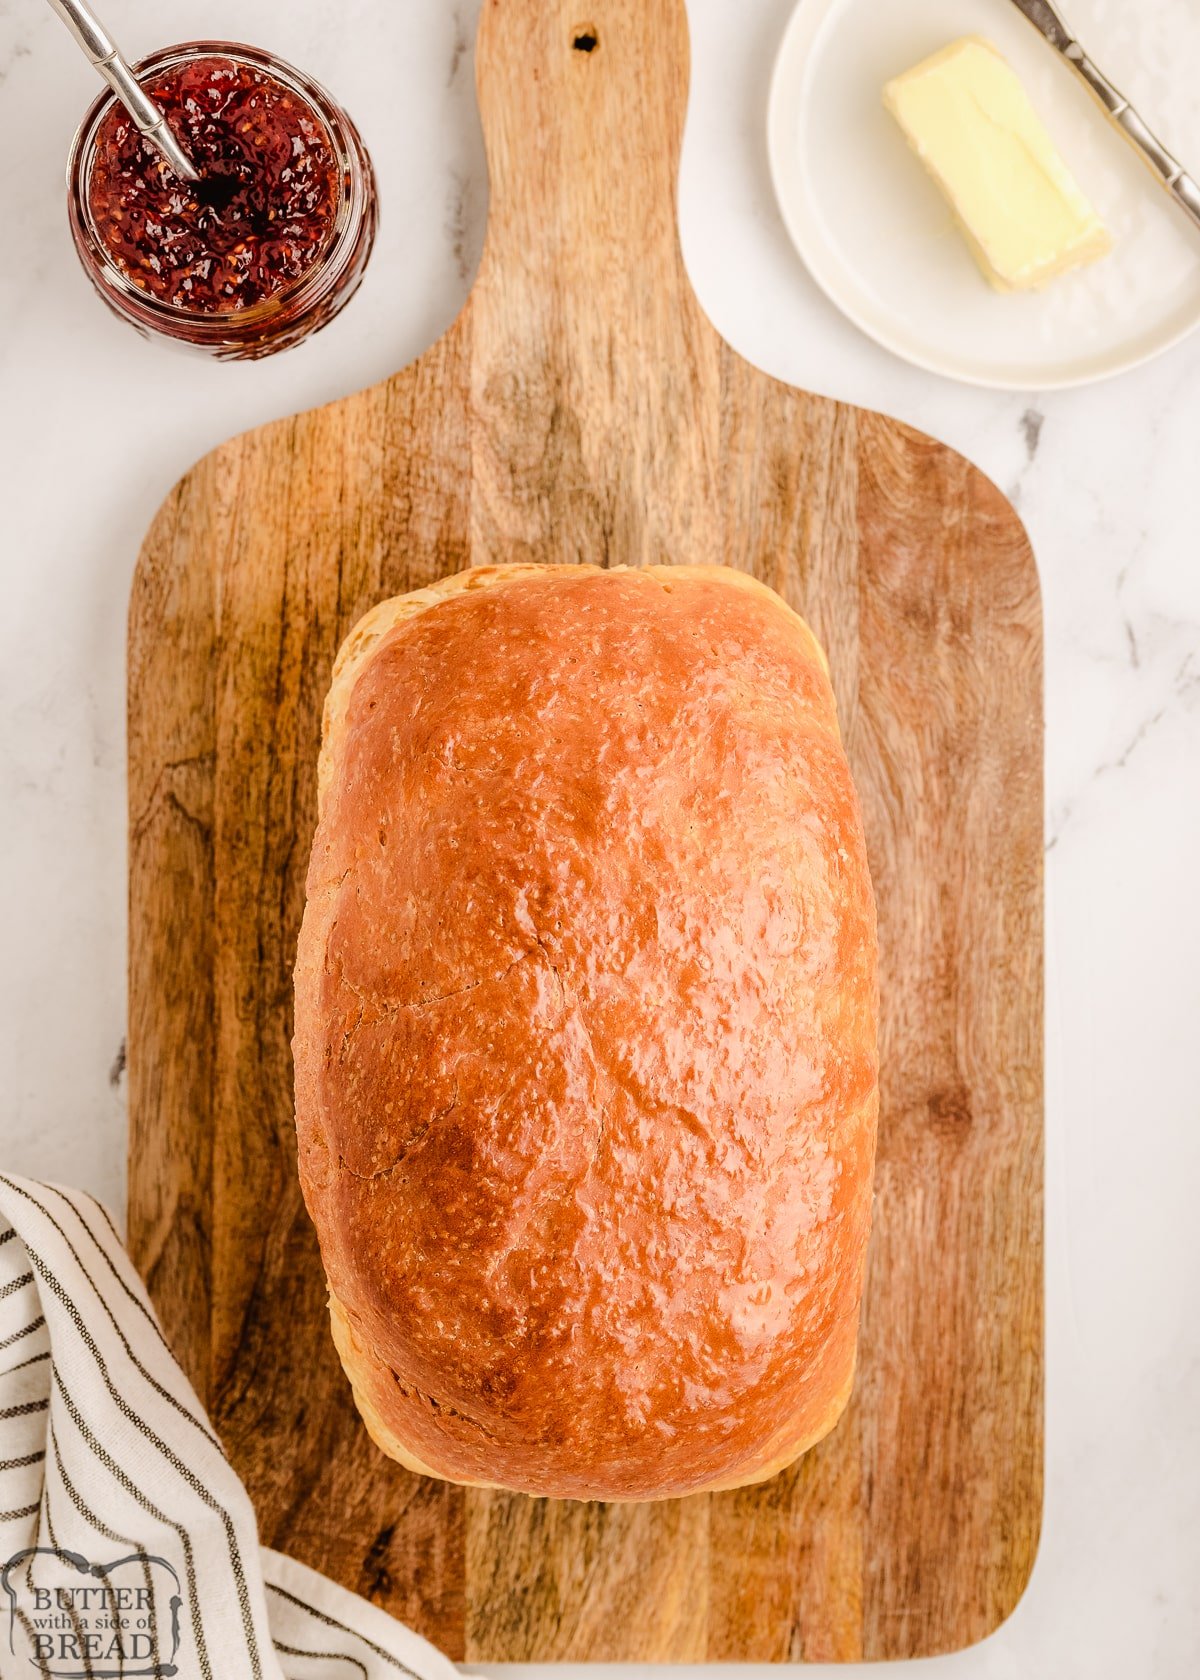
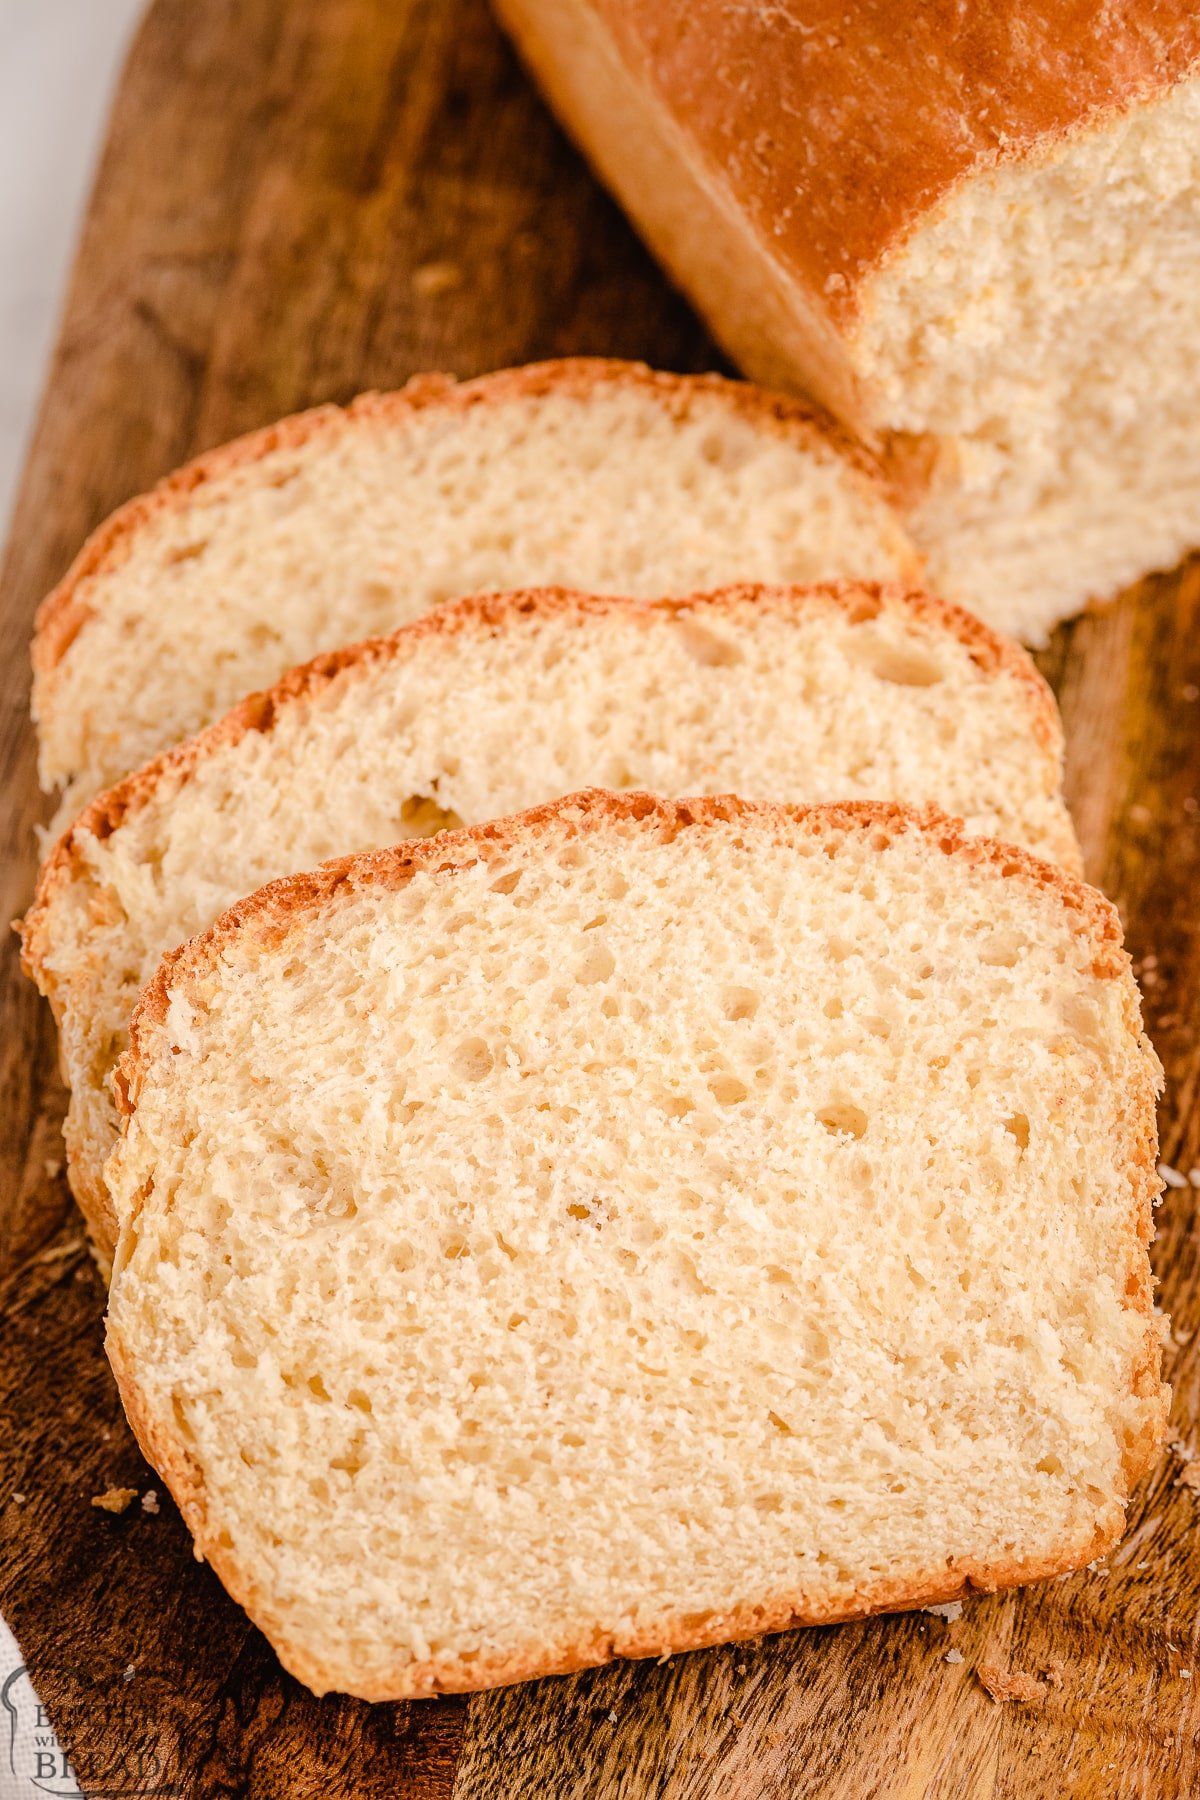
Homemade Buttermilk Bread made easy at home with 6 ingredients! This buttermilk bread creates a soft loaf that has incredible texture & tastes divine!
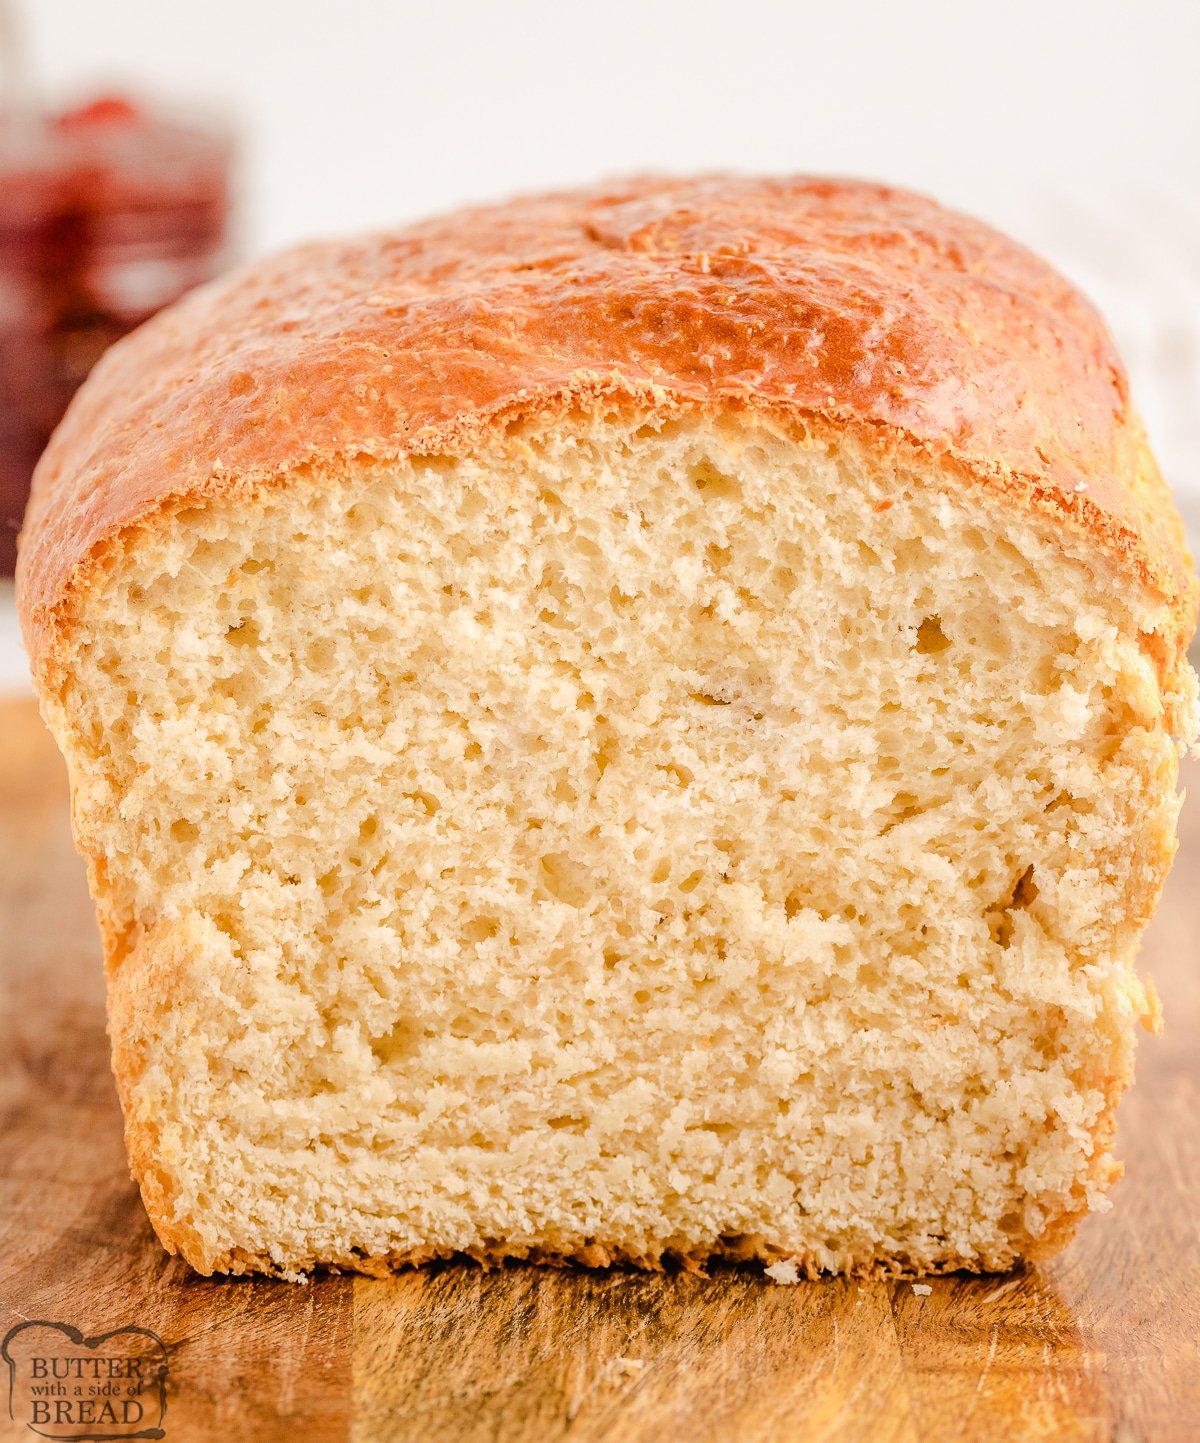
Making this soft bread recipe is so simple, made with just a handful of ingredients that are most likely already in your kitchen and pantry. Buttermilk bread has such a delicate texture and tastes incredible too, give it a try today and see how amazing it is!
This buttermilk bread is a fantastic next step after you’ve figured out how to make bread from scratch.
Tips to create the BEST bread every time
If you have never baked homemade bread before, here are a few tips that will help you make the most delicious and soft bread ever.
- Remember to fully knead. The recipe below kneads for 10 minutes and it is worth every minute. Kneading dough helps to develop the flavor and texture of the bread, so don’t skimp on kneading time.
- Weather can affect your ingredients. If you live in a moist climate, chances are you will need at least the recommended amount of flour, maybe even 1/4 cup to 1/2 cup more. Bread dough should be sticky, but still manageable, especially after the first rise. While you are kneading, the dough should come together and pull away from the sides of the bowl, leaving the bowl mostly clean. (I try not to add too much flour because your bread will be more dense.) When you pick the dough up, some will stick to your fingers. After the first rise, it will be easier to handle!
- Kitchen too cool to rise? In the wintertime when my house is cooler than normal, I like to turn the oven on for 2-3 minutes, then turn it off and let the bowl of dough rise in there. The oven traps the heat for a longtime and it is the perfect atmosphere for rising dough.
- After the first rise, don’t overwork the dough. I usually knead and shape my dough in about 1 minute, then it is back in the pan to rest, for the 2nd rise. I like to have the pan rise in the oven for this second rise so that I don’t have to worry about moving risen dough. I just turn the oven on and set the timer to bake!
Can I made this Homemade Buttermilk Bread in a Bread Machine?
YES! I have had wonderful results making this Buttermilk Bread in my bread machine. You don’t have to make any ingredient changes either- simple add them to your bread machine pan in the order listed below. I used the “Basic White Bread” setting with a light crust and it turned out beautifully.
Homemade Buttermilk Bread Ingredients
Buttermilk: You will need 1 ½ cups of buttermilk* to create the most amazing homemade bread.
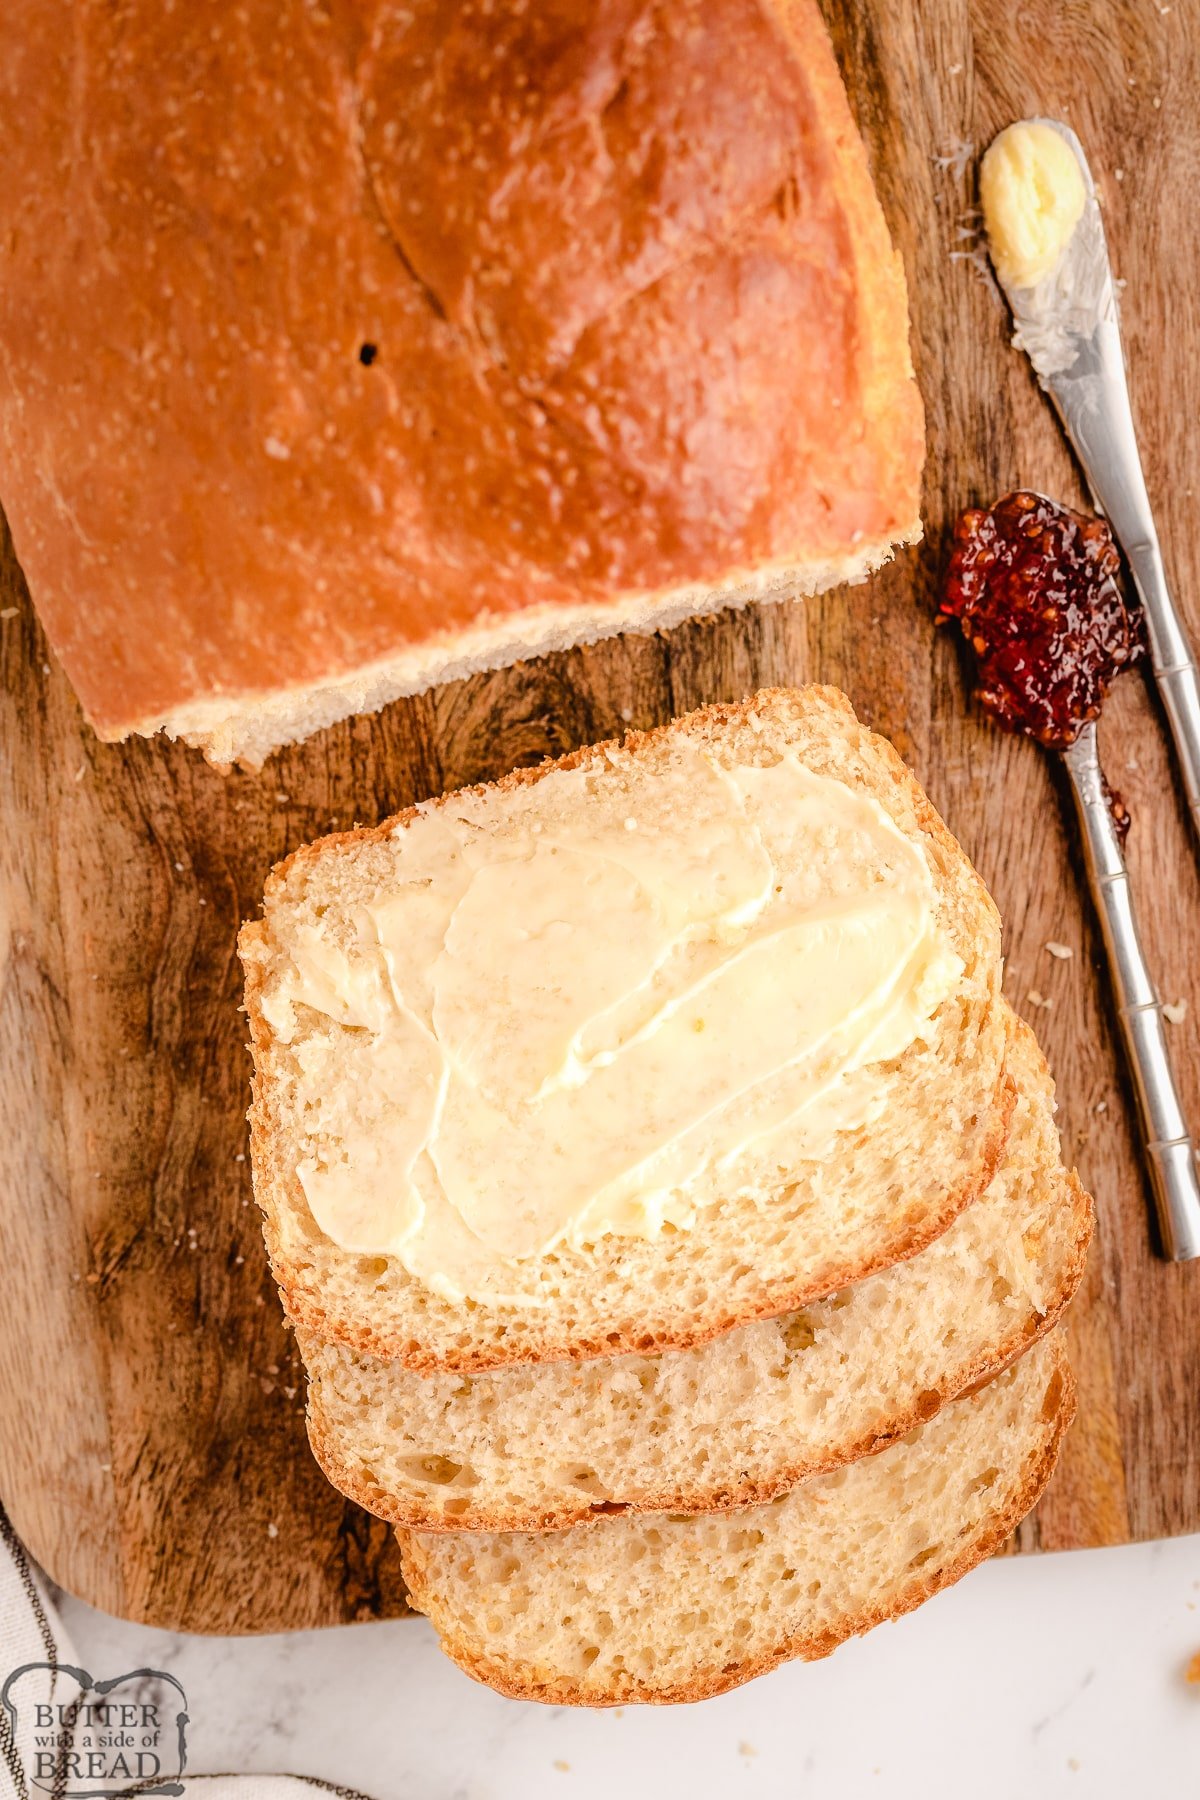
Butter: Adding in 2 tablespoons of melted butter will make this bread rich in taste.
Sugar: Use 2 tablespoons of sugar to help sweeten this bread up perfectly.
Salt: You will want to add in 1 teaspoon of salt to help balance the flavors in this bread well.
Flour: The base of this recipe is 3 ½ cups of all-purpose or bread flour.
Yeast: To make the bread rise properly, you will need 1 tablespoon of yeast.
Helpful Tips when Making Your a Loaf of Soft Bread:
If you’ve never baked homemade bread before, here are a few tips:
1. Remember to fully knead
The recipe below kneads for 7 minutes and it’s worth it! Kneading dough helps to develop the flavor and texture of the bread, so don’t skimp on kneading time.
2. Weather can affect your ingredients
If you live in a moist climate, chances are you’ll need at least the recommended amount of flour, maybe even 1/4 cup to 1/2 cup more. Bread dough should be sticky, but still manageable, especially after the first rise. While you’re kneading, the dough should come together and pull away from the sides of the bowl, leaving the bowl mostly clean. I usually aim to have the very bottom of the dough still attached to the bowl. Try not to add too much flour because your bread will be more dense. When you pick the dough up, some will stick to your fingers. After the first rise, it will be easier to handle!
3. Temperature affects how long your bread takes to rise
If your house is cool, your bread will take longer to rise. In the wintertime when my house is cooler than normal, I like to turn the oven on for 2-3 minutes, then turn it off and let the bowl of dough rise in there. The oven traps the heat for a longtime and it’s the perfect atmosphere for rising dough.
4. Don’t overwork the dough
Try not to go crazy kneading your bread after the first rise. I usually knead and shape my dough in about 1 minute, then it’s back in the pan to rest, for the 2nd rise. I like to have the pan rise in the oven for this second rise so that I don’t have to worry about moving risen dough. When it’s fully risen, I just turn the oven on and set the timer to bake!

HOMEMADE BUTTERMILK BREAD
Ingredients
Instructions
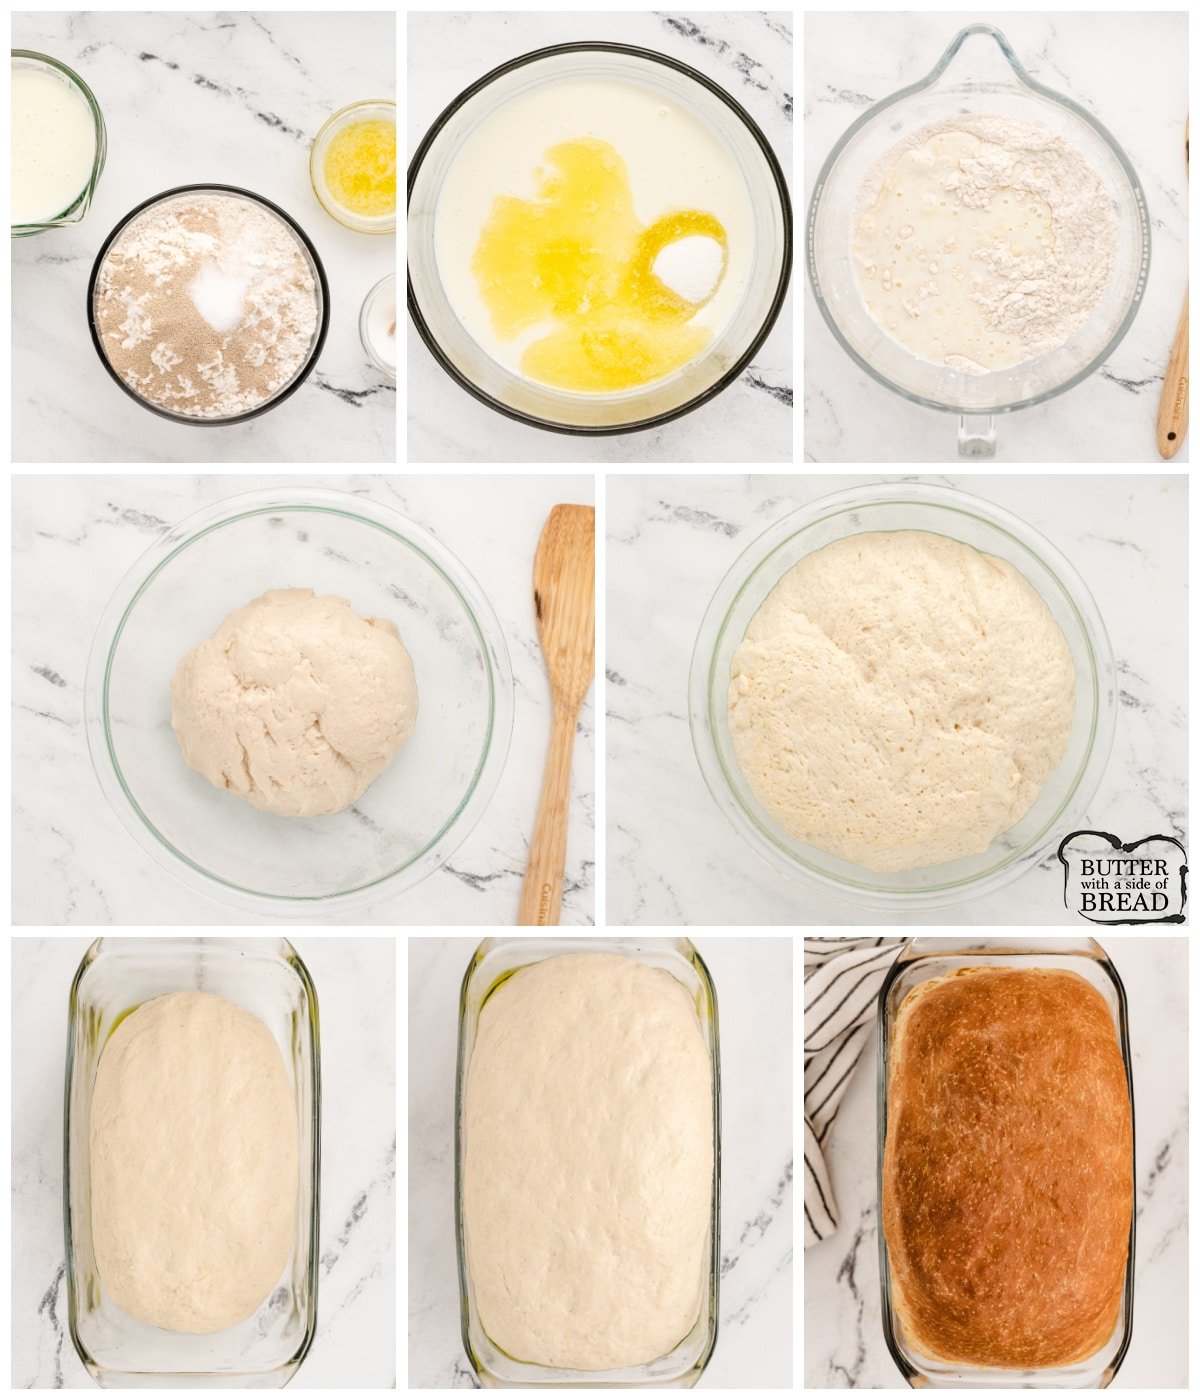
- Dough prep: Start by combining the buttermilk, melted butter and sugar in a large mixing bowl.*
- Then, in a separate bowl, combine the salt, flour and yeast. Whisk the dry ingredients together to combine, then add them to the wet buttermilk mixture in the mixing bowl. Mix all ingredients together until well combined (I use a KitchenAid Mixer.) I like about a quarter sized amount of dough to be sticking on the very bottom.
- If your dough looks a bit dry, add in another splash of buttermilk. Once you have achieved a good consistency, mix the dough on low for about 6-7 minutes (or knead by hand about 10 minutes). Proper kneading is critical to great textured homemade bread!
- First rise: Once the dough is done kneading, proceed to cover the bowl with a towel and let it rise in a warm place for about 1 hour; until the dough has doubled in size.
- Second rise: After the first rise, punch the dough down and knead several times, then shape the dough (I like to roll mine, then tuck the ends under) and place in a greased bread loaf pan. Place the dough back in the warm spot and let it rise for another 30-45 minutes.
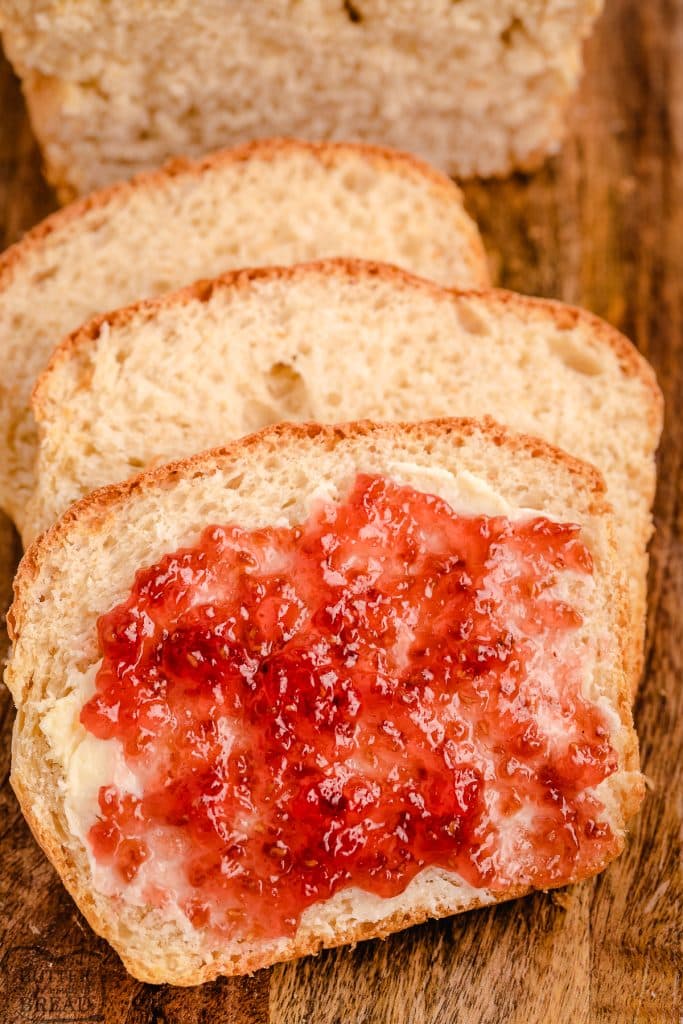
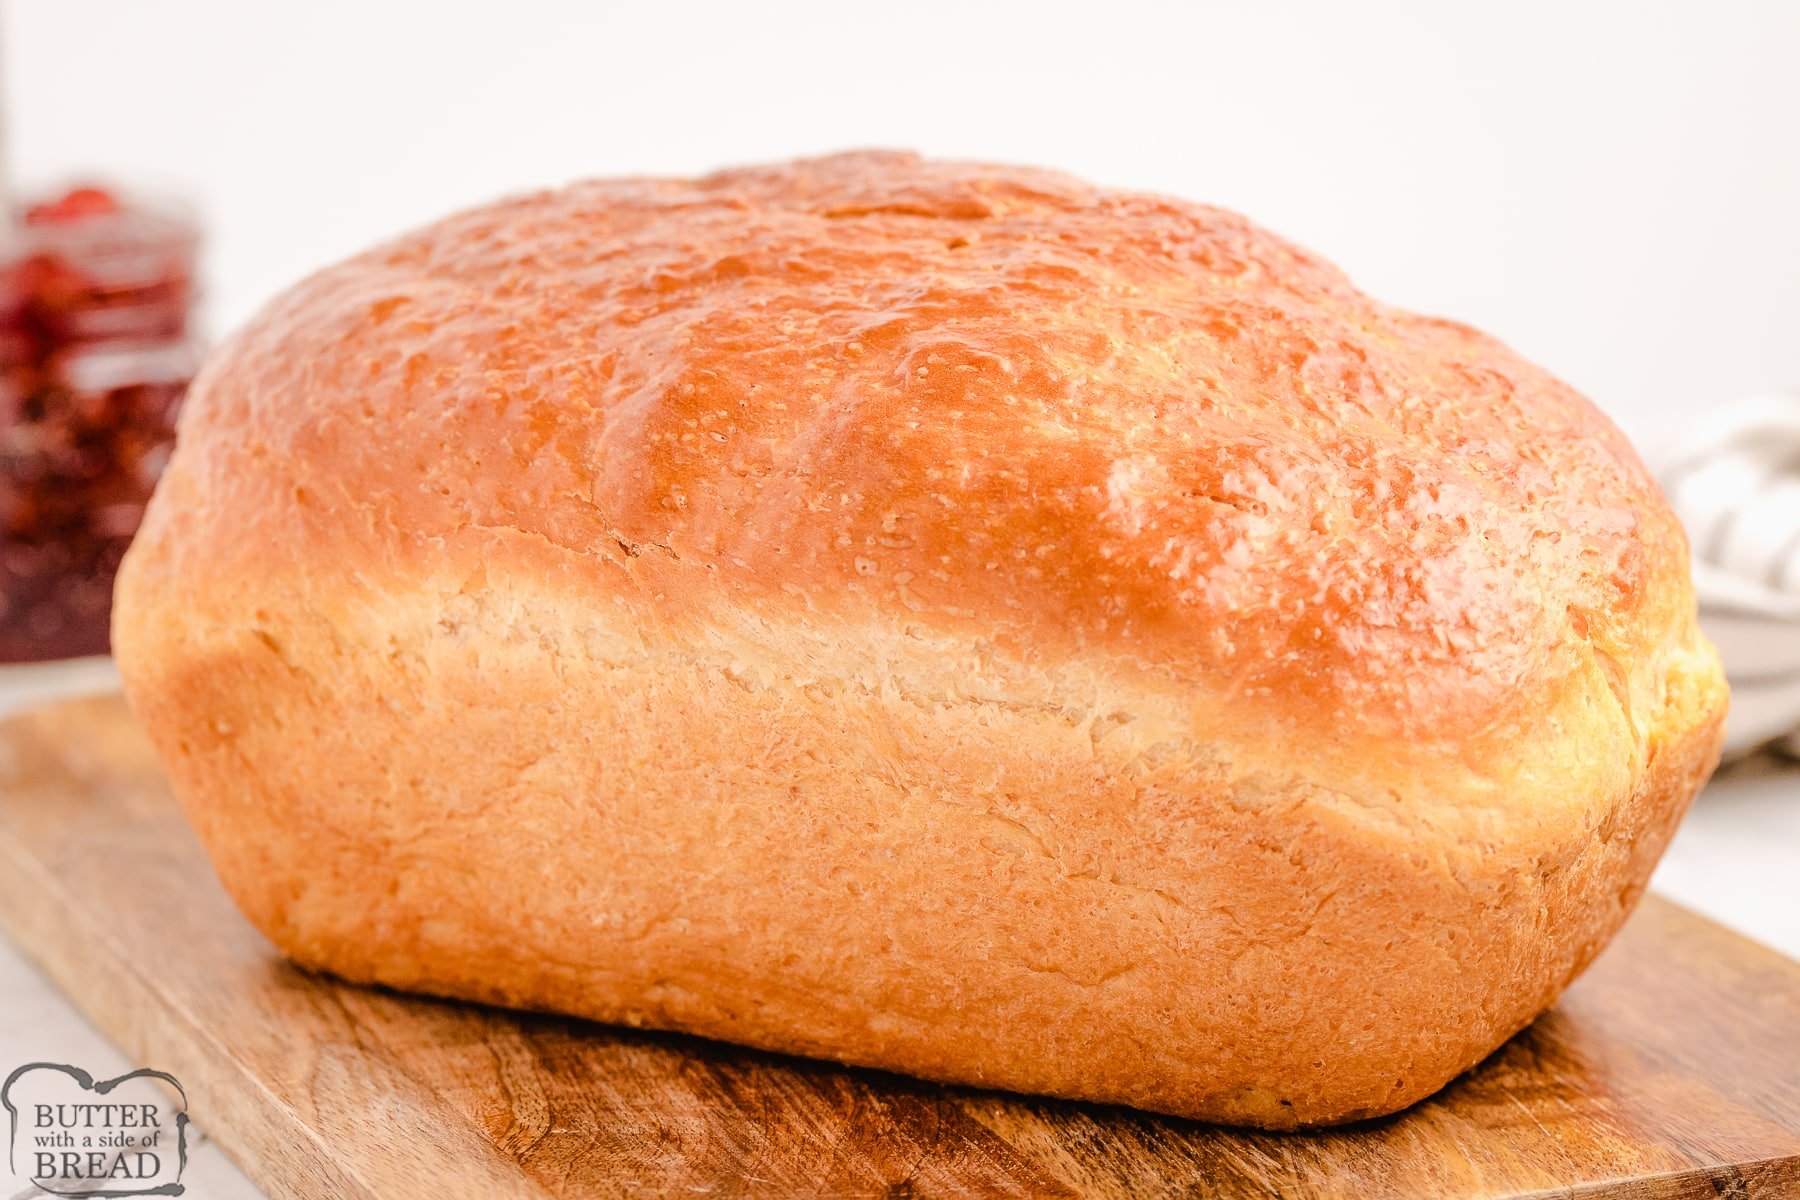
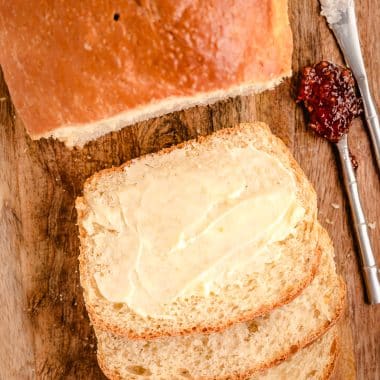
- Bake: Get the oven preheating to 350 degrees F. Once the second rise is complete, bake the dough for about 30-35 minutes, until the top is golden brown. Let the bread cool in the pan for 10-15 minutes after baking is complete, then overturn the pan and turn the loaf out onto a cooling rack or folded towel to finish cooling. When ready to enjoy, slice, serve and enjoy!
Video
Notes
Nutrition
📫 Save this recipe! Send it to your email! 📩
I consent to receiving emails from this site.
HOW TO AVOID SUNKEN BREAD
The easiest and best way to avoid sunken bread is to use a cooking thermometer to check the inside of the loaf. Fully cooked bread will register 200°F on a thermometer. My all-time favorite thermometer is the Thermapen. It’s super fast and incredibly durable. Another great cooking thermometer is the ThermoPop which is a more basic version that works just as well!
BEST BREAD PAN?
I bake a lot of bread and the pans I prefer are either ceramic, glass or cast iron. These pans will bake bread more evenly and release the bread more easily after baking. I don’t like using dark or nonstick pans because the bread cooks unevenly. It darkens on the outside before the bread is cooked on the inside, so the coloring is uneven. Read more about which bread pan is the best here!
How can you tell if bread is fully baked?
I like to use a food thermometer. Mine is digital, so it’s very easy to use. Fully cooked bread will be 190-200 degrees F. Since this bread contains a lot of milk, I don’t take it out of the oven until it reaches 200 degrees F. The top will be golden brown.
Here are even more recipes for homemade bread to try:
- Honey Wheat Bread
- Homemade Hawaiian Bread
- Honey Oat Bread recipe
- Cinnamon Raisin Bread
- Fabulous French Bread
- Homemade Hawaiian Bread
- Potato Bread Recipe
- White Bread Recipe
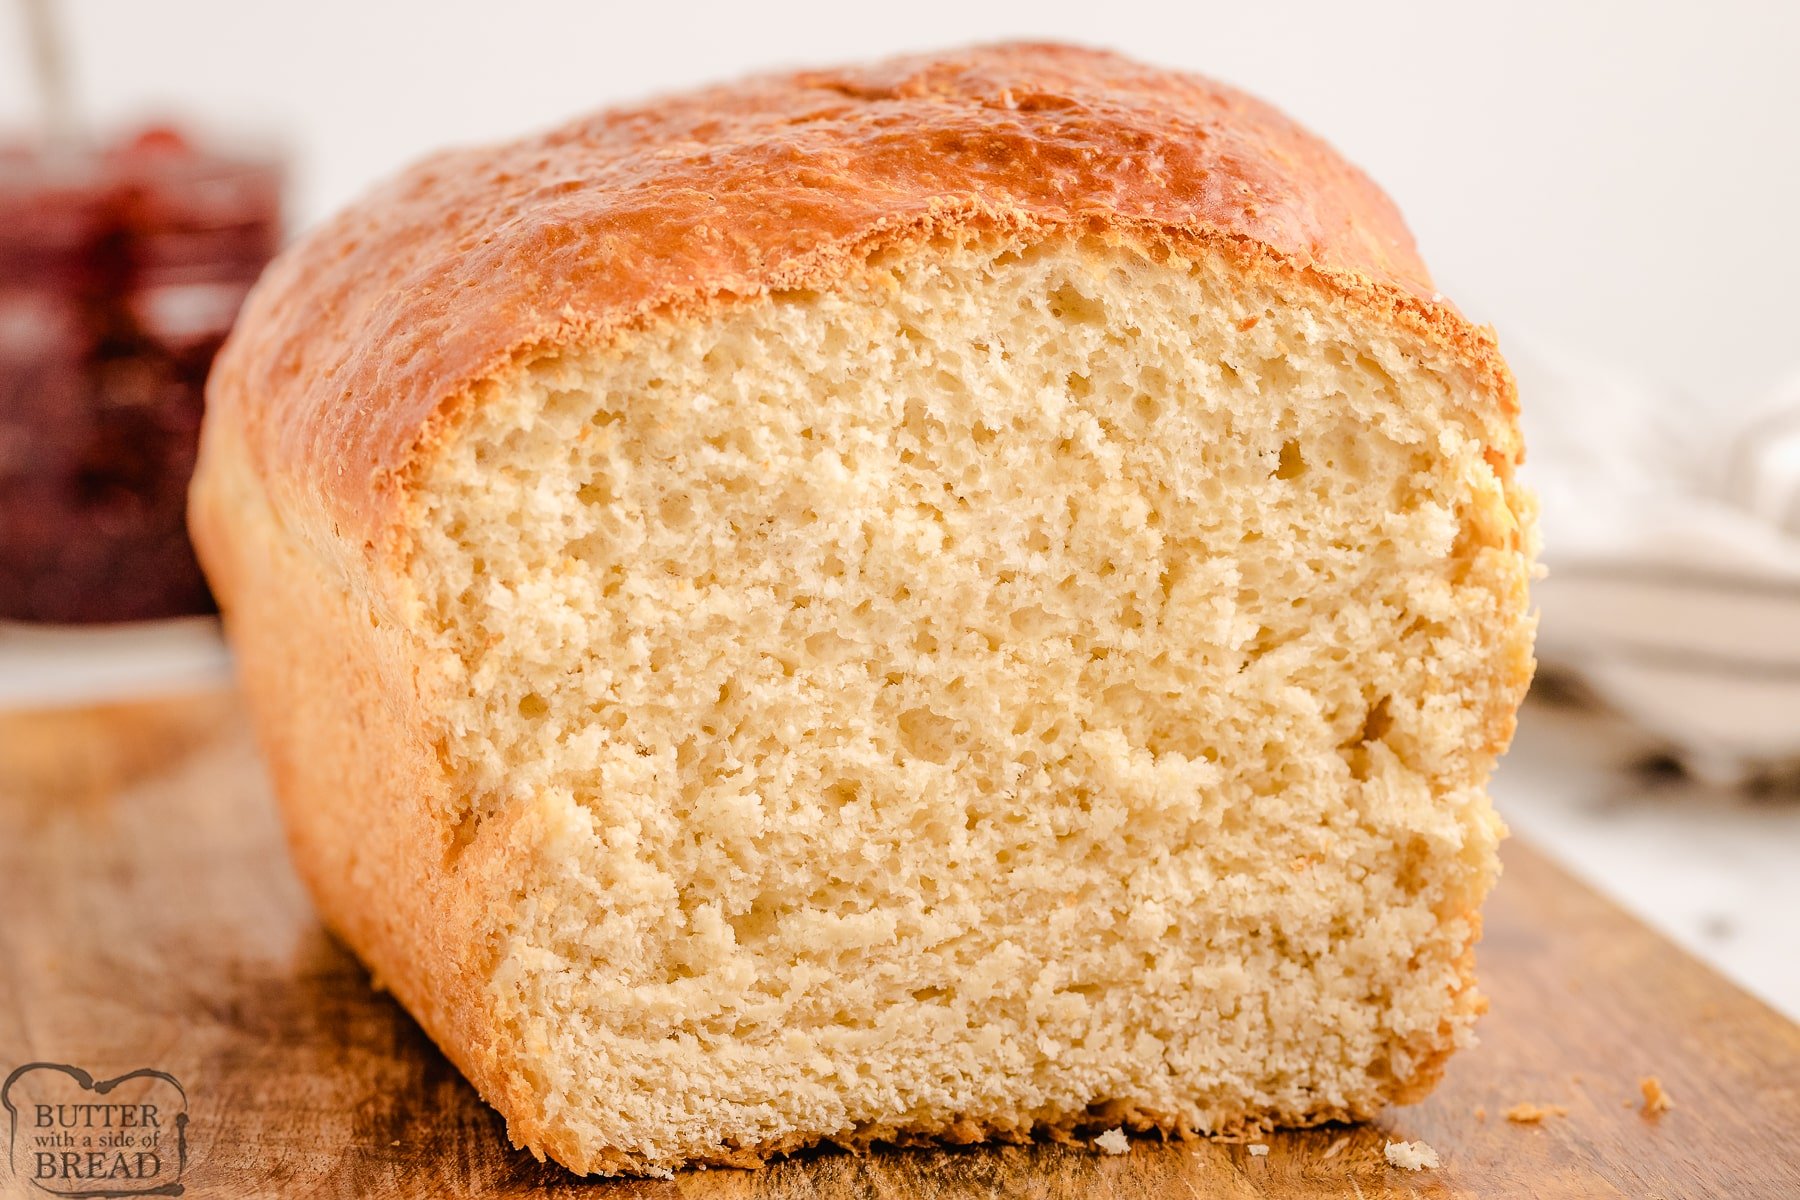
Homemade Buttermilk Bread can now be baked easily and fresh from the comfort of your own kitchen with 6 ingredients! This buttermilk bread creates a soft loaf that has incredible texture & tastes divine!


Emilee says
I plan on making this. Could I make cinnamon swirl with this recipe?
Jessica says
I don’t include a cinnamon swirl with the recipe, but you’re welcome to improvise!
Paula Kraus says
When using the KitchenAid mixer, do I used the dough paddle or the regular mixing paddle?
Jessica says
I use the dough hook!
Nat says
Hi, when you say yeast, do you use the instant rapid rise or the active dry yeast?
Jessica says
I use active dry yeast.
Nat says
Awesome! Thank you for the quick reply!
Pamela says
I don’t have a jar of yeast to measure a TBSP 😞.
So can I make this and the white bread recipe using 1 package of yeast? Because I only buy the packages of 3.
I wanted to make some bread, but wasn’t sure it would work using one package. Thank You for your help! Merry Christmas 🎄💖
Diane N says
1 standard packet of yeast equals 2 1/4 teaspoons.
Pamela says
So I knew that 😐
I want to make this, but my question is still Not answered how many packets of yeast do I need…PLEASE because I only buy the packets of 3, I don’t buy jars!!!
I hope someone will help me with this.
Diane N says
The recipe calls for one Tablespoon.= 3 teaspoons….a yeast packet = 2 1/4 teaspoons therefore you would use one packet (2 1/4 tsp) + 3/4 tsp = 1 Tablespoon.
Kevin Thompson says
I’ve made this bread several times now. I double the recipe to make 2 loaves. The only thing that I do differently is I mix the yeast in with the buttermilk and sugar, then allow the yeast to wake up for 10 to 20 minutes.
I use stoneware, unglazed, for my bread. I always get great results.
Britt says
This has been my goto bread recipe since I found your recipe online. The only change I have made is substituting some of the bread flour with whole wheat flour. I make this once every two weeks, absolutely love it. Thank you
Alison says
We’re so happy to be your go to for your bread recipe! Thank you Britt!
Janice says
My bread machine has an automatic yeast dispenser, so I don’t place the yeast directly into the machine. Would it work to use the dispenser vs. placing the yeast in a small well in the flour?
Jessica says
I’m not sure Janice- I imagine it’d work just fine, but my bread machine isn’t like that.
Lauren says
Hi! I’m so excited to try this recipe out today. If you only have instant yeast, would you still do two roses? Beggars can’t be choosers right now with all the stores out of yeast, but I managed to snag a large package of instant, so that’s all I have. Thanks!
Jessica says
I’d honestly just follow the recipe! Watch your rises- if the dough is getting too tall, stop it and move to the next step. : )
Rachel Wardle says
When I put this in the bread machine what size loaf setting should I use?
Jessica says
I use a light white bread setting.
Janis says
Great bread recipe! Very easy- turned out very nice texture and flavor- thanks!
Darla says
This buttermilk bread recipe is ABSOLUTELY WONDERFUL!!! I have made it several time, and it come’s out perfect and the buttermilk adds so much flavor. Not your normal store bought bread. I would give it 10 star’s if I could. Thanks
Alison says
Thanks so much Darla! Glad you enjoyed it!
Danielle says
Does this freeze well?
Jessica says
Yes, it does! I recommend eating it within a month and wrapping it in wax paper/ parchment paper, then storing in a ziplock bag.
Jason says
My families favorite bread recipe!!
One addition we have made is to roll out flat before final proof and add a brown sugar and cinnamon mixture and roll up and then proof.
After the bread is done let cool for 20 min then put a thing glaze of powdered sugar, water and vanilla over the top.
Absolutely the best cinnamon swirl bread EVER!!
Jessica says
Oh my word, THAT IS THE BEST IDEA EVER!! I might have to post a new recipe using your suggestions! I LOVE IT. THank you!
Mrs. S. says
I made this bread on Saturday. It was great! My husband absolutely loved it, because it was indeed really what he calls “fluffy”. I usually make only no-knead breads, but this bread was worth the time spent kneading.
Eileen says
why do you not need to active your yeast for this bread?
Jessica says
You can if you’d like, but it’s just not part of this specific recipe!
David smith says
No where does it say the buttermilk should be warmed before mixing .
Please explain using cold liquids for a short rise time ( hour or so ).
Jessica says
I make sure to rise the bread in a warm place. It works out great! If you’re worried you can warm the buttermilk a bit. Just watch the rise so that you don’t overdo it.
Tammy says
Does this make one loaf? If so, can I double it or only make it one at a time?
Jessica says
You can double it- just make sure whatever mixer you’re using is large enough!
Marleina says
I really love your homemade bread recipe and I had found in the comments a person had frozen one of the loaves as that recipe makes two.
Anyway, I’m wondering if I double this, can I freeze one like I did last time with the other recipe?
Jessica says
You sure can! Just make sure your mixer can accommodate a double batch!
Marleina says
By “mixer” you mean me and my hands, right? 🤣
I now always double this, probably because I am the kneader and it takes alot of work. I freeze one before the second rise. As long as I bake it sooner rather than later, it comes out great.
I really love your recipes and this is the website I search first when I’m looking for something. Thank you so much for sharing your knowledge!!
Kaylie says
Thank you so much, Marleina! I love that you knead your bread by hand! That’s the way my grandma always did it, the way I was taught and I love to do it myself when I have the time.
Anne says
I had some buttermilk left over from another recipe so I decided to make some buttermilk bread which I’ve never made before. This recipe sounded easy and good, so I decided to try it. This is one of the best breads I’ve ever had! I’ve already made it twice, and will make many more loaves. I make the dough in my bread machine, then take it out and put it in the bread pan for one more rise before baking it.
I’ve been cooking a lot more during this coronavirus shelter in place, and I am so glad I discovered this recipe! It’s been a challenge finding yeast and flour in the stores, but this is definitely worth the search. Thank you so much!
Joy says
How many lbs is this bread for my bread machine?
Jessica says
The bread machine recipe yields a 1-lb loaf.
Stephanie D Collins says
I LOVE this recipe…
Jessica says
Me too Stephanie!!
Becca says
Do you let the yeast activate first?
Jessica says
Yes, I always proof my yeast!
Michael Greene says
New to making bread … do you proof the yeast in heated buttermilk first .. A little confused as the recipe calls for whisking dry ingredients including yeast and then putting them into buttermilk and butter?
Michael
Jessica says
I don’t proof the yeast for this one!