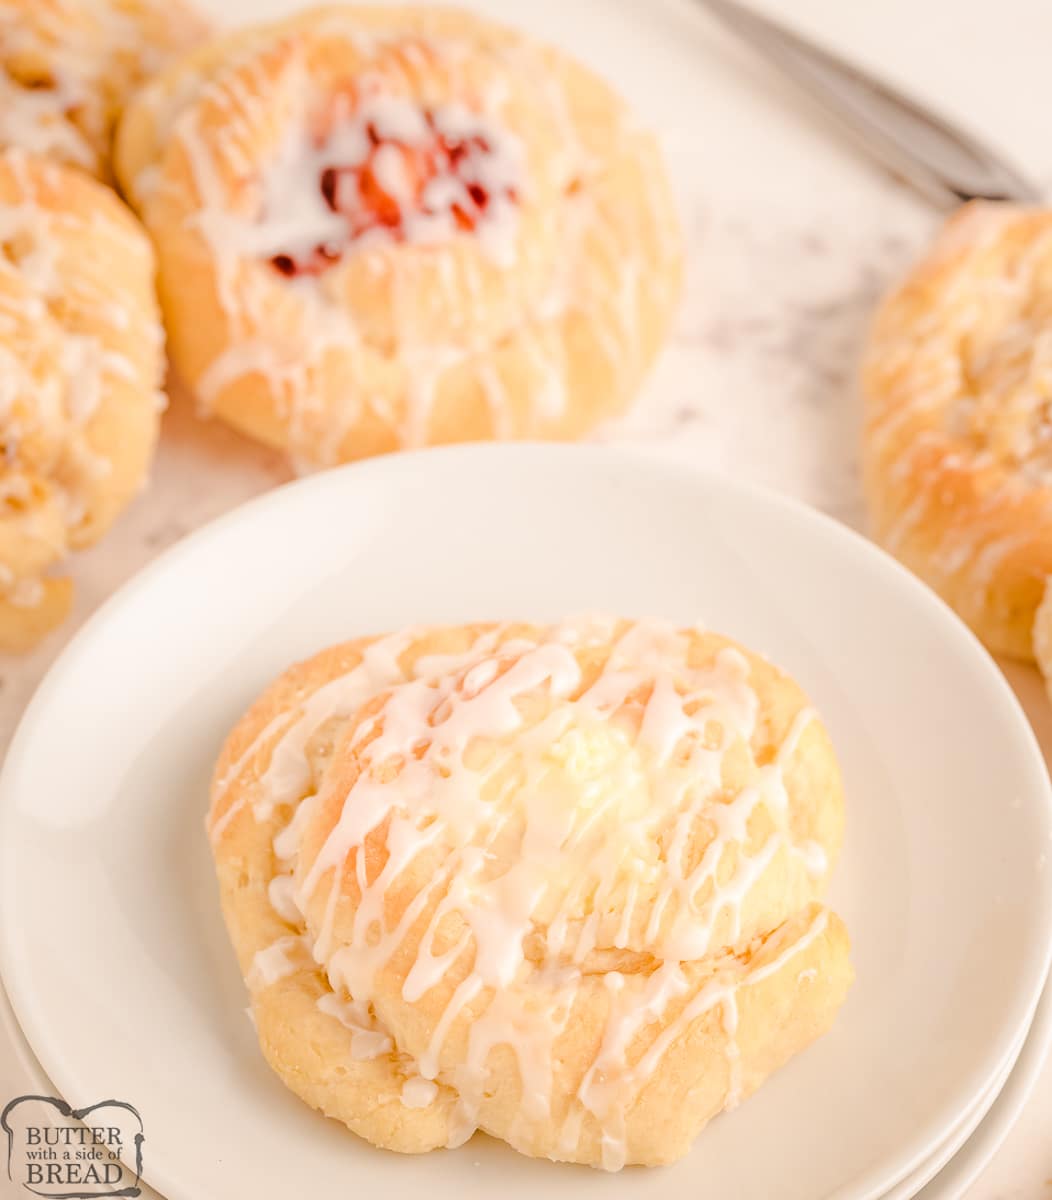
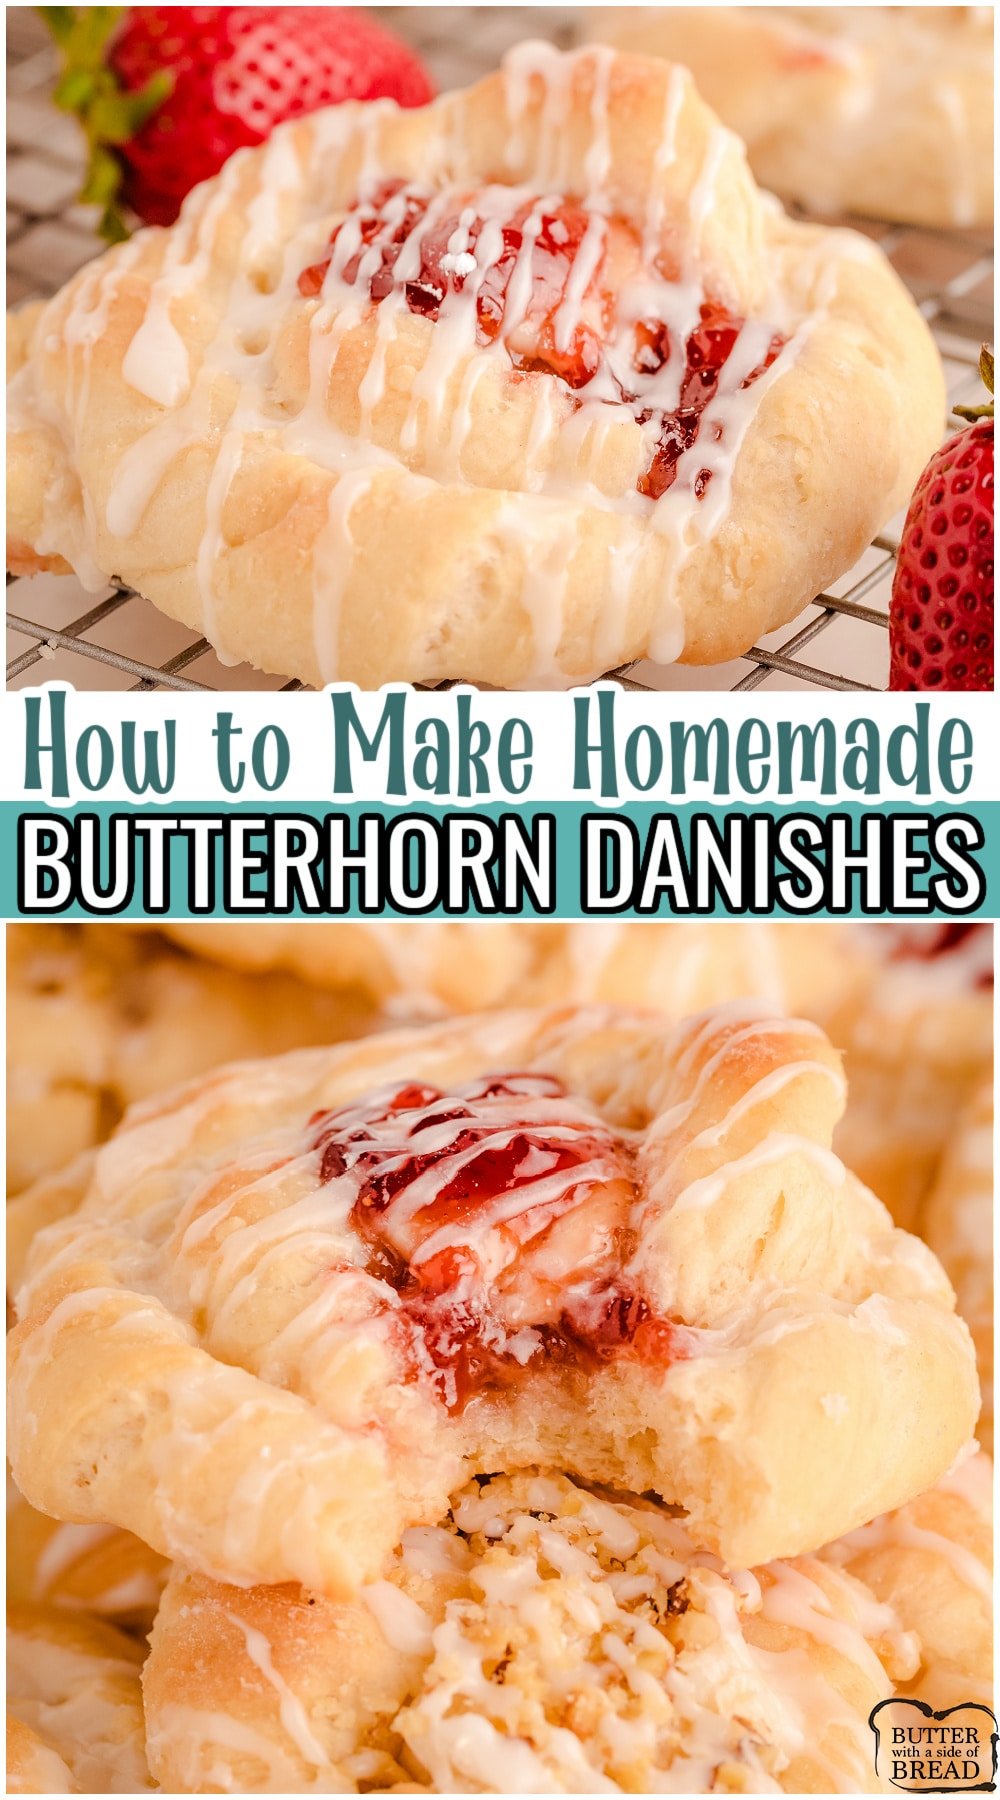
Homemade Butterhorn Danishes made with classic ingredients & beyond delicious! Simple overnight recipe that is both a nostalgic & satisfying breakfast pastry.
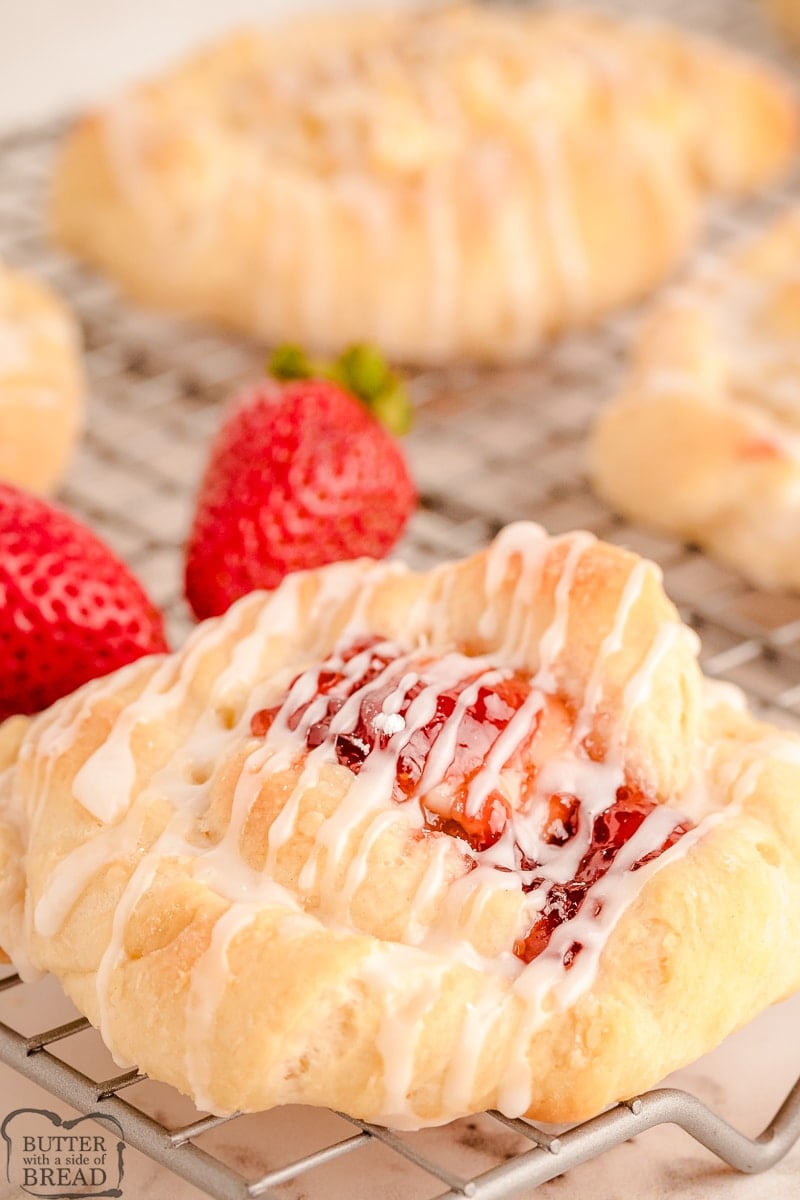
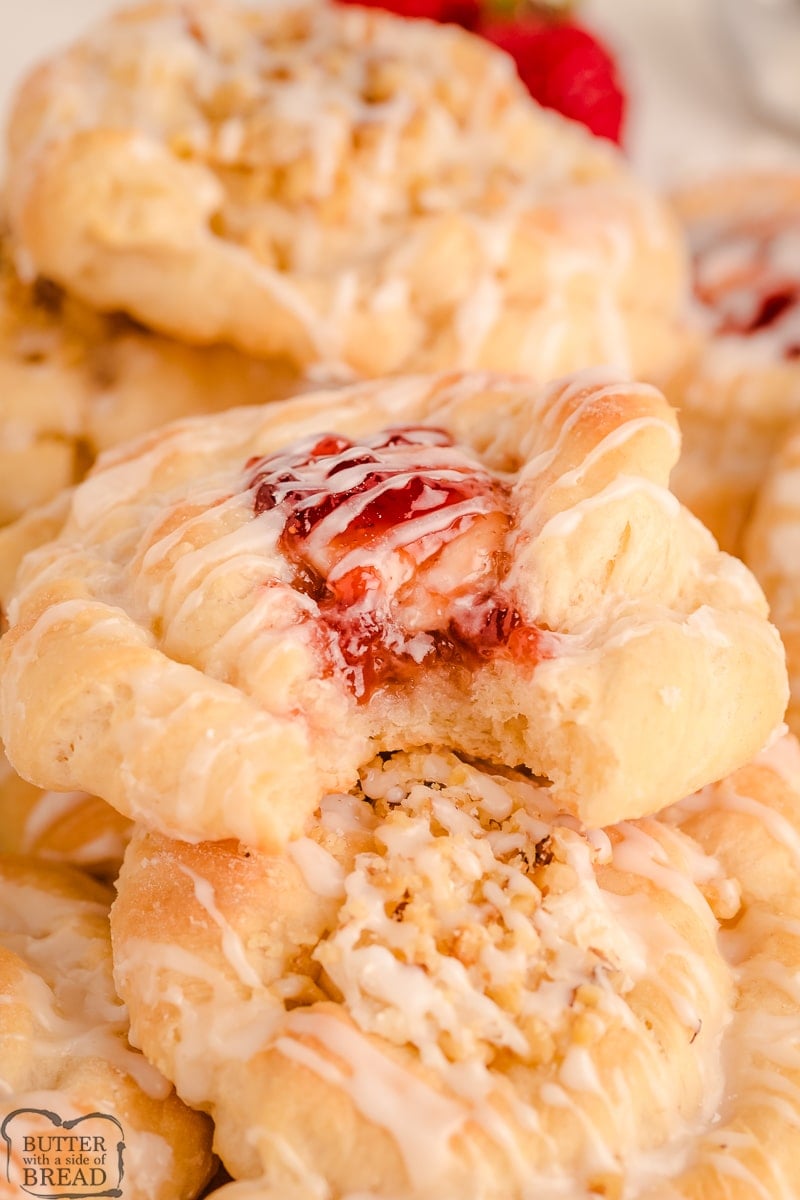
Find out how to make homemade butterhorns. These delicious breakfast treats are great on their own or filled with strawberry cream cheese and a maple walnut filling!
This butterhorn danish recipe is made 100% from scratch making it perfect for those wanting something homemade. While the storebought butterhorns are great and nostalgic, homemade butterhorn danish pastry is definitely the way to go. Nothing beats the wonderful taste of homemade yeast breads.
What are butterhorns?
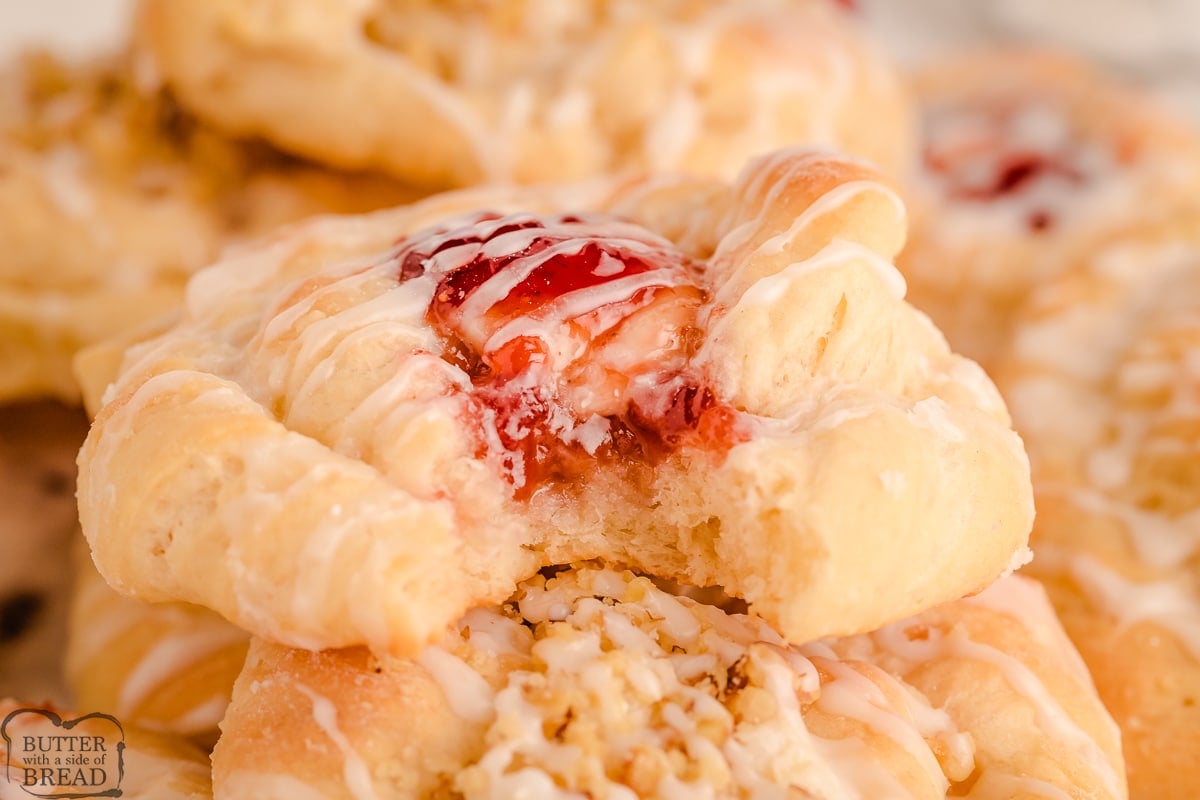
Butterhorns are a tasty yeast bread pastry that are reminiscent of a crescent roll in texture and appearance but they’re made to hold in a wonderful filling. they’re perfect for filling with anything from fruits to cream cheese or even custards and are then topped with a powdered sugar glaze. A perfect sweet treat to enjoy in the morning, but always taste better when warmed. Yum!
While the process to make these danish pastries isn’t difficult, it is a little time consuming. About 4 to 8 hours of waiting for the dough to rest, it’s a great recipe to prep before bed! All of that time needed to make these butterhorns is worth it! They’re soft, buttery, and mouthwateringly good!
Homemade Butterhorn Danish Ingredients
-Yeast: You will need 1 tablespoon of yeast, this is about 2 packets worth.
-Sugar: Use 1 teaspoon of granulated sugar to help feed the yeast so that the dough proofs nicely. You will also need another 2 1/2 tablespoons of sugar elsewhere in the recipe.
-Water: You will need 1/4 cup of warm water to help the yeast proof and to help moisten your dough. Remember not to let the water get above 110 degrees F or you will kill the yeast.
-Milk: Use 1/2 cup of milk to moisten the dough and add a nice texture and richness to the dough.
-Egg: Adding in one egg will help to bind the dough together well.
-Flour: The base of the butternhorn dough recipe is 2 cups of all-purpose flour.
-Salt: Use 1/2 teaspoon of salt to help enhance the flavors in the dough.
-Butter: Adding in 1/2 cup of butter (one stick) will make it more melt-in-your-mouth good thanks to the added fats providing moisture.
For the filling ingredients please see the recipe card below.
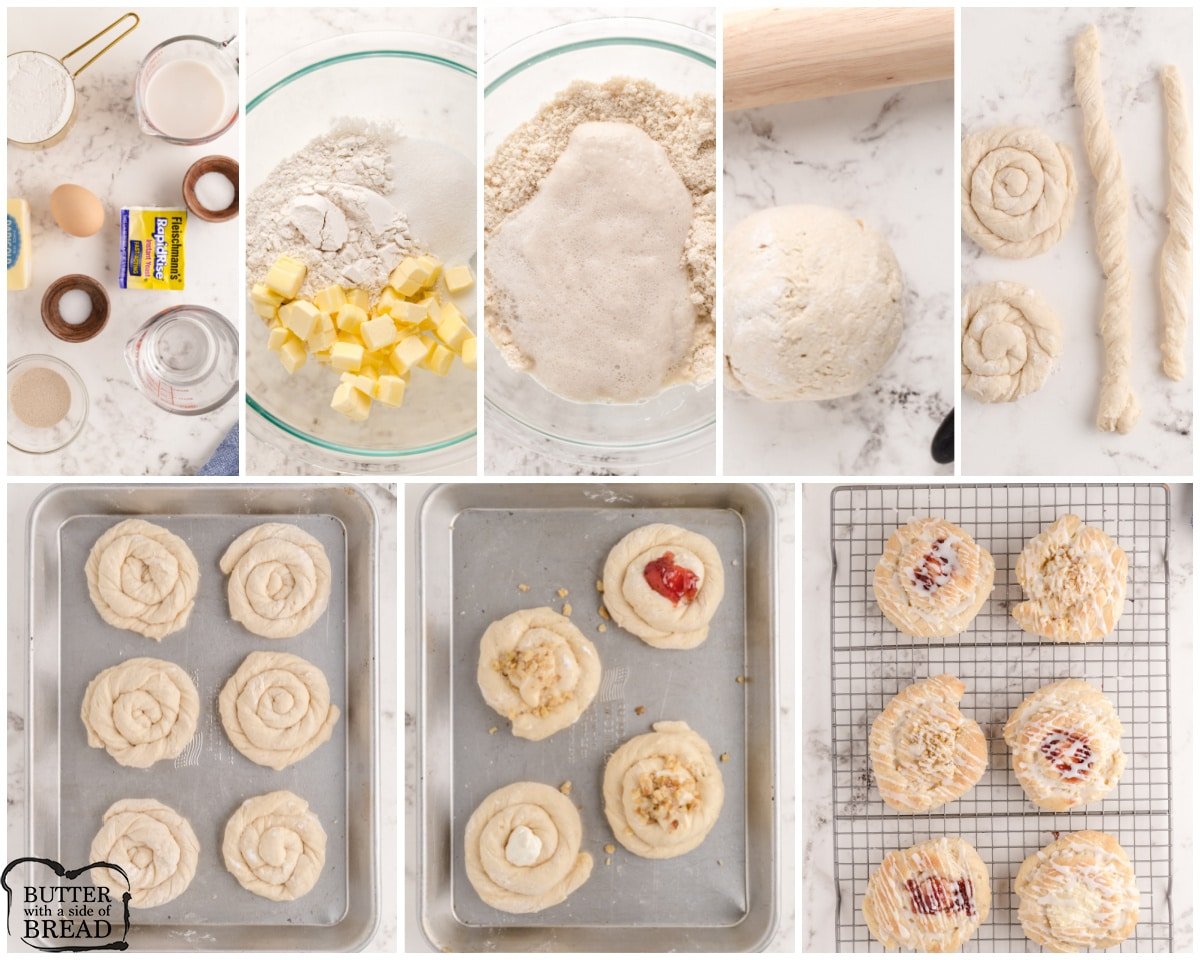
How to Make Butterhorn Danishes
Put the yeast and sugar in a small bowl with the warm water and let it sit for 10 minutes.
In a bowl, measure out the flour, second amount of sugar, and salt. Cut in the butter using a pastry blender. The mixture should be well blended afterward. (This means that you shouldn’t be able to see any clumps of butter.)
Place milk in a liquid measuring cup or a bowl and then microwave for about 45 seconds to warm it up.
Add the slightly beaten egg to the milk. Note: If your milk is too hot you will cook the egg (think scrambled eggs) You want the milk warmed, not hot to the touch-big difference!
Add in the yeast mix and the milk and egg mixture, into the dry ingredients.
Stir well until it is all blended together. The end result is a cross between a batter and a kneadable dough. Please resist the urge to add more flour (I know it’s tempting). Cover and refrigerate overnight.
After the dough has chilled sprinkle flour on your counter.
Roll the dough out to 1/2 inch thickness. The dough is sticky, but it’s easiest to work with when it’s cold, so don’t remove the bowl of dough from the fridge until you are ready to use it.
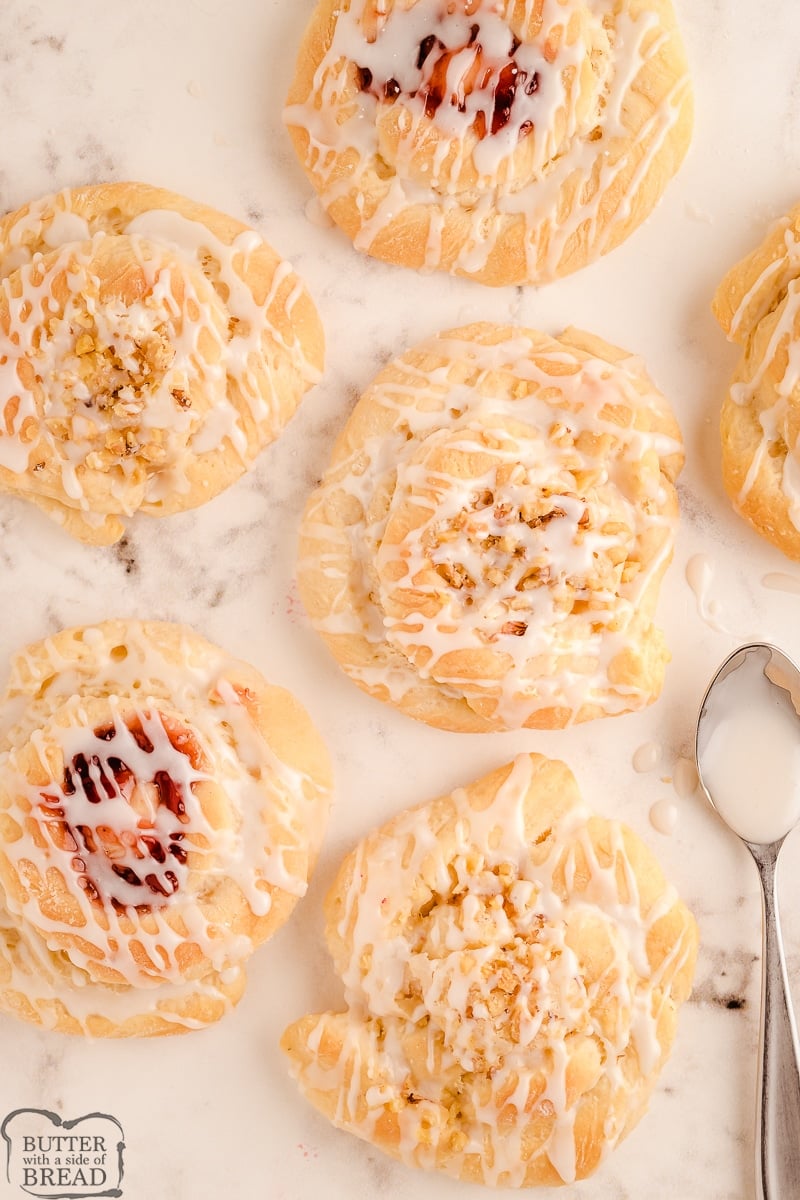
Use a pizza cutter to slice 3/4 inch strips. Twist them, starting at one end, and then roll it up into a circle. I was nervous about this part, but it’s actually really fast and easy. I was able to get about 20 rounds of varying sizes, but if you pay more attention to getting them uniform in size, you may be able to make even more.
Put the twists onto a greased pan.
Let rise for about an hour or until doubled in size. (I turn my oven on to preheat for about 2 minutes, then turned it off. I let my rolls rise in the warm oven for 15 minutes.
After the dough rises, add the toppings of choice (recipe instructions for strawberry cream cheese or maple walnut included below).
Bake at 350 for about 10-15 minutes. Watch carefully for browning after about 7-8 minutes, if they’re getting too brown, place some foil over the top. (Just lay it there, don’t tuck in edges or anything).
Make a powdered sugar icing by mixing 1 cup of icing sugar, 1/2 teaspoon of vanilla, and enough milk to make a spreadable consistency. Drizzle over butterhorns as desired and enjoy!
How to Make Strawberry Cream Cheese and Maple Walnut Fillings
For the Strawberry Cream Cheese:
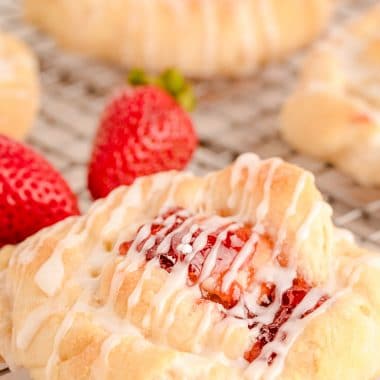
Place 1 teaspoon of cream cheese into the center of the danish. Top with about 1 tsp of strawberry jam. Note, you can leave out the strawberry jam if you just want them to be cream cheese-filled. You can also use a different fruit jam for a flavorful variety.
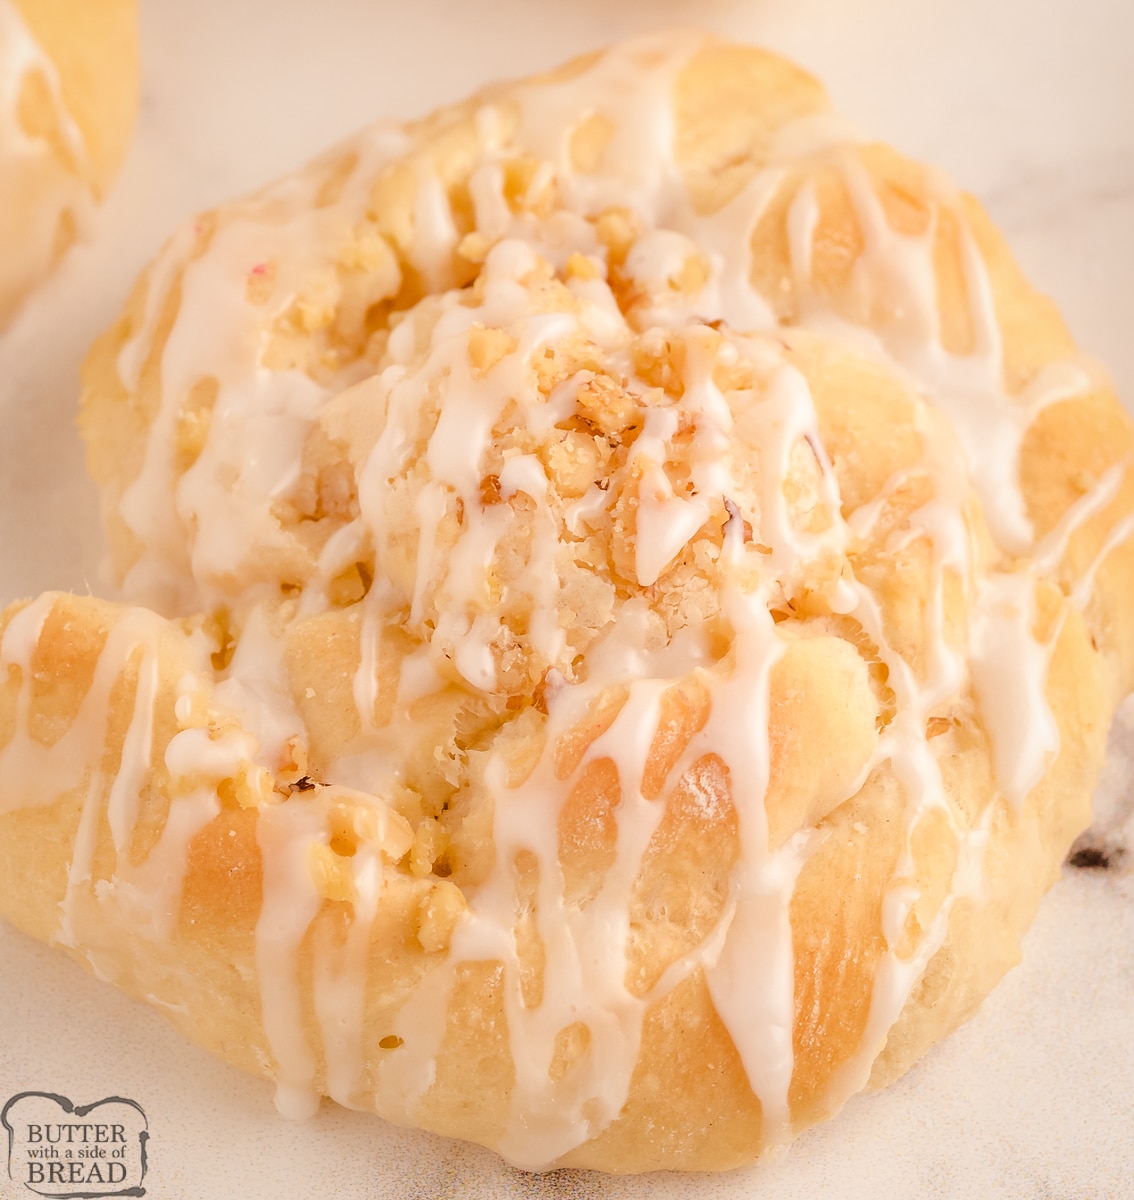
For the Maple Walnut Danishes:
Finely chop about 1/4 cup of walnuts. Instead of the powdered sugar icing above, make an alternate one by using 1 cup of powdered sugar, and 2-3 tablespoons of real maple syrup. Whisk to combine, adding in more maple syrup until it’s a spreadable consistency.
After the danishes have finished baking, let them cool for about 10 minutes. Top with the maple syrup glaze and sprinkle walnuts over the top.
Enjoy!

Butterhorn Danishes with Strawberry Cream Cheese or Maple Walnut Filling
Ingredients
For Strawberry Cream Cheese Filling
- 3 TBSP strawberry jam
- 3 TBSP cream cheese
For Maple Walnut Filling
- ¼ cup chopped walnuts finely chopped
- 2 TBSP maple syrup
- 1 cup powdered sugar
Glaze
- 1 cup powdered sugar
- 1 TBSP milk
- ½ tsp vanilla extract
Instructions
- Put yeast and sugar in bowl add the warm water and let sit for 10 minutes.
- In a bowl, measure out the flour, second amount of sugar and the salt. Cut in the butter using a pastry blender. The mixture should be well blended.
- Place milk in a liquid measuring cup or bowl and microwave for about 45 seconds to warm it up. Add the slightly beaten egg.
- Combine the yeast mixture & the milk/egg mixture into the dry ingredients. Stir until it's well blended. The end result is a cross between a batter and a kneadable dough. Don't add more flour.
- Cover the bowl in plastic wrap and then refrigerate for at least 4 hours or overnight. The dough will increase in size a bit, so make sure your bowl is larger than the mound of dough.
- After the dough has chilled sprinkle flour on your counter. Roll the dough out to 1/2 inch thickness. The dough will be sticky, but it's easiest to work with when it's cold, so don't remove the bowl of dough from the fridge until your ready to use it.
- Use a pizza cutter to slice 3/4 inch strips. Twist them, starting at one end and then roll it up into a circle.
- Put the twists onto a greased pan. Let rise for about an hour or until doubled in size. (I turn my oven on to preheat for about 2 minutes, then turned it off & had my rolls rise in the warm oven.)
- After the dough rises, add the toppings of choice. (See below)
- Bake at 350 for about 10-15 minutes. Watch carefully for browning after about 7-8 minutes, if they're getting too brown, place some foil over the top. (Just lay it there, don't tuck in edges or anything).
- Make a powdered sugar icing by mixing 1 cup of icing sugar, 1/2 teaspoon of vanilla and enough milk to make a spreadable consistency. Drizzle over butterhorns as desired and enjoy!
For Strawberry Cream Cheese Filling
- Place 1 teaspoon of cream cheese into the center of the danish. Top with about 1 tsp of strawberry jam. Note, you can leave out the strawberry jam if you just want them to be cream cheese filled. You can also use a different fruit jam for a flavorful variety.
For Maple Walnut Filling
- Finely chop about 1/4 cup of walnuts. Instead of the powdered sugar icing above, make an alternate one by using 1 cup of powdered sugar, and 2-3 tablespoons of real maple syrup. Whisk to combine, adding in more maple syrup until its a spreadable consistency.
- After the danishes have finished baking, let them cool for about 10 minutes. Top with the maple syrup glaze and sprinkle walnuts over the top. Enjoy!
Nutrition
📫 Save this recipe! Send it to your email! 📩
I consent to receiving emails from this site.
What Are Some Topping Ideas for The Butterhorns?
Besides the obvious strawberry and cream cheese or maple walnut toppings included in this recipe, there is also a ton of others. Everything from sour cream to lemon curd and mixed berries can be great!
Can I Make Butterhorn Pastries in Advance?
Yes, you can make, bake and have them completed up to a few days in advance of eating. Just make sure that you keep them properly stored so that they don’t spoil too quickly, giving you more time to enjoy them.
How to Store Homemade Butterhorns with filling
Place your butterhorns in a Tupperware style container in an even row. Place some parchment paper over the top and layer on more, continuing with this pattern until all butterhorns have been placed in the container. Then store in the fridge for up to a few days.
Can I Reheat Butterhorns?
Reheating a butterhorn after you pull it from the fridge is a great way to enjoy it! I like to place one or two on a plate and stick them in the microwave for about 15-30 seconds (checking at the 15 second mark). It really doesn’t take long to get them warmed through, but they become so soft, tender, and extra delicious when they’re warm. Yum!
If You Like Homemade Butterhorns, You’ll Love These Other Breakfast Pastries and Treats Too!
- Raspberry Puff Pastry Donuts
- Pumpkin Scones
- Blackberry Vanilla Scones
- Thrifty Doughnuts
- Amazing Blueberry Muffins
- 15 Minute Cinnamon Rolls
- Homemade Strawberry Glazed Donuts
- Lemon Raspberry Streusel Muffins
- Cranberry Orange Scones
- Easy Homemade Donuts
- Blueberry Cheesecake Muffins
- Raspberry Cream Cheese Crescent Ring
- Easy Valentines Donuts
- Cinnamon Rolls Without Yeast
- Easy 15 Minute Maple Bars
These delicious homemade butterhorns are going to become a staple in your home. With such a soft and buttery roll filled with the best options, you’re going to love these strawberry cream cheese and maple walnut butterhorn danishes.
Homemade Butterhorn Danishes made with classic ingredients & beyond delicious! Simple overnight recipe that is both a nostalgic & satisfying breakfast pastry.


Michelle Lunt says
Oh my goodness girls, you had me at butter! Ha ha. I LOVE the name of your blog & I'm impressed that you can run TWO blogs. Wow!<br /><br />Warmly, Michelle
Ruthie Armstrong says
SO, now that I'm done drooling all over my keyboard… I am pinning! xoxo~ Ruthie
Bulbul hotels says
i love to your recipes , because you have mentioned lots of recipes which is i love one of them thanks for sharing me
Jenn3128 says
Those look like they'll ship well to CA…specifically the Livermore area…
Diana - FreeStyleMama says
WOW!
Lisa says
Oh, my goodness! Just coming over to visit from Addicted to Recipes and these have me wishing it wasn't after midnight! Wow! They look so delicious. 🙂 Please stop by and link them up with my "Try a New Recipe Tuesday." I'd love to have you join us. 🙂 http://our4kiddos.blogspot.com/2013/02/try-new-recipe-tuesday-february-19.html
Fifi says
yummy!! I love baking and I think I would love to bake some of these danishes!!<br /><br />Newest follower!!
Stephen + Natalie @ Life Made Simple says
Yum! These look amazing! I will definitely have to pin this for later! Stopping by from BYBC13 🙂
Rita says
I love butterhorns! These look yummy. Thanks for sharing.
Wren @ for the Love of Lillian says
My grandma always had Butterhorns! I'm making these tomorrow for sure! Thank you for sharing! ~Wren
Jackie Kocurek says
These look great! I found you on Foodie Friends Friday. I am starting a blog party and hope you will join me! http://rediscovermom.blogspot.com/2013/02/tried-and-true-recipes-from-our-families.html
Spatulas On Parade - Dawn says
oh gosh I think I just drooled on the keyboard! These are amazing. Pinned and shared. thanks for linking with us at Foodie Friends Friday this week.<br />Dawn host and blogger<br />http://spatulasonparade.blogspot.com
melissmerr says
I tried these and they turned out like pancakes…didn't keep their shape. I think they definitely need more flour but I resisted the urge. Probably won't try these again. Such a disappointment. I was looking forward to these. 🙁
Jessica Williams- UDD, Butter with a Side of Bread says
MelissMerr- Hmmm- was it really humid the day you baked them? Outside weather conditions can really affect dough! I live in a really dry state, so I don't have to worry about it as much, but even still, when it rains, I do tend to add a tad more flour to dough. Try them again- the blog I got the recipe on had tons of people who'd tried the recipe out, so I'm not nearly the only one
Pam Williams says
If you are not familiar with bread making you may have made a few mistakes unknowingly. Big one is the handling of yeast. Make sure the yeast is not put in water that is to hot or you will kill it.
Karen says
My questions is: You say roll out 1/2″ but do not give the rectangular size. I guess this makes 18. How long should the pieces be before twisting and putting in a circle. I want to make these but have questions about the sizes.
Nicole says
The actual rectangular size will vary as some folks may need to add additional flour into the mix. Its pressed into a rectangle and the long side of it should be about 14 inches in size so the short end is roughly 10-12 inches, but again..it varies.. I usually get about 20 danishes out of this recipe.
CafeRenee says
Best Danish recipe! So easy to make and tastes better than from a bakery or grocery store!