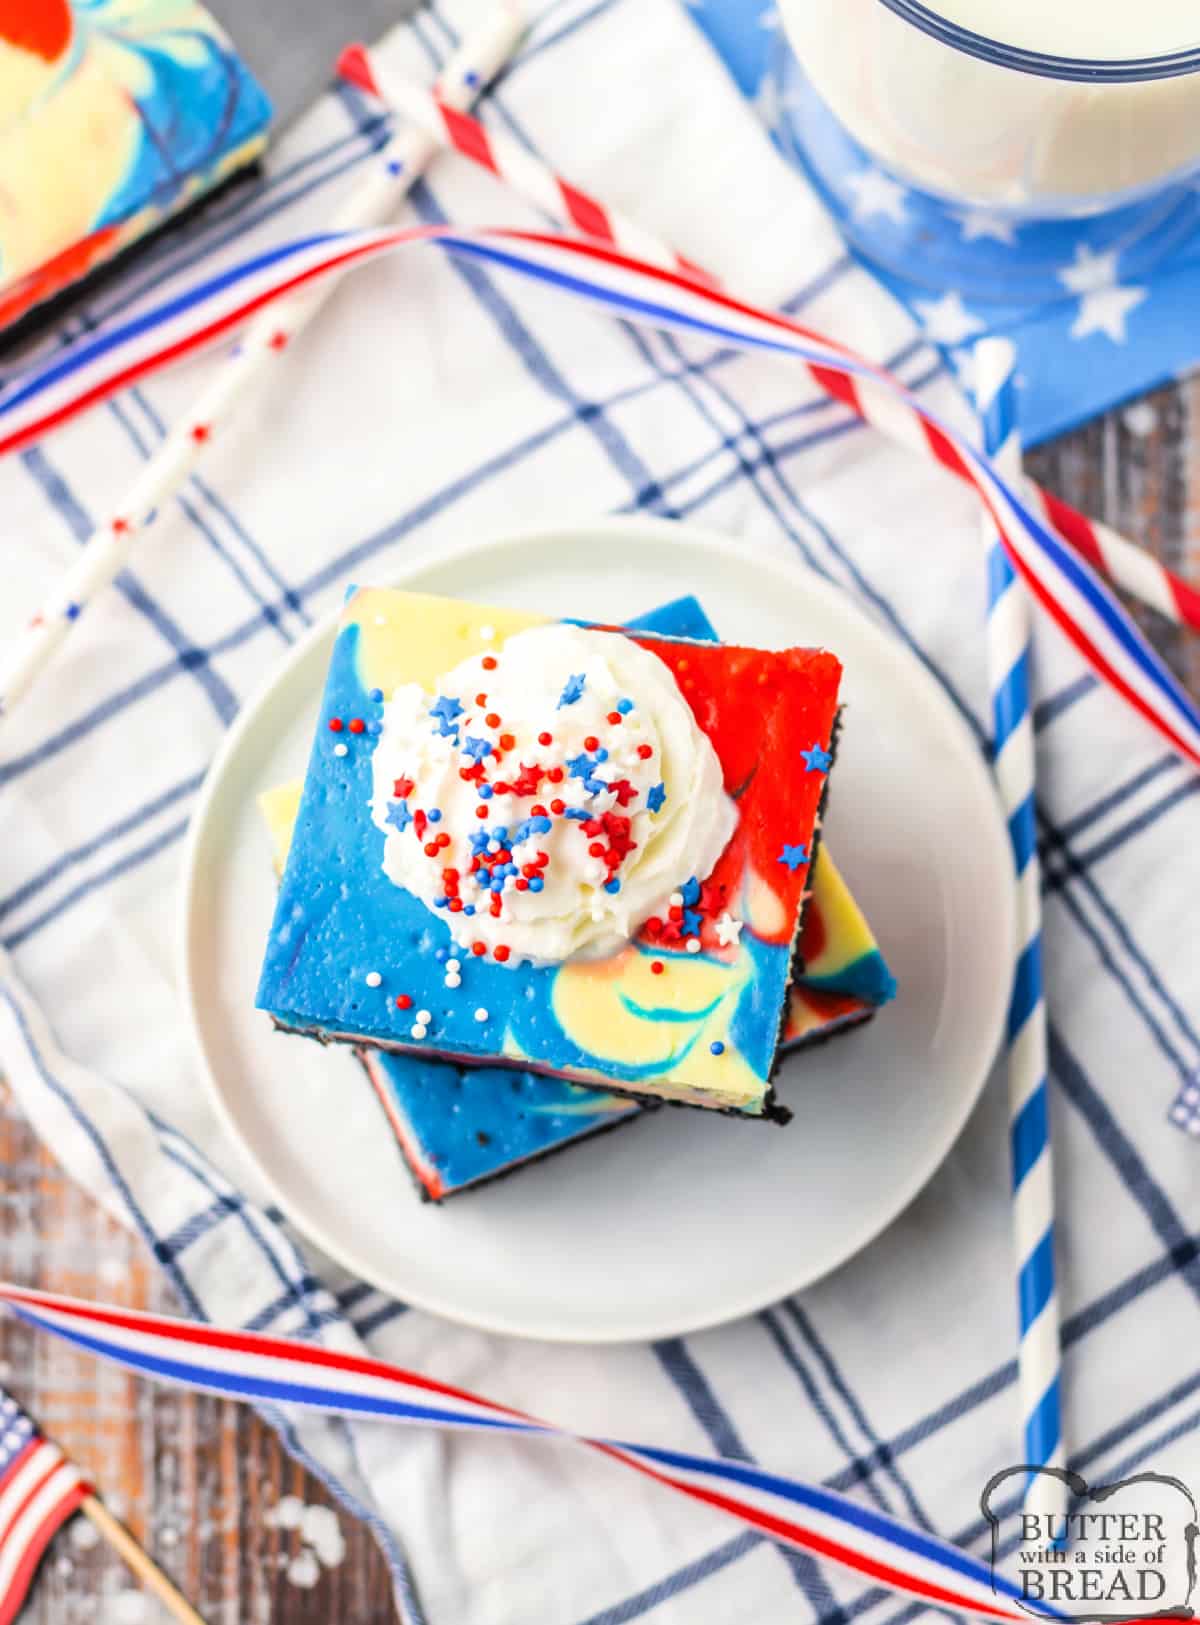
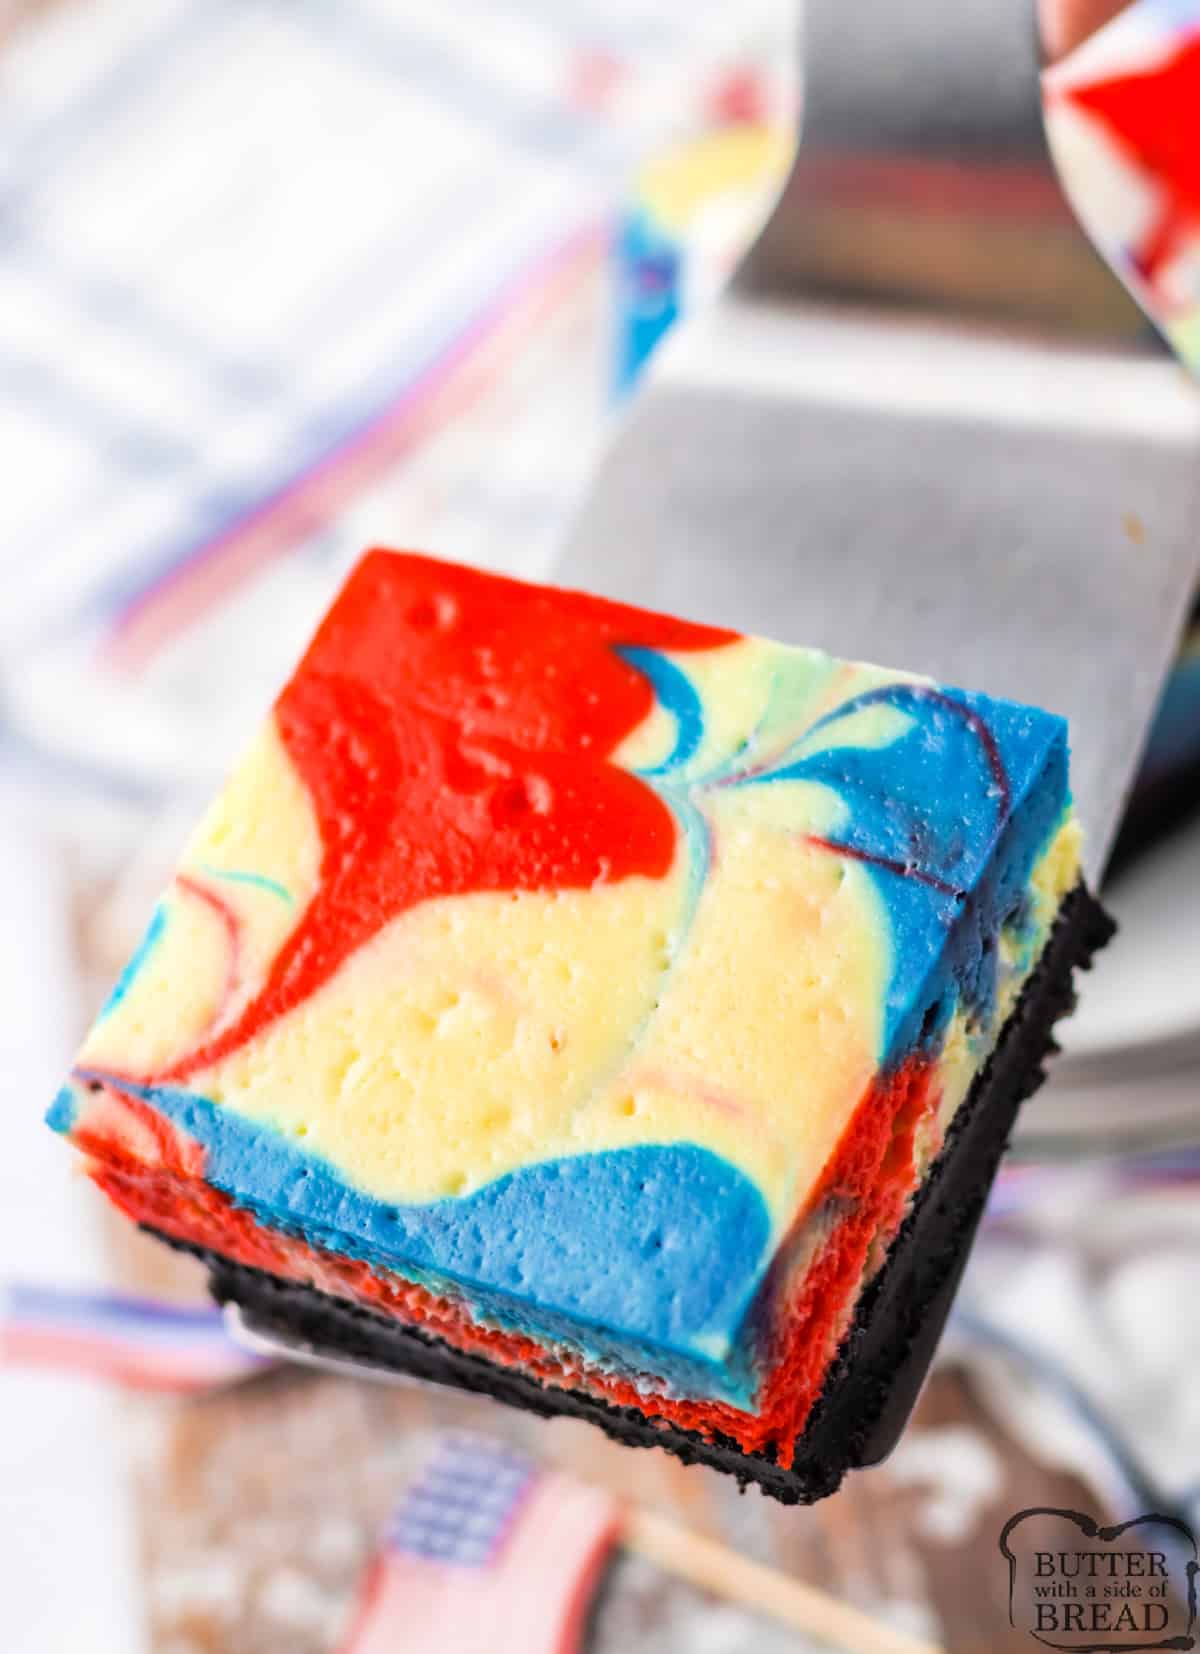
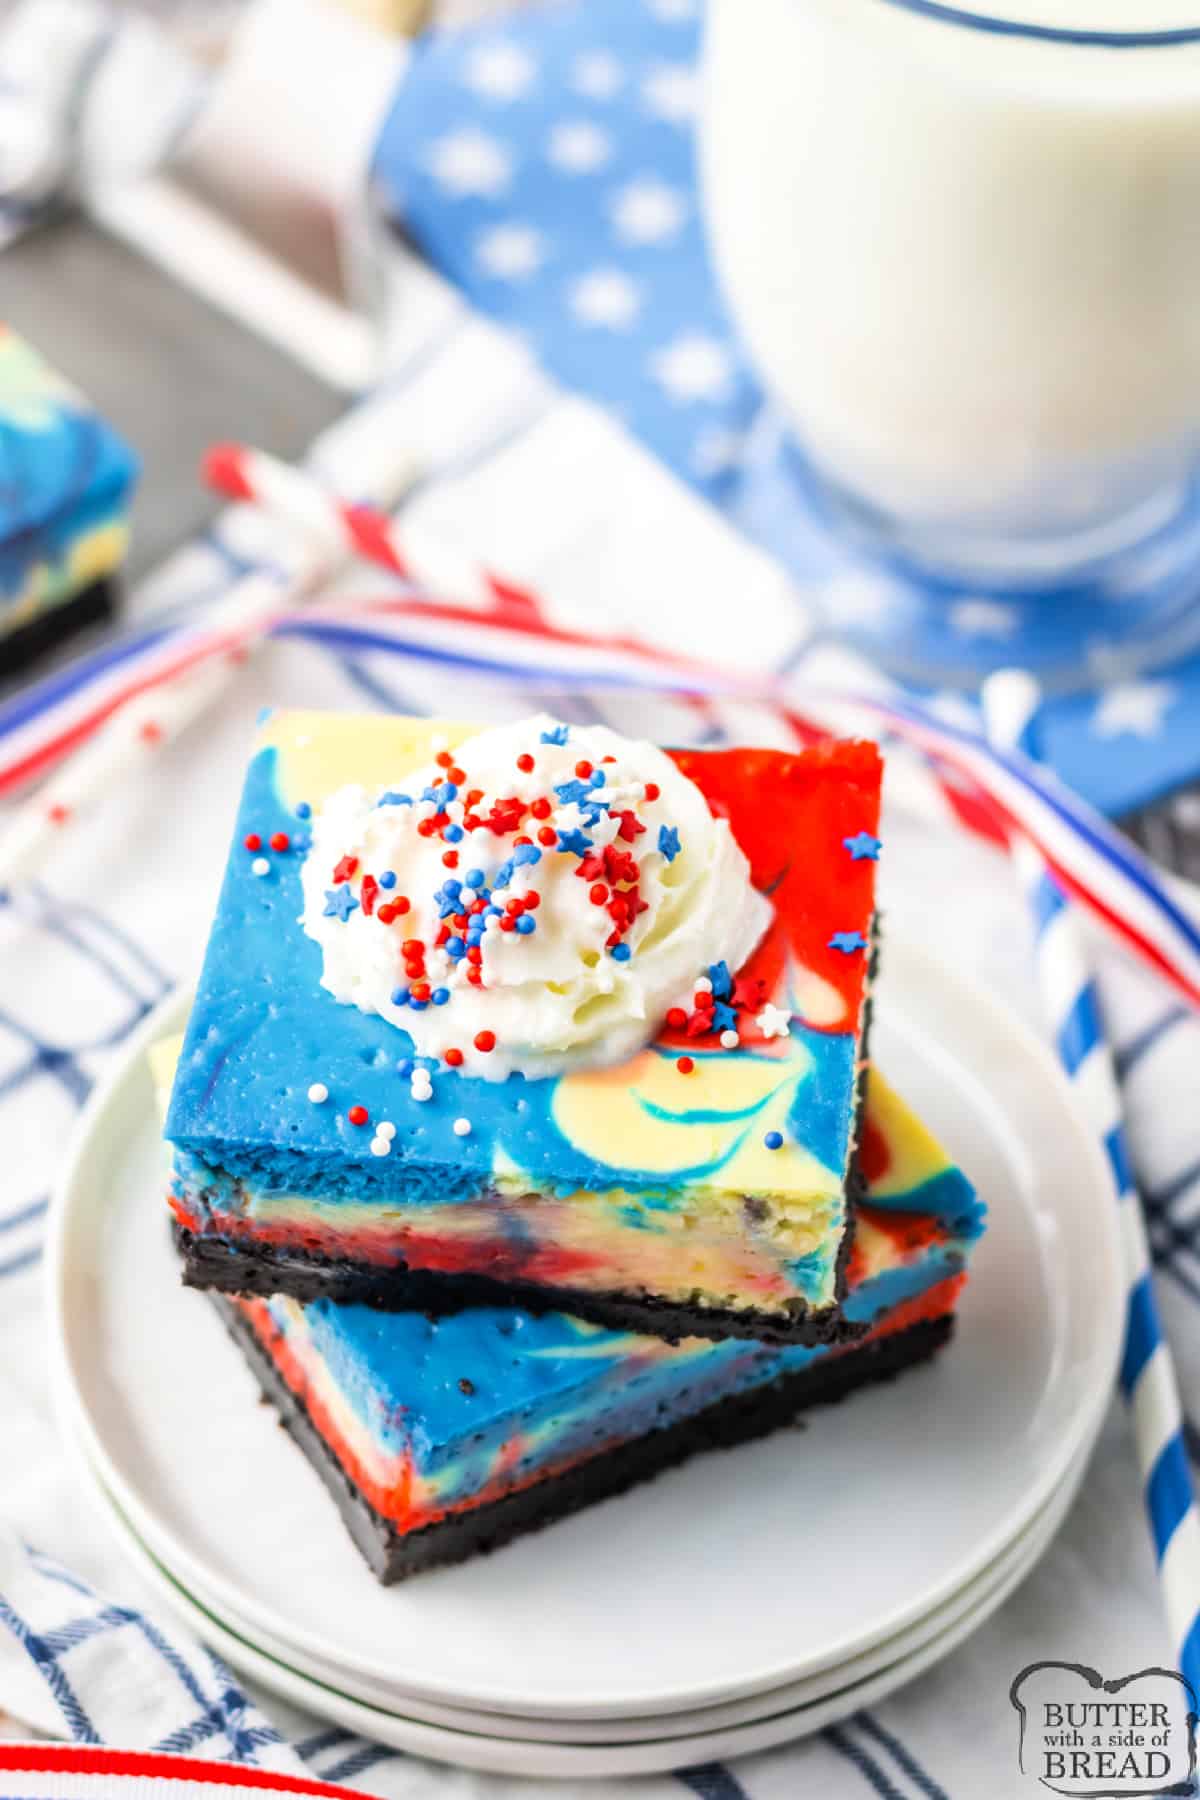
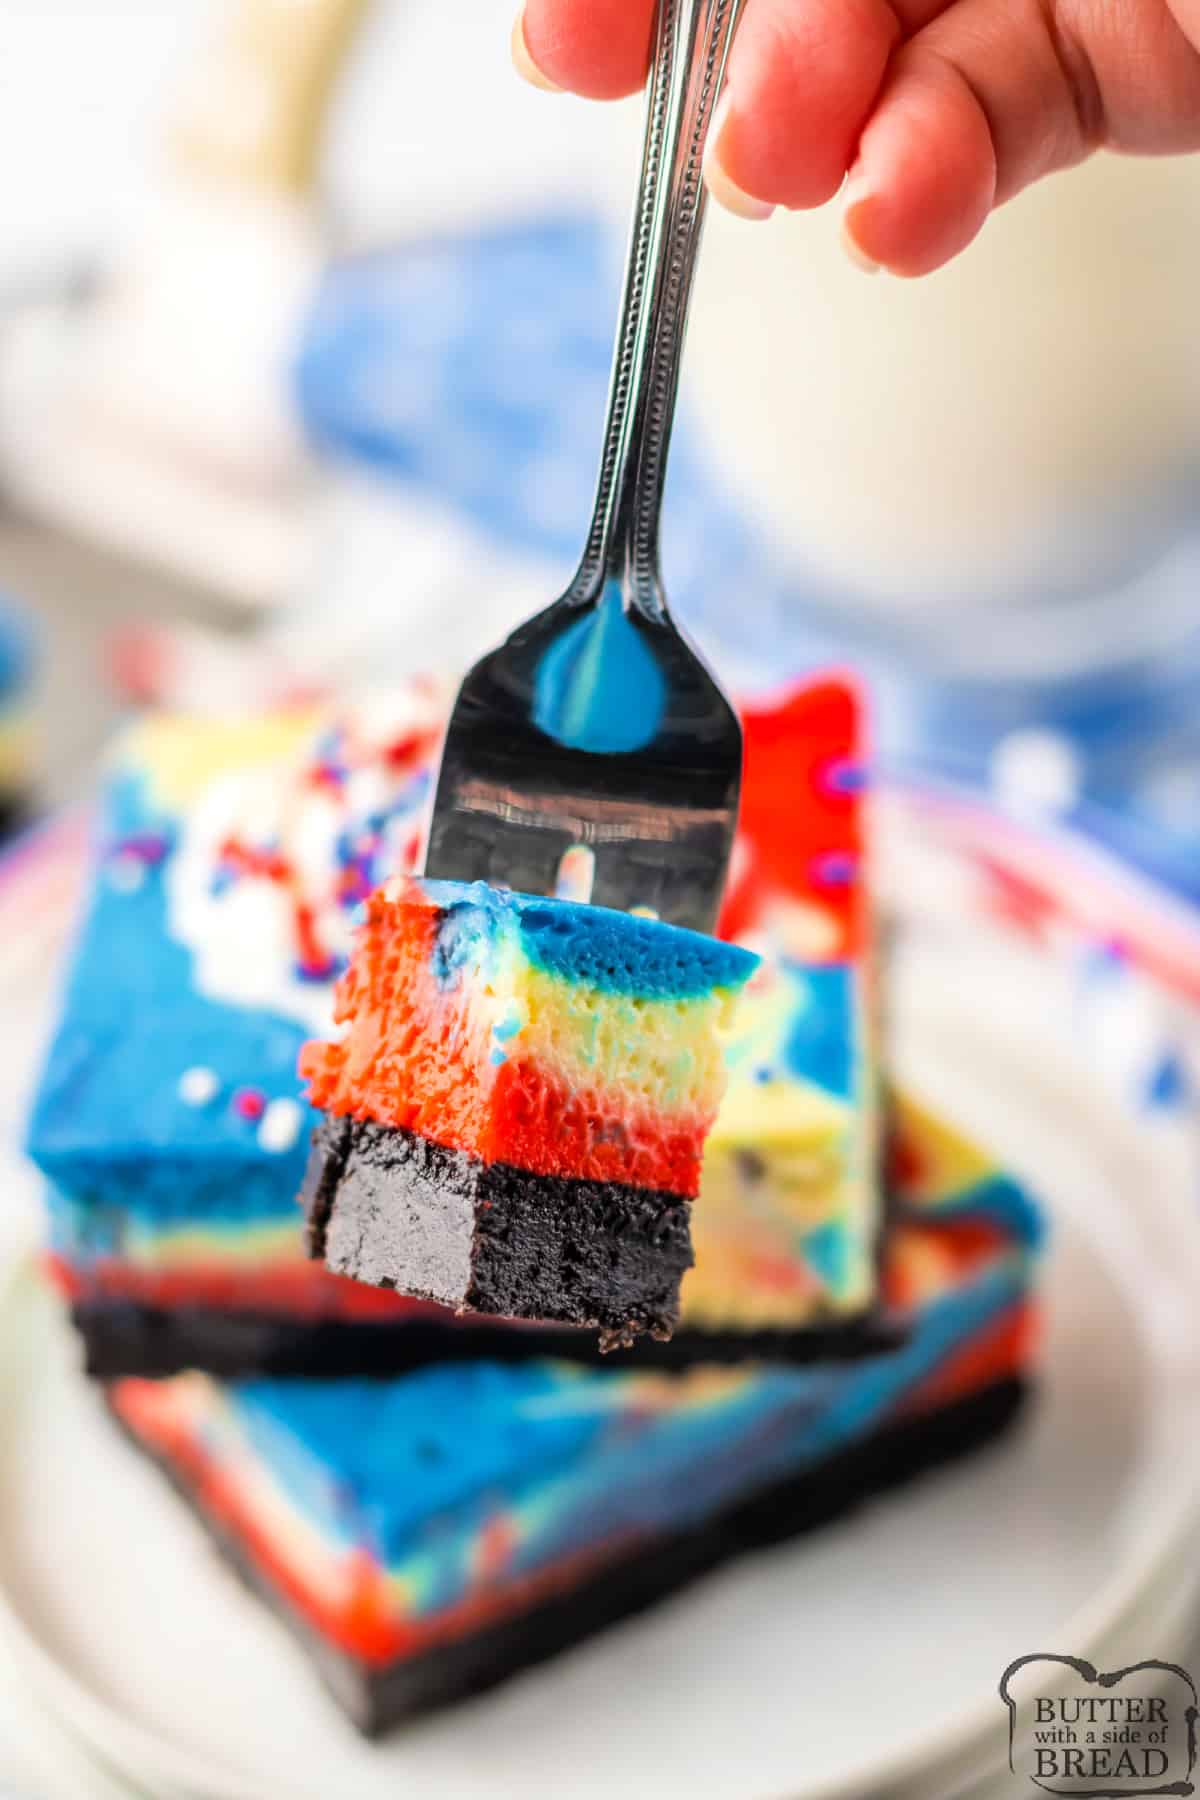
Red, White & Blue Cheesecake Bars are perfect for the 4th of July, Memorial Day, or any other patriotic occasion! Add a simple cheesecake filling to an Oreo crust to make this delicious dessert recipe!
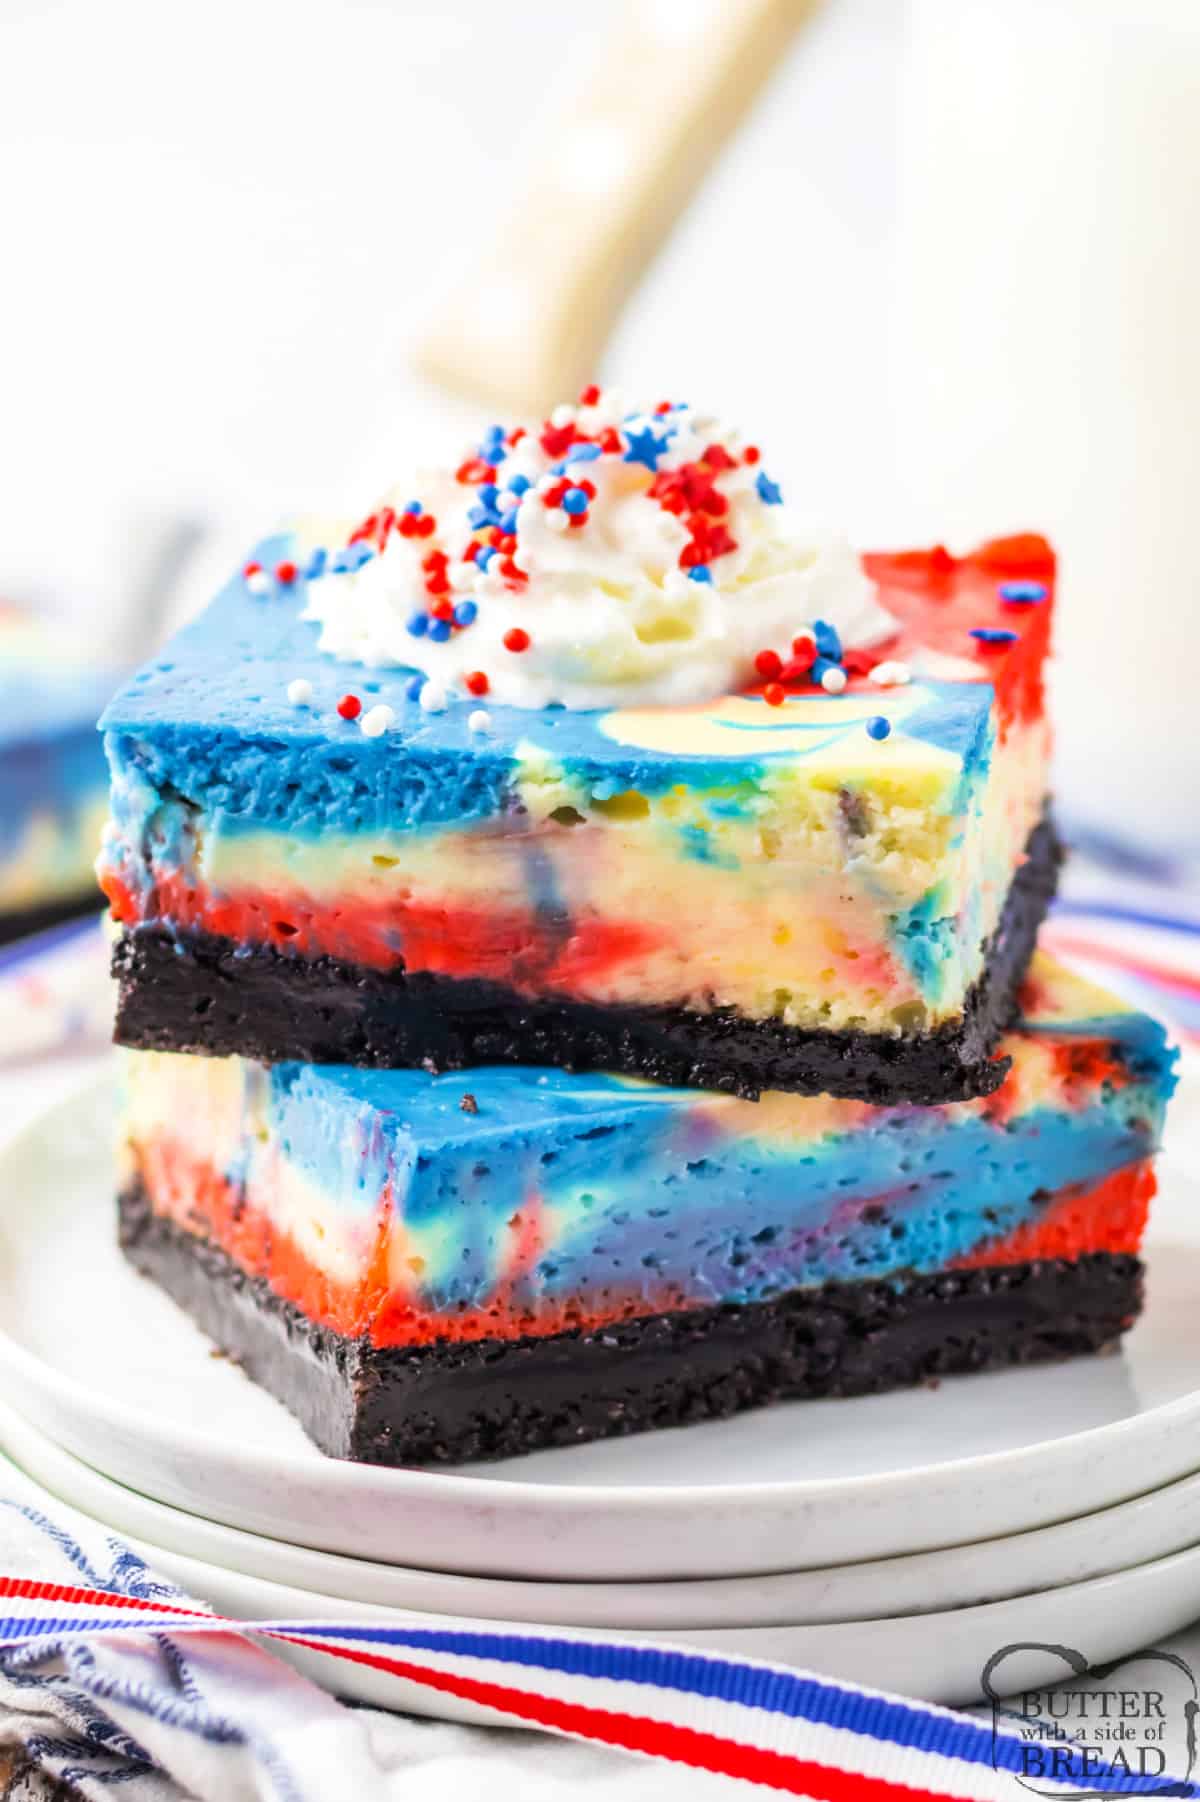
Cheesecake is one of our favorite desserts – make sure to check out all of our favorite cheesecake recipes here! This particular recipe is perfect for any occasion – we make it red, white, and blue for the 4th of July, but you can use different food dyes to make it work for Christmas, Valentine’s Day, birthdays, and other special occasions.
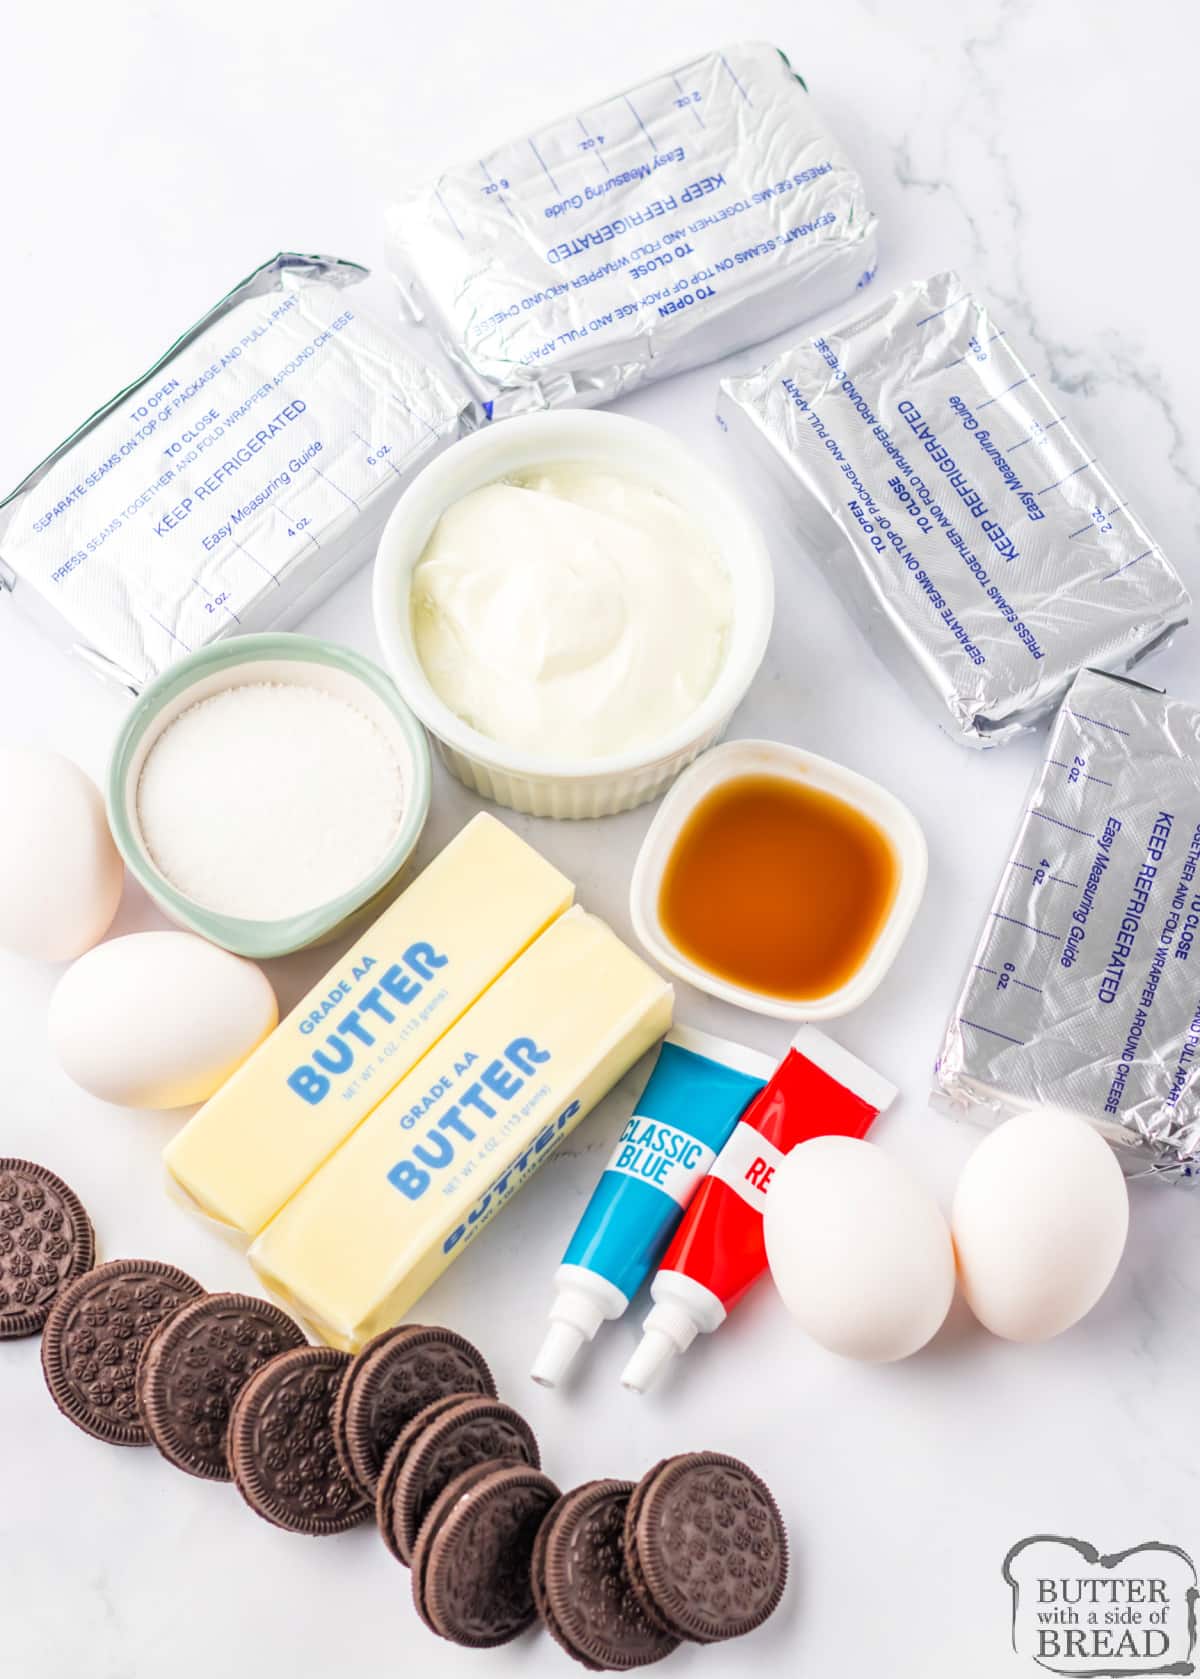
Ingredients in Red, White & Blue Cheesecake Bars
OREO CRUST
Oreo Cookies – You will need about 50 Oreo cookies to make 2 ½ cups of Oreo crumbs. The easiest way to crush the cookies is in a blender. Leave the filling in and crush the cookies into fine crumbs. If you want to change up the flavor, you can use Lemon Oreos or Golden Oreos – any flavor will work!
Sugar – The cookies are pretty sweet, but a little bit of sugar sweets them up even more.
Butter – Melted butter binds the crumbs together to make the crust. Real butter works best!
CHEESECAKE FILLING
Cream cheese – You can’t make cheesecake without cream cheese! Full-fat cream cheese works best. Make sure the cream cheese is softened to room temperature before adding the other ingredients.
Sour cream – A little bit of sour cream adds smoothness and flavor to the cream cheese.
Sugar – One cup of sugar will sweeten up the cheesecake filling.
Vanilla extract – The higher the quality of the vanilla, the better.
Eggs – Four large eggs will give the cheesecake the perfect consistency.
Food coloring – You will need a little bit of red and blue food coloring to make the colors in the cheesecake. Gel or paste food coloring will provide more vibrant colors.
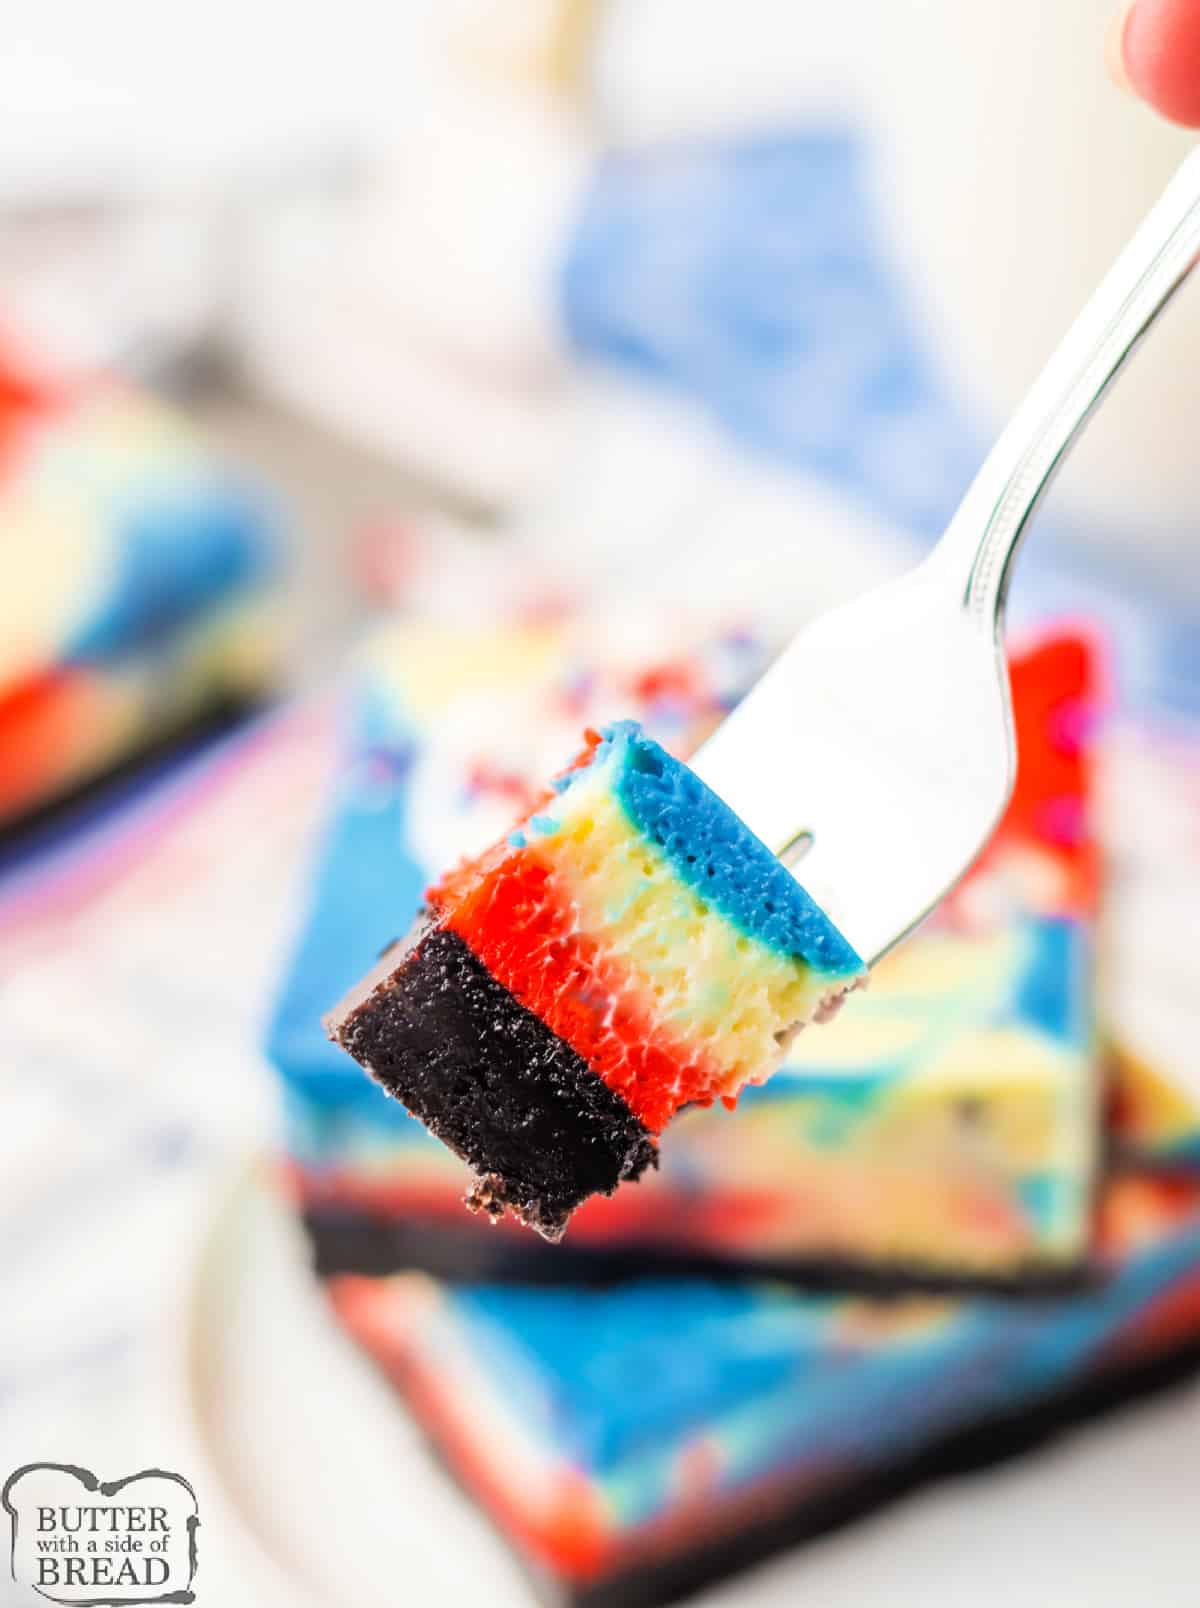
HOW TO MAKE RED, WHITE & BLUE CHEESECAKE BARS
MAKE THE CRUST
Preheat the oven to 350°.
Grease a 9×13 baking dish.
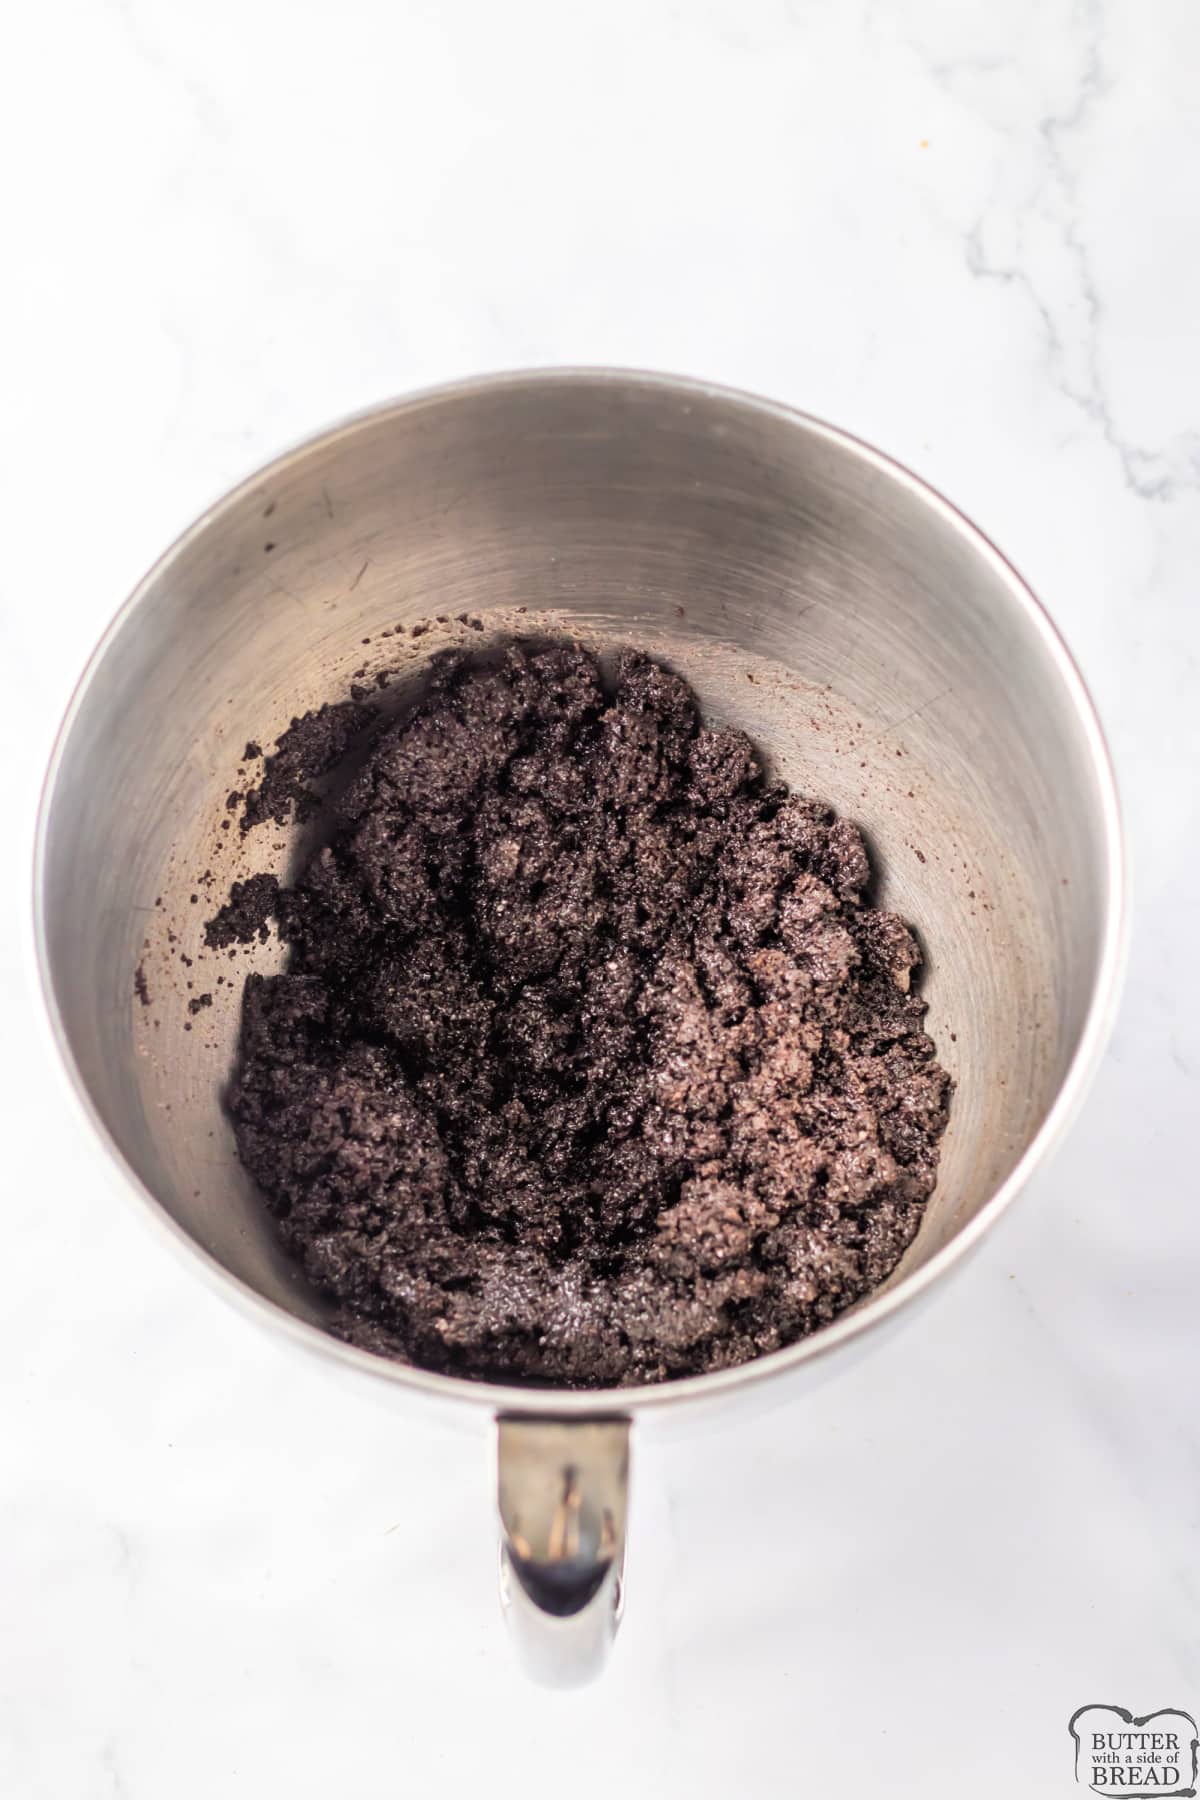
In a mixing bowl, combine the Oreo crumbs, ¼ cup sugar, and melted butter.
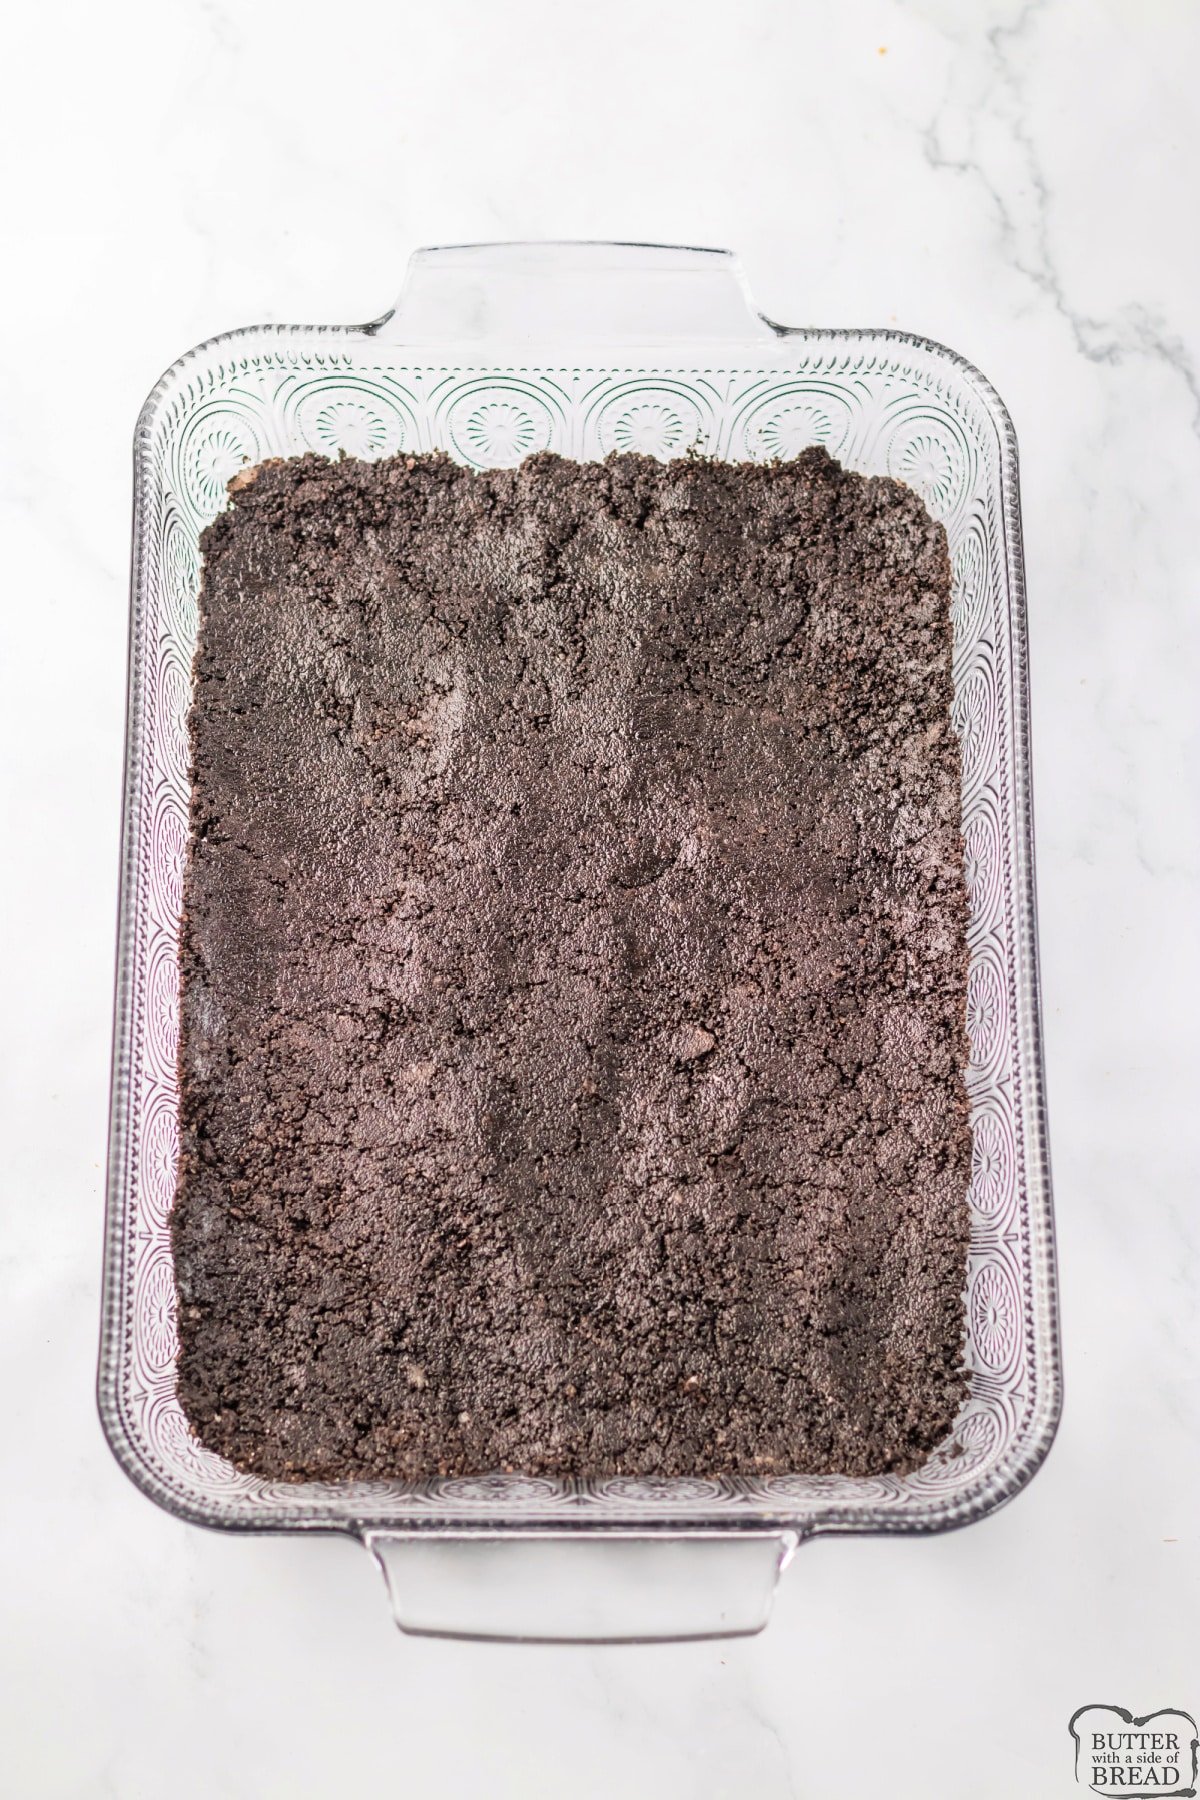
Press the cookie crust mixture into the prepared pan and press it down into an even layer. You can use the back of a spoon or your fingers!
Bake for 10 minutes. Remove from the oven and set aside to cool slightly while you prepare the filling.
MAKE THE CHEESECAKE LAYER
Reduce the oven temperature to 325°.
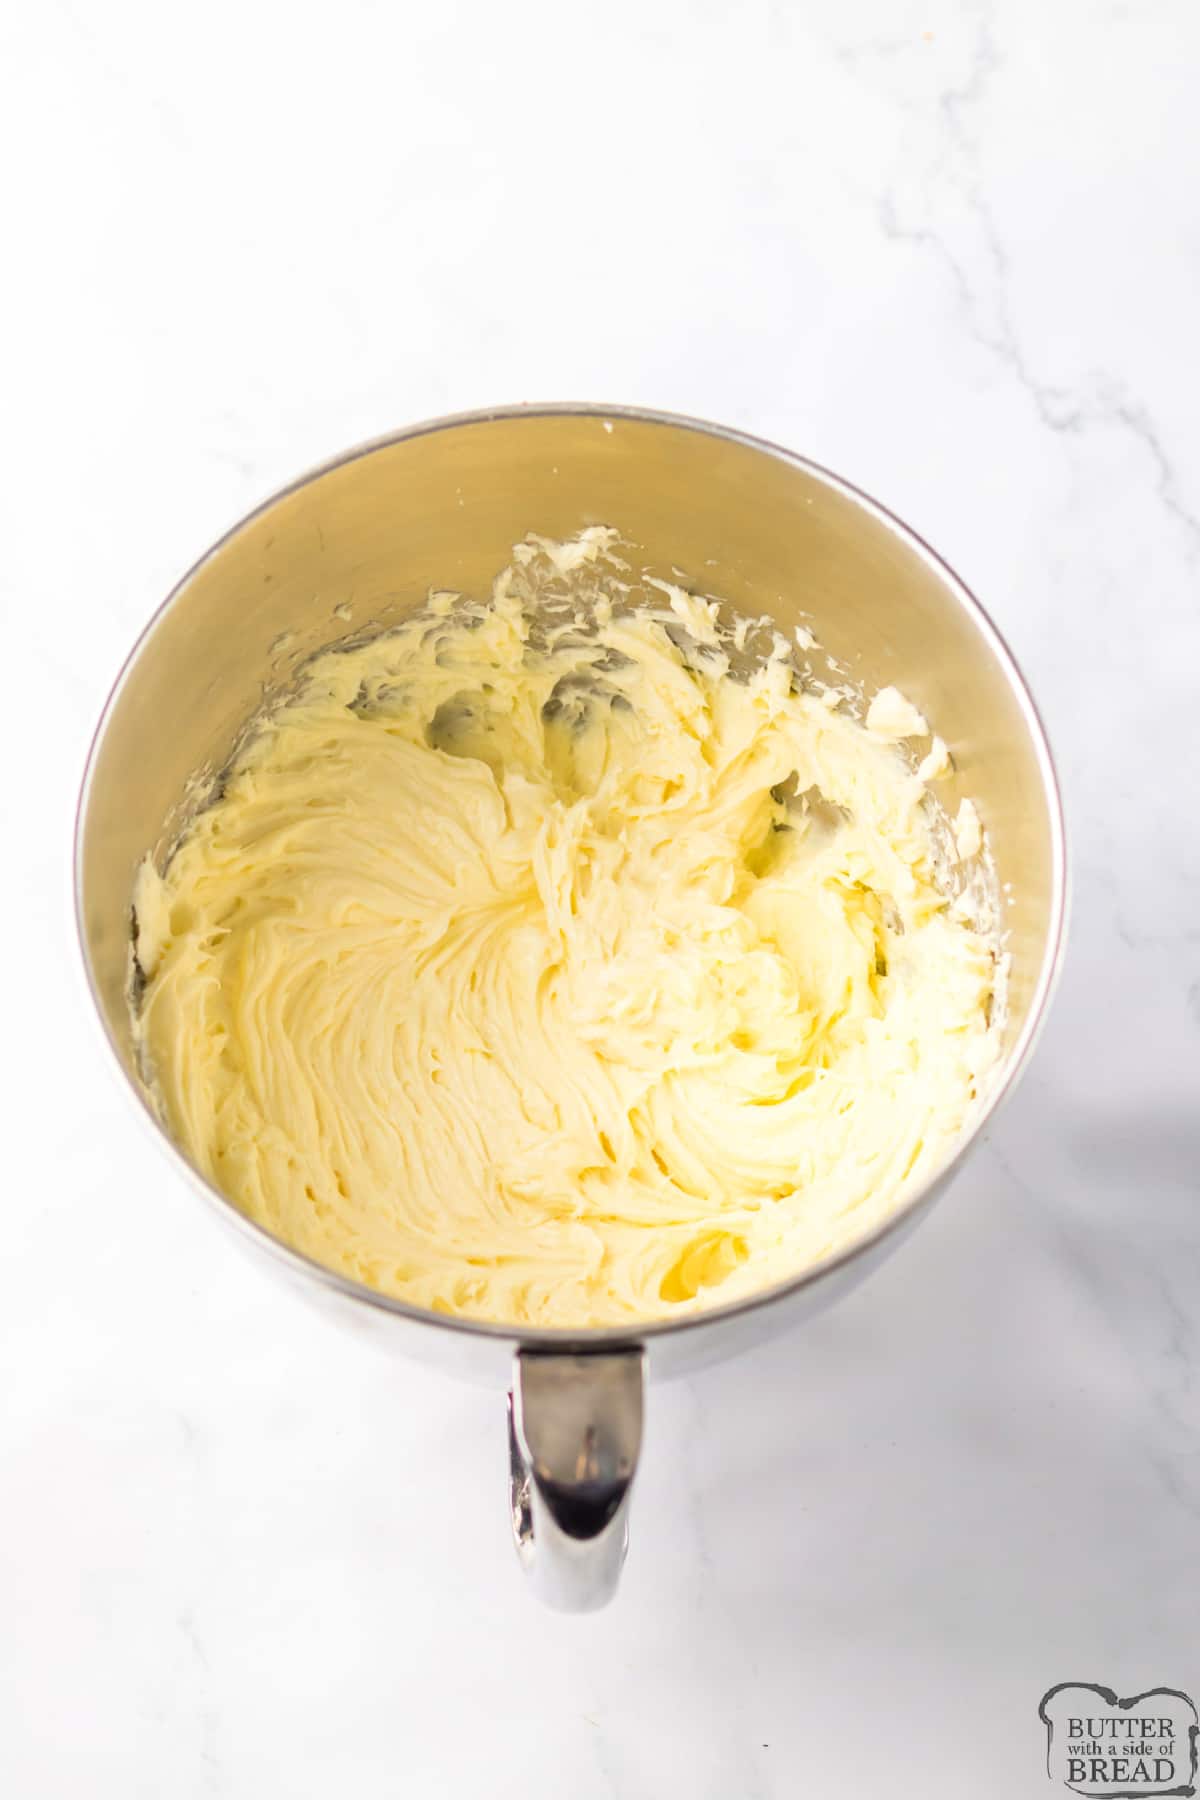
Place the cream cheese in a large bowl, and use an electric mixer to beat the cream cheese until smooth. Add the sour cream and mix until combined.
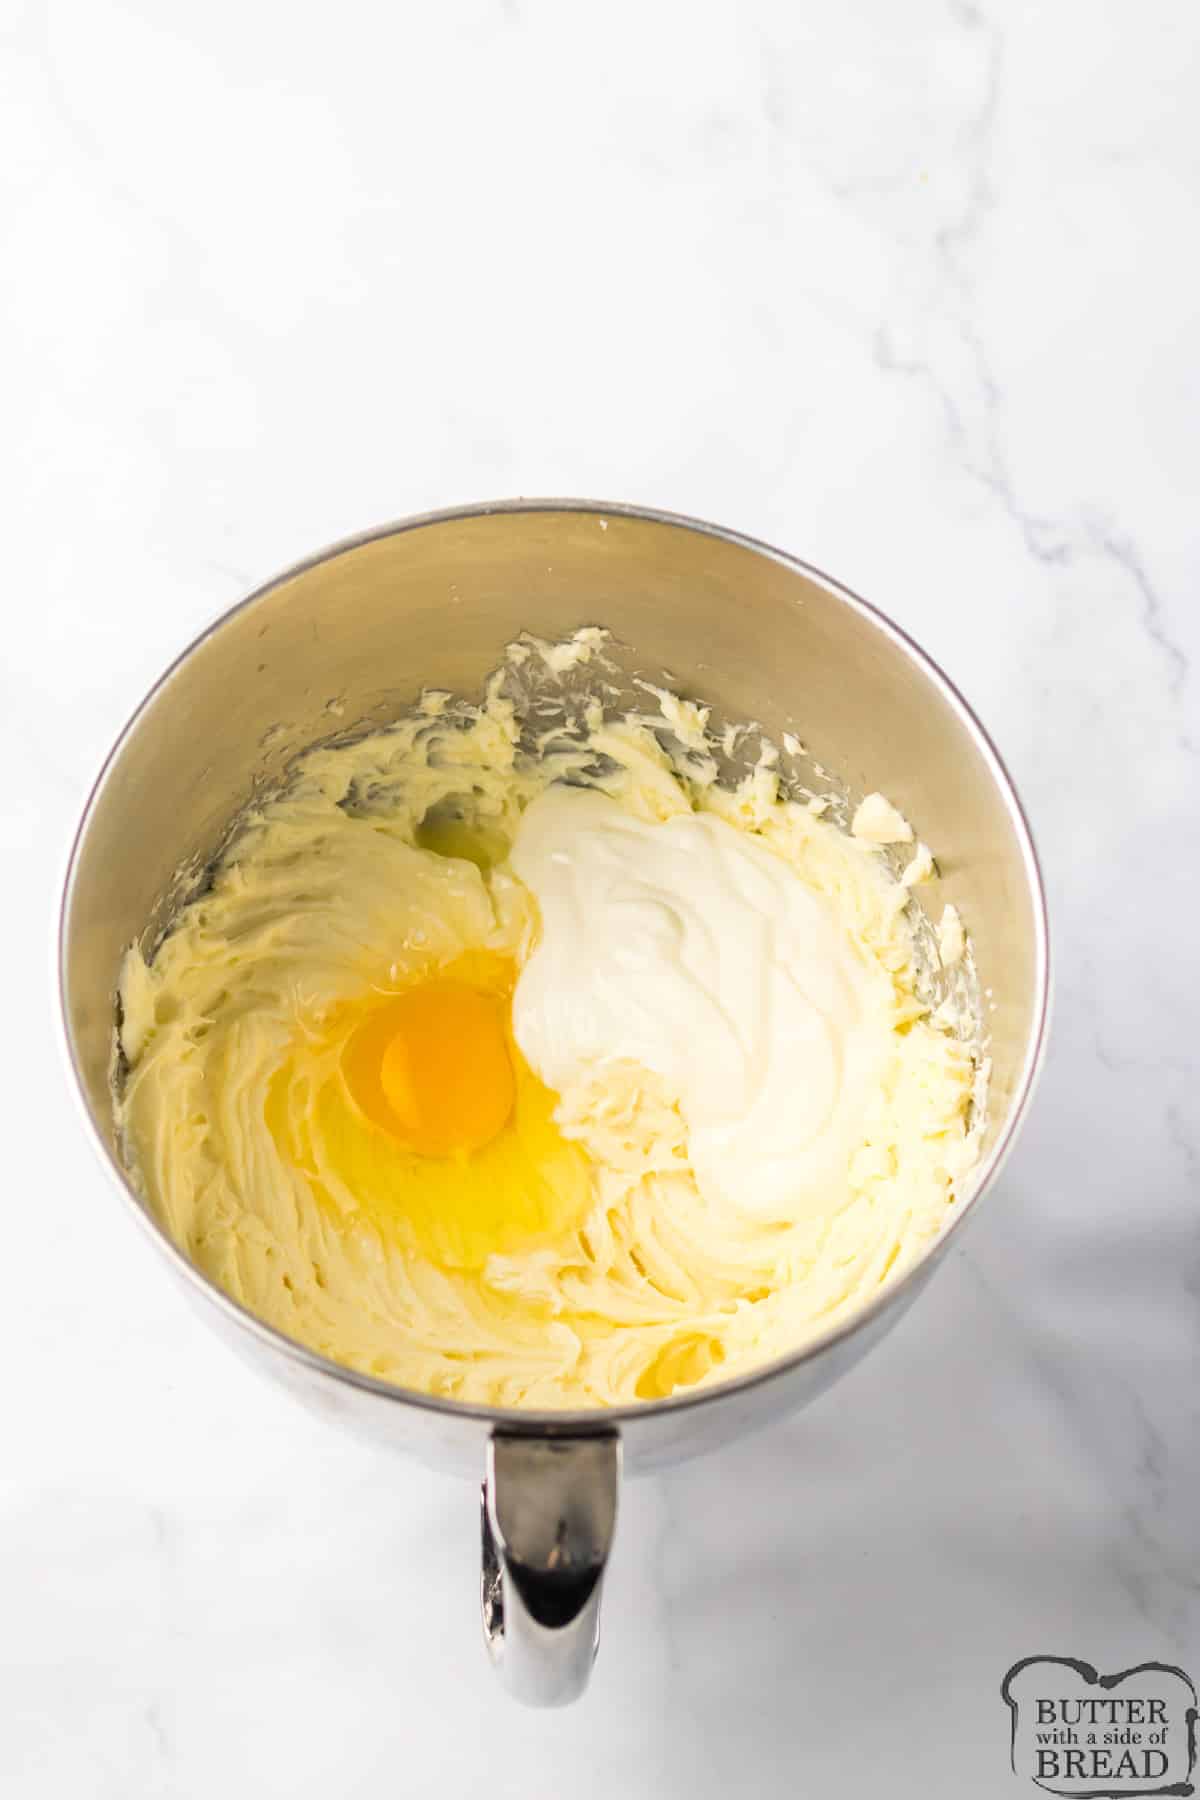
Mix in the sugar and vanilla extract. Slowly add the eggs to the mixture and mix until well combined.
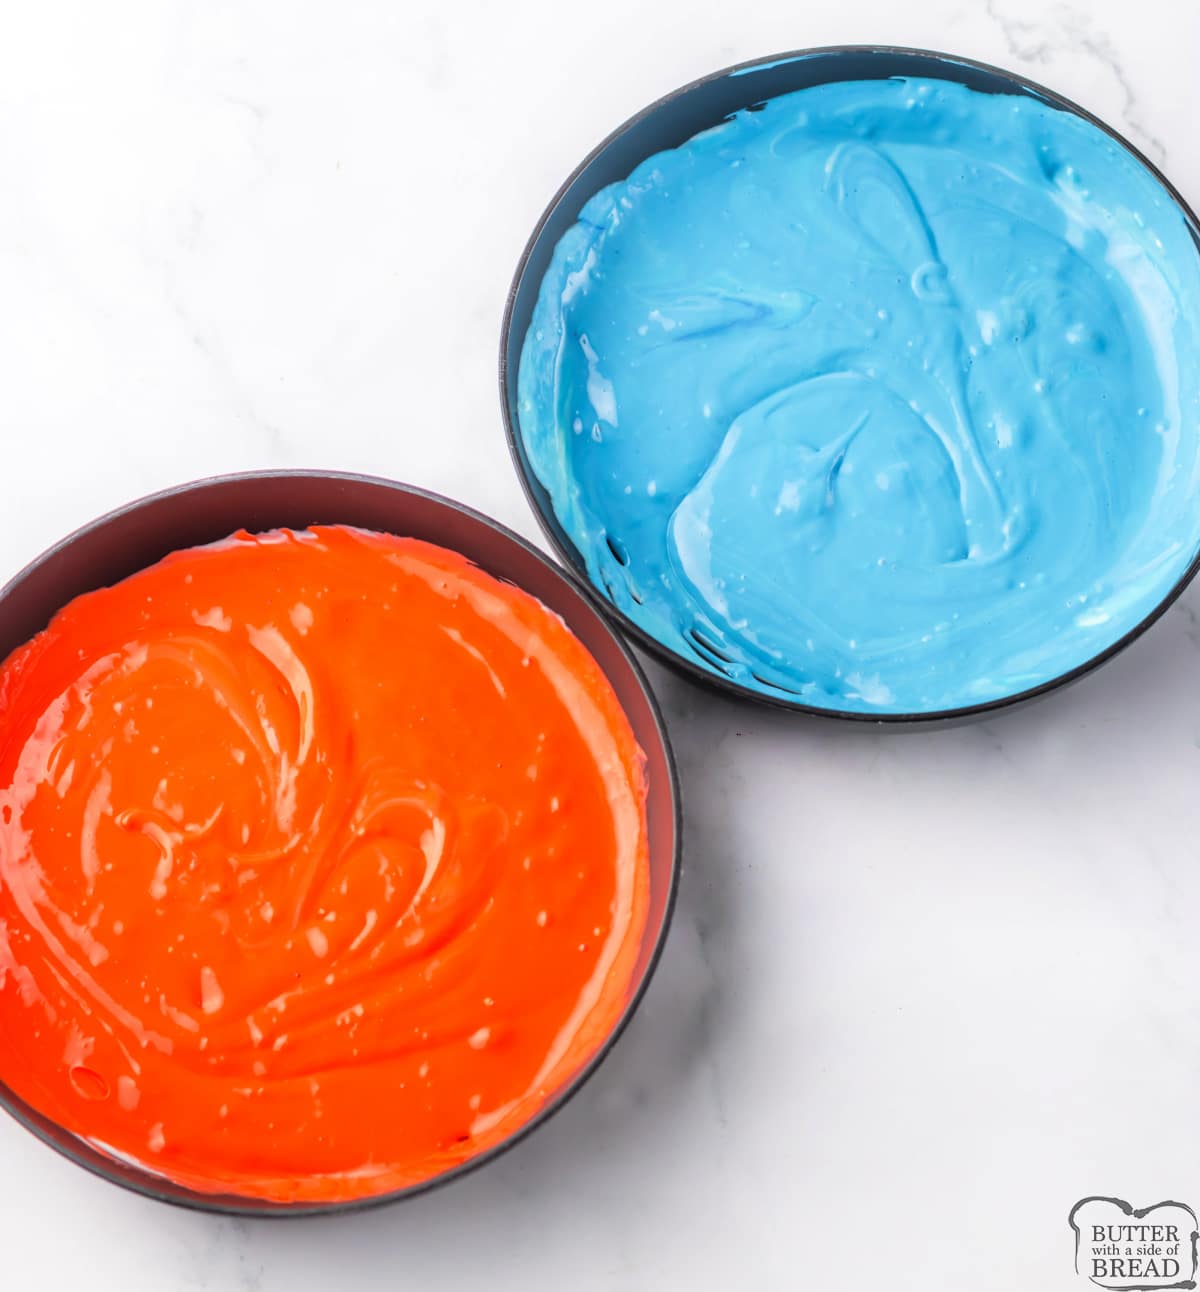
Separate the batter into 3 bowls. Add red food coloring to one bowl, and blue food coloring to another.
Spoon the batter onto the crust in alternating colors.
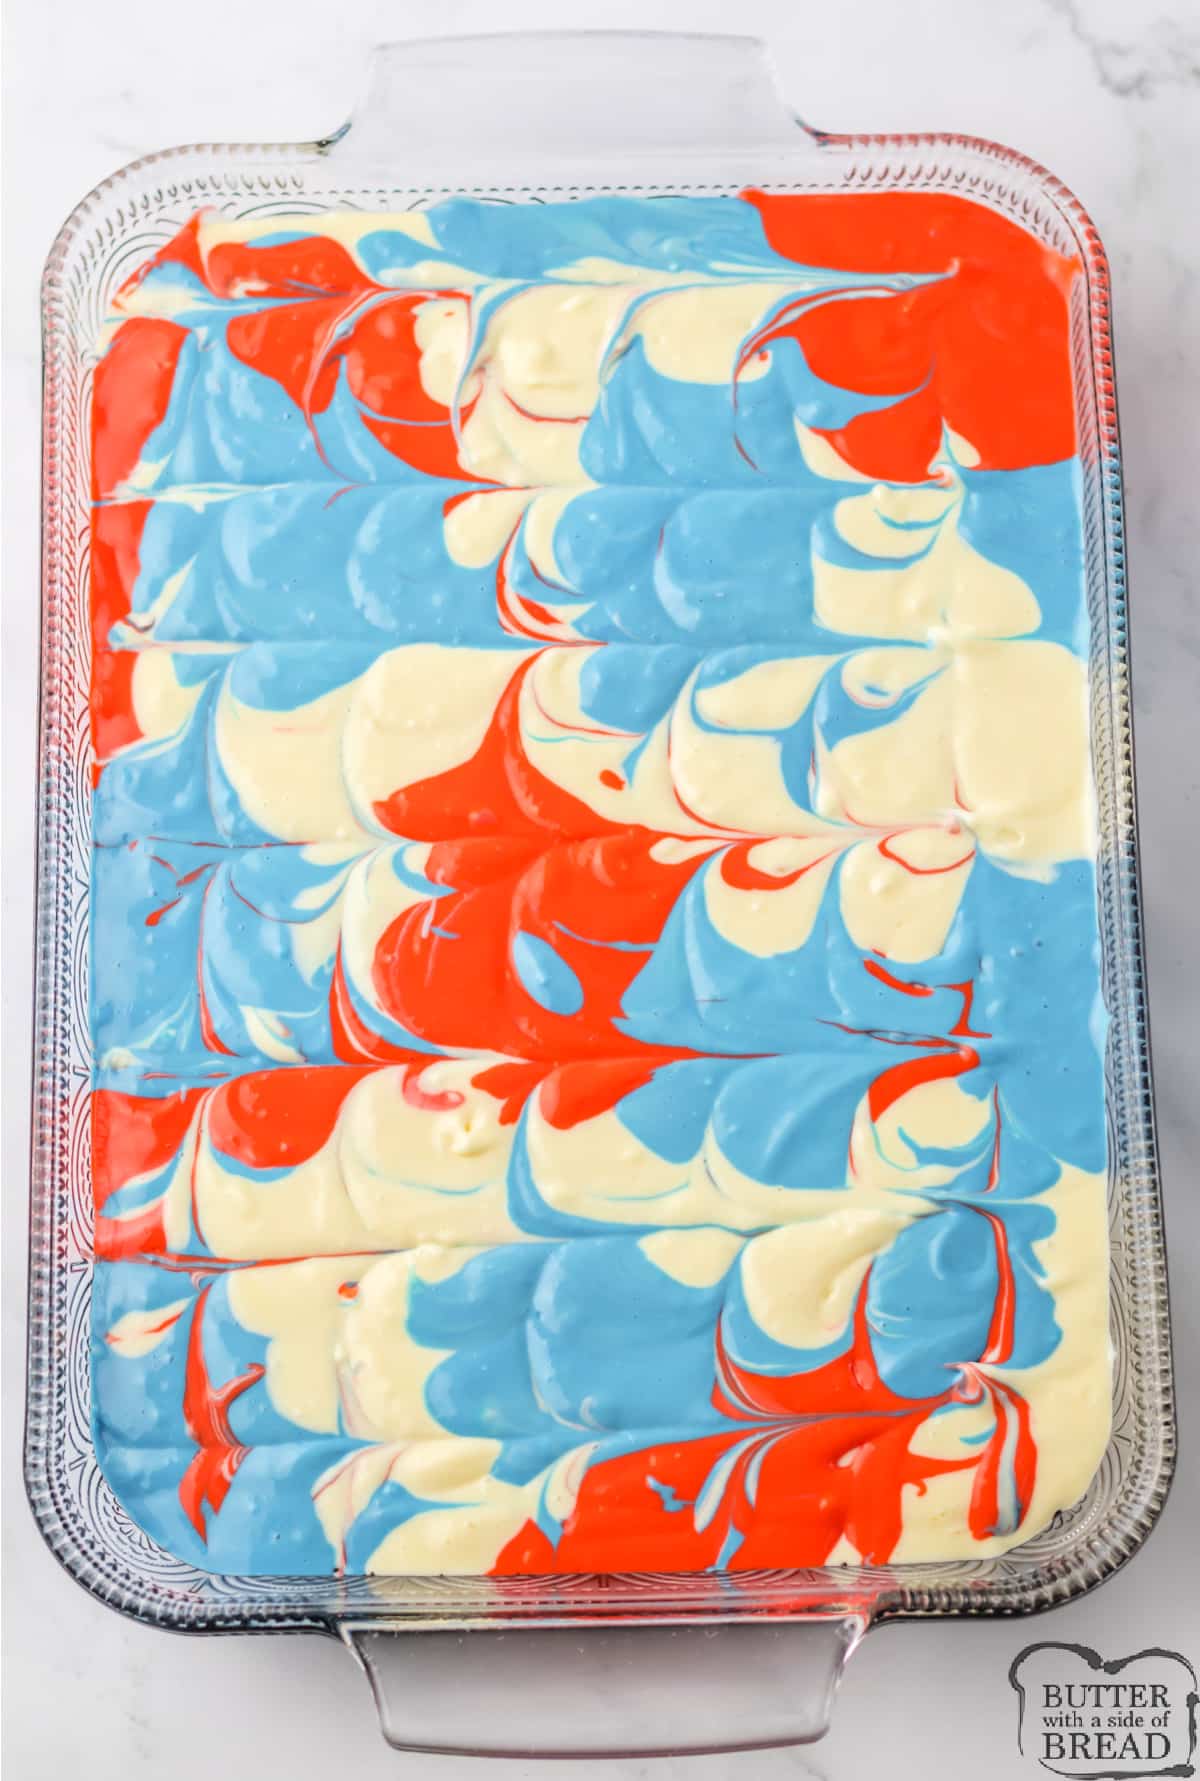
Use a knife to gently swirl the colors around to create a marbled effect.
Bake for 35 to 40 minutes or until the filling is set – the center should be just slightly jiggly.
Remove from the oven and cool completely.
Place in the fridge to chill for at least 4 hours.
Slice, top with whipped cream and sprinkles, and then serve!

Red, White & Blue Cheesecake Bars
Ingredients
OREO CRUST
- 2 ½ cups Oreo crumbs about 50 Oreos
- ¼ cup sugar
- 10 tablespoons unsalted butter melted
CHEESECAJE FILLING
- 32 ounces cream cheese softened
- 1 cup sour cream
- 1 cup sugar
- 2 teaspoons vanilla extract
- 4 large eggs
- red and blue food coloring
- whipped topping and sprinkles for garnish
Instructions
MAKE THE CRUST
- Preheat the oven to 350°.
- Grease a 9×13 baking dish.
- In a mixing bowl, combine the Oreo crumbs, ¼ cup sugar, and melted butter.
- Press the cookie crust mixture into the prepared pan and press it down into an even layer. You can use the back of a spoon or your fingers!
- Bake for 10 minutes. Remove from the oven and set aside to cool slightly while you prepare the filling.
MAKE THE CHEESECAKE LAYER
- Reduce the oven temperature to 325°.
- Place the cream cheese in a large bowl, and use an electric mixer to beat the cream cheese until smooth. Add the sour cream and mix until combined.
- Mix in the sugar and vanilla extract. Slowly add the eggs to the mixture and mix until well combined.
- Separate the batter into 3 bowls. Add red food coloring to one bowl, and blue food coloring to another.
- Spoon the batter onto the crust in alternating colors.
- Use a knife to gently swirl the colors around to create a marbled effect.
BAKE AND SERVE
- Bake for 35 to 40 minutes or until the filling is set – the center should be just slightly jiggly.
- Remove from the oven and cool completely.
- Place in the fridge to chill for at least 4 hours.
- Slice, top with whipped cream and sprinkles, and then serve!
Nutrition
📫 Save this recipe! Send it to your email! 📩
I consent to receiving emails from this site.
COMMON MISTAKES TO AVOID WHILE MAKING CHEESECAKE:
Cheesecakes are an amazing dessert, however, there are a couple of common errors that can be made that should be avoided. Take these few tips to help create a delicious and beautiful treat!
- First, there is the crust. This is the base of the cake, it is what is holding all the deliciousness together, so it is important to get it right. You want to make sure that the Oreo cookies are ground to a very fine texture. You do not want large chunks, it will cause the crust to crumble easily.
- Secondly, do not go low-fat with the ingredients (especially the cream cheese). The fat in the cream cheese helps the cheesecake set and it helps achieve that super creamy texture that we all know and love. The low-fat ingredient options could cause the cheesecake to be runny, no one wants that on their dessert table. So for cheesecakes, full fat is the way to go!
- And last, avoid using cold ingredients. You want your ingredients (cream cheese, sour cream, and eggs) to come to room temperature. If you are adding cold ingredients it causes you to mix them longer, which in turn will add too much air to your batter. It will rise too much when baking, then the middle is likely to sink in when cooling. I don’t think there is anything sadder than a sunken cheesecake.
HOW TO SOFTEN CREAM CHEESE
Cream cheese is easy to soften – you can set it out at room temperature or soften it more quickly in the microwave.
-To soften at room temperature more quickly, just set the cream cheese on a plate and cut into smaller pieces. The cream cheese should reach room temperature in about 15-20 minutes with this method.
-To soften the cream cheese in the microwave, remove the foil packaging and set the cream cheese in a small bowl or on a plate. Microwave for about 10-15 seconds. If the cream cheese is still cold and hard, continue to microwave for about 5 seconds at a time until the cream cheese is soft throughout. Just make sure not to microwave it too long or it will start to melt!
DO I NEED TO REFRIGERATE CHEESE CAKE?
YES, absolutely. Even if it isn’t a no-bake cheesecake it should be refrigerated. The ingredients of this cheesecake all need to be kept chilled to keep the consistency and texture. If stored properly and kept cool this delicious dessert will last 5-7 days. If you are serving for an event or party, this cheesecake will be ok for about 1-2 hours at room temperature.
CAN I FREEZE LEFTOVER CHEESECAKE?
You sure can! The best way to freeze cheesecake is to place it on a hard surface, a piece of cardboard or in a plastic or glass container. Then wrap it well in plastic wrap, then a layer of foil too. Freeze for up to 1 month. To thaw, set in the refrigerator for several hours or at room temperature for about 20-30 minutes.
MORE DELICIOUS PATRIOTIC RECIPES TO TRY:
- RED, WHITE & BLUE STAR KRISPIE TREATS
- FESTIVE RED, WHITE & BLUE CAKE
- PATRIOTIC ITALIAN CREAM SODAS
- 4TH OF JULY COOKIES
- RED, WHITE & BLUE PASTA SALAD
- PATRIOTIC COOKIE BARS
- RED, WHITE & BLUE CUPCAKES
- PATRIOTIC LAYERED JELLO SALAD
- PATRIOTIC JELLO SUGAR COOKIES
- PATRIOTIC RED VELVET TRIFLE
- BLUEBERRY JELLO SALAD
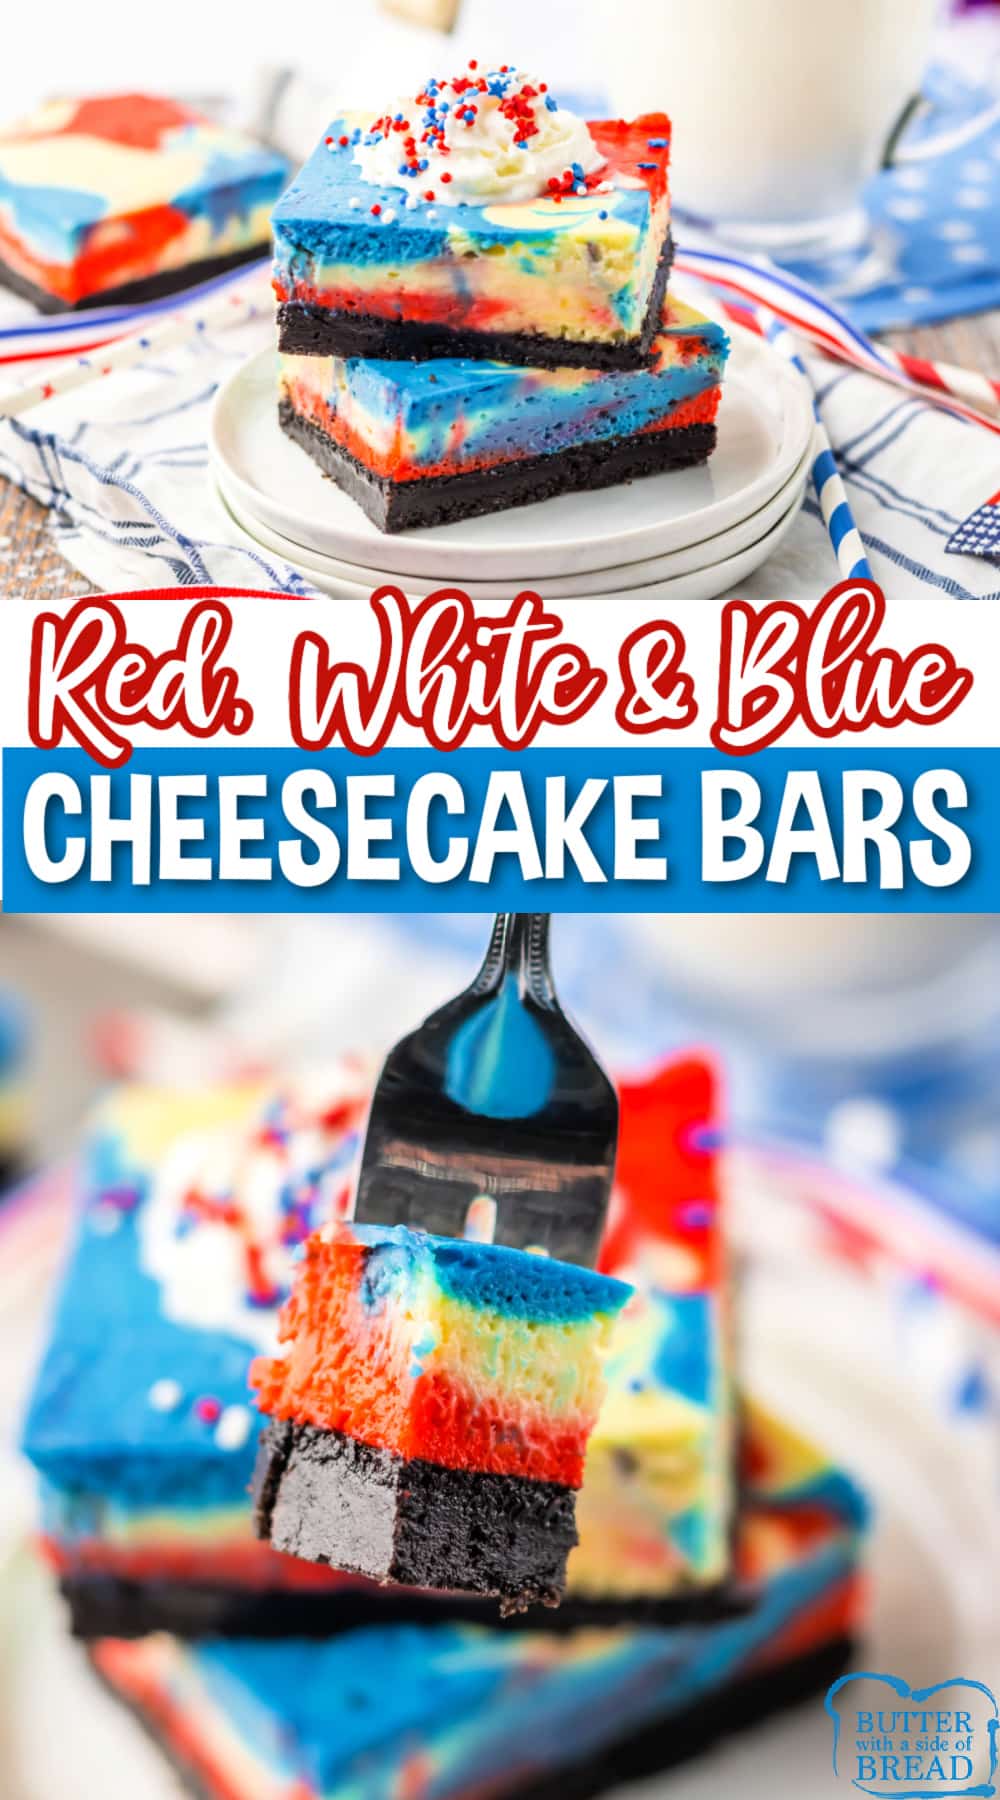
Red, White & Blue Cheesecake Bars are perfect for the 4th of July, Memorial Day, or any other patriotic occasion! Add a simple cheesecake filling to an Oreo crust to make this delicious dessert recipe!




Jenn says
Found this recipe just in time! Such a perfect cheesecake for the upcoming holidays – Thanks for the recipe!
Taryn says
Easy and flavorful. I’m planning to make this again for 4th of July!