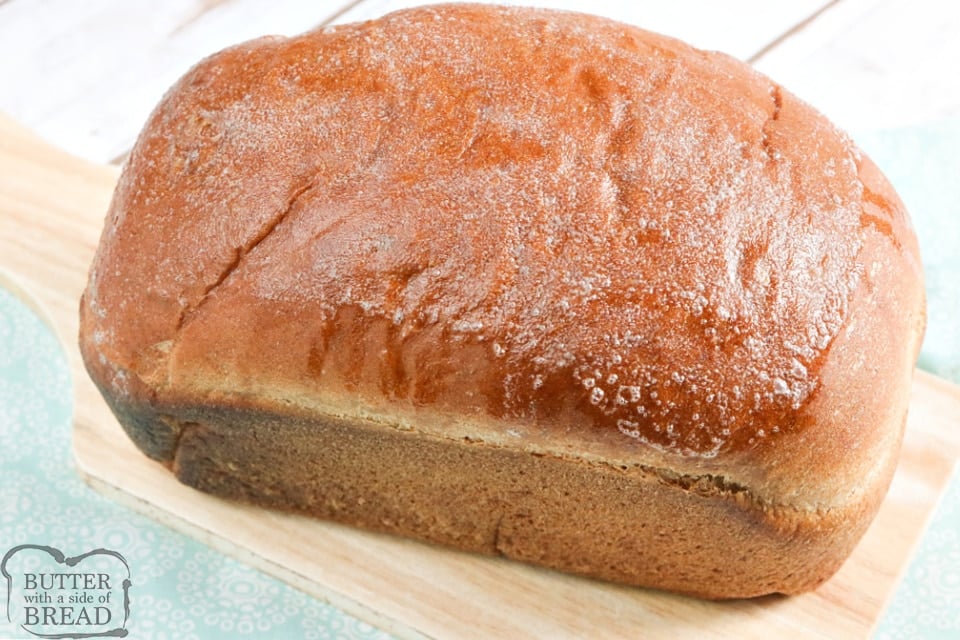
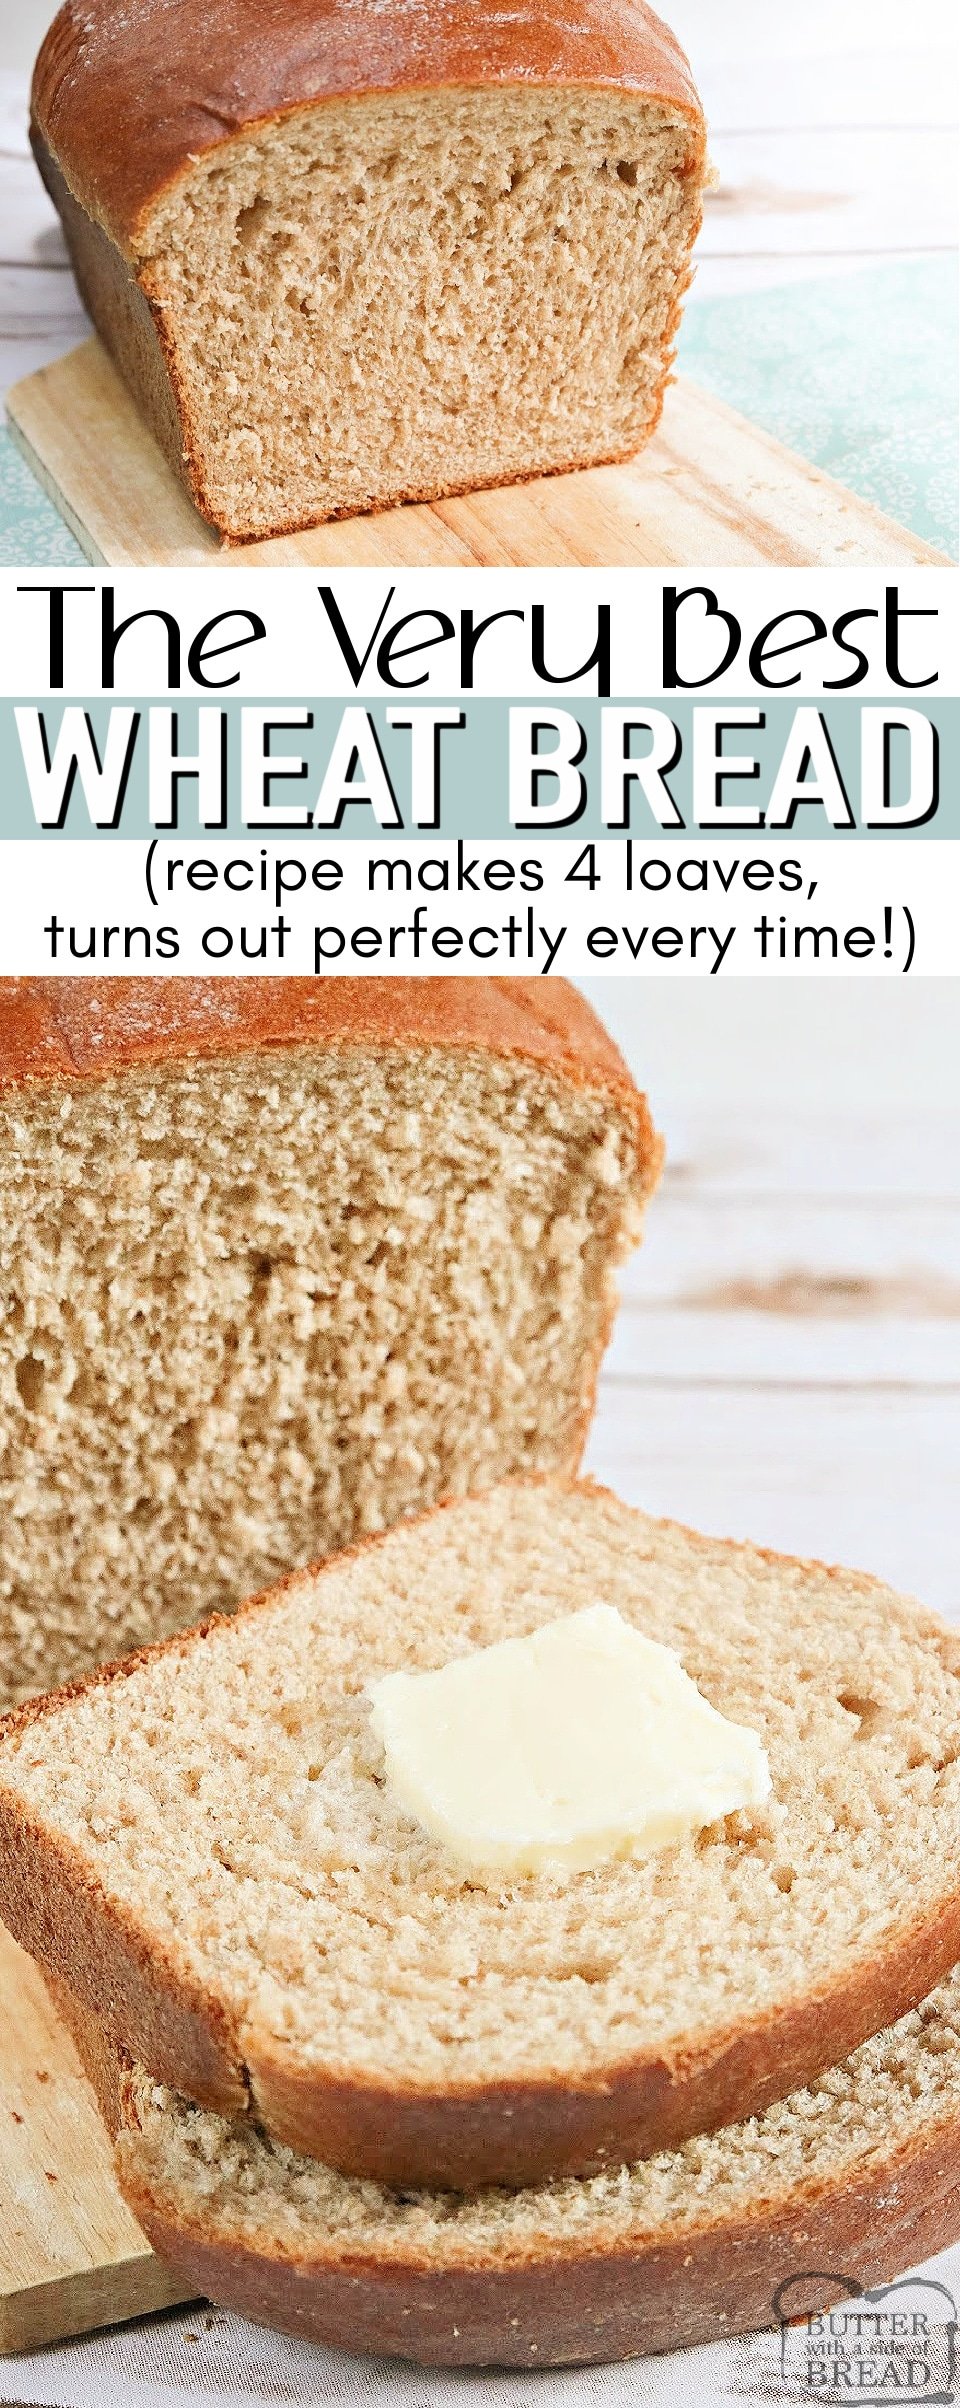
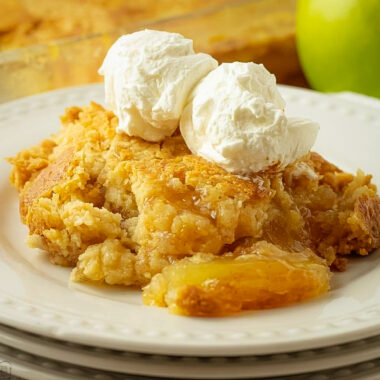
Large Batch Wheat Bread recipe that makes 4 loaves of perfect honey wheat bread every single time. I love homemade bread and this recipe is the most foolproof (and delicious) wheat bread recipe that I’ve ever tried.
If you love Bread as much as we do, find all of our Best Bread Recipes Here!
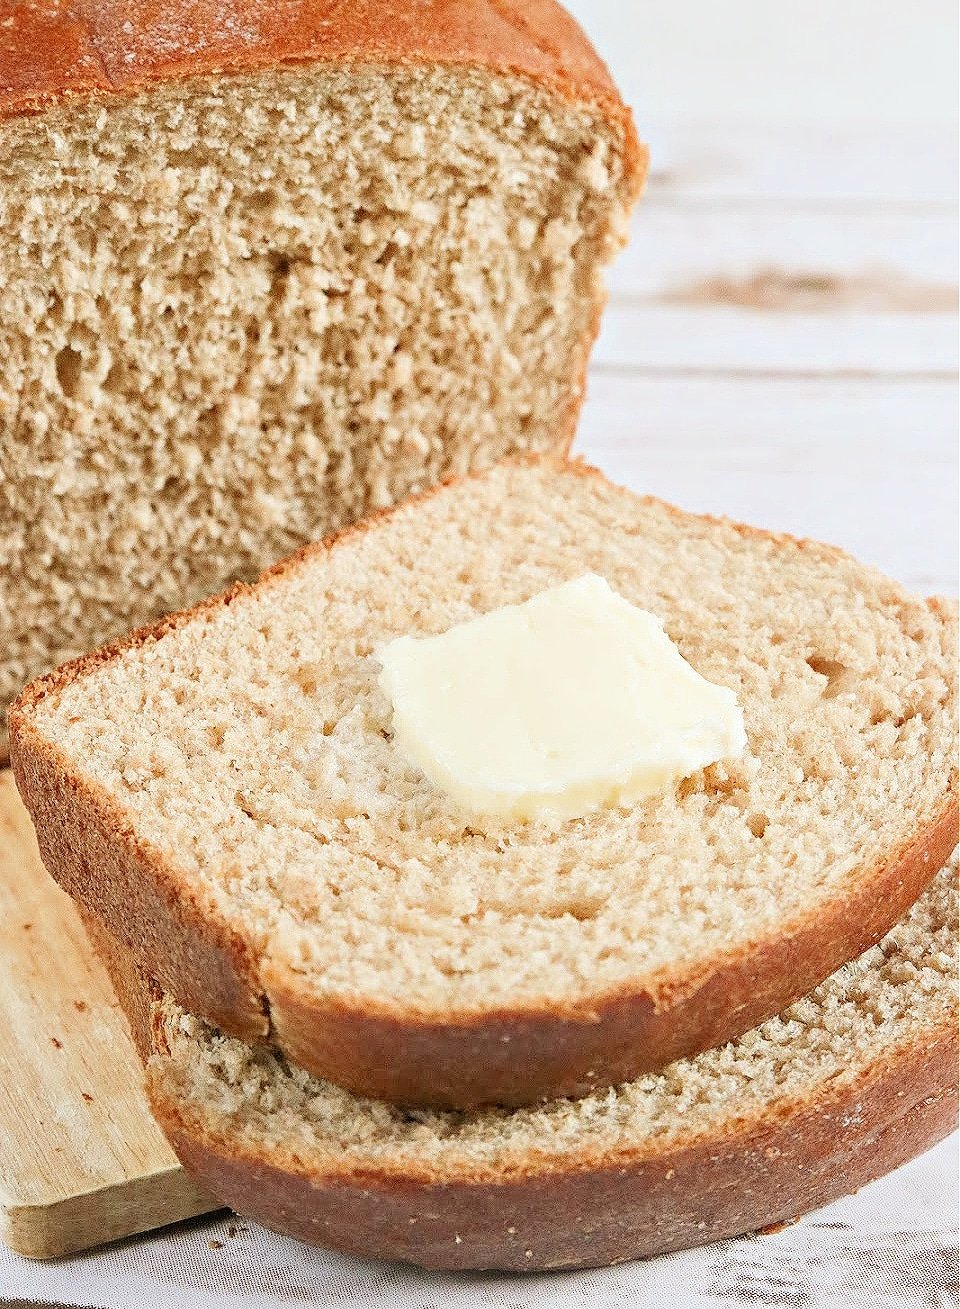
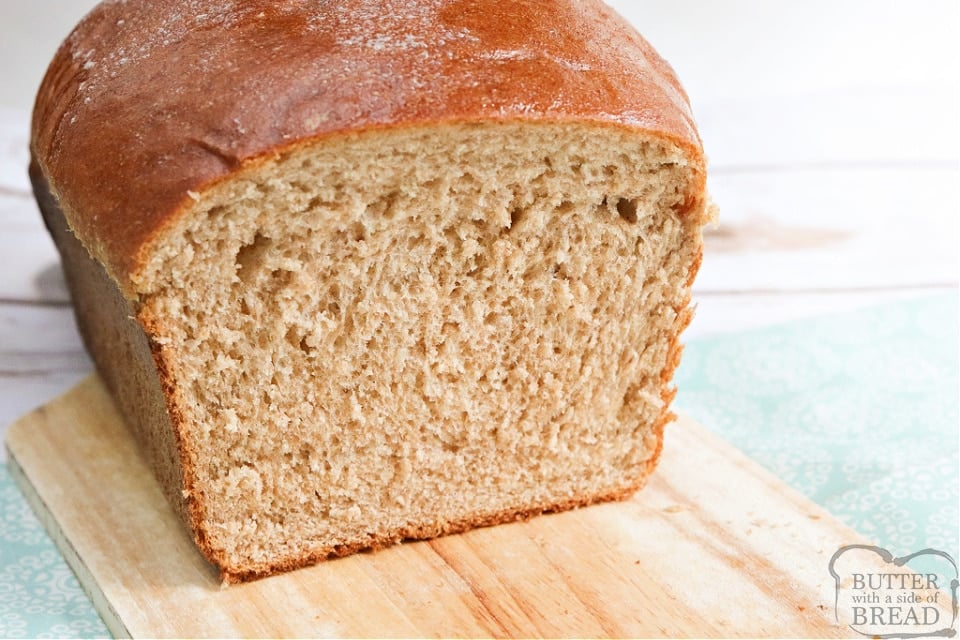
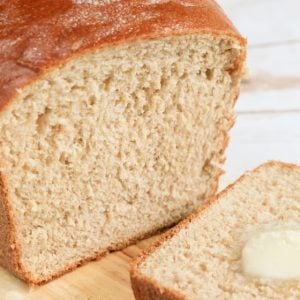
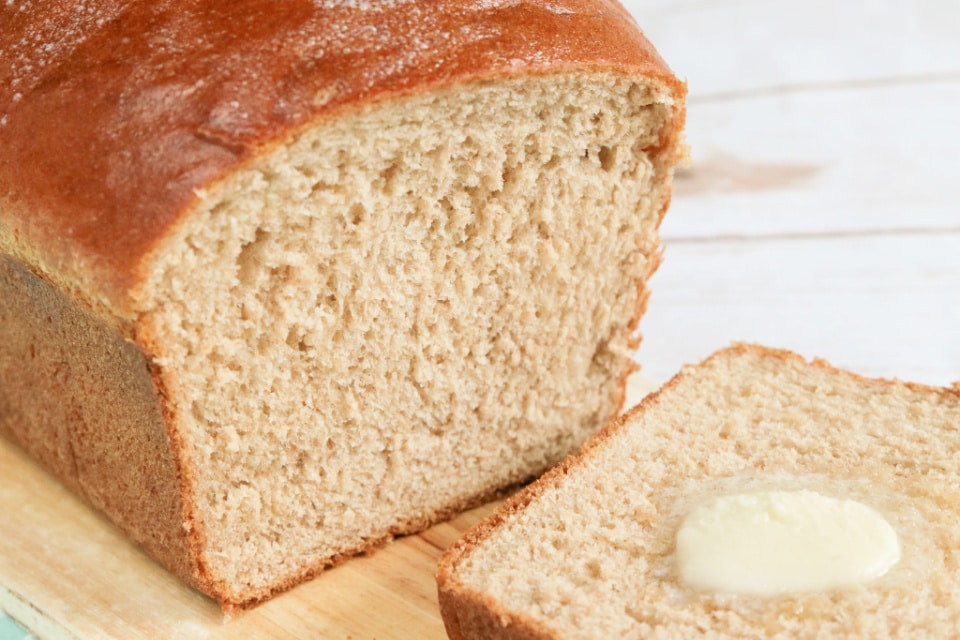
Honey Wheat Bread is my favorite! Homemade bread is a favorite around my house – I have five kids so we go through a lot of it. I make this recipe at least a couple of times a month and every time I do, all 4 loaves get devoured within days. Homemade bread is always best fresh, but this bread also freezes well and can be used later as well. Homemade bread is a little bit of a process to make, and I prefer to make several loaves at a time – so much easier than getting all of the ingredients out just to make one or two loaves!
 Is homemade bread hard to make?
 Is homemade bread hard to make?
Some people are very intimidated by making bread, but I promise that this recipe is so easy! I use instant yeast because I can buy it at Costco in bulk and it is a lot cheaper this way. Plus, it’s so easy to use. You just add the yeast to all of the other ingredients and don’t need to “activate” it before using. It does take some time to make bread because you have to wait for the dough to rise twice, but you don’t have to do anything but sit and wait!
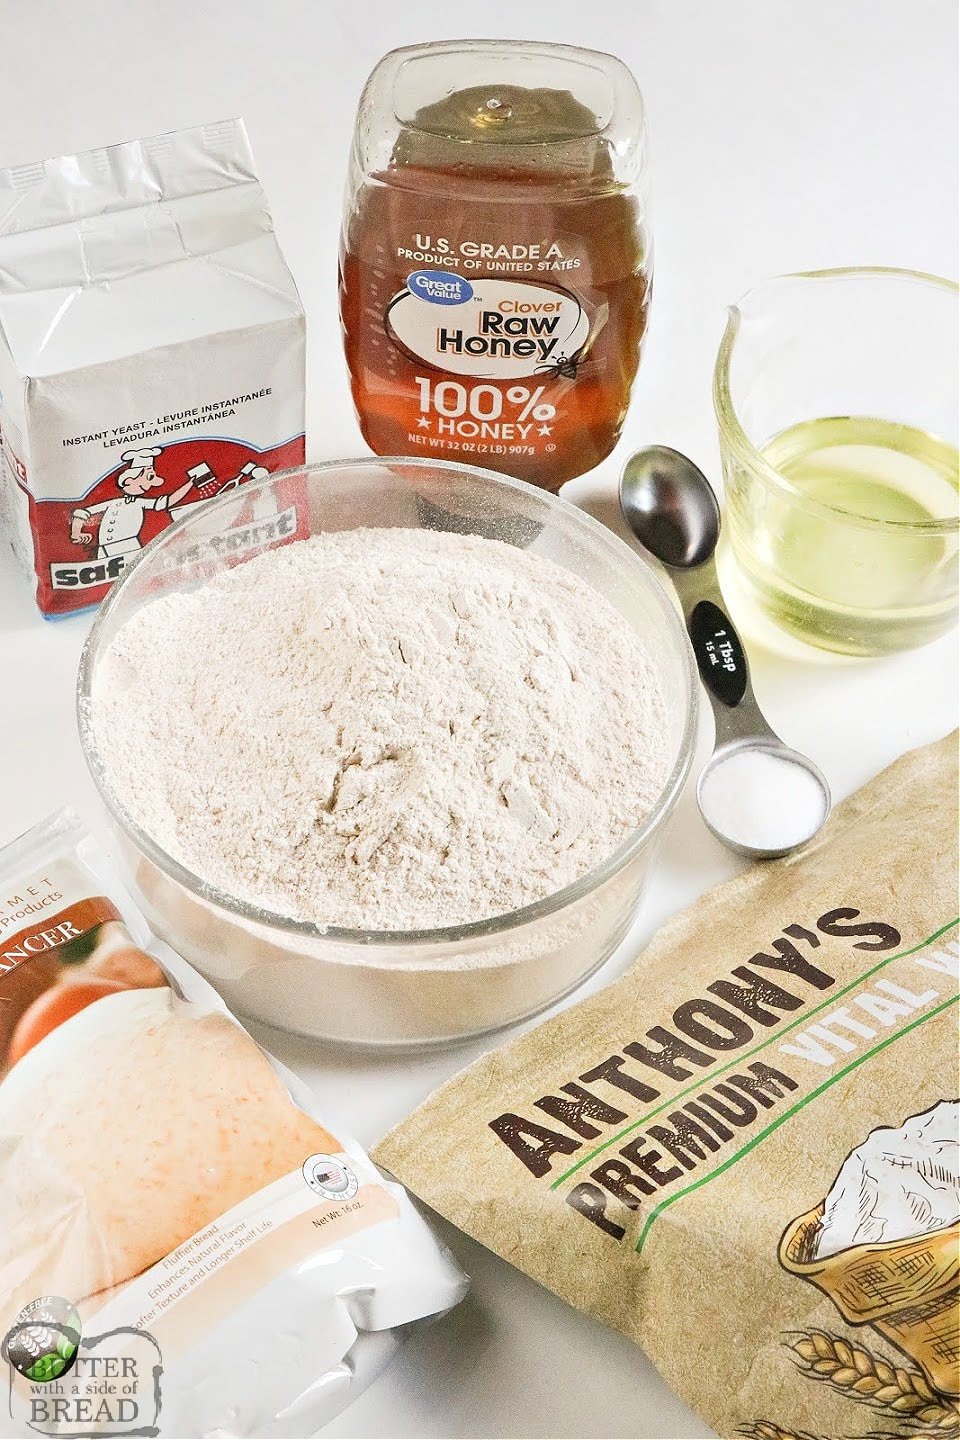
Ingredients in Large Batch Wheat Bread
2/3 cup oil
1 cup brown sugar or 2/3 cup honey (I usually use honey, but either option is fine!)
1 Tbsp salt
5 cups hot water (just run my tap water until it’s almost too hot to touch – no need to test the temperature)
2 Tbsp. instant yeast
6 cups whole wheat flour
6 cups white flour
2-4 Tbsp dough enhancer (optional)
2 Tbsp vital wheat gluten (optional)
How to make Homemade Wheat Bread
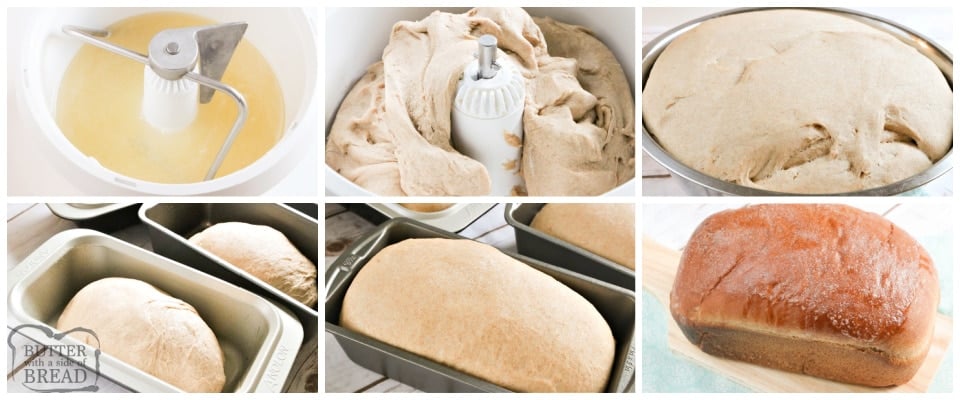
Mix oil, brown sugar, salt and hot water in a stand mixer for about a minute.
Add the six cups whole wheat flour and mix for 1-2 minutes. Add the yeast and mix one minute.
Add the dry yeast and mix one minute. If you want to use the dough enhancer and wheat gluten, add that in. You don’t have to put these two ingredients in, but I usually do because I do feel like it improves the texture/consistency of the bread.
Add the six cups of white flour and mix for 2-3 more minutes. If the dough is still too sticky, add another 1/2-1 cup white flour. Mix for a couple more minutes to check the consistency. The dough should be slightly sticky but shouldn’t continue to sticky to the sides of the bowl. If the sides of the bowl are clean, you probably have enough flour. The dough should feel slightly stick to the touch, but shouldn’t stick to your finger. Continue to mix for another 5-6 minutes.
Place the dough in a large, greased bowl and then cover with a clean kitchen towel. Let rise until double, usually about an hour. Divide the dough into 4 equal parts. Shape into 4 loaves and place in greased (9″X5″) bread pans. Let the bread rise again. You want the dough to be filling the pans but not rise too far above the pan, or it will get too big when you bake it!
Place the pans in an oven that has been preheated to 425°. Bake for 10 minutes and then turn heat down to 350°. Bake for about 15-20 minutes or until bread is nicely browned on top. (You can test the bread to see if it is done by using a meat thermometer – the internal temperature of the bread should be 200°.) Brush the tops with butter and let the loaves cool in the pan for about 5-10 minutes before removing from the pans. Let the bread completely cool before bagging.
If preferred, you can place in the freezer to use later. Bread should be good in the freezer for 1-2 months. Thaw at room temperature.
Ingredients
- 2/3 cup oil
- 1 cup brown sugar or 2/3 cup honey I usually use honey, but either option is fine!
- 1 Tbsp salt
- 5 cups hot water just run my tap water until it's almost too hot to touch - no need to test the temperature
- 2 Tbsp. instant yeast
- 6 cups whole wheat flour
- 6 cups white flour
- 2-4 Tbsp dough enhancer optional
- 2 Tbsp vital wheat gluten optional
Instructions
- Mix oil, brown sugar, salt and hot water in a stand mixer for about a minute.
- Add the six cups whole wheat flour and mix for 1-2 minutes. Add the yeast and mix one minute.
- Add the dry yeast and mix one minute. If you want to use the dough enhancer and wheat gluten, add that in. You don't have to put these two ingredients in, but I usually do because I do feel like it improves the texture/consistency of the bread.
- Add the six cups of white flour and mix for 2-3 more minutes. If the dough is still too sticky, add another 1/2-1 cup white flour. Mix for a couple more minutes to check the consistency. The dough should be slightly sticky but shouldn't continue to sticky to the sides of the bowl. If the sides of the bowl are clean, you probably have enough flour. The dough should feel slightly stick to the touch, but shouldn't stick to your finger. Continue to mix for another 5-6 minutes.
- Place the dough in a large, greased bowl and then cover with a clean kitchen towel. Let rise until double, usually about an hour. Divide the dough into 4 equal parts. Shape into 4 loaves and place in greased (9"X5") bread pans. Let the bread rise again. You want the dough to be filling the pans but not rise too far above the pan, or it will get too big when you bake it!
- Place the pans in an oven that has been preheated to 425°. Bake for 10 minutes and then turn heat down to 350°. Bake for about 15-20 minutes or until bread is nicely browned on top. (You can test the bread to see if it is done by using a meat thermometer - the internal temperature of the bread should be 200°.) Brush the tops with butter and let the loaves cool in the pan for about 5-10 minutes before removing from the pans. Let the bread completely cool before bagging.
- If preferred, you can place in the freezer to use later. Bread should be good in the freezer for 1-2 months. Thaw at room temperature.
📫 Save this recipe! Send it to your email! 📩
I consent to receiving emails from this site.
AVOID SUNKEN BREAD
The easiest and best way to avoid sunken bread is to use a cooking thermometer to check the inside of the loaf. Fully cooked bread will register 200°F on a thermometer. My all-time favorite thermometer is the Thermapen. It’s super fast and incredibly durable. Another great cooking thermometer is the ThermoPop which is a more basic version that works just as well!
WEATHER CAN AFFECT YOUR INGREDIENTS
If you live in a moist climate, chances are you’ll need at least the recommended amount of flour, maybe even 1/4 cup to 1/2 cup more. Bread dough should be sticky, but still manageable, especially after the first rise. While you’re kneading, the dough should come together and pull away from the sides of the bowl, leaving the bowl mostly clean. I usually aim to have the very bottom of the dough still attached to the bowl. Try not to add too much flour because your bread will be more dense. When you pick the dough up, some will stick to your fingers. After the first rise, it will be easier to handle!

TEMPERATURE AFFECTS HOW LONG YOUR BREAD TAKES TO RISE
If your house is cool, your bread will take longer to rise. In the wintertime when my house is cooler than normal, I like to turn the oven on for 2-3 minutes, then turn it off and let the bowl of dough rise in there. The oven traps the heat for a longtime and it’s the perfect atmosphere for rising dough.
If you live in a warm climate, feel free to set your dough outside to rise! I love doing this in the summertime- it rises so fast!
HOW DO YOU STORE HOMEMADE BREAD?
You’ll store bread in an airtight container. I bought bread bags off Amazon.
BEST BREAD PAN?
 BEST BREAD PAN?
I bake a lot of bread and the pans I prefer are either ceramic, glass or cast iron. These pans will bake bread more evenly and release the bread more easily after baking. I don’t like using dark or nonstick pans because the bread cooks unevenly. It darkens on the outside before the bread is cooked on the inside, so the coloring is uneven. Read more about which bread pan is the best here!
ENJOY THIS BREAD RECIPE? HERE ARE EVEN MORE RECIPES FOR HOMEMADE BREAD TO TRY:
- Best Classic Bread recipe
- Homemade Hawaiian Bread
- Cinnamon Raisin Bread
- Parmesan Garlic Dinner Rolls
- Fabulous French Bread
- Sweet Orange Dinner Rolls
- Homemade Hawaiian Bread
- Easy Homemade Cheesy Breadsticks
- Tomato Parmesan Flatbread
- Potato Bread Recipe
- Soft Cornmeal Dinner Rolls
- Soft White Sandwich Bread
Large Batch Wheat Bread recipe that makes 4 loaves of perfect wheat bread every single time. I love homemade bread and this recipe is the most foolproof (and delicious) wheat bread recipe that I’ve ever tried.


Jacqueline Knox says
Hi! Looking forward to tryin this recipe but i want to be sure I can dit it in my mixer. What was the size of the stand mixer you used for this recipe?
Nellie says
I use a Bosch mixer which has a 6.5 quart bowl.