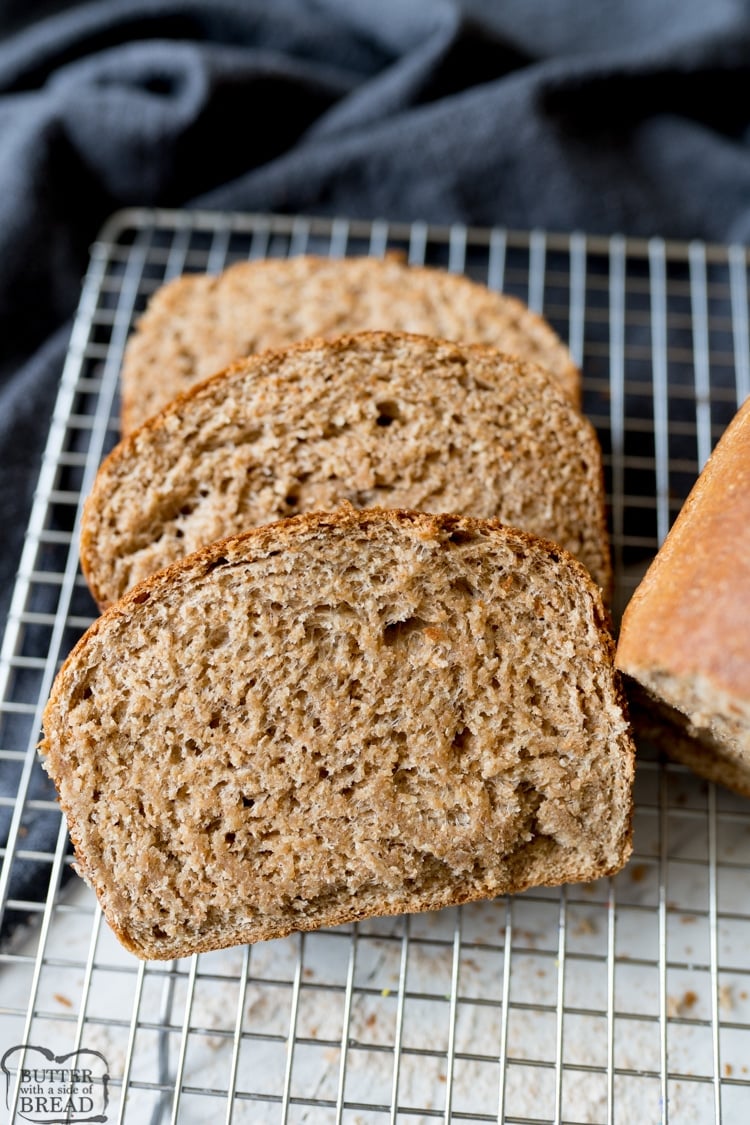
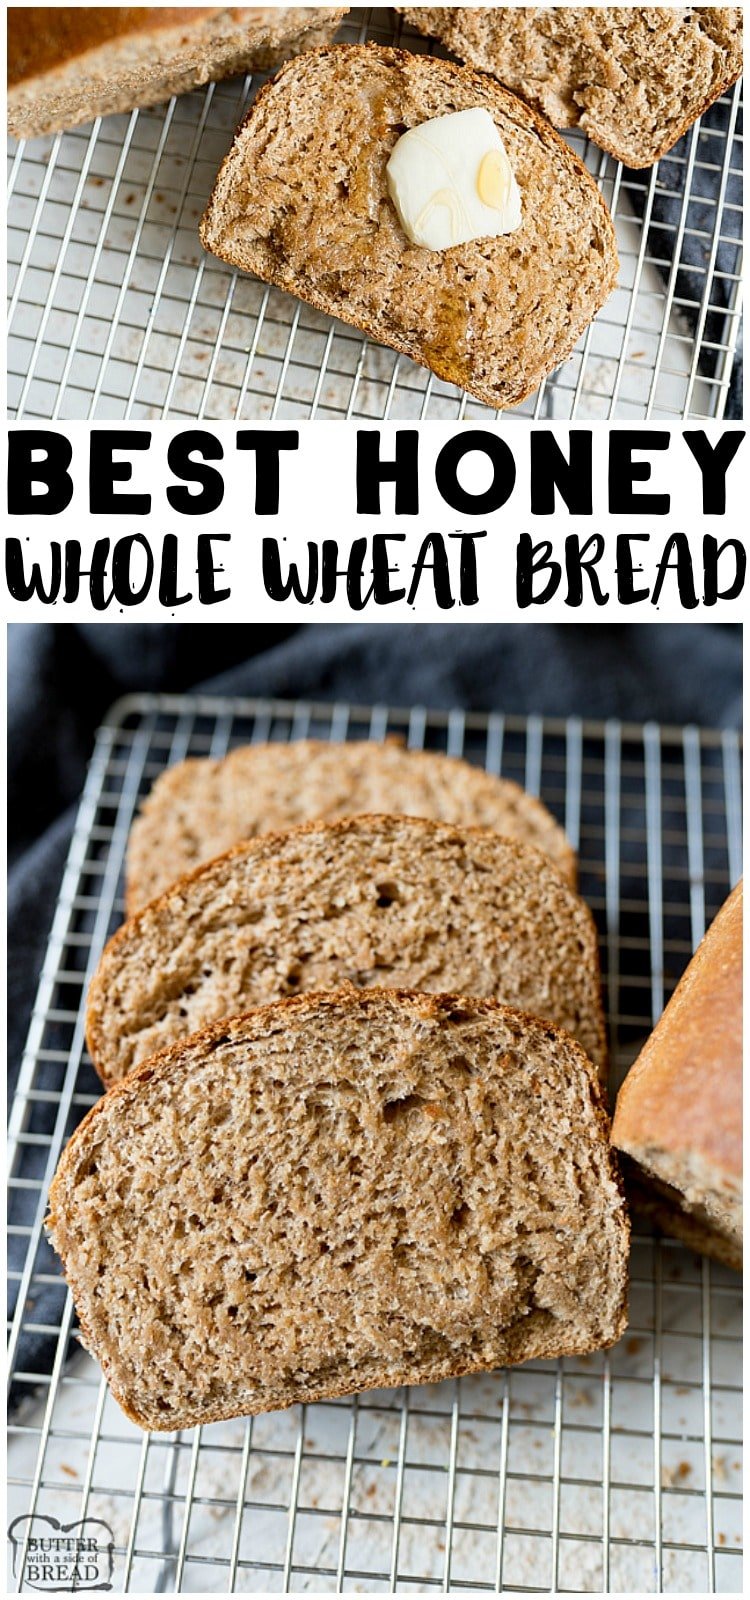
Honey Wheat Bread Recipe is a super simple way to use everyday ingredients to create delicious, hearty whole wheat bread. This Wheat Bread Recipe is perfect for beginner bread makers.
Homemade Honey Wheat Bread
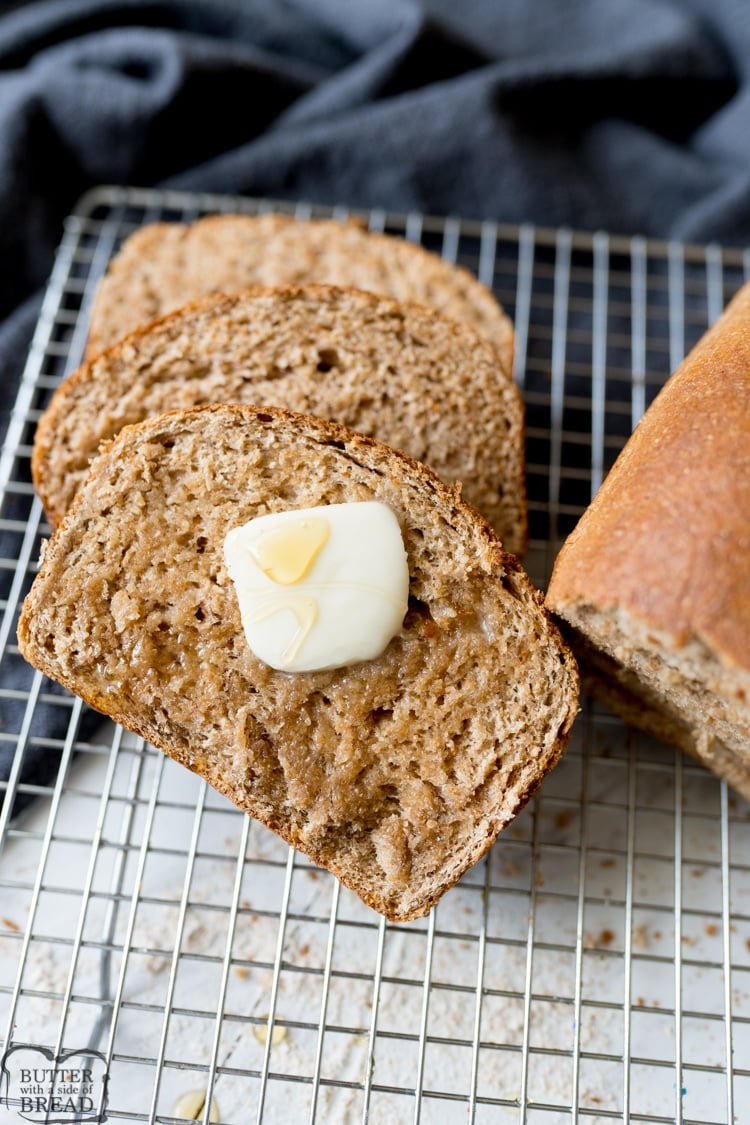
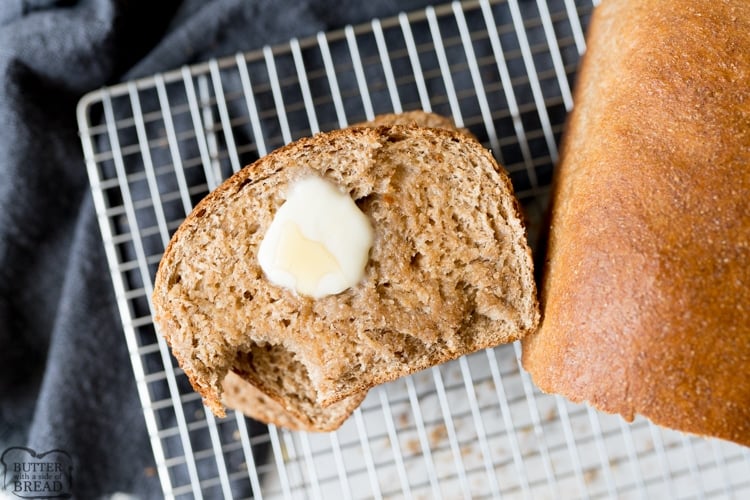
Nothing beats the smell of fresh bread straight from the oven, right? This Honey Wheat Bread is a staple at my house! It reminds me of my favorite little shop my mom and I used to go to while growing up- Great Harvest Bread Co. We’d go in to get a few loaves of bread and they would always have warm bread slices to snack on. Their wheat bread was the only wheat bread I liked!
I love how hearty this bread is, it can handle honey, jam or even soaking up the last bits of gravy. This bread is versatile and delicious!
Wheat Bread FAQ’s
What Ingredients are in Whole Wheat Bread?
No special ingredients needed in this recipe! You’ll need: dry active yeast, warm water, honey, melted butter, salt and whole wheat flour.
How do you proof yeast for homemade bread?
One of the trickiest parts of baking bread to someone who hasn’t ever done so before is working with the yeast. It can be hard to know whether it is alive and kicking or not in some recipes. For this reason I always proof my yeast before mixing it in with my flour and other ingredients.
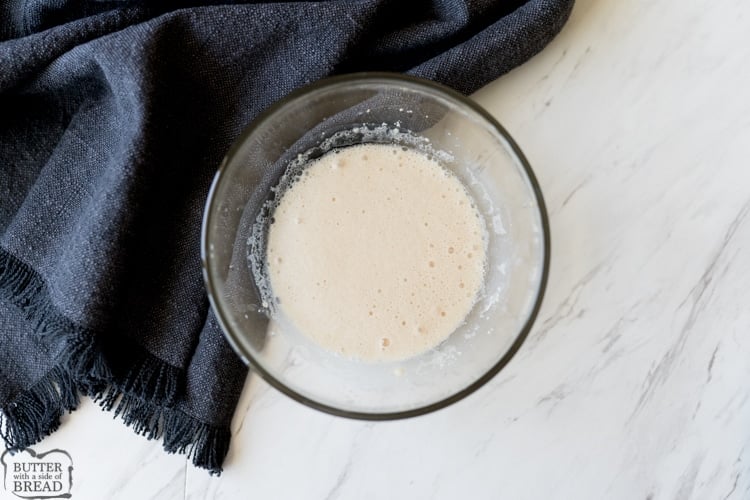
To do this, you will add your yeast (in this case, 1 pkg or 2 1/4 tsp) in a small amount of warm water (approx 90° if you have an instant read thermometer) with some sugar (or honey!). They yeast will feed on the sugar and will activate. The yeast will become foamy, at this point, you will know your yeast is alive and well!
Tips for the perfect loaf of Honey Wheat Bread
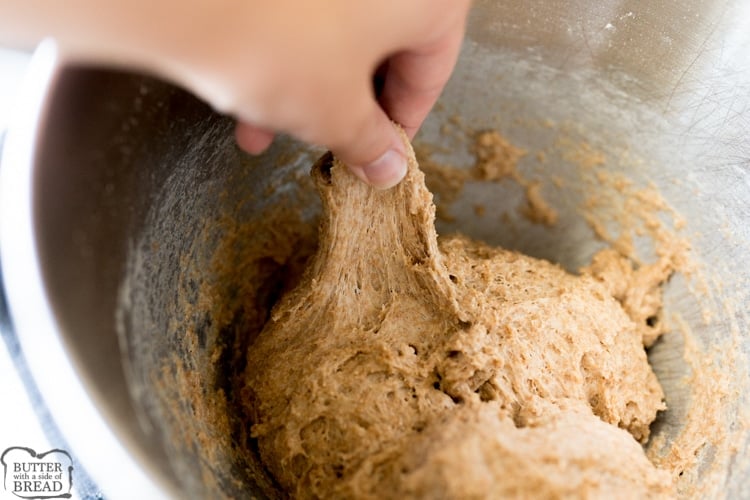
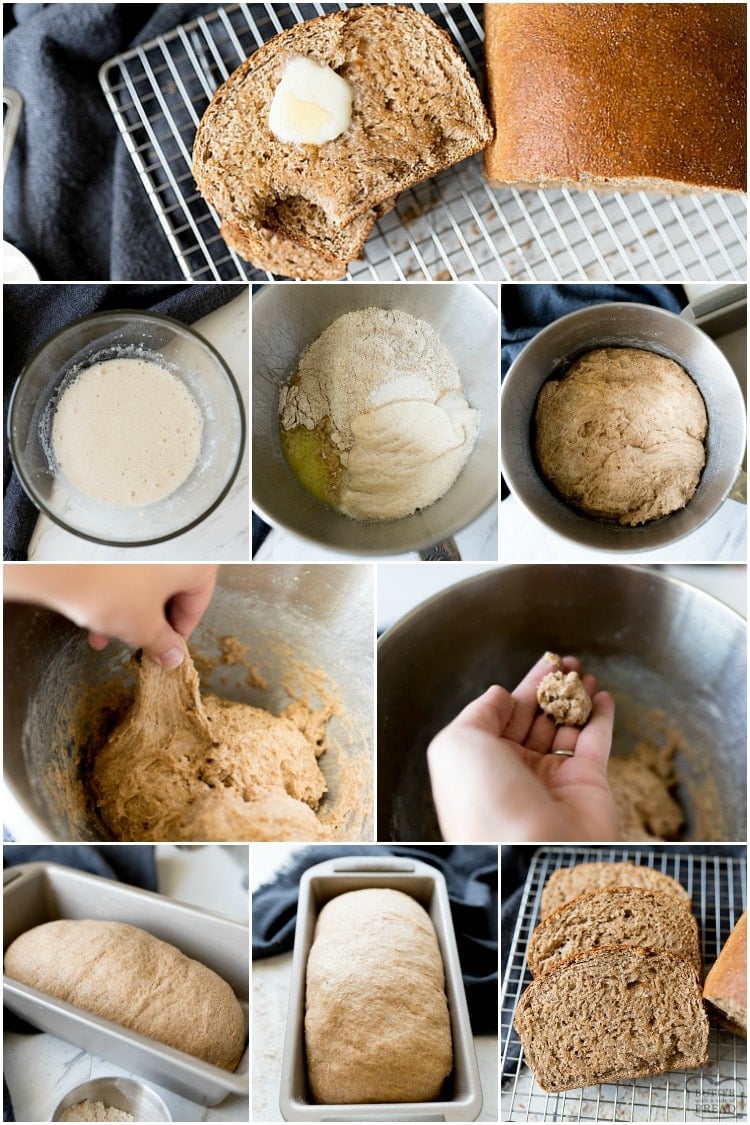
When kneading the dough, the dough will be slightly sticky. The dough will stick to the bottom of your mixing bowl, but you should be able to pull a small part of the dough off and roll it into a ball without it sticking to your fingers much.
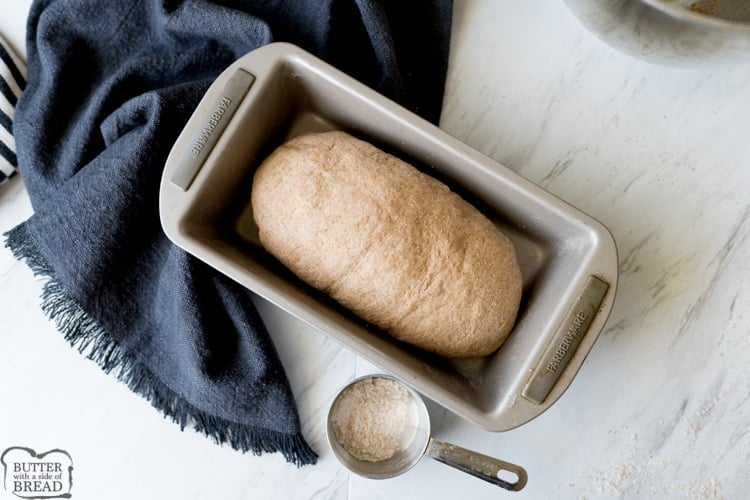
After rising the dough until double (approx 1 hour) punch the dough down and shape into a loaf by rolling into a log and then folding the ends under. Now, slap the loaf while rotating the dough to remove any air bubbles in the dough.
Lightly coat the bread pan in vegetable shortening, this guarantees an easy release every time!
Allow the bread to rise for an additional 30 minutes, while the oven is preheating.
To make the crust absolutely finger-licking good, brush butter onto the crust during the last 5 minutes of baking. Try to let the bread cool for 15 or so minutes before slicing, but I don’t blame you if you can’t wait. 😉
How to keep Homemade Bread Fresh
Once the bread has cooled completely, I like to store mine in a bread bag. They’re great for keeping bread fresh and for freezing.
You can also slice the bread and then freeze in individual zip top bags. Then you can remove the bread as needed, you can even toast it straight from the freezer for breakfast!
More Homemade Bread Recipes you will LOVE!
- Homemade Buttermilk Bread
- Easy Homemade Bread Recipe
- Homemade Hawaiian Bread
- Honey Oat Bread recipe
- Cinnamon Raisin Bread
- Parmesan Garlic Dinner Rolls
- Fabulous French Bread
- Homemade Hawaiian Bread
- Potato Bread Recipe
- Soft Cornmeal Dinner Rolls
AVOID SUNKEN BREAD
The easiest and best way to avoid sunken bread is to use a cooking thermometer to check the inside of the loaf. Fully cooked bread will register 200°F on a thermometer. My all-time favorite thermometer is the Thermapen. It’s super fast and incredibly durable. Another great cooking thermometer is the ThermoPop which is a more basic version that works just as well!
Honey Wheat Bread
Ingredients
Instructions
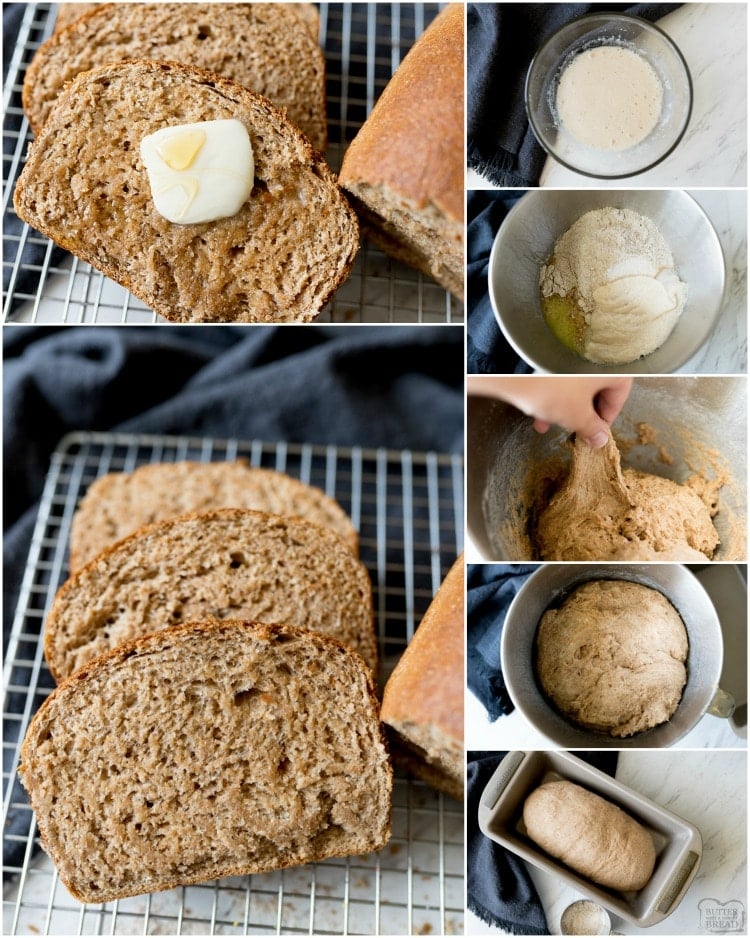
- Combine the yeast, 1/4 C of warm water, and 1/2 tsp of the honey to a small bowl. Let the yeast proof. This means to wait until it is bubbly, to show you that the yeast is alive and kicking!
- While the yeast is proofing, add the remaining bread ingredients (remaining water, remaining honey, butter, salt and flour) to the bowl of a stand mixer.
- Once the yeast has proofed, pour it into the stand mixer and begin mixing slowly with the dough attachment. Once all of the flour is combined, knead for 5 minutes. The dough will be sticky, but you should be able to pull off some dough and roll it into a little ball. If it is too sticky for that, add a little extra flour.
- Cover the bowl with plastic wrap and let it rise in a warm place for 1 hour, or until double in size.
- Shape dough into a loaf by rolling the dough and tucking in the ends and place in a shortening coated bread pan. Cover with plastic wrap and rise for an additonal 30 minutes.
- Turn on the oven to 375°.
- Bake at 375° for 25 - 30 mintues. Brush the top with butter during the last 5 minutes of baking if deesired.
- Cool for 15 mintues before slicing.
Video
Nutrition
📫 Save this recipe! Send it to your email! 📩
I consent to receiving emails from this site.
Instant or Active Dry Yeast for Making Bread
If you use instant yeast, you can add it directly to your other dry ingredients when making bread. If you use active dry yeast, you’ll need to first dissolve it in warm water before using it in a recipe. I buy my yeast in bulk from Costco and it’s active dry yeast.
Honey Whole Wheat Bread Recipe is an easy description on how to make bread. This delicious, hearty whole Wheat Bread recipe is perfect for any time of the day and any type of meal.


Melody says
Followed the recipe exactly and turned out great. Light texture for whole wheat bread and wonderful taste. Also holds up for easy slicing.
Alison says
Melody, I’m really happy it turned out so well for you!
Suzanne says
This was my first attempt at bread baking and I definitely picked the right recipe to start with! I’ve always been a little intimidated at the thought of the yeast, the needing, waiting for it to rise, etc. but it couldn’t have been easier. The texture and taste are amazing and I will be making this again (and again). Thank you!
Jessica says
I’m so glad you enjoyed it Suzanne! There’s nothing like freshly baked bread, right?! : )
Celeste says
Can this bread beade free form?
Jessica says
Absolutely Celeste! We call those “rustic Loaves” YUM.
Jai says
I made a loaf this morning for breakfast. My whole family loved it! It was gonna in a flash, I was lucky to even manage to get a slice! Haha. Now they’re asking to make another batch later today. Thank you for an easy and delicious recipe. 🙂
Alison says
I’m so happy you and your family loved this one Jai!
Jai says
Question, will the structure of the bread be different if I added a bit more honey? I made this bread countless times following your recipe already but my cousin requested me to make her loaf a bit sweeter. Instead of 1/4 cup honey, can I make it 1/3 or 1/2 cup? what do you reckon? Thank you!
Ryan Massey says
Bread tastes great, but I must have screwed something up. The middle of my bread had a hole and the bottom was doughy. I did use a 9×5 stoneware. Cooked for 28 minutes on the bottom rack at 375. I’ll try the middle rack next time!
Jessica says
A hole? Hmmm… Did you punch your dough down? Sounds like you had some air trapped inside. Stoneware can be tricky, which is why I like to take the internal temp of bread using a cooking thermometer. Cooked bread should register about 200° F.
Derri says
Perfect. Just what I was looking for… Or whole wheat flour without weight added and it comes out moist and delicious and perfect every time. With a stand mixer it’s really not even much work.
Question:s: Is there any reason not to double the recipe and make two loaves? And is there any reason not to take a bit of it inform them into sandwich funds? Have you tried that and you have recommended time range?
Jessica says
So doubling a bread recipe- just make sure your stand mixer can accommodate the added amount of dough, or it will literally climb up your mixer and make a mess. I speak from experience, ha!
I think your second question may have been auto corrected, so I’m not understanding what you’re asking… 😉
Derri says
Wow. I certainly needed to proofread before I hit send :-). Thanks for interpreting the first question.
In the second, i meant to ask if you’d ever made sandwich buns from this recipe and if so, the timings that worked for you. Thanks!
Ashleigh greene says
The taste was great! I don’t
Have a bread pan so I used my Dutch oven. It came out pretty dense compared to the photo. Does this mean I kneaded too long in the mixer? Or not enough? Or the Dutch oven was a bad choice? Or it didn’t rise long enough ? Should I wait until the yeast is ALL bubbles before adding it? It was mostly bubbled. This was my first time so it definitely wasn’t bad, all things considered! Thanks
Jessica says
Hi Ashleigh- hope this helps!
MY BREAD DIDN’T RISE
There are several reasons why your bread could have not risen.
1) Yeast is too old
2) Yeast was killed by using water that was too hot (I aim for 95-105 degrees F)
3) It initially rose for too long, then collapsed in the oven. Bread should first rise for 30 mins- an hour, then 2nd rise for about 15-30 minutes- longer isn’t necessarily better.
4) Ratio/ measurements of yeast to flour was off. Too much flour turns bread dense and crumbly. Make sure you dough is tacky- stop adding flour right when you achieve this consistency.
5) You house was too cool. Bread dough will rise in cool temps but it will take a LONG time. I like to do the 2nd rise in my oven. I simply turn it on 350° F for 1 minute, then turn it off. Place bread pan inside and let it rise. When it’s time to bake it, just preheat the oven with the pan inside and decrease bake time by 3-5 minutes.
Kay says
As a novice to bread baking before the quarantine, I have been, trying different things to get the dough to rise well. FINALLY, I discovered that I had been over-kneading by a long shot!! I kept decreasing the time until it was perfect. I also found that when I pack my measuring cups, I add a little more warm water to the dough.
Ginny says
Simple and tasty. Question… What size pan do you use?
Nellie says
Just a regular bread pan (9″X5″).
Wendy says
Could you give me the approximate size measurements for the loaf tin you use for this recipe? It’s hard to tell from the photo and I have a variety of tins and sizes – I’d like to choose the closest when trying this recipe. Thanks so much!
Jessica says
I used a 9″ loaf pan for this recipe. https://butterwithasideofbread.com/best-bread-loaf-pan/
Gabrielle says
I’ve made this bread many times, and it always turns out well. I usually double the recipe to make 2 loaves, slice and freeze them. I haven’t bought bread from a store since I started making my own. Thank you for this awesome recipe!!
Alison says
I’m so happy this could be a great go to recipe for you Gabrielle!
George says
What is the recommended pan size and material? Would Olive Oil work to grease the pan?
Jessica says
I prefer to bake with a glass or ceramic pan. I also love cast iron and I have 1 high quality non-stick (Analon) pan that I like. https://butterwithasideofbread.com/best-bread-loaf-pan/
Carly says
Can this be made in a bread machine on the dough cycle and then transferred to a loaf pan?
Jessica says
You can! Or you can just bake it in your bread machine!
Britney says
Hi! I just have a questions about the sugar amount that was listed here for 1 loaf. It said 6 grams here on the website but my honey says 16 grams per tbs. and there are 4 tbs. in a 1/4 cup. That would be 64 grams of sugar in one loaf (plus a tsp for the yeast). Just wanted to clarify that and see if I’m doing something wrong here! Thanks in advance. 🙂
Jessica says
I just use a nutritional info calculator that draws info from a database- you’re welcome to calculate your own!
Diane says
Loved it. My husband loves it toasted with peanut butter. Will make again!
Kaylie says
Yum! Thank you, Diane
Sarah says
This is by far the best whole wheat bread recipe I have ever found!! I make my own bread for my family and everyone LOVES it! Highly recommend!!
Alison says
Thank you so much Sarah! I hope you and your family continue to enjoy this one!
Susan says
30 minutes baking time????? Try 1 hour!!!!!
Nancy says
This is the best tasting and easiest to follow, fool proof bread recipe. I will never buy store bought bread again after making this one. One good thing came from Covid 19: trying great fool proof recipes like this one! Thanks for sharing and giving such great instructions!
Alison says
Thank you so much Nancy! I’m so glad we could help out and be a little bit of good in a tough time!
Mary says
Perfect bread! Cooked great and tastes so fresh and good!
Alison says
Thank you Mary! I’m so glad you enjoyed it!
Amy says
Hi, so I have a 1 pound bag of instant yeast. I’m not sure how much I am supposed to add to your recipe listed above? It says to add a pack, which obviously I don’t have an individual one. How much do I need ?
I also wondered if I do not have a stand mixer what your recommendations are?
This will be my first loaf of bread that I’ve ever made and I’m very excited to get started!
Thank you in advance for your help. I’m loving all your positive reviews and the simplicity of this recipe.
Jessica says
I’d add 2-3 teaspoons of yeast. You don’t necessarily need a stand mixer, but roll up your sleeves, because you’ll be kneading the dough for a good 12 minutes! You’ve got this- and fresh homeade bread is the BEST!
Shobhana says
Hi Jessica, I made this a couple times. Tastes awesome. But my crust breaks. What am I doing wrong
Jessica says
Try adding in a bit less flour. I think the best breads are made with kind of sticky dough. THey’re harder to work with, but they yield softer bread!
Jessica M says
This was amazing! I added a little more salt and served with butter and soup. Delicious! Will definitely make this again
Alison says
We love making this with soup on a chilly day! So glad you enjoyed it too Jessica!
Janis Taylor says
Good bread. I made this one because I had no milk. I’ll make it again.
Alison says
I’m so glad you enjoyed this Janis!