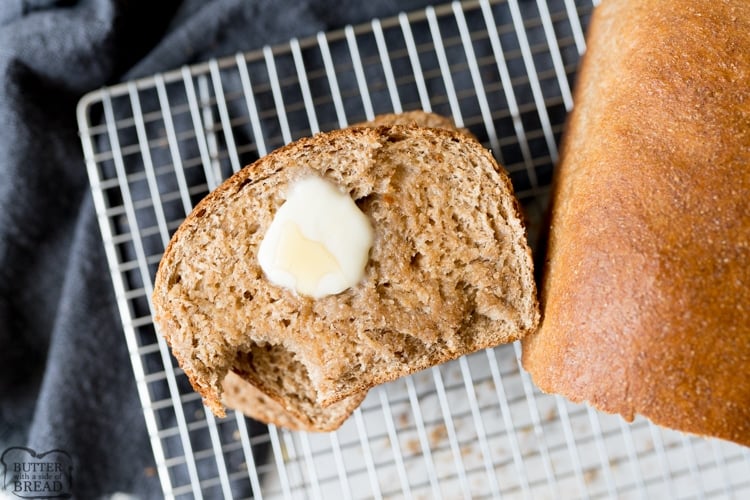
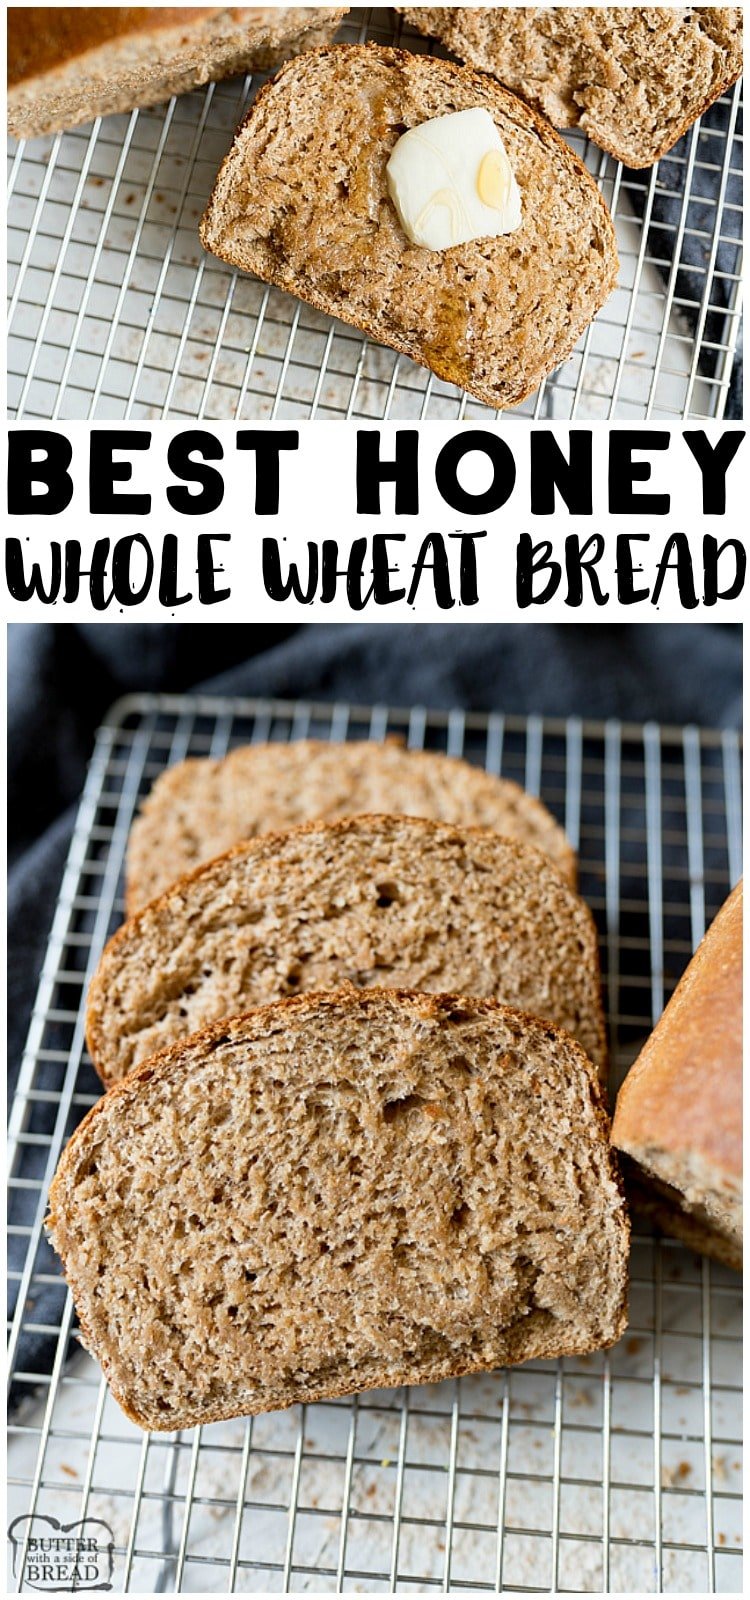
Honey Wheat Bread Recipe is a super simple way to use everyday ingredients to create delicious, hearty whole wheat bread. This Wheat Bread Recipe is perfect for beginner bread makers.
Homemade Honey Wheat Bread
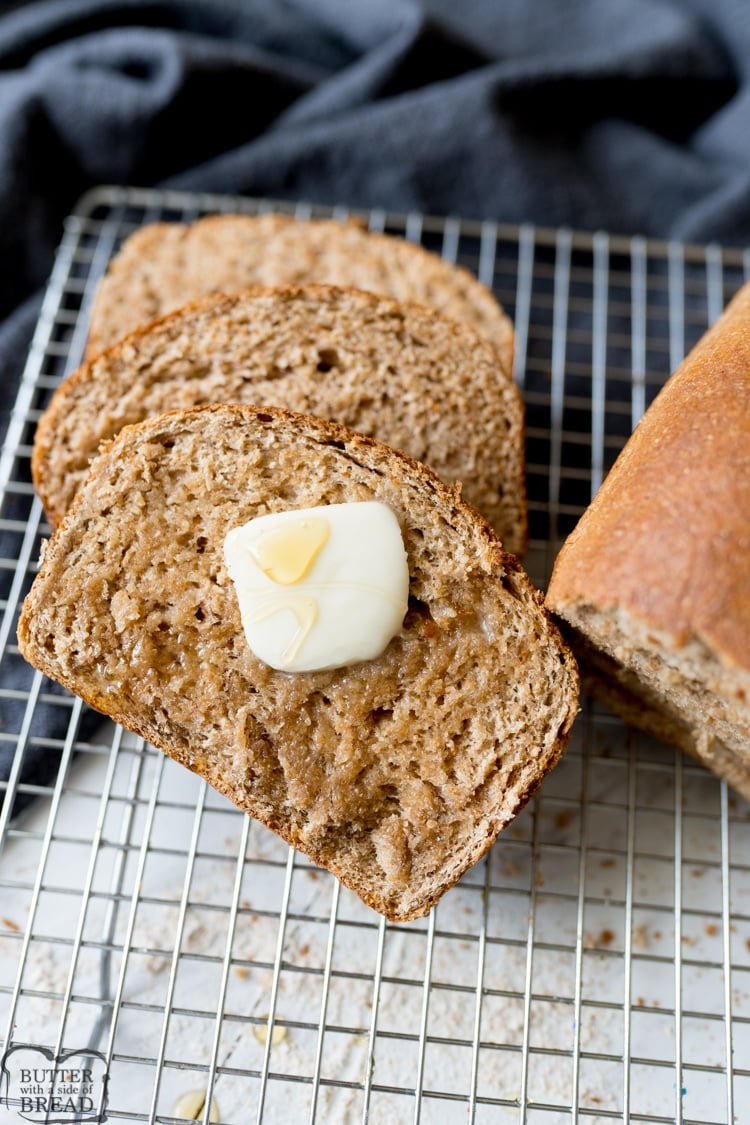
Nothing beats the smell of fresh bread straight from the oven, right? This Honey Wheat Bread is a staple at my house! It reminds me of my favorite little shop my mom and I used to go to while growing up- Great Harvest Bread Co. We’d go in to get a few loaves of bread and they would always have warm bread slices to snack on. Their wheat bread was the only wheat bread I liked!
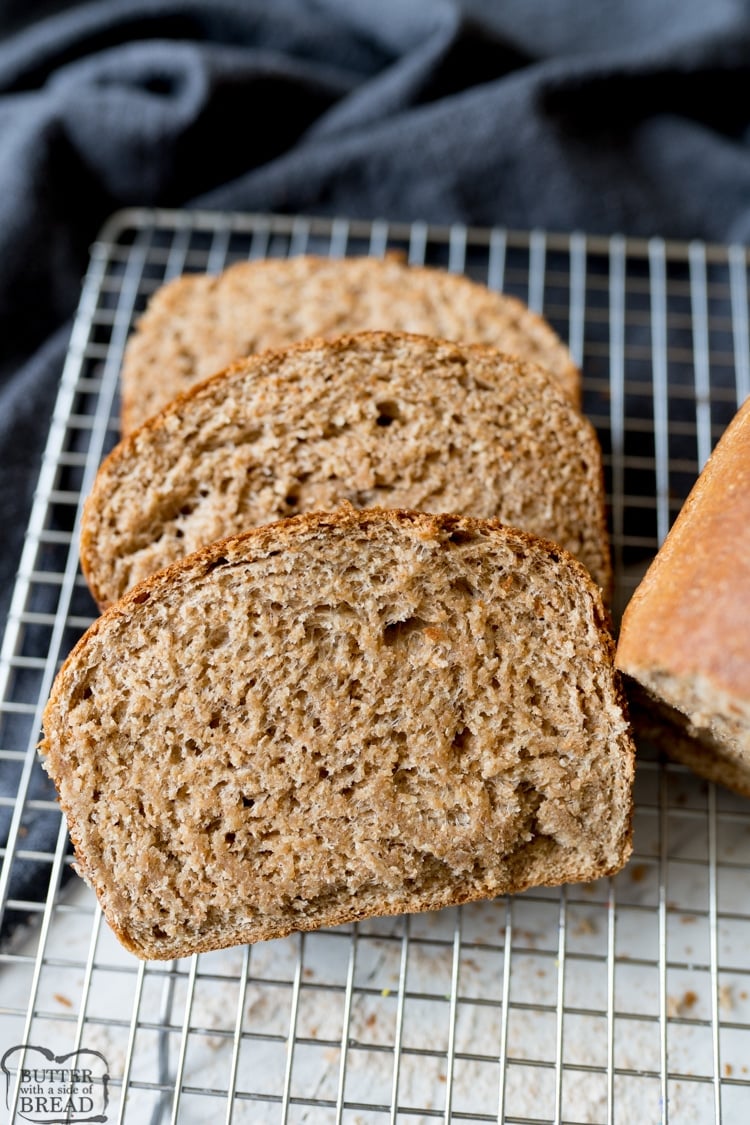
I love how hearty this bread is, it can handle honey, jam or even soaking up the last bits of gravy. This bread is versatile and delicious!
Wheat Bread FAQ’s
What Ingredients are in Whole Wheat Bread?
No special ingredients needed in this recipe! You’ll need: dry active yeast, warm water, honey, melted butter, salt and whole wheat flour.
How do you proof yeast for homemade bread?
One of the trickiest parts of baking bread to someone who hasn’t ever done so before is working with the yeast. It can be hard to know whether it is alive and kicking or not in some recipes. For this reason I always proof my yeast before mixing it in with my flour and other ingredients.
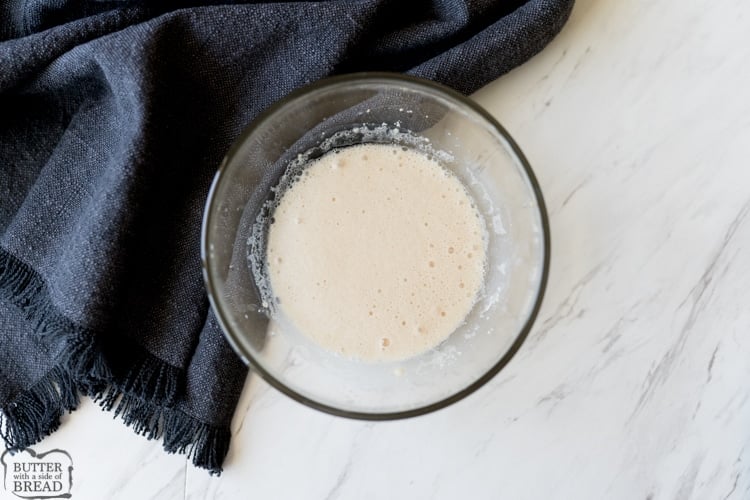
To do this, you will add your yeast (in this case, 1 pkg or 2 1/4 tsp) in a small amount of warm water (approx 90° if you have an instant read thermometer) with some sugar (or honey!). They yeast will feed on the sugar and will activate. The yeast will become foamy, at this point, you will know your yeast is alive and well!
Tips for the perfect loaf of Honey Wheat Bread
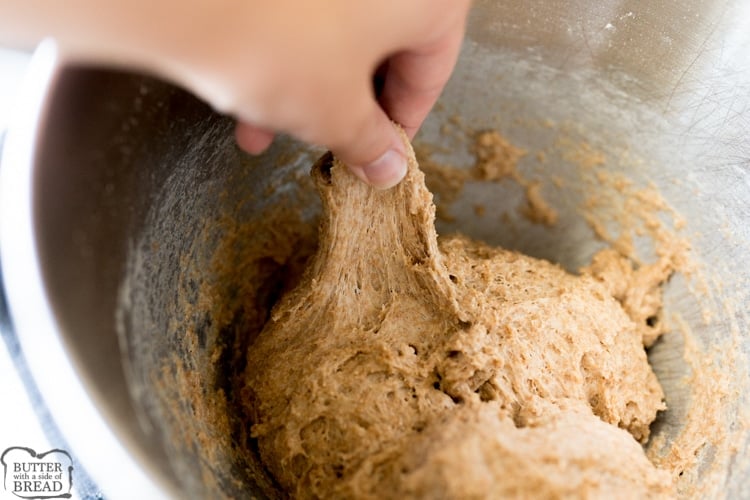
When kneading the dough, the dough will be slightly sticky. The dough will stick to the bottom of your mixing bowl, but you should be able to pull a small part of the dough off and roll it into a ball without it sticking to your fingers much.
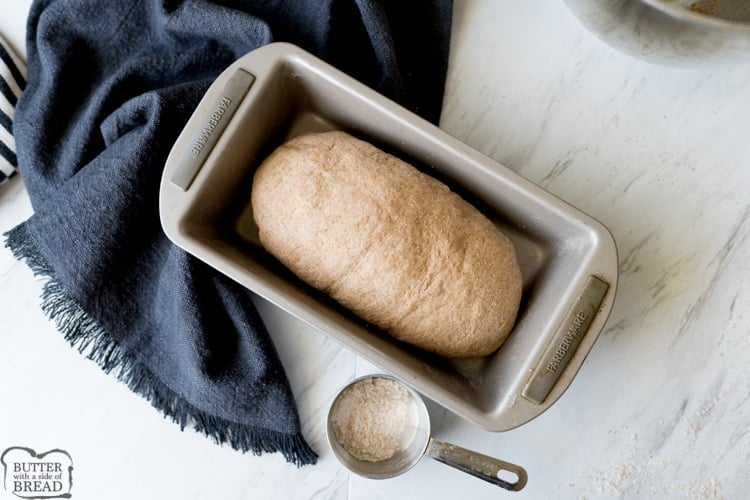
After rising the dough until double (approx 1 hour) punch the dough down and shape into a loaf by rolling into a log and then folding the ends under. Now, slap the loaf while rotating the dough to remove any air bubbles in the dough.
Lightly coat the bread pan in vegetable shortening, this guarantees an easy release every time!
Allow the bread to rise for an additional 30 minutes, while the oven is preheating.
To make the crust absolutely finger-licking good, brush butter onto the crust during the last 5 minutes of baking. Try to let the bread cool for 15 or so minutes before slicing, but I don’t blame you if you can’t wait. 😉
How to keep Homemade Bread Fresh
Once the bread has cooled completely, I like to store mine in a bread bag. They’re great for keeping bread fresh and for freezing.
You can also slice the bread and then freeze in individual zip top bags. Then you can remove the bread as needed, you can even toast it straight from the freezer for breakfast!
More Homemade Bread Recipes you will LOVE!
- Homemade Buttermilk Bread
- Easy Homemade Bread Recipe
- Homemade Hawaiian Bread
- Honey Oat Bread recipe
- Cinnamon Raisin Bread
- Parmesan Garlic Dinner Rolls
- Fabulous French Bread
- Homemade Hawaiian Bread
- Potato Bread Recipe
- Soft Cornmeal Dinner Rolls
AVOID SUNKEN BREAD
The easiest and best way to avoid sunken bread is to use a cooking thermometer to check the inside of the loaf. Fully cooked bread will register 200°F on a thermometer. My all-time favorite thermometer is the Thermapen. It’s super fast and incredibly durable. Another great cooking thermometer is the ThermoPop which is a more basic version that works just as well!
Honey Wheat Bread
Ingredients
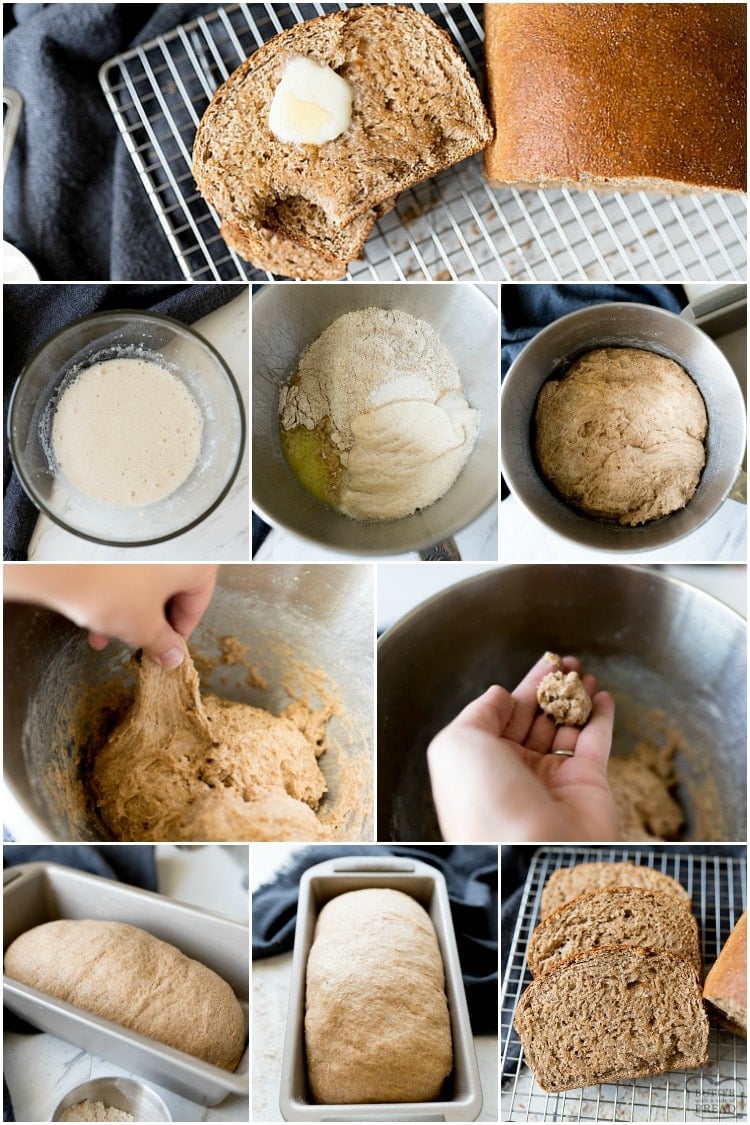
Instructions
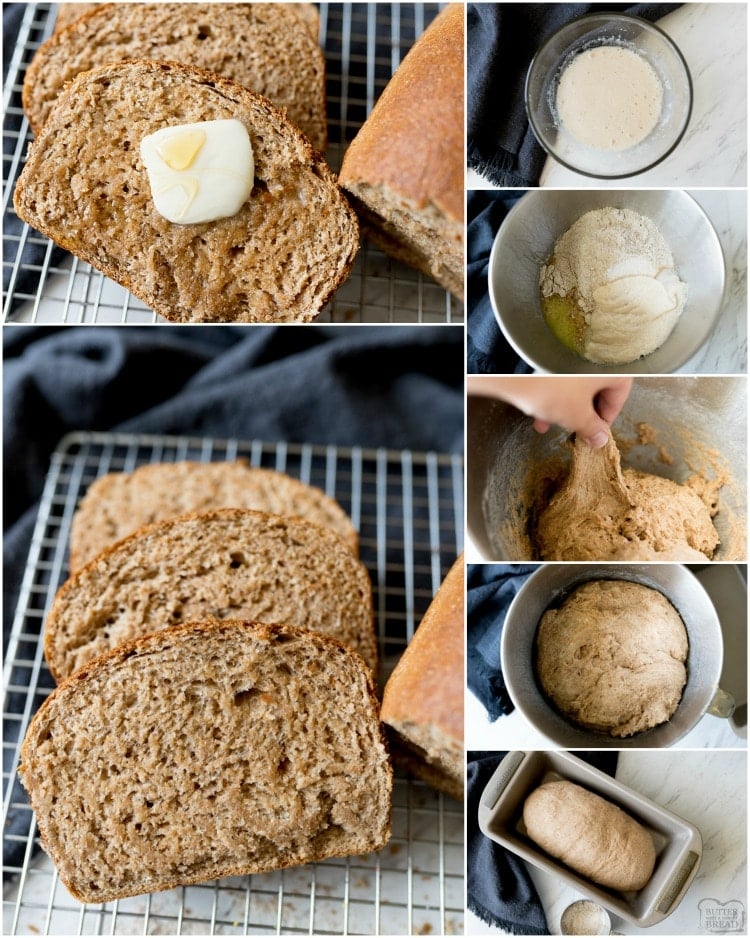
- Combine the yeast, 1/4 C of warm water, and 1/2 tsp of the honey to a small bowl. Let the yeast proof. This means to wait until it is bubbly, to show you that the yeast is alive and kicking!
- While the yeast is proofing, add the remaining bread ingredients (remaining water, remaining honey, butter, salt and flour) to the bowl of a stand mixer.
- Once the yeast has proofed, pour it into the stand mixer and begin mixing slowly with the dough attachment. Once all of the flour is combined, knead for 5 minutes. The dough will be sticky, but you should be able to pull off some dough and roll it into a little ball. If it is too sticky for that, add a little extra flour.
- Cover the bowl with plastic wrap and let it rise in a warm place for 1 hour, or until double in size.
- Shape dough into a loaf by rolling the dough and tucking in the ends and place in a shortening coated bread pan. Cover with plastic wrap and rise for an additonal 30 minutes.
- Turn on the oven to 375°.
- Bake at 375° for 25 - 30 mintues. Brush the top with butter during the last 5 minutes of baking if deesired.
- Cool for 15 mintues before slicing.
Video
Nutrition
📫 Save this recipe! Send it to your email! 📩
I consent to receiving emails from this site.
Instant or Active Dry Yeast for Making Bread
If you use instant yeast, you can add it directly to your other dry ingredients when making bread. If you use active dry yeast, you’ll need to first dissolve it in warm water before using it in a recipe. I buy my yeast in bulk from Costco and it’s active dry yeast.
Honey Whole Wheat Bread Recipe is an easy description on how to make bread. This delicious, hearty whole Wheat Bread recipe is perfect for any time of the day and any type of meal.


Ashley says
Thanks for the easy to follow instructions and photos. Our family loved this bread and I will definitely make it again.
Bonnie Bandi says
Love the recipe!! Easy to make and very tasty. Bring in quarantine I can really check out and try new recipes. Thanks for making it available to give it try.
Bonnie
Nellie says
So glad you enjoyed the recipe!
Renee Goerger says
I’m excited about this recipe. Fall always gets me in the kitchen to bake bread! It looks like a winner!
Antionette Blake says
Oh my goodness, this looks amazing and had me wanting it as I read the recipe. This is definitely much better than anything you purchase in the store! #TrafficJamWeekend
Susan says
I’m in the process of making this bread. I have the hardest time getting my bread to rise. It never doubles in size. I’ve followed all the tips from different recipes on how to proof yeast, how to make the water the correct temperature, where to place dough while rising for correct warmth and nothing works. I have tried different recipes over this past year and I always have a problem. Any suggestions?
Jessica says
What kind of yeast do you use? Is it new? Do you store it in the fridge/ freezer? I’m in a cold climate and I like to let my bread rise in the oven. I turn it on 350 degrees F for 3-4 minutes, then turn it off. Set my bread in there and let it rise.
Amber says
This recipe was simple and the results were delicious! Thank you for sharing! 🙂
Emma says
It took a lot longer to bake through. Did I do something wrong?
Jessica says
No, sometimes it just takes longer. I like to check the internal temp of my loaves- they should register about 195 degrees F- 200°F when done.
D Bullock says
Excellent bread and easy recipe!
Al says
Great recipe! Do you every add
Anything to this like dried cranberry? Cinnamon? What are some recommended variations?
Alison says
Many people on here have added different variations including dried fruit and cinnamon and they have loved it! I recommend just adding your favorites!
Laurie says
how Much sugar? Sugar isn’t in the ingredient list, but in the directions it says to add the sugar. .??
Jessica says
Sorry- that should have read honey. You divide the honey and add it in 2 separate areas. : )
Mary says
Hi Jessica. I have a few questions regarding this recipe. Did you use a convection oven setting or regular oven setting and was it a gas or electric oven? Did you use store bought whole wheat flour or did you grind your own whole wheat flour? If you ground your own flour, what brand of grain grinder did you use? Also, would the type of bread pan you use make any difference in how the bread turns out?
We tried your recipe twice and we loved the taste of the bread but we still need to tweak one or more of the variables to address some of the issues we experienced as described below:
The first time, we used a oven time of 25 min, 375 temp, regular oven setting, used our own ground flour (not store bought) and baked in a long loaf pan and the outside of the bread was overly browned but the inside was fine. In this case, what variables can be changed to make sure the outside of bread is not overly browned?
The second time, we used a time of 30 min, 365 temp, convection oven setting, used our own ground flour (not store bought) and baked in a long loaf pan and the outside of the bread was perfect but the inside was doughy with a hole running down the center. In this case, what variables can be changed to make sure the inside of bread is fully cooked (not doughy), without a hole running down the center while keeping the outside of loaf perfect?
Thanks … Mary
Jessica says
Hi Mary! Ok, to answer your questions, I use a Blendtec Wheat grinder and I grind Hard White Wheat.
I bake it on a regular oven setting, not convect.
I prefer glass or ceramic bread pans. https://butterwithasideofbread.com/best-bread-loaf-pan/
I always test my bread with a cooking thermometer to test doneness. My all-time favorite cooking thermometer is the Thermapen. It’s super fast and incredibly durable. Another great thermometer is the ThermoPop which is a more basic version that works just as well!
If the outside is browning too fast, lay a piece of foil on top while baking.
If your wheat bread is too dense, I’m a big fan of adding dough enhancer or vital wheat gluten to recipes. https://amzn.to/3edSAVi I think it helps improve the texture of home baked bread.
Also- how are you kneading the bread? Insufficient kneading will affect the texture.
Hope this helps!
Kaylee Stemkoski says
This is absolutely the best whole wheat bread I have ever made and maybe even ever had it’s so delicious. The crust has a little crunch to it and the rest is so soft. Part of that comes from my stone bread pan but it’s quite delicious.
Jessica says
I’m so glad you enjoyed it Kaylee!
Kay says
I am a beginner, and have made this twice. First time, it was very flat, only 2.5-3 inches high, but delicious! Second time today, It still did not rise as much as yours, and the dough was very sticky when I tried to form it to the loaf for the pan. I am thinking I should add more flour next time, although I did add a little more today than the first time. I use rapid rise yeast and put the yeast 1.75 c. flour, 1/3 c. honey, and 1.25 c. water (92 degrees). I covered it and let it rest for 10 minutes before adding the remaining 1.25 c. flour, salt, and melted coconut oil (instead of butter). Experienced bread makers, please advise!! I will be making this again and again because it is so good! I just need to learn how to do it properly!
Jessica says
Try letting it rise longer for both rises.
Kay says
Would it help to add Vital Wheat Gluten, since I had problems with the dough rising both times. The first time, I did not let it rise but an hour total. The second time the hour and then the 30 minutes, and it still did not rise any better. My rapid rise yeast is kept in the refrigerator after it was opened a few weeks ago.
Lee Ann says
I only have one packet of Instant Dry Yeast to my name but I would love to try this bread! May I use the instant yeast in this recipe? If so, do I need to adjust the amount of yeast? Thanks so much!
Alison says
Hi Lee Ann, You can simply use the instant yeast just as the printed directions state with no problems- I truly find that’s the easiest way. If you want to just mix the yeast in with the flour, mix it in with 3 cups.
lou says
I am new to baking yeast bread. I followed these directions and my bread turned out great!
Nellie says
So glad you enjoyed the recipe! Way to go!
Yvonne Hardin says
Is the total water 1 and a 1/4 C or 1 and 1/2 C.? Is the 1/4 c used to proof the yeast in addition to the 1 1/4 C listed? wasnt sure.
Jessica says
You’ll use 1 1/4 cups of water TOTAL. 1/4 is used to proof, the remaining 1 cup is added later.
Donna says
Was looking for a honey wholewheat recipe that I remember from when I was 10. This was the first one I tried..and it is amazing!!!!
So easy and fast too. I’m making my third loaf now in less than 24 hours🥰
Thank-you for sharing this ..🙏
Alison says
So happy this one worked for you Donna!
Jay says
Hi, I tried making this and my bread turns out to be very dense inside. I bake it in the convection oven. Following the recipe here to the T
Jessica says
There are several reasons why your bread could have not risen.
1) Yeast is too old
2) Yeast was killed by using water that was too hot (I aim for 95-105 degrees F)
3) It initially rose for too long, then collapsed in the oven. Bread should first rise for 30 mins- an hour, then 2nd rise for about 15-30 minutes- longer isn’t necessarily better.
4) Ratio/ measurements of yeast to flour was off. Too much flour turns bread dense and crumbly. Make sure you dough is tacky- stop adding flour right when you achieve this consistency.
5) You house was too cool. Bread dough will rise in cool temps but it will take a LONG time. I like to do the 2nd rise in my oven. I simply turn it on 350° F for 1 minute, then turn it off. Place bread pan inside and let it rise. When it’s time to bake it, just preheat the oven with the pan inside and decrease bake time by 3-5 minutes.
Laury says
Good day what quantity of instant yeast should I use
Alison says
You can simply use the instant yeast just as the printed directions state with no problems- I truly find that’s the easiest way. If you want to just mix the yeast in with the flour, mix it in with 3 cups.
marco says
Hi Jessica!
I’m new to bread making, and have loved your recipes. One question about this one- could I substitute sugar for honey? I don’t have enough in the pantry. Or, do you reccomend any other kind of sub ratio if I wasn’t going to use honey?
thank you!
Jessica says
I haven’t tested this recipe using sugar instead of honey, unfortunately!
Lena says
Is the nutritional information that is listed for the entire loaf or just one slice?
Jessica says
It’s for 1 slice if you slice your bread into 12 equal portions. I find I usually slice mine thinner and get more slices from a loaf, so in that case, the calorie count would be smaller per slice. Make sense?
Kelly says
This is the easiest recipe for this beginner! Used bread flour (unbleached) and proofed using the honey and it turned out perfectly. Thanks so much for sharing!
Alison says
Thanks Kelly! Glad this one worked so well for you!