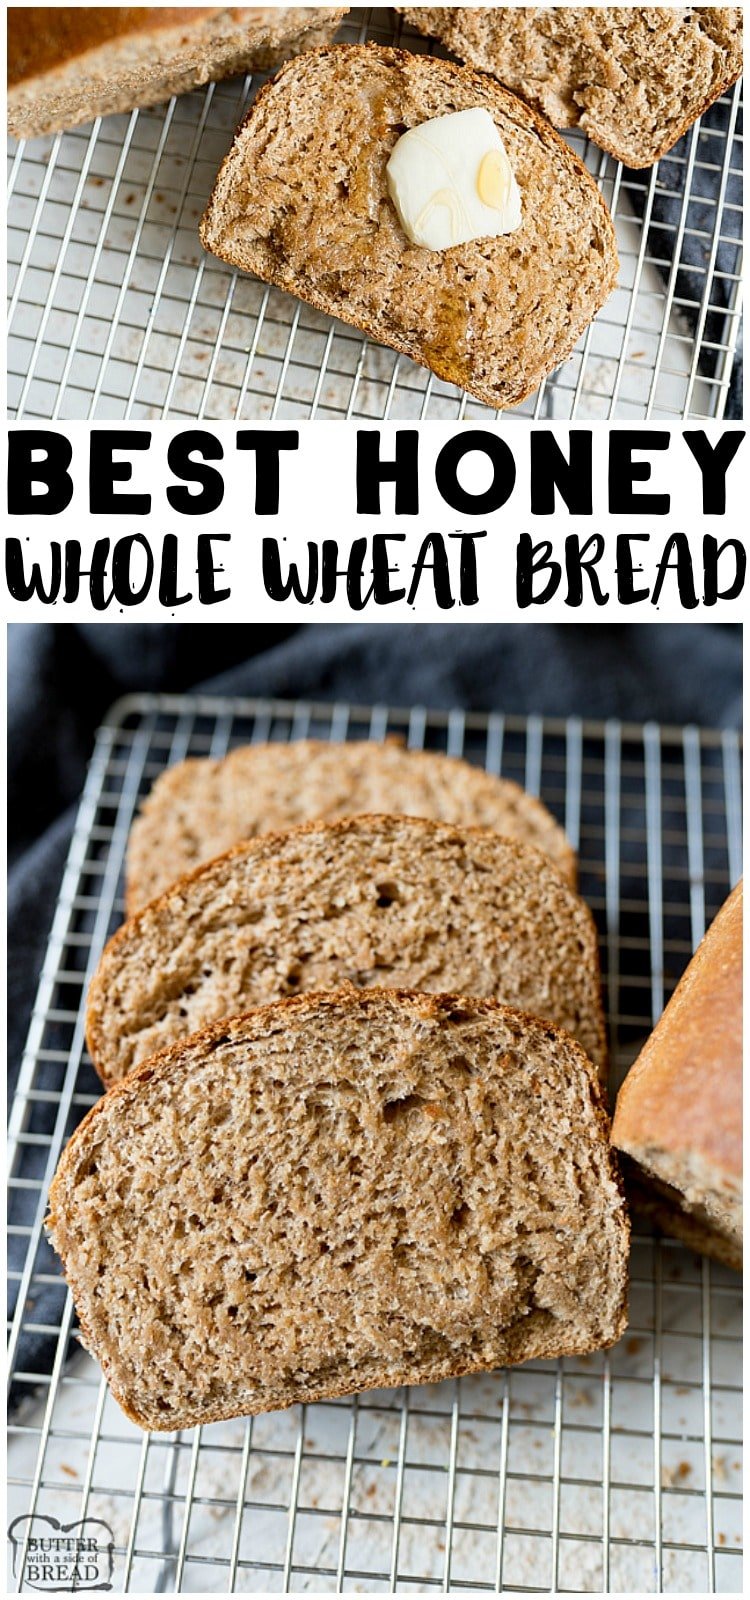
Honey Wheat Bread Recipe is a super simple way to use everyday ingredients to create delicious, hearty whole wheat bread. This Wheat Bread Recipe is perfect for beginner bread makers.
Homemade Honey Wheat Bread
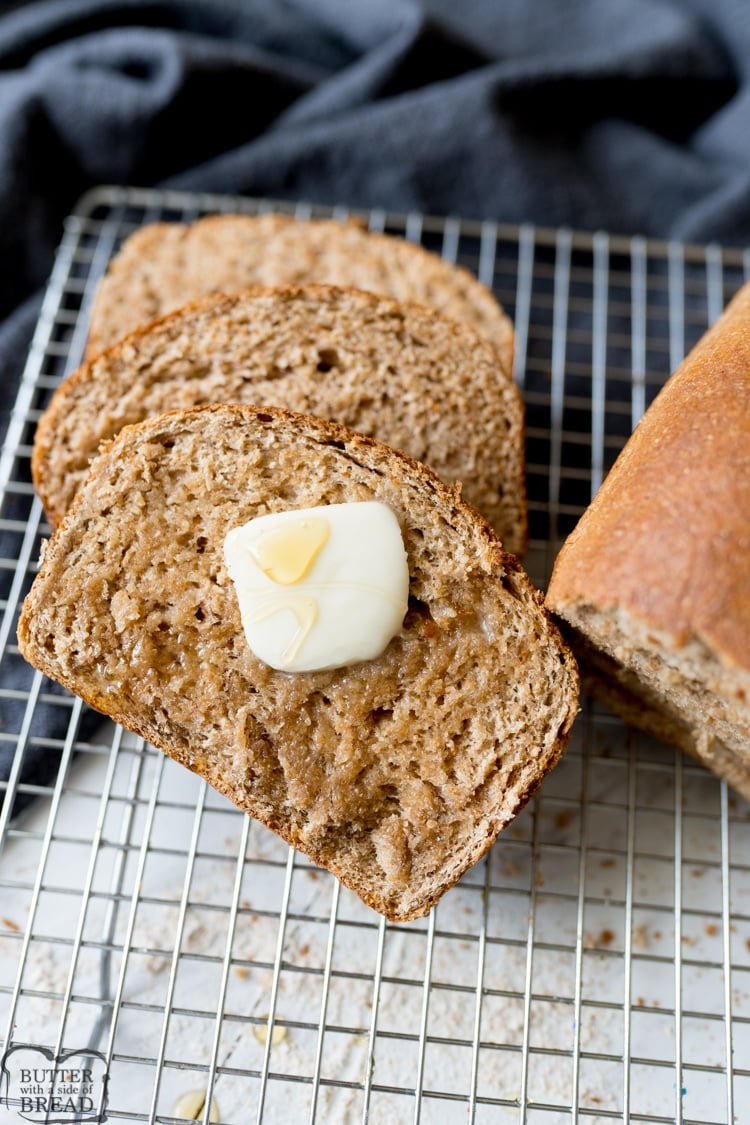
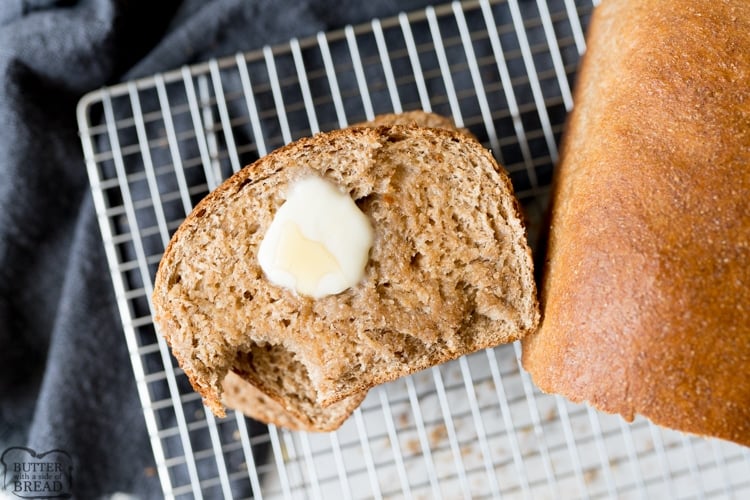
Nothing beats the smell of fresh bread straight from the oven, right? This Honey Wheat Bread is a staple at my house! It reminds me of my favorite little shop my mom and I used to go to while growing up- Great Harvest Bread Co. We’d go in to get a few loaves of bread and they would always have warm bread slices to snack on. Their wheat bread was the only wheat bread I liked!
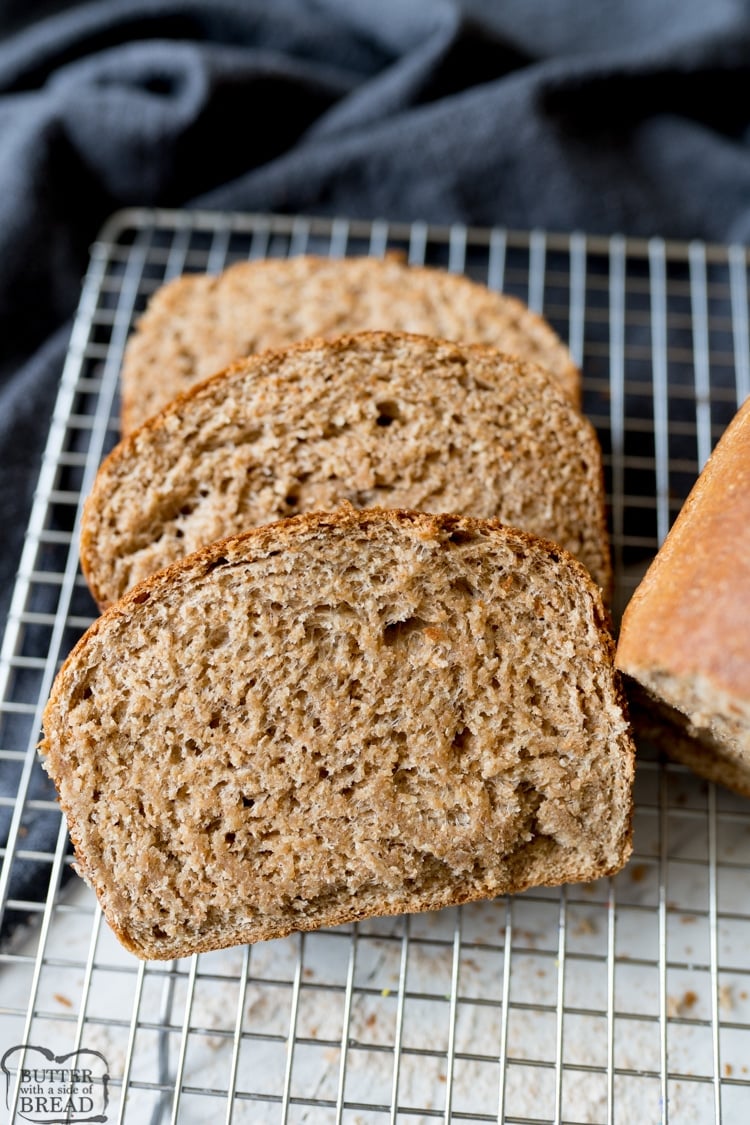
I love how hearty this bread is, it can handle honey, jam or even soaking up the last bits of gravy. This bread is versatile and delicious!
Wheat Bread FAQ’s
What Ingredients are in Whole Wheat Bread?
No special ingredients needed in this recipe! You’ll need: dry active yeast, warm water, honey, melted butter, salt and whole wheat flour.
How do you proof yeast for homemade bread?
One of the trickiest parts of baking bread to someone who hasn’t ever done so before is working with the yeast. It can be hard to know whether it is alive and kicking or not in some recipes. For this reason I always proof my yeast before mixing it in with my flour and other ingredients.
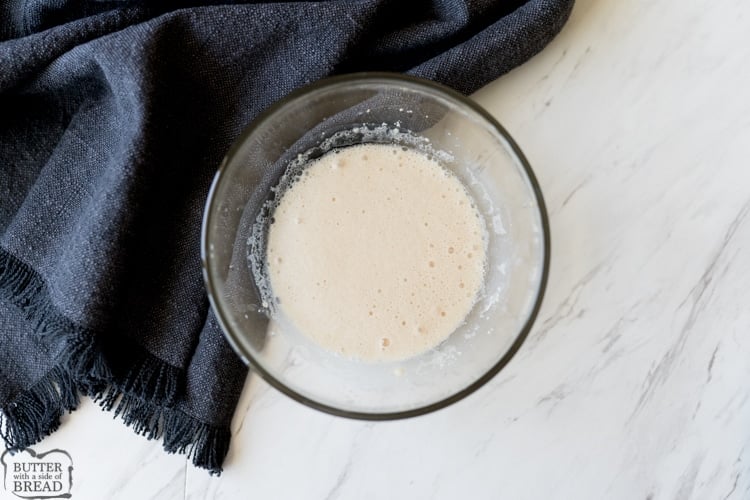
To do this, you will add your yeast (in this case, 1 pkg or 2 1/4 tsp) in a small amount of warm water (approx 90° if you have an instant read thermometer) with some sugar (or honey!). They yeast will feed on the sugar and will activate. The yeast will become foamy, at this point, you will know your yeast is alive and well!
Tips for the perfect loaf of Honey Wheat Bread
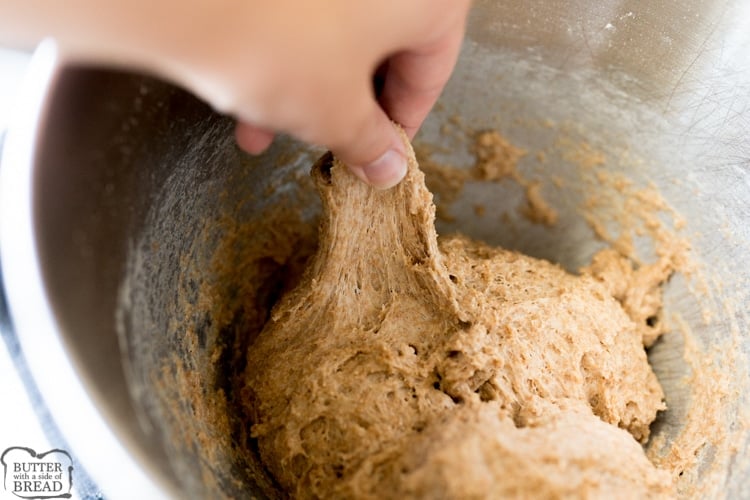
When kneading the dough, the dough will be slightly sticky. The dough will stick to the bottom of your mixing bowl, but you should be able to pull a small part of the dough off and roll it into a ball without it sticking to your fingers much.
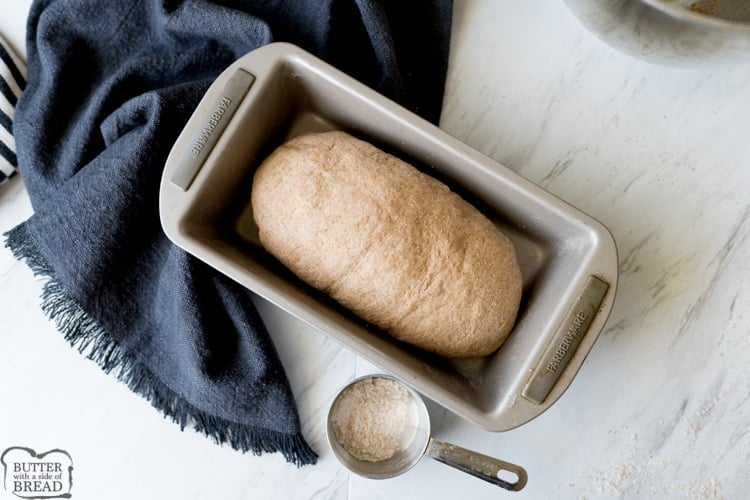
After rising the dough until double (approx 1 hour) punch the dough down and shape into a loaf by rolling into a log and then folding the ends under. Now, slap the loaf while rotating the dough to remove any air bubbles in the dough.
Lightly coat the bread pan in vegetable shortening, this guarantees an easy release every time!
Allow the bread to rise for an additional 30 minutes, while the oven is preheating.
To make the crust absolutely finger-licking good, brush butter onto the crust during the last 5 minutes of baking. Try to let the bread cool for 15 or so minutes before slicing, but I don’t blame you if you can’t wait. 😉
How to keep Homemade Bread Fresh
Once the bread has cooled completely, I like to store mine in a bread bag. They’re great for keeping bread fresh and for freezing.
You can also slice the bread and then freeze in individual zip top bags. Then you can remove the bread as needed, you can even toast it straight from the freezer for breakfast!
More Homemade Bread Recipes you will LOVE!
- Homemade Buttermilk Bread
- Easy Homemade Bread Recipe
- Homemade Hawaiian Bread
- Honey Oat Bread recipe
- Cinnamon Raisin Bread
- Parmesan Garlic Dinner Rolls
- Fabulous French Bread
- Homemade Hawaiian Bread
- Potato Bread Recipe
- Soft Cornmeal Dinner Rolls
AVOID SUNKEN BREAD
The easiest and best way to avoid sunken bread is to use a cooking thermometer to check the inside of the loaf. Fully cooked bread will register 200°F on a thermometer. My all-time favorite thermometer is the Thermapen. It’s super fast and incredibly durable. Another great cooking thermometer is the ThermoPop which is a more basic version that works just as well!
Honey Wheat Bread
Ingredients
Instructions
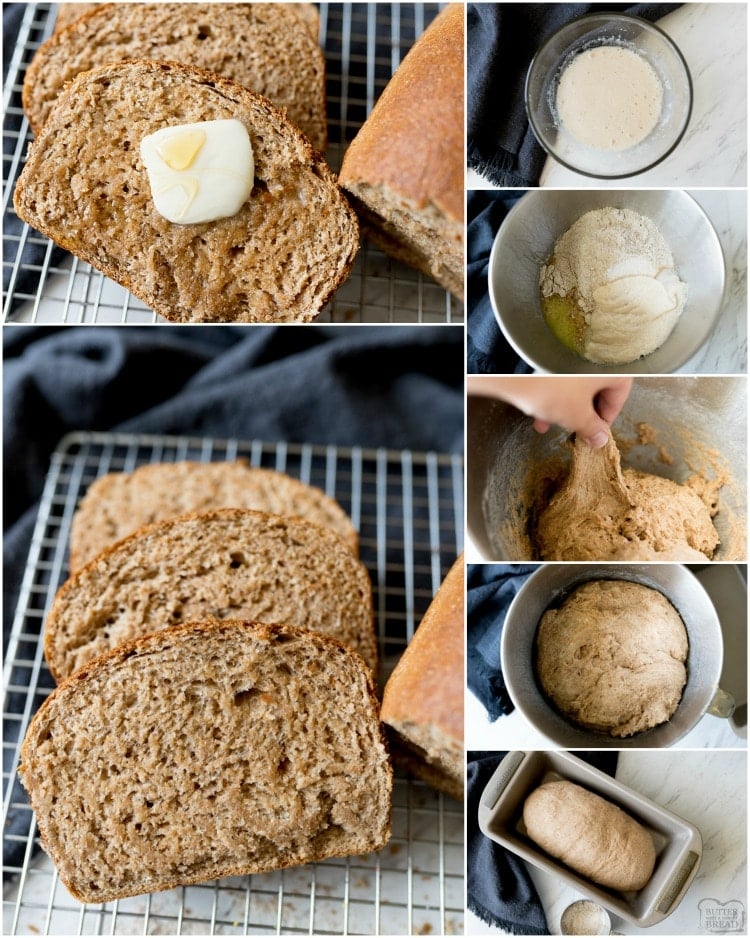
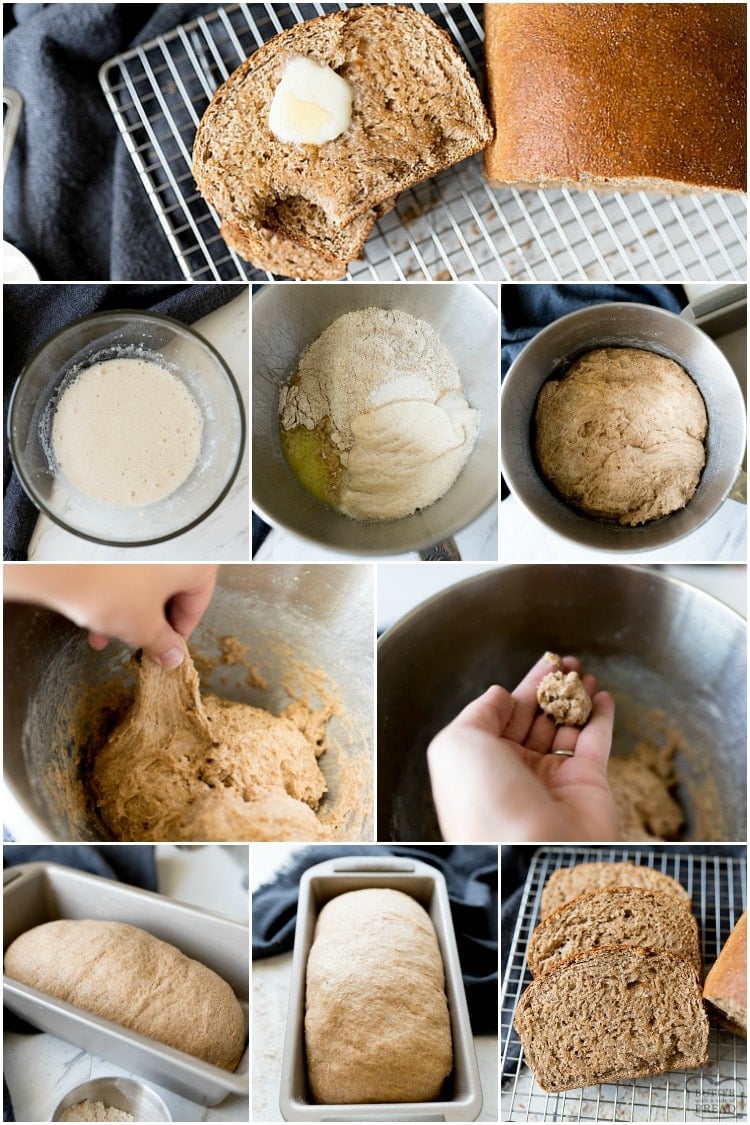
- Combine the yeast, 1/4 C of warm water, and 1/2 tsp of the honey to a small bowl. Let the yeast proof. This means to wait until it is bubbly, to show you that the yeast is alive and kicking!
- While the yeast is proofing, add the remaining bread ingredients (remaining water, remaining honey, butter, salt and flour) to the bowl of a stand mixer.
- Once the yeast has proofed, pour it into the stand mixer and begin mixing slowly with the dough attachment. Once all of the flour is combined, knead for 5 minutes. The dough will be sticky, but you should be able to pull off some dough and roll it into a little ball. If it is too sticky for that, add a little extra flour.
- Cover the bowl with plastic wrap and let it rise in a warm place for 1 hour, or until double in size.
- Shape dough into a loaf by rolling the dough and tucking in the ends and place in a shortening coated bread pan. Cover with plastic wrap and rise for an additonal 30 minutes.
- Turn on the oven to 375°.
- Bake at 375° for 25 - 30 mintues. Brush the top with butter during the last 5 minutes of baking if deesired.
- Cool for 15 mintues before slicing.
Video
Nutrition
📫 Save this recipe! Send it to your email! 📩
I consent to receiving emails from this site.
Instant or Active Dry Yeast for Making Bread
If you use instant yeast, you can add it directly to your other dry ingredients when making bread. If you use active dry yeast, you’ll need to first dissolve it in warm water before using it in a recipe. I buy my yeast in bulk from Costco and it’s active dry yeast.
Honey Whole Wheat Bread Recipe is an easy description on how to make bread. This delicious, hearty whole Wheat Bread recipe is perfect for any time of the day and any type of meal.


Kathy says
Made this bread exactly like recipe and it is delicious! Do you recommend storing it on the counter or in the fridge?? Thank you!
Jessica says
It will last longer in the fridge, but be sure to keep it in an airtight container so it doesn’t dry out.
Suzanne says
The first time I made this recipe, I followed the directions exactly and it was wonderful. The next time I was looking for a little less dense loaf of bread so I substituted one cup of the whole wheat flour with one cup of unbleached white flour. I also lengthened each of the proofing times, and it was the best bread I’ve ever made.
Maria says
This recipe is definitely a keeper. I used 3 cups of whole wheat flour (spooned and leveled). I kneaded by hand (150 strokes) after it was done kneading in the stand mixer for 5 minutes. I coated the loaf pan with olive oil instead of shortening. And baked it for 30 minutes. The bread was so delicious!! My husband loved it, too! Thank you so much for sharing. 🙂 Got to make this every weekend now. Super love this one!!