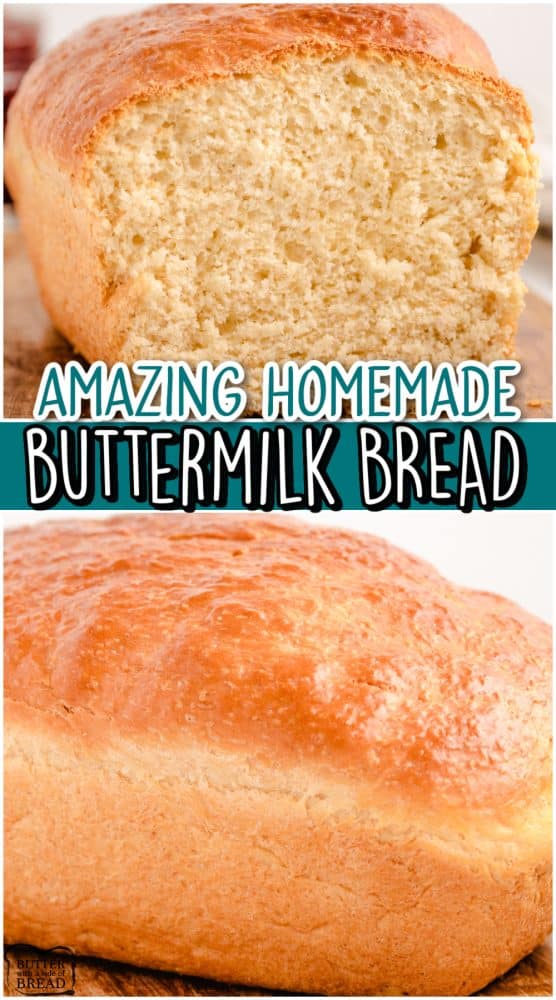
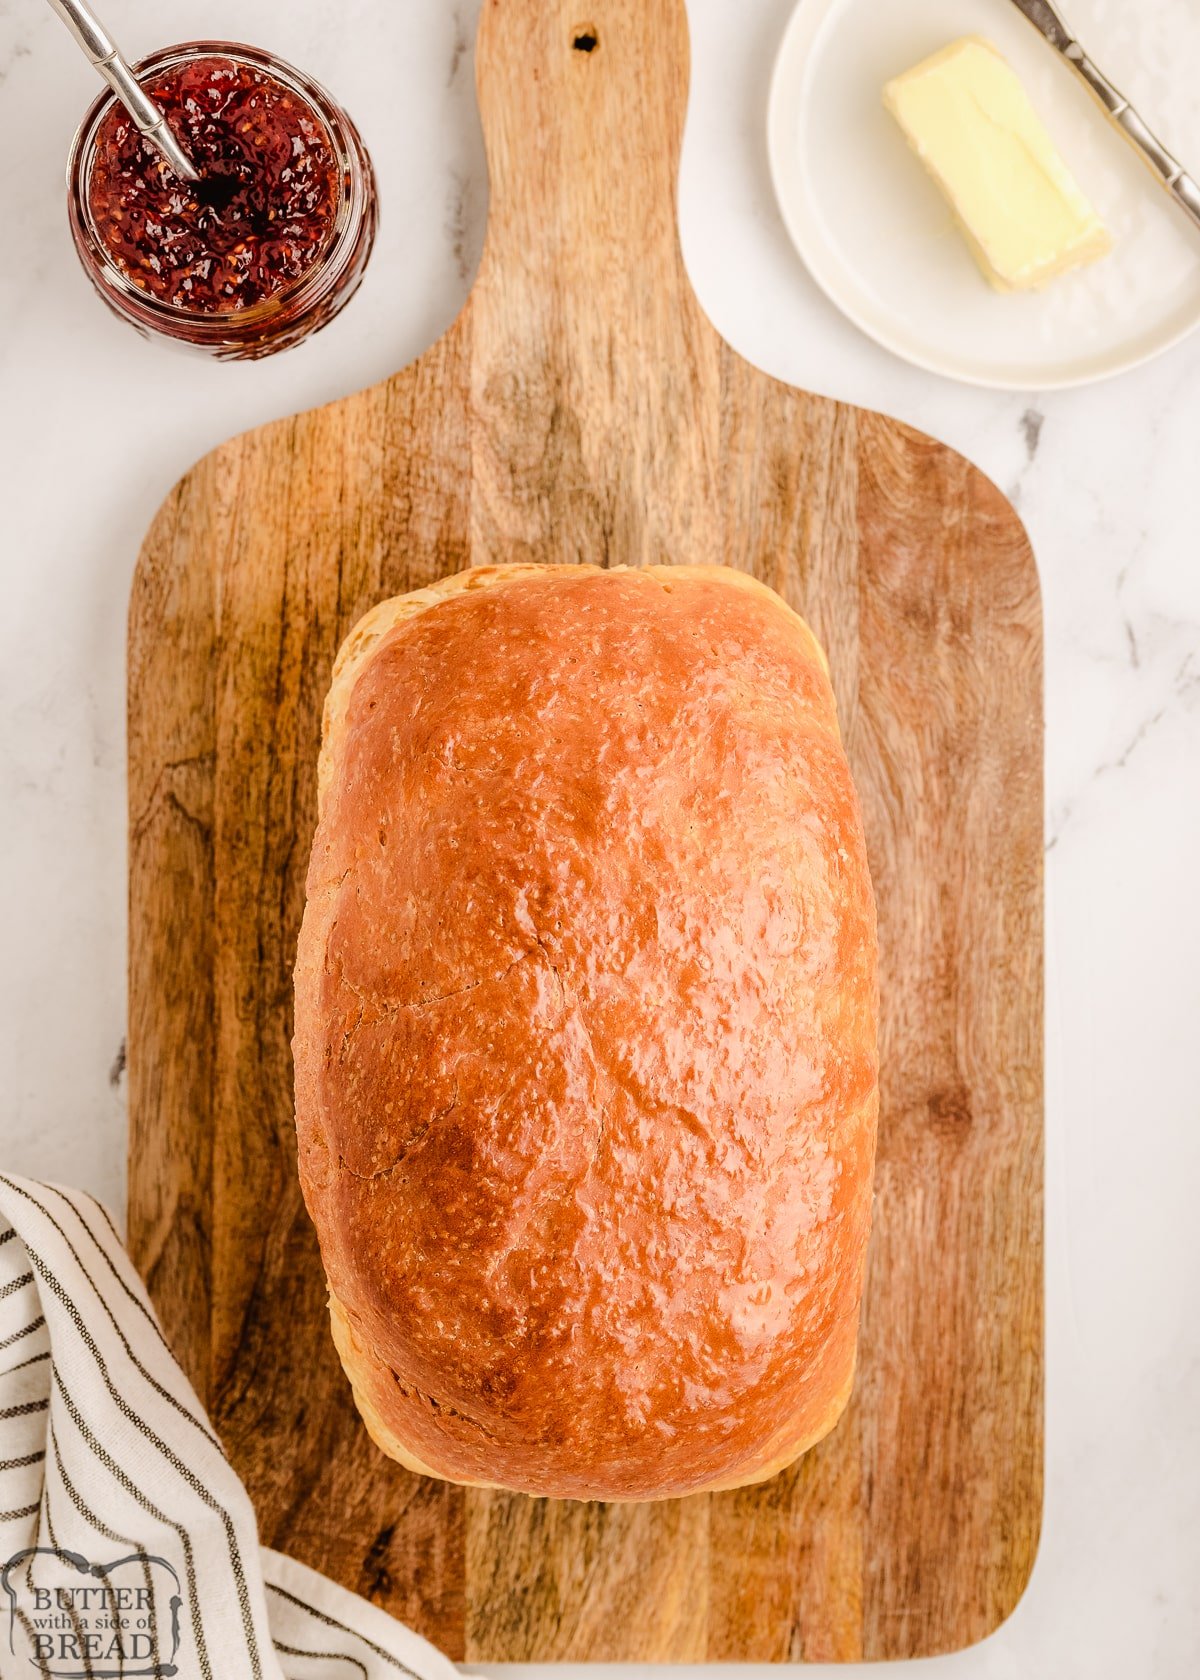
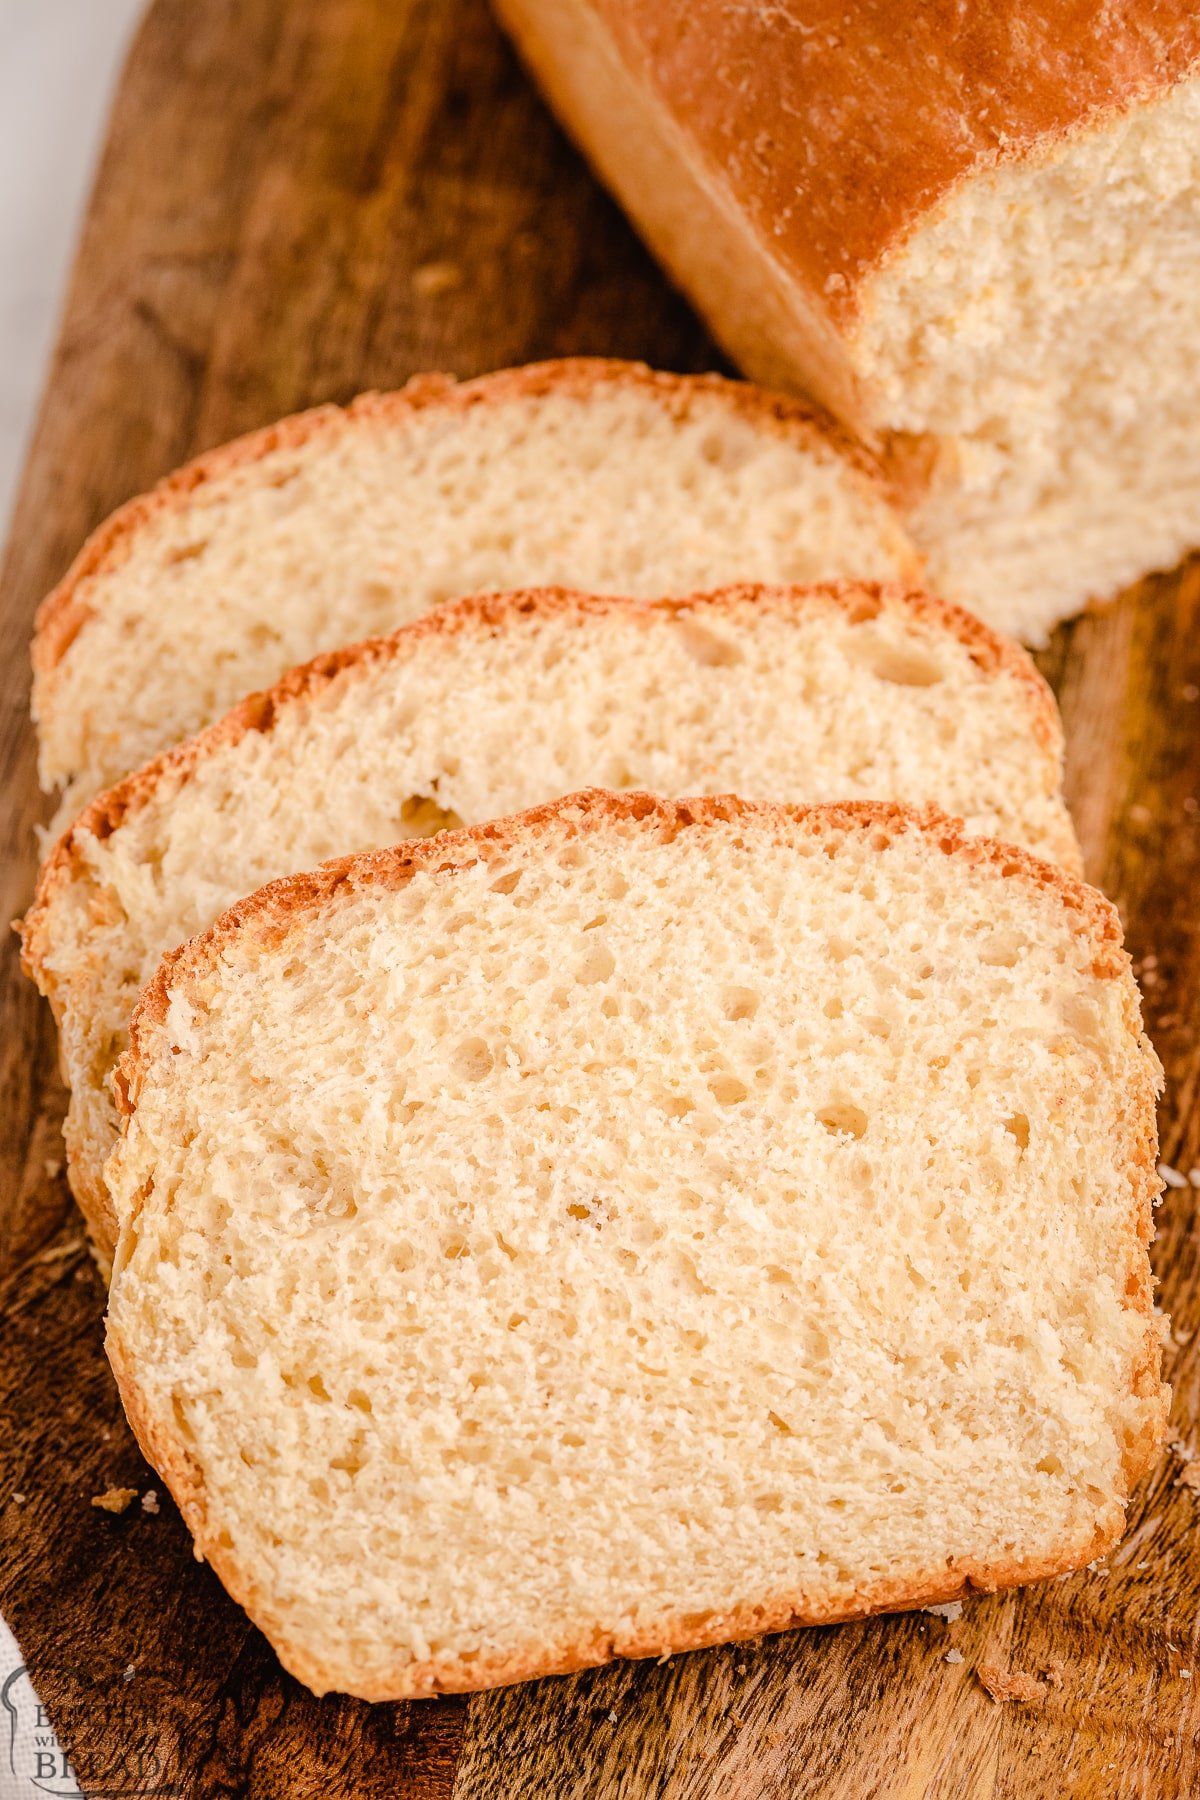
Homemade Buttermilk Bread made easy at home with 6 ingredients! This buttermilk bread creates a soft loaf that has incredible texture & tastes divine!
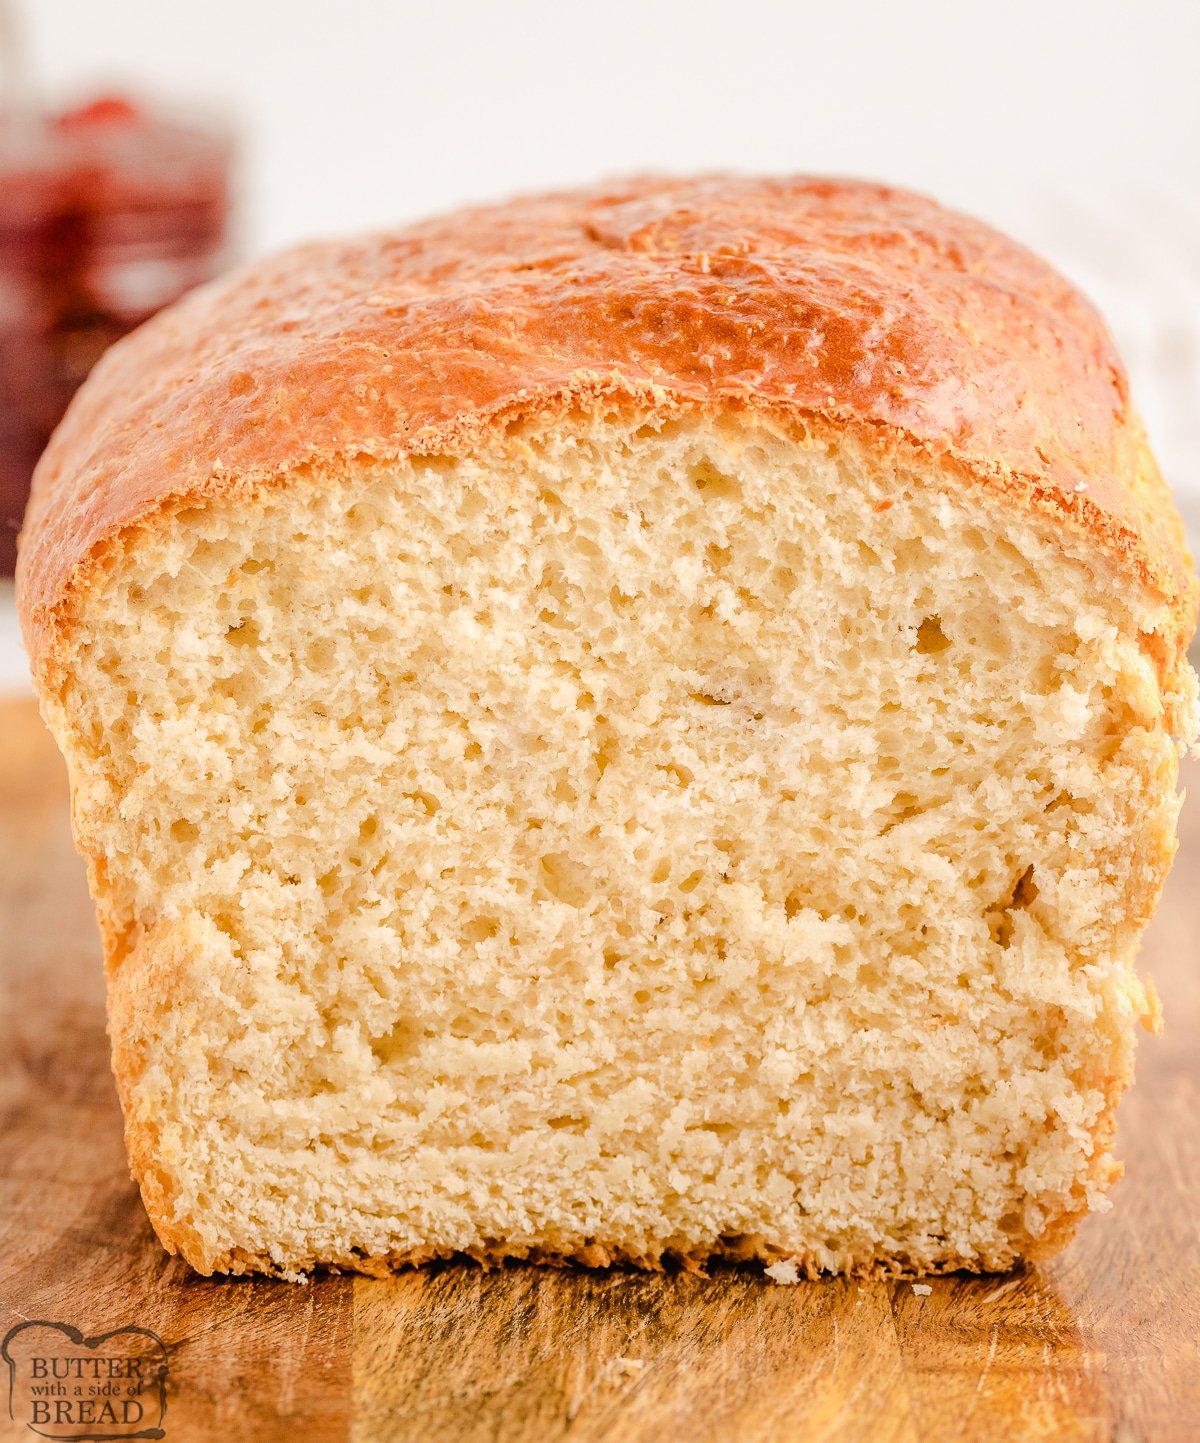
Making this soft bread recipe is so simple, made with just a handful of ingredients that are most likely already in your kitchen and pantry. Buttermilk bread has such a delicate texture and tastes incredible too, give it a try today and see how amazing it is!
This buttermilk bread is a fantastic next step after you’ve figured out how to make bread from scratch.
Tips to create the BEST bread every time
If you have never baked homemade bread before, here are a few tips that will help you make the most delicious and soft bread ever.
- Remember to fully knead. The recipe below kneads for 10 minutes and it is worth every minute. Kneading dough helps to develop the flavor and texture of the bread, so don’t skimp on kneading time.
- Weather can affect your ingredients. If you live in a moist climate, chances are you will need at least the recommended amount of flour, maybe even 1/4 cup to 1/2 cup more. Bread dough should be sticky, but still manageable, especially after the first rise. While you are kneading, the dough should come together and pull away from the sides of the bowl, leaving the bowl mostly clean. (I try not to add too much flour because your bread will be more dense.) When you pick the dough up, some will stick to your fingers. After the first rise, it will be easier to handle!
- Kitchen too cool to rise? In the wintertime when my house is cooler than normal, I like to turn the oven on for 2-3 minutes, then turn it off and let the bowl of dough rise in there. The oven traps the heat for a longtime and it is the perfect atmosphere for rising dough.
- After the first rise, don’t overwork the dough. I usually knead and shape my dough in about 1 minute, then it is back in the pan to rest, for the 2nd rise. I like to have the pan rise in the oven for this second rise so that I don’t have to worry about moving risen dough. I just turn the oven on and set the timer to bake!
Can I made this Homemade Buttermilk Bread in a Bread Machine?
YES! I have had wonderful results making this Buttermilk Bread in my bread machine. You don’t have to make any ingredient changes either- simple add them to your bread machine pan in the order listed below. I used the “Basic White Bread” setting with a light crust and it turned out beautifully.
Homemade Buttermilk Bread Ingredients
Buttermilk: You will need 1 ½ cups of buttermilk* to create the most amazing homemade bread.
Butter: Adding in 2 tablespoons of melted butter will make this bread rich in taste.
Sugar: Use 2 tablespoons of sugar to help sweeten this bread up perfectly.
Salt: You will want to add in 1 teaspoon of salt to help balance the flavors in this bread well.
Flour: The base of this recipe is 3 ½ cups of all-purpose or bread flour.
Yeast: To make the bread rise properly, you will need 1 tablespoon of yeast.
Helpful Tips when Making Your a Loaf of Soft Bread:
If you’ve never baked homemade bread before, here are a few tips:
1. Remember to fully knead
The recipe below kneads for 7 minutes and it’s worth it! Kneading dough helps to develop the flavor and texture of the bread, so don’t skimp on kneading time.
2. Weather can affect your ingredients
If you live in a moist climate, chances are you’ll need at least the recommended amount of flour, maybe even 1/4 cup to 1/2 cup more. Bread dough should be sticky, but still manageable, especially after the first rise. While you’re kneading, the dough should come together and pull away from the sides of the bowl, leaving the bowl mostly clean. I usually aim to have the very bottom of the dough still attached to the bowl. Try not to add too much flour because your bread will be more dense. When you pick the dough up, some will stick to your fingers. After the first rise, it will be easier to handle!
3. Temperature affects how long your bread takes to rise
If your house is cool, your bread will take longer to rise. In the wintertime when my house is cooler than normal, I like to turn the oven on for 2-3 minutes, then turn it off and let the bowl of dough rise in there. The oven traps the heat for a longtime and it’s the perfect atmosphere for rising dough.
4. Don’t overwork the dough
Try not to go crazy kneading your bread after the first rise. I usually knead and shape my dough in about 1 minute, then it’s back in the pan to rest, for the 2nd rise. I like to have the pan rise in the oven for this second rise so that I don’t have to worry about moving risen dough. When it’s fully risen, I just turn the oven on and set the timer to bake!

HOMEMADE BUTTERMILK BREAD
Ingredients
Instructions
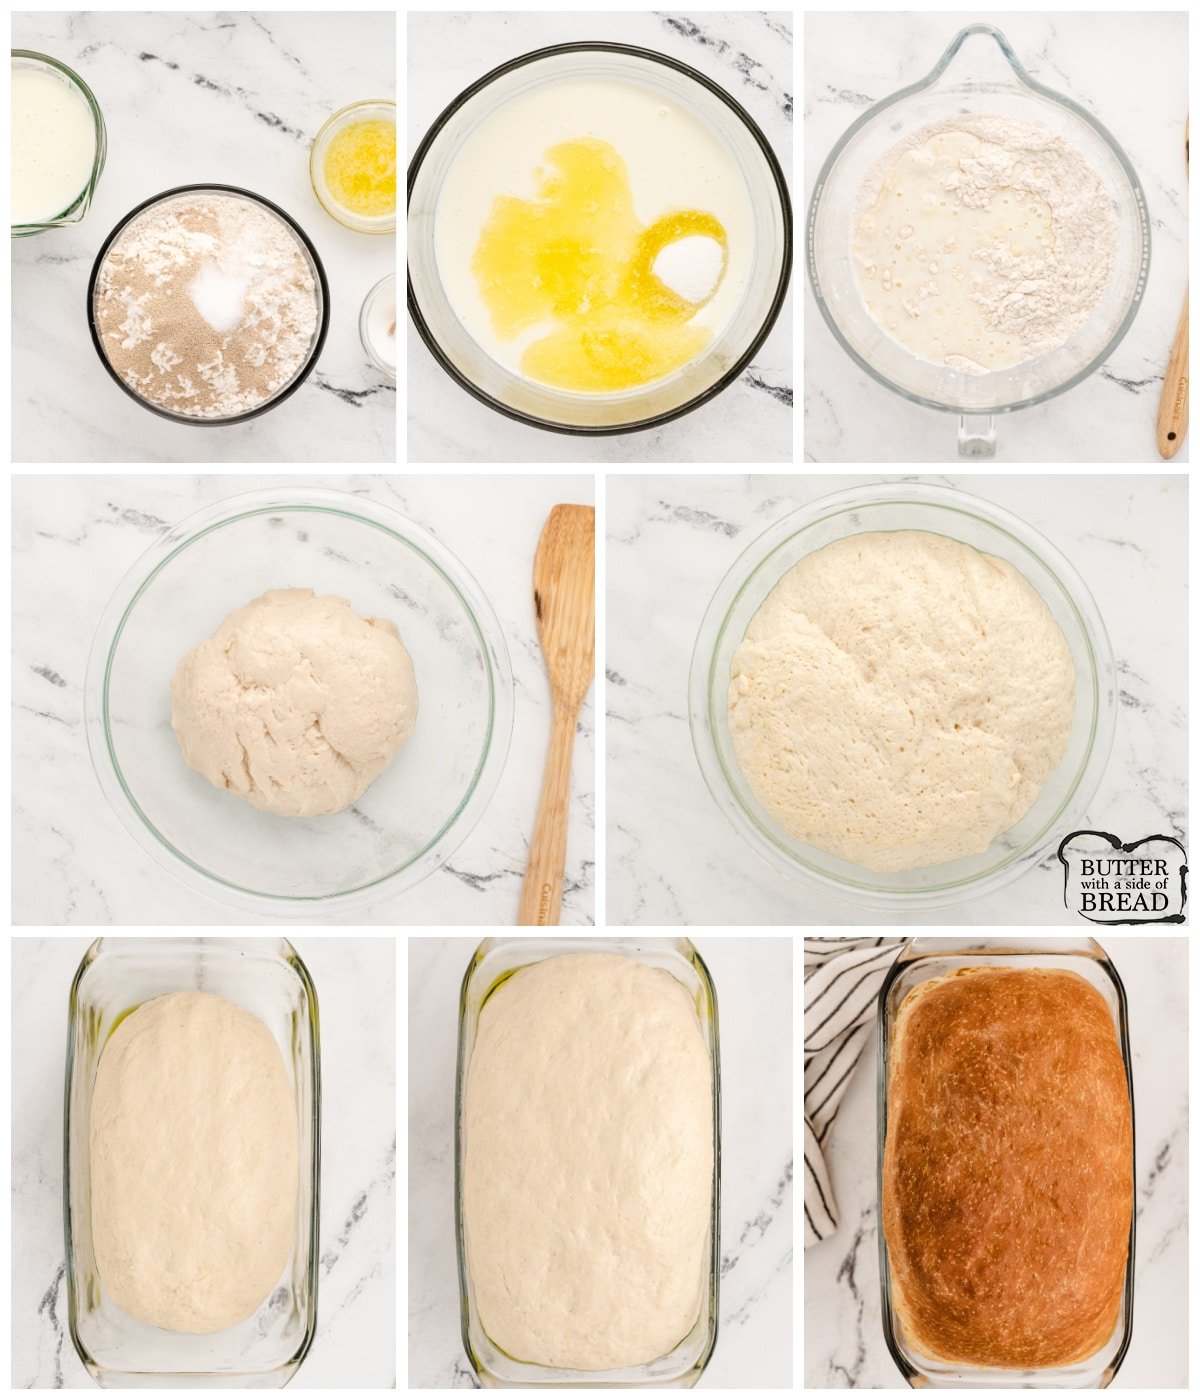
- Dough prep: Start by combining the buttermilk, melted butter and sugar in a large mixing bowl.*
- Then, in a separate bowl, combine the salt, flour and yeast. Whisk the dry ingredients together to combine, then add them to the wet buttermilk mixture in the mixing bowl. Mix all ingredients together until well combined (I use a KitchenAid Mixer.) I like about a quarter sized amount of dough to be sticking on the very bottom.
- If your dough looks a bit dry, add in another splash of buttermilk. Once you have achieved a good consistency, mix the dough on low for about 6-7 minutes (or knead by hand about 10 minutes). Proper kneading is critical to great textured homemade bread!
- First rise: Once the dough is done kneading, proceed to cover the bowl with a towel and let it rise in a warm place for about 1 hour; until the dough has doubled in size.
- Second rise: After the first rise, punch the dough down and knead several times, then shape the dough (I like to roll mine, then tuck the ends under) and place in a greased bread loaf pan. Place the dough back in the warm spot and let it rise for another 30-45 minutes.
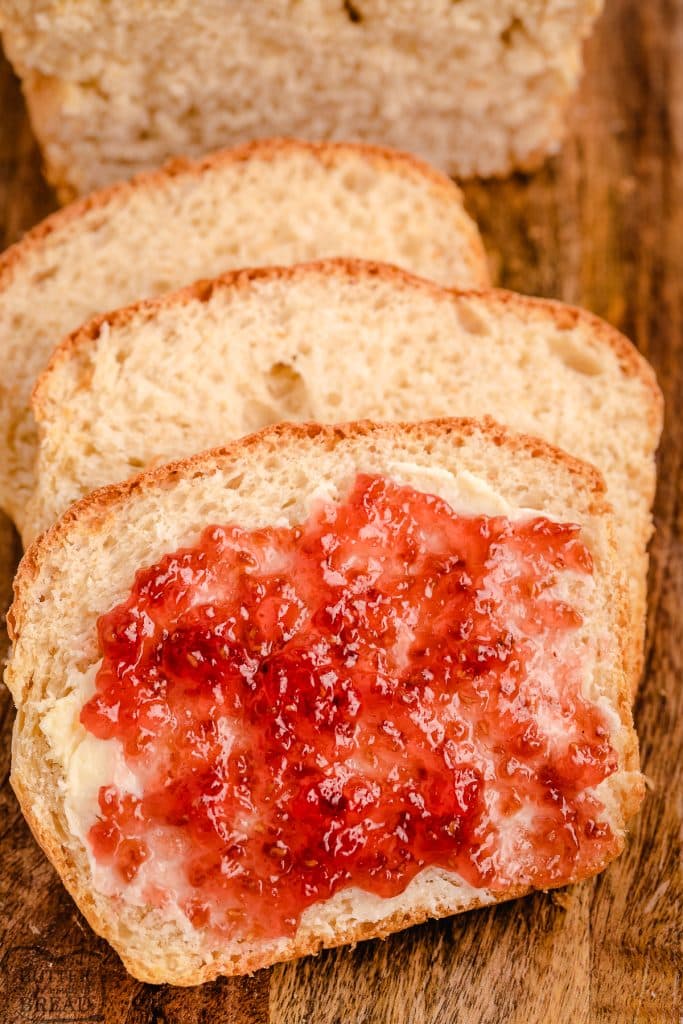
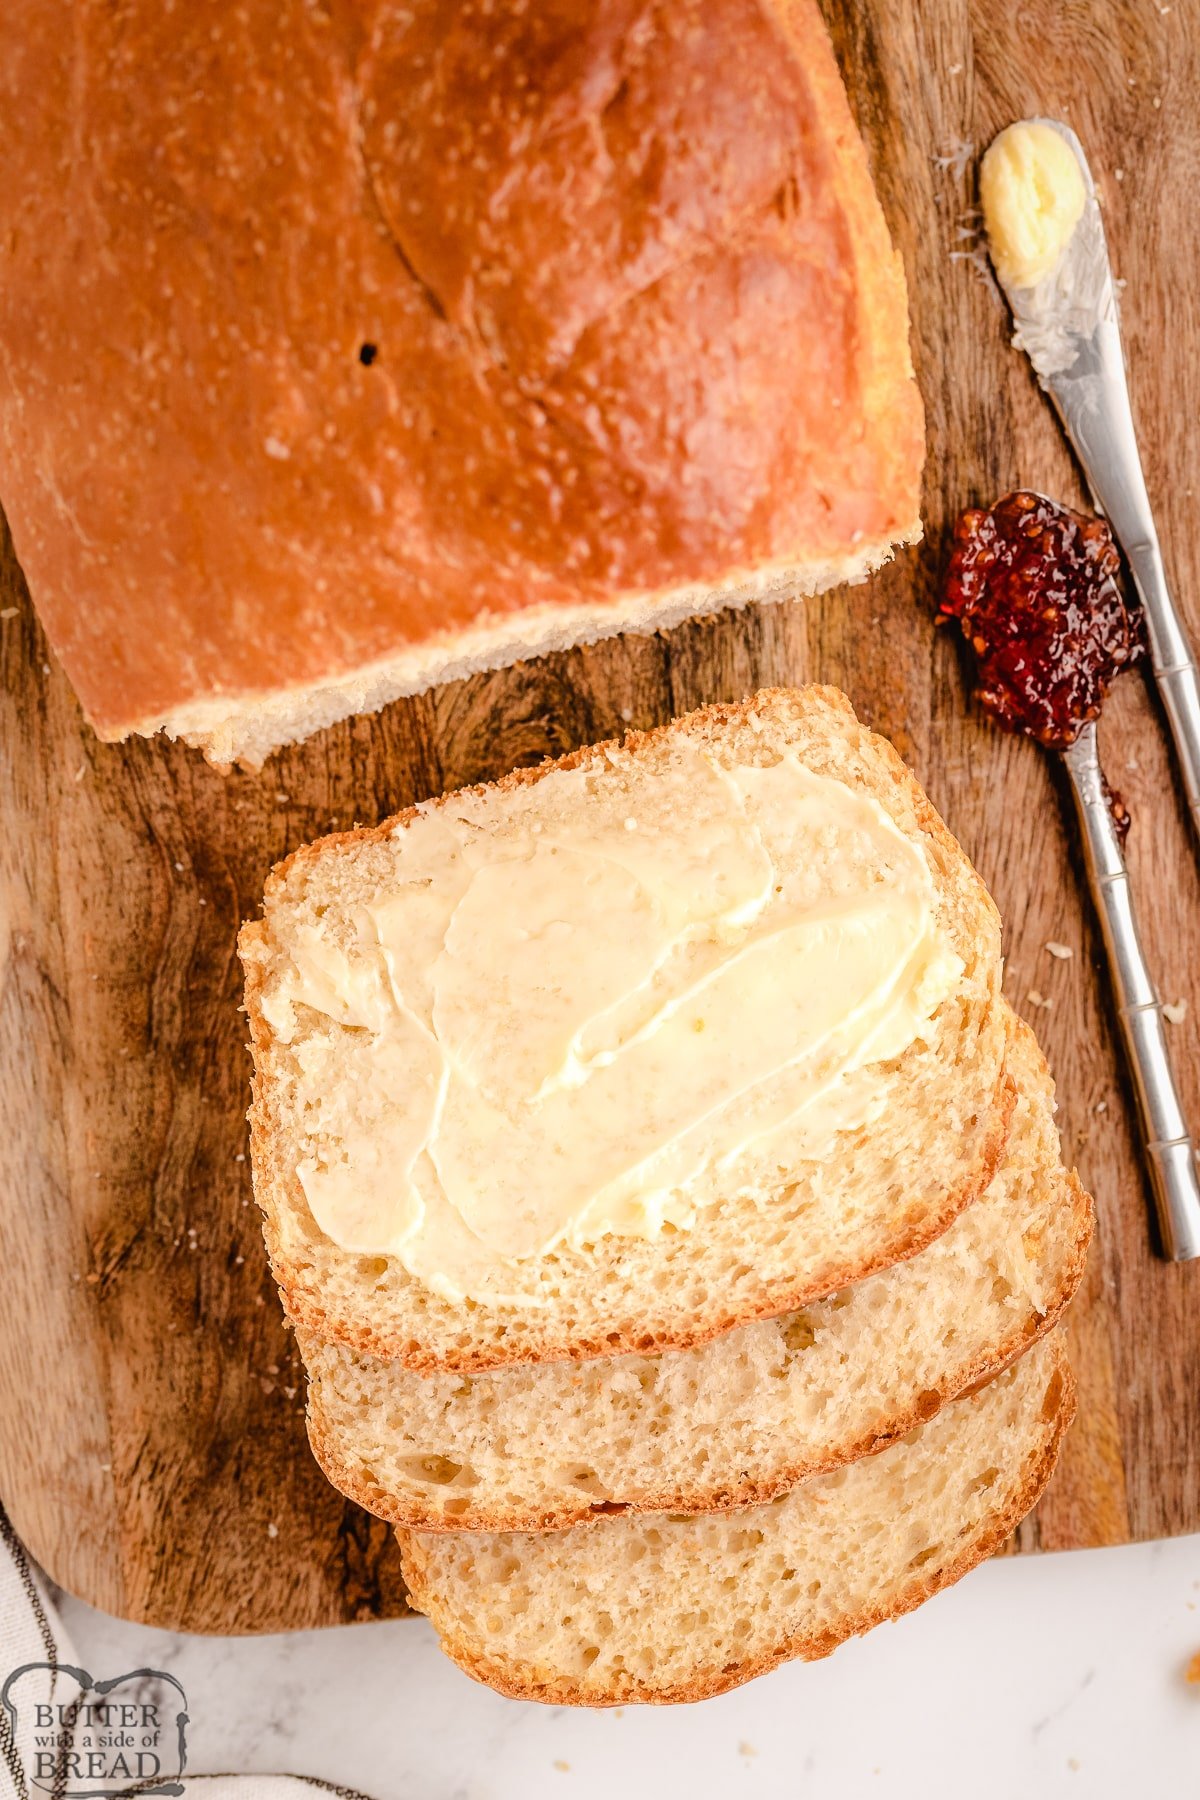
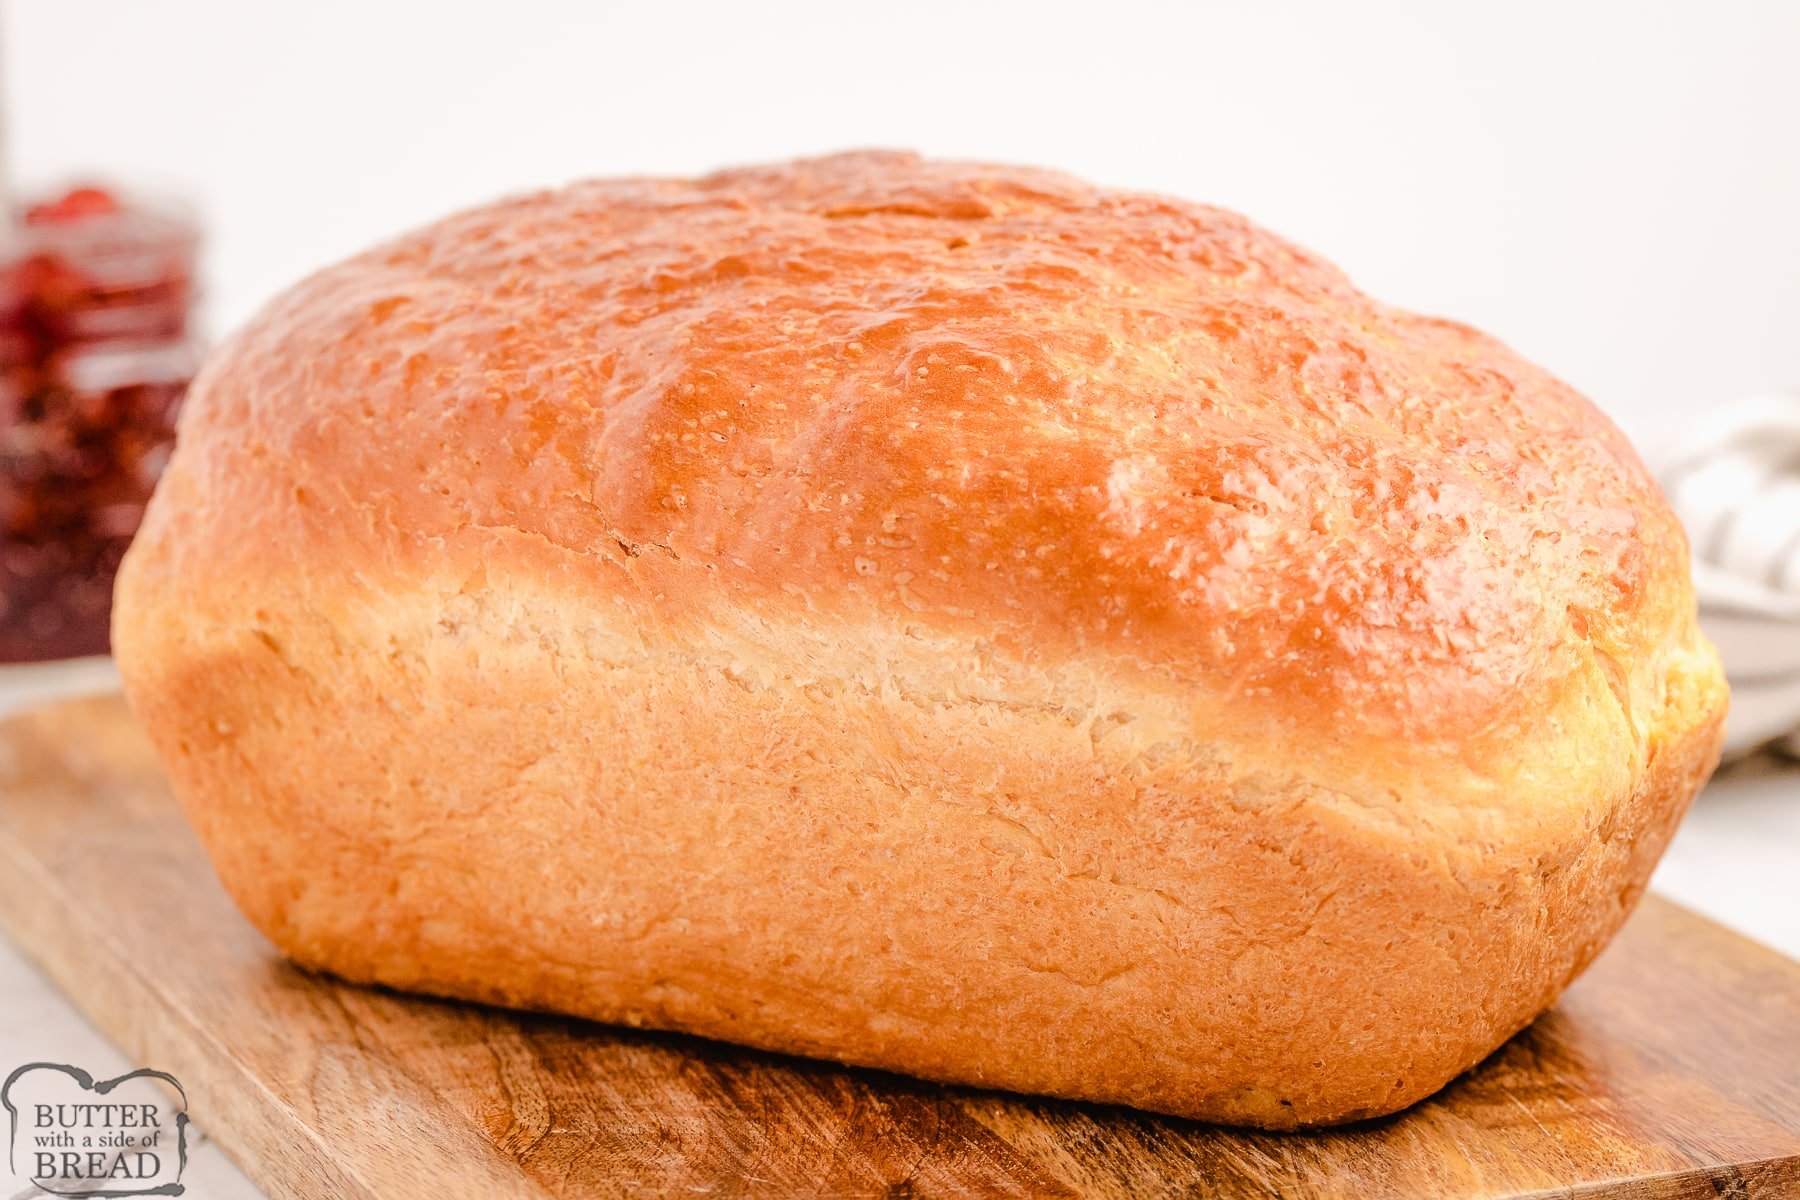
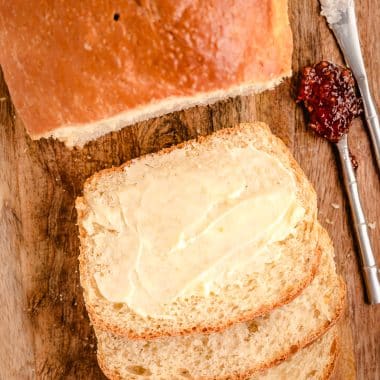
- Bake: Get the oven preheating to 350 degrees F. Once the second rise is complete, bake the dough for about 30-35 minutes, until the top is golden brown. Let the bread cool in the pan for 10-15 minutes after baking is complete, then overturn the pan and turn the loaf out onto a cooling rack or folded towel to finish cooling. When ready to enjoy, slice, serve and enjoy!
Video
Notes
Nutrition
📫 Save this recipe! Send it to your email! 📩
I consent to receiving emails from this site.
HOW TO AVOID SUNKEN BREAD
The easiest and best way to avoid sunken bread is to use a cooking thermometer to check the inside of the loaf. Fully cooked bread will register 200°F on a thermometer. My all-time favorite thermometer is the Thermapen. It’s super fast and incredibly durable. Another great cooking thermometer is the ThermoPop which is a more basic version that works just as well!
BEST BREAD PAN?
I bake a lot of bread and the pans I prefer are either ceramic, glass or cast iron. These pans will bake bread more evenly and release the bread more easily after baking. I don’t like using dark or nonstick pans because the bread cooks unevenly. It darkens on the outside before the bread is cooked on the inside, so the coloring is uneven. Read more about which bread pan is the best here!
How can you tell if bread is fully baked?
I like to use a food thermometer. Mine is digital, so it’s very easy to use. Fully cooked bread will be 190-200 degrees F. Since this bread contains a lot of milk, I don’t take it out of the oven until it reaches 200 degrees F. The top will be golden brown.
Here are even more recipes for homemade bread to try:
- Honey Wheat Bread
- Homemade Hawaiian Bread
- Honey Oat Bread recipe
- Cinnamon Raisin Bread
- Fabulous French Bread
- Homemade Hawaiian Bread
- Potato Bread Recipe
- White Bread Recipe
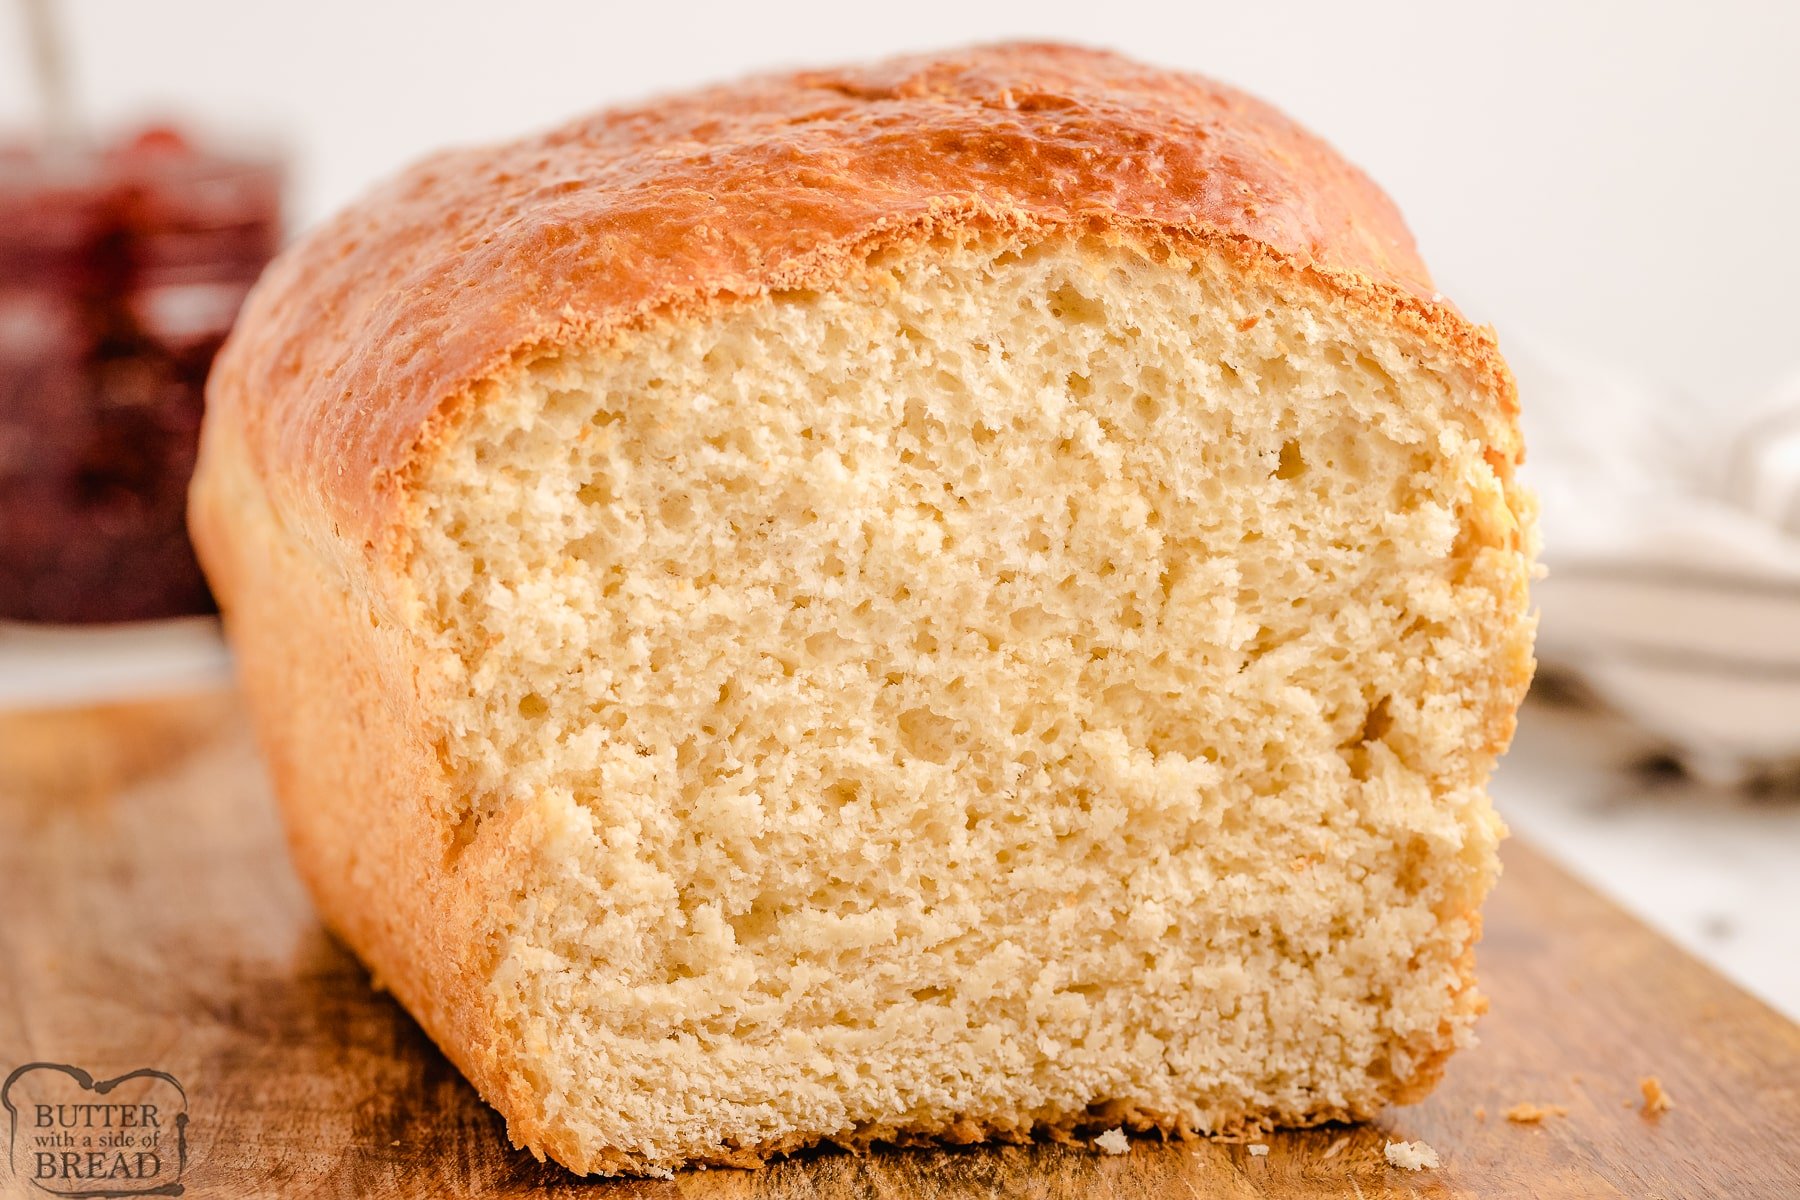
Homemade Buttermilk Bread can now be baked easily and fresh from the comfort of your own kitchen with 6 ingredients! This buttermilk bread creates a soft loaf that has incredible texture & tastes divine!


SHERRI NICOL says
You don’t mention in the instructions anything about dissolving the yeast in warm milk or water. How does the bread rise if you immediately mix the dry ingredients (including yeast) with the cold ingredients? Just curious. If I don’t proof my yeast, my bread does not rise. Thanks!
Jessica says
CatMom- I hear you! I almost always proof my yeast as well, but you actually don’t have to proof your yeast to enable the bread to rise. It DOES give it a jump start- which means the rising time might be a bit longer. This bread is a little more dense than other breads though so a 1 hour rising time works well.
I tried this recipe a couple times and once I did proof the yeast in the buttermilk, since that’s the only liquid. I even warmed it up a bit. It didn’t work, lol! It didn’t proof at all and I tossed it in with the rest of the ingredients and it resulted in the same loaf of bread as before. So I opted to skip proofing altogether in the directions. 🙂 Hope this helps you!
DJB says
I followed the directions with some doubt as well about not proofing the yeast and it turned out beautifully! Probably the prettiest loaves I’ve made so far and I’ve been really practicing trying to find the best one. I think this is it!
Jessica says
I’m so glad you like the recipe DJB! Homemade bread is the best! 🙂
Ashley P. says
How much wheat flour? It just says “1/2 whole wheat flour”. Does this mean 1/2 cup?
Jessica says
Yes- 1/2 cup- I apologize- I’ll go change it!
Missy M says
Does this recipe take up the room in a 12 ” pan? Is it better to have a longer pan and does that affect the texture?
Jessica says
You can make it in a regular sized bread pan too! I just like using the 12″ pan because I can cut slices of bread that fit in a sandwich bag for my kids to take to school! 🙂
Betty says
Hi I’m gonna try this recipe, but would you Plz fix ur recipe, so it will say
1/2 cup whole wheat flour
Thank you Betty
Lou ann kidd says
I made this bread yesterday and it turned out great! The only change I made was that I added 1/3 cup of honey.
Jessica says
Yum! Great idea!
JILL says
Can this recipe be used as is in a bread machine?
Jessica says
I’ve heard it does well in a bread machine! 🙂
Sharon says
The list of ingredients says Only 3 1/2 cups of flour. There is NO mention of wheat flour. I found this too much for my normal bread pan, so I made four 2oz burger buns. It was all delicious.
Jessica says
I apologize! I will fix it. I like this bread so much more without wheat flour, but everyone is different.
Kristen Mertzlufft says
This recipe is SO GREAT!!! My mom’s recipe for buttermilk bread that I’ve been eating and making for over 30 years made great toast, but was always too dense for sandwich bread. I don’t know if it’s the recipe itself, or the helpful tips (this dough is much softer than I am used to, even after 10 minutes of kneading), but I’m glad I came across it. It was very easy to make, tastes great, AND I can use it for more than toast! Thank you!!
Jessica says
So glad you liked it Kristen! It’s a favorite of ours too!
Julie says
Do you use rapid rise yeast or regular active dry yeast. Also the recipe I have calls for 3 and 1/2 cups all purpose or bread flour and comments talk about wheat flour and 1/2 cup please clarify as I cant wait to make it
Jessica says
I use regular active dry yeast. I used to use part whole wheat flour in this recipe (and you still can!) but I prefer all purpose flour now. It has better texture. You’re welcome to do as you’d like though!
Paula McCammon says
Confused about the “second rising”. In your tips prior to the recipe, it seems like you let the dough rise twice. But in the recipe instructions, three times. Do you mean instead of letting it rise in a warm place, you just go ahead and start the baking time for that last/third rising? I’m not a bread maker but wanted to try it for the first time and didn’t want to make a mistake. Thanks.
Jessica says
I don’t feel like I’m following you Paula- I’m sorry! You first let it rise as a lump of dough, then you shape it and let it rise again, in the pan. Does that help?
Kathy says
Will nonfat buttermilk work, or do I need the fat in regular buttermilk?
Jessica says
I’ve never tried it with non-fat buttermilk, but you could try it! It will likely affect the consistency slightly, but it would still taste good!
Nancy Abraham says
I really liked this recipe. I made it with homemade buttermilk (leftover from churning butter) and added 1 1/2 C of sprouted whole wheat bread (deviation from the original) to keep it healthy…Was delicious and even my 3 year old appreciated it. Can’t wait to eat some more tomorrow. Thank you!
Jessica says
So glad you both liked it Nancy!
Kathryn Jaynes says
I’m an experienced bread baker from way back. This recipe is excellent. No worries about adding the dry yeast to water separately for proofing. Just mix it in with the dry ingredients. I did increase the amount of sugar a bit, but that’s just personal taste. One thing I did learn many years ago, while entering bread in county fairs, is a really effective way of forming the loaf. Punch the dough down really well, and knead it just a bit before forming the loaf to get as much air out as possible. Then roll the dough out into a rectangle, and roll it up like a jelly roll. Pinch the seam tightly, then pinch ends and tuck them under well, pinching that to the bottom of the loaf. This gives the loaf a nice shape, and improves the texture and crumb of the bread.
Jessica says
Thank you so much Kathryn! Great tips- and I’m so glad you liked the bread!
Lady Michigan says
Can you use reconstituted powderd butter milk, and it also sounds like it would work in the bread machine.
Jessica says
I’ve never worked with powdered buttermilk, but it’s worth a shot! Let me know how it goes!
Erin says
Made it today. My son wants to make bread for the county fair for 4H. It turned out good. Have a few minor things to work appearance wise.
Jessica says
So glad it went well Erin! Hope your boys had fun making it!
DB says
This is a wonderful recipe. It was not hard to make and it tastes great! I had to add a little more flour but it worked out. This toasts nicely, too. Thank you! Happy New Year!
Jessica says
You’re so welcome! I’m glad you liked it! Yes- it does toast beautifully– add a nice pat of butter and you’re all set!
Kena says
Do you need to add the sugar? We are trying to eliminate it as much as possible. Thank you!
Jessica says
Yeast works better with a little sugar! You can try omitting it, but I worry it’d affect how well your bread rises. You can replace it with honey if you’d like. If you used part wheat flour (50/50), I don’t think you’d even need to change any other measurements.
Kena says
Thank you! I’ll try both with and without just to see 🙂
MLG says
I split the dough into two halves, one half was baked in a regular loaf pan and the other was made into monkey bread. The recipe was definitely easy to put together and both loaves are very tasty. Thanks for sharing.
Jessica says
Oh SUCH a great idea to make it into Monkey Bread! YUM. So glad everything was delicious!
Kena says
We tried making it today and it turned out great! We used the sugar and bread flour. Delicious!!
King Cobra says
Easy breezy. Followed the recipe by the book and came out delicious. Baking took a bit longer but every oven is not the same. Measuring the inside temp did the trick. Thanks!
Jessica says
So glad you enjoyed it! I take the temp of all my bread at this point! It’s such an easy way to get perfectly baked bread!