It’s been a while since I’ve updated you all with how my kitchen renovation is going. We’re at week 9 now and SO MUCH has happened. If you missed my first remodel update, complete with BEFORE PICTURES and kitchen plans, go check it out!
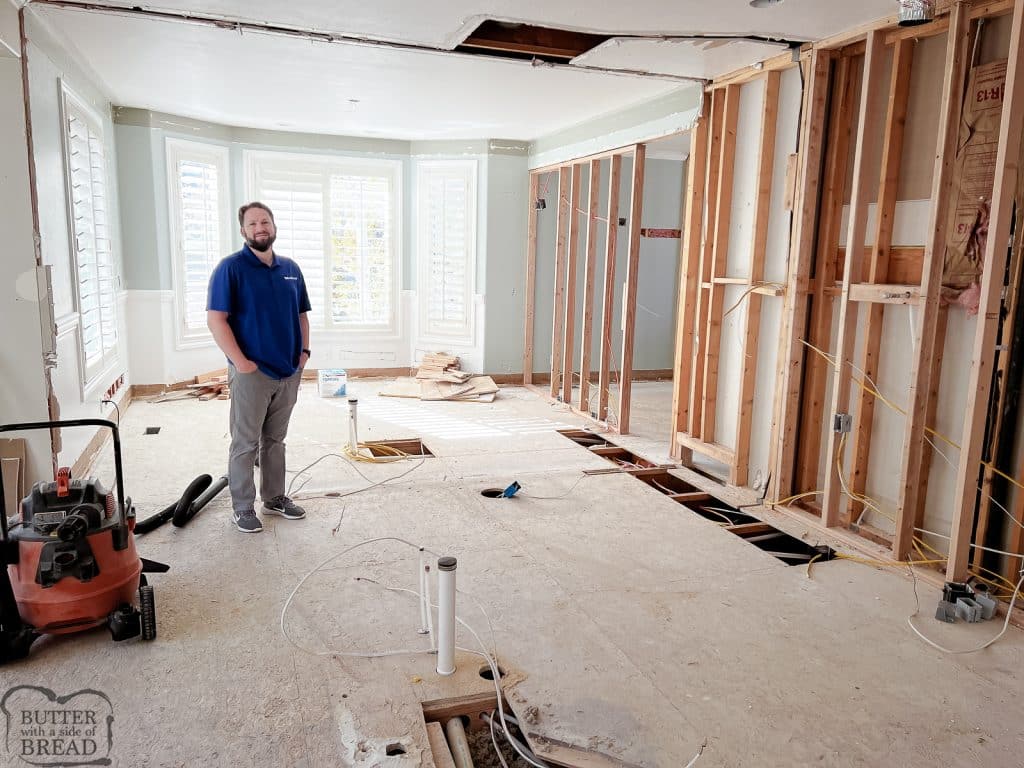
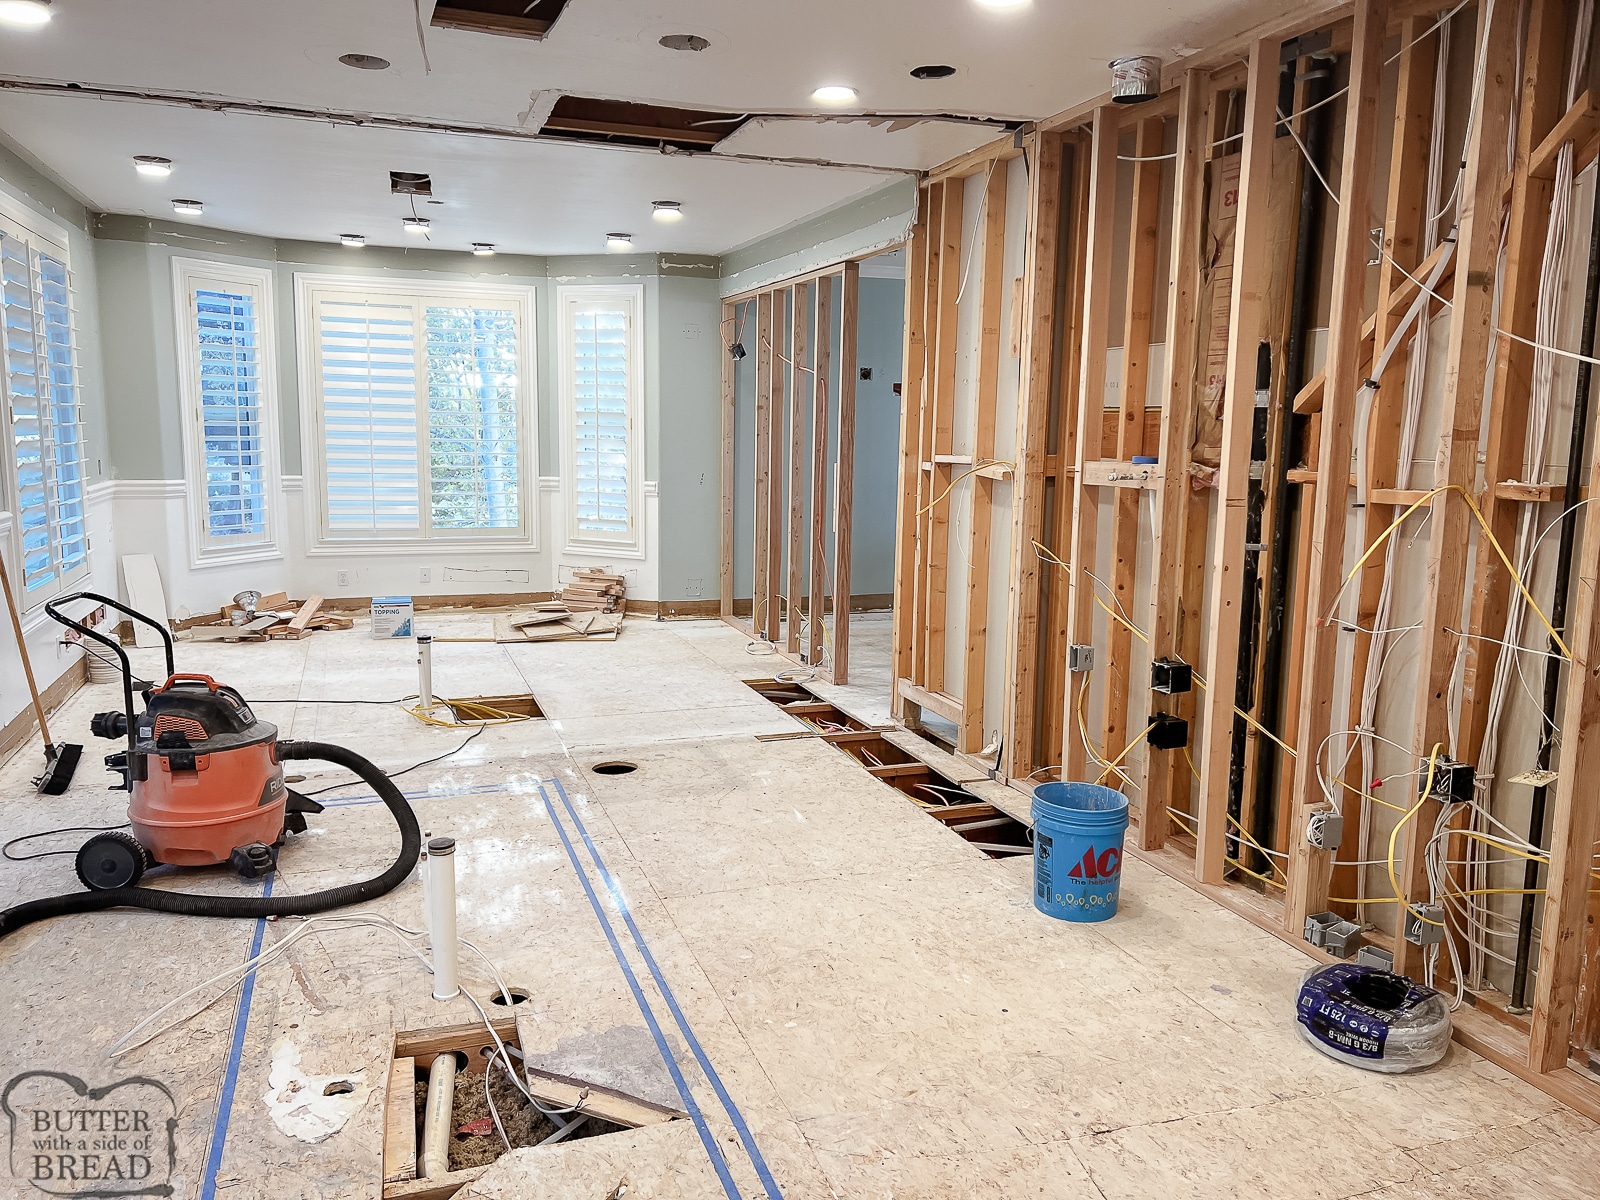
Most of the last 8 weeks was spent on utilities. Since we took down 1 wall and added 2 more for our new pantry, we had to reroute HVAC, plumbing and electrical. I think each one of those subcontractors had a team out here at least twice in the last 8 weeks! It’s been a process, that’s for sure!
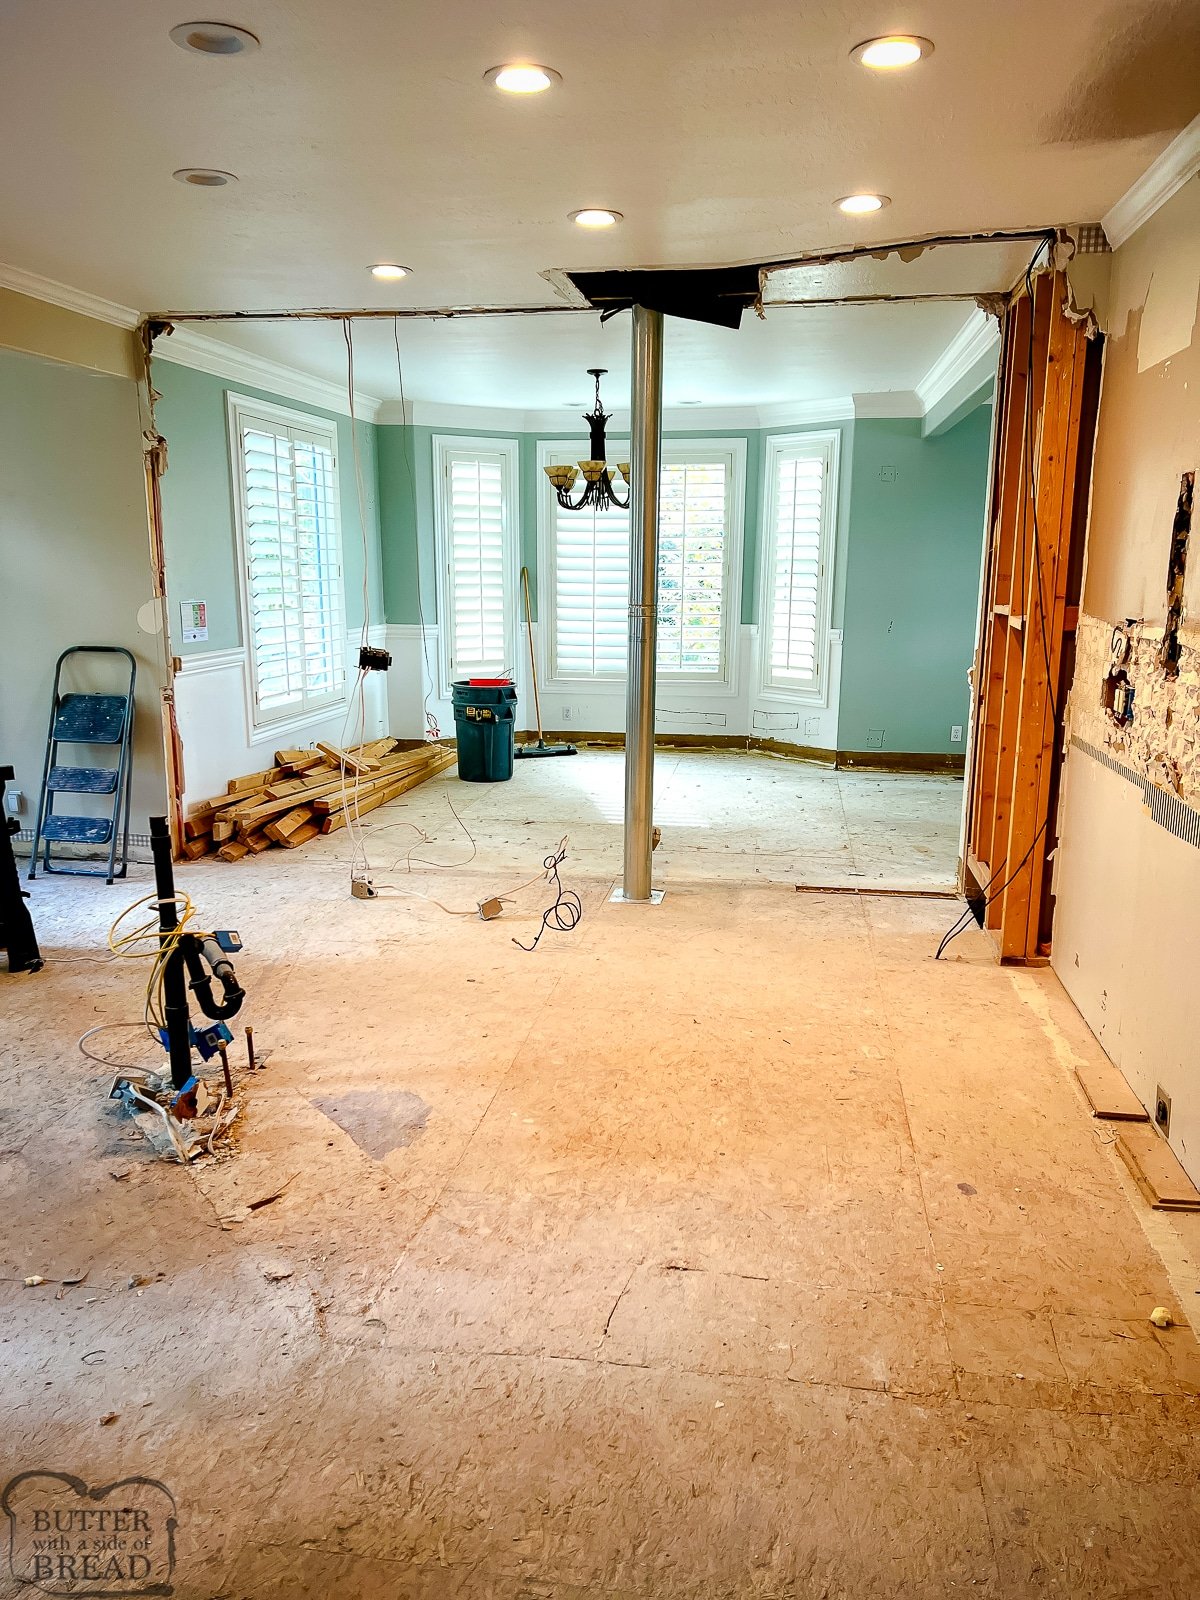
To refresh your memory, here’s what the space looked like post demo:
The crews then went to work on framing our new walls. After that, the HVAC, plumbing and electrical experts worked their magic!
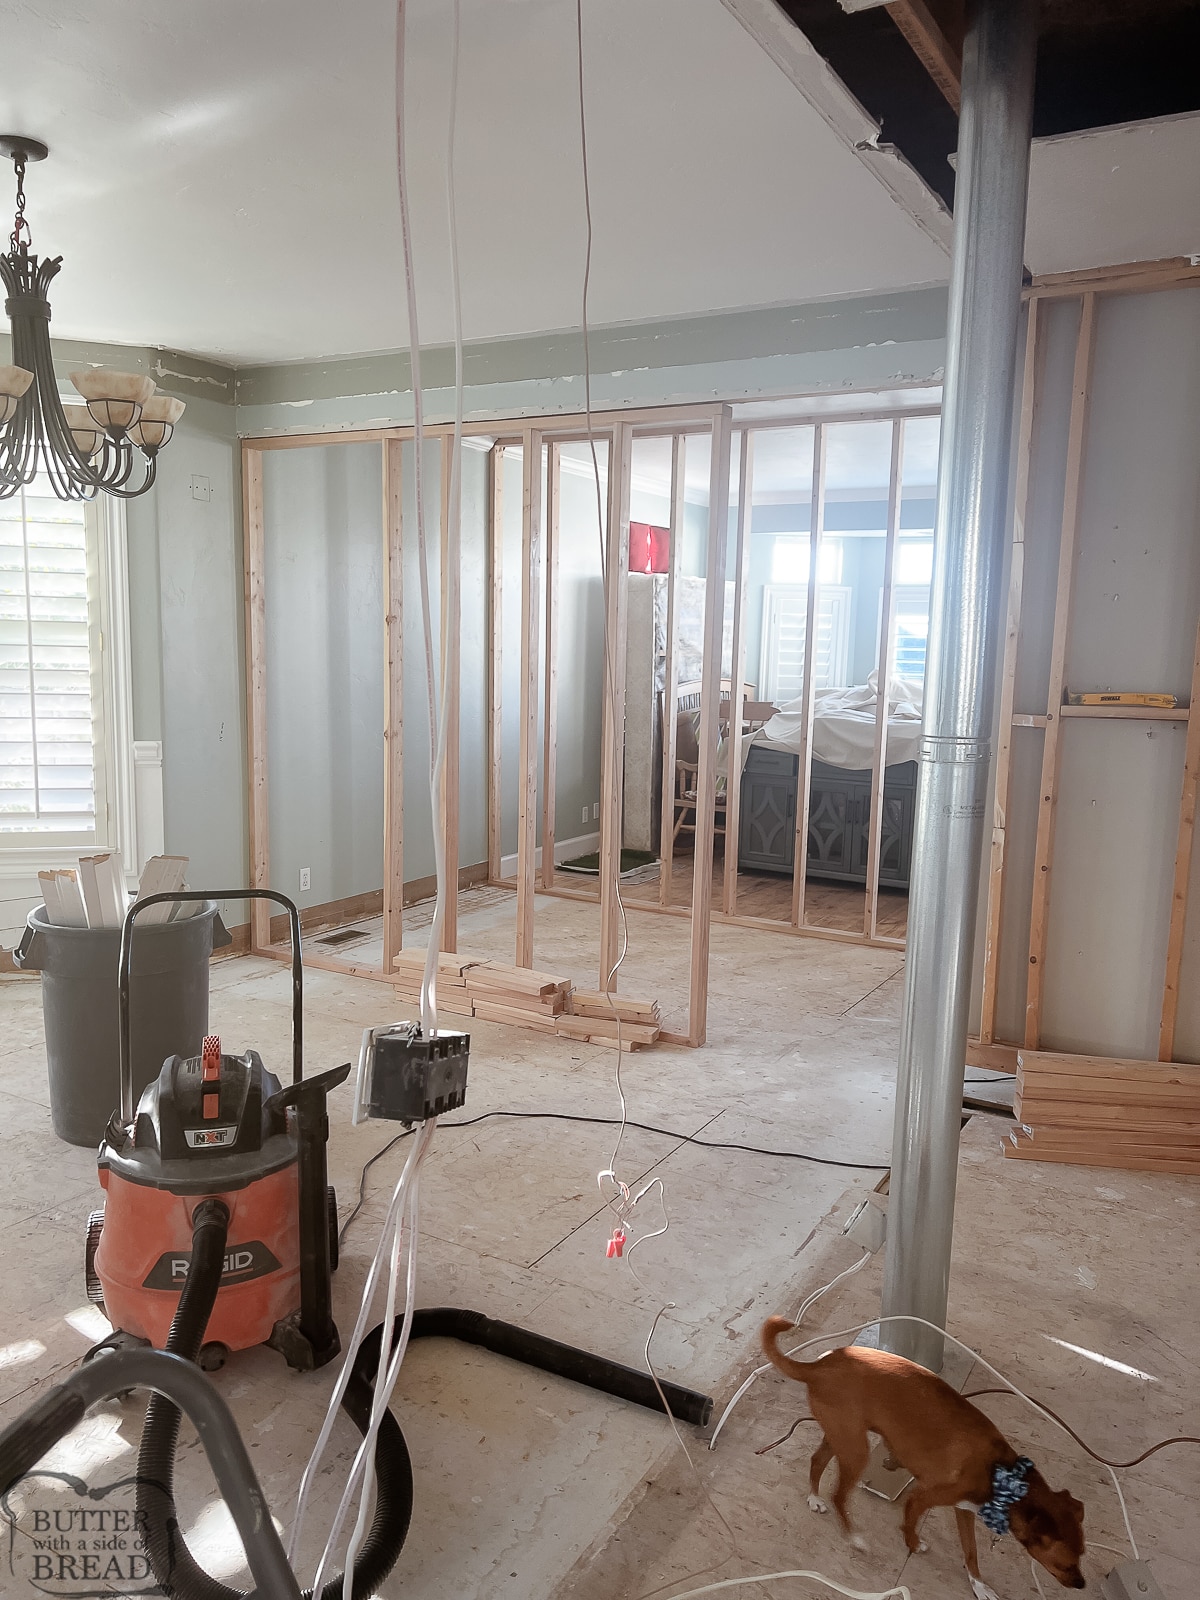
This was not a fast or easy process. It was very loud and I was beyond thrilled when that large pipe was gone from the middle of my new kitchen!
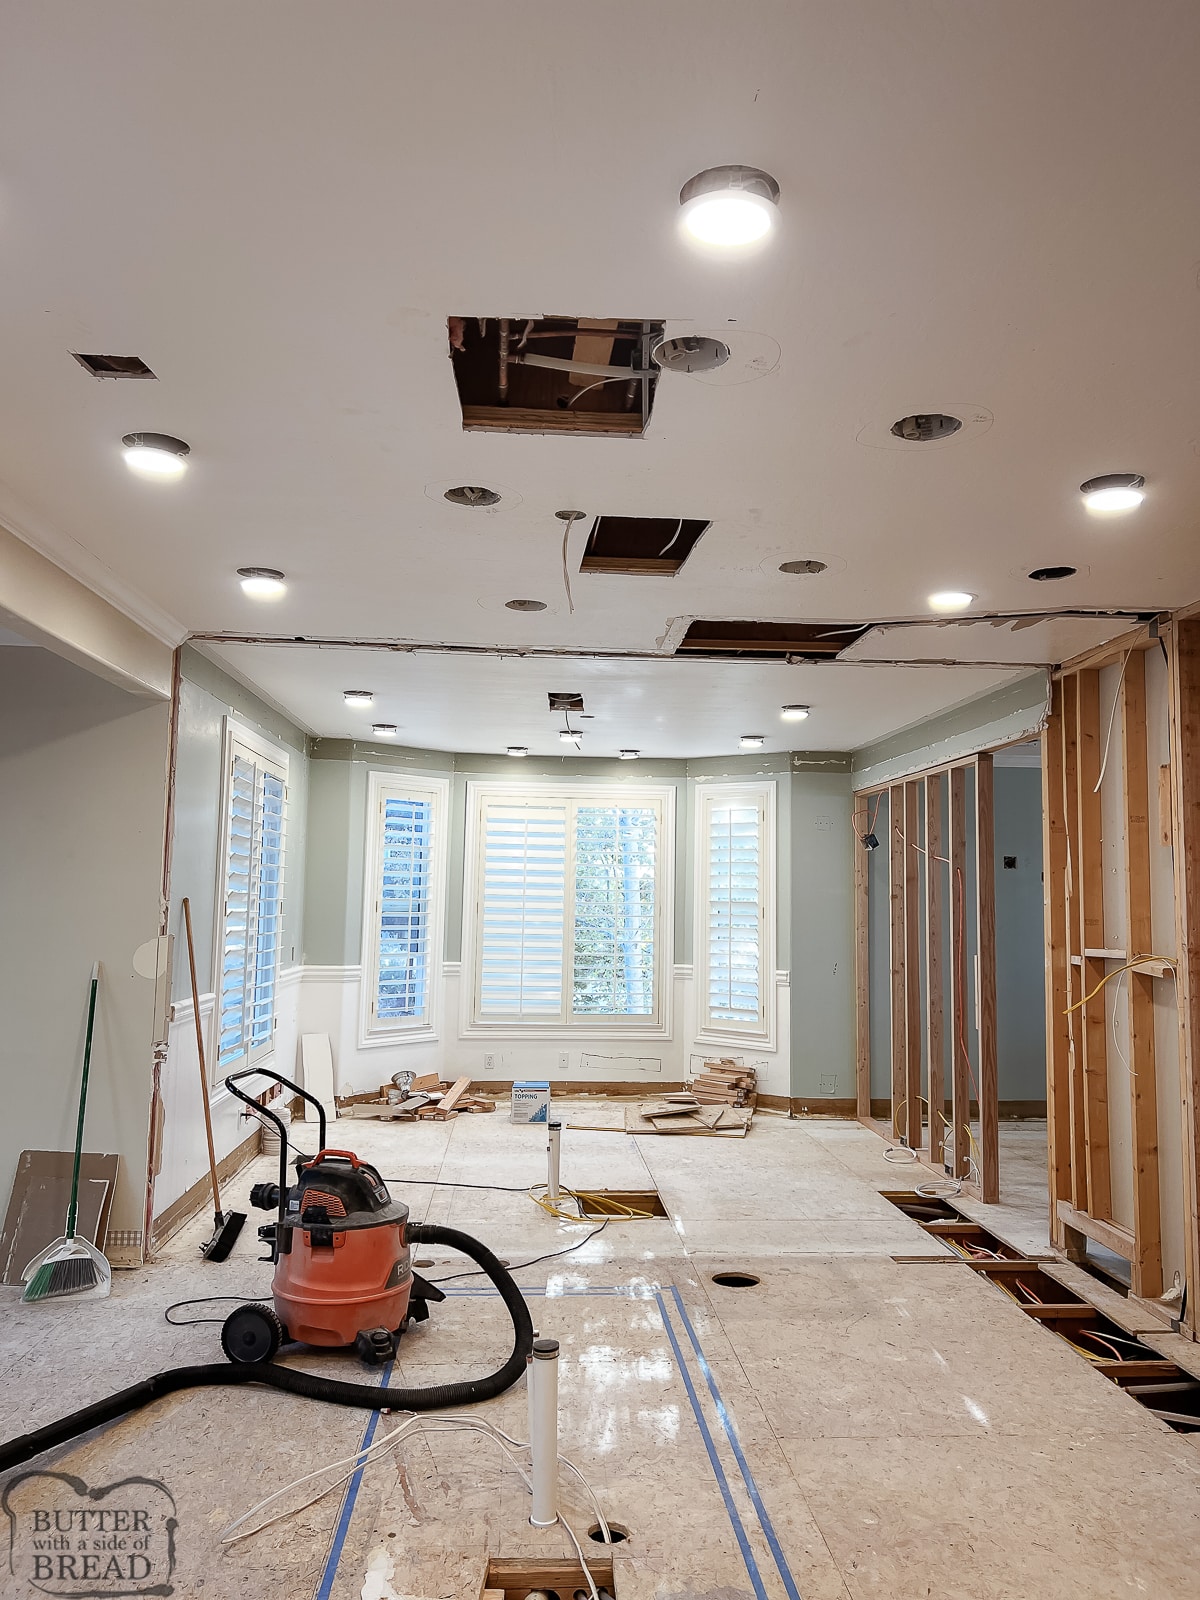
All the Utility Work Involved in Moving Walls
As part of the process, we had to get a new high efficient tankless water heater with built in pump. I LOVE it. It actually solved several problems for us, the biggest one being it used to take a solid 5 minutes of running hot water upstairs in our master bath for it to actually GET HOT. Crazy, right?! We’re in a drought so all summer long we filled buckets with the water and my water engineer husband created this system of getting that water out to our lawn. It was fun.
The electrical team removed all the old canned lighting and we created a new design that fits the space much better. They used Ultra Thin LED canned lights which just give off this beautiful warm, bright light and hello, I love how they look! Lighting options have come so far!
This new lighting design was a big deal to me because while this kitchen has clearly been through now 3 renovations, the lighting was never updated. So I didn’t actually have light over part of my previous kitchen!
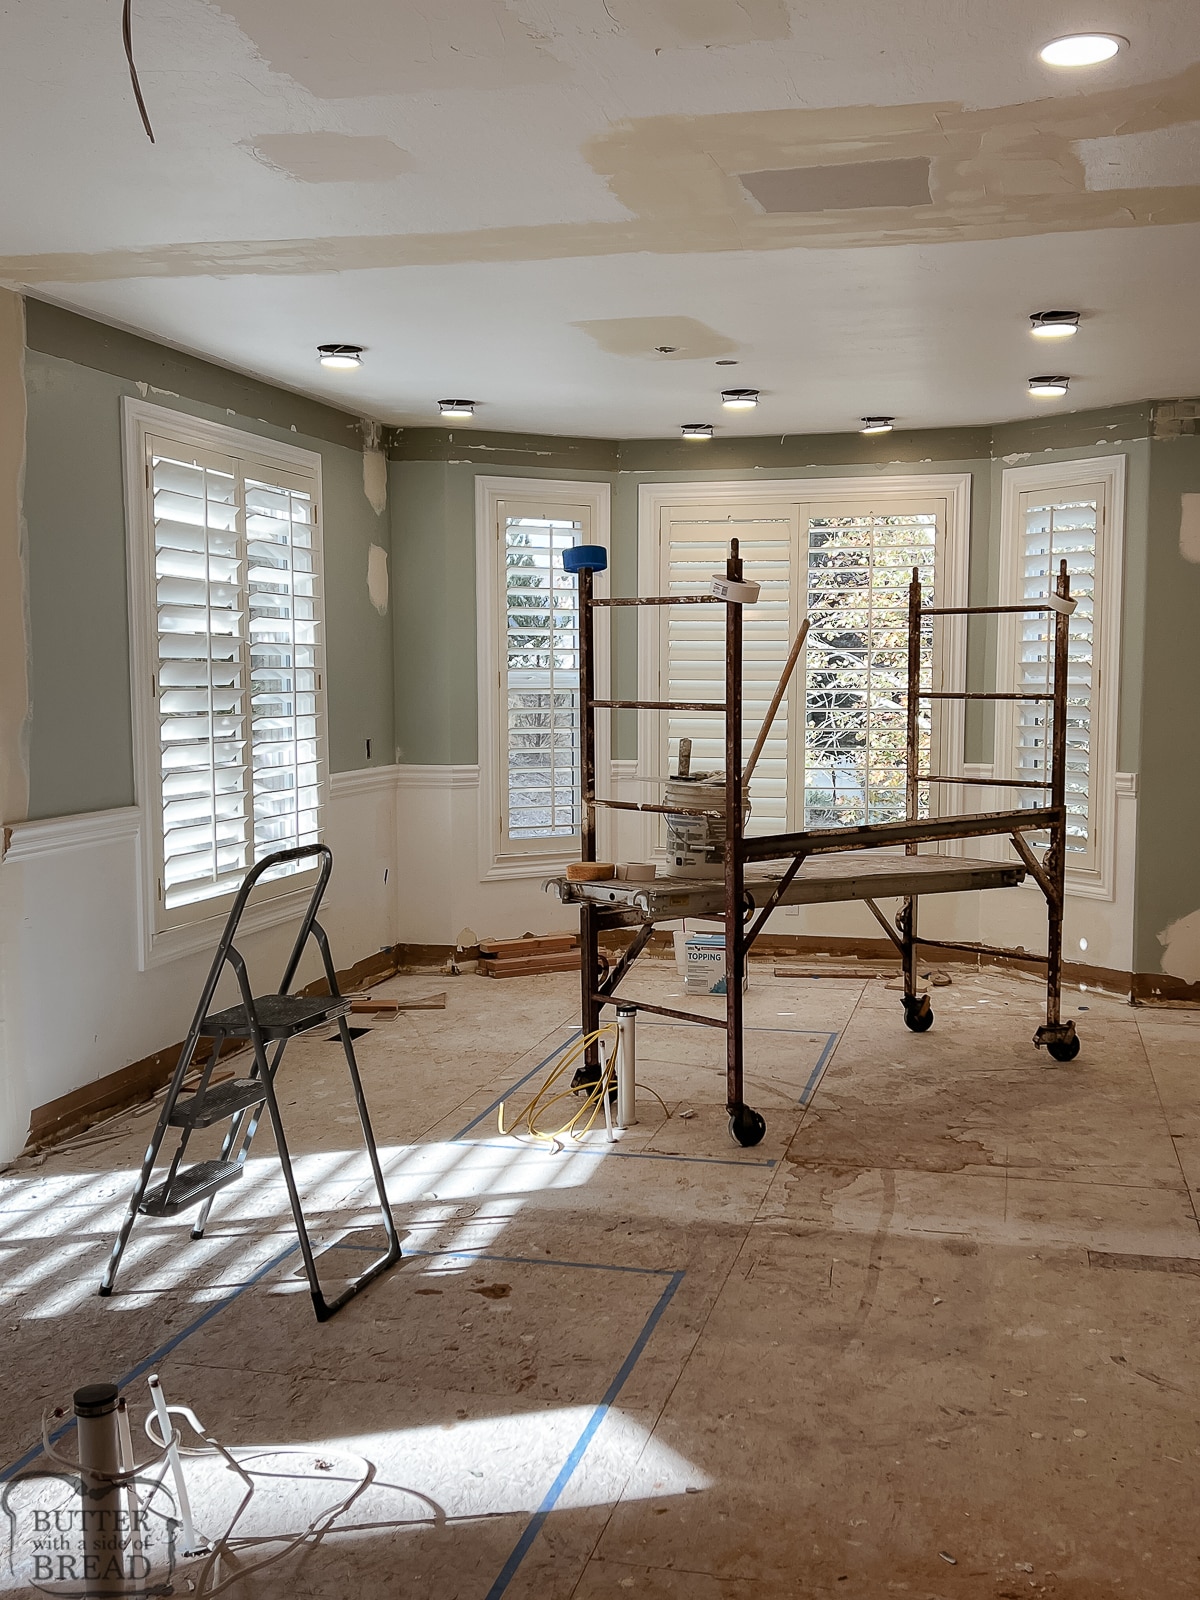
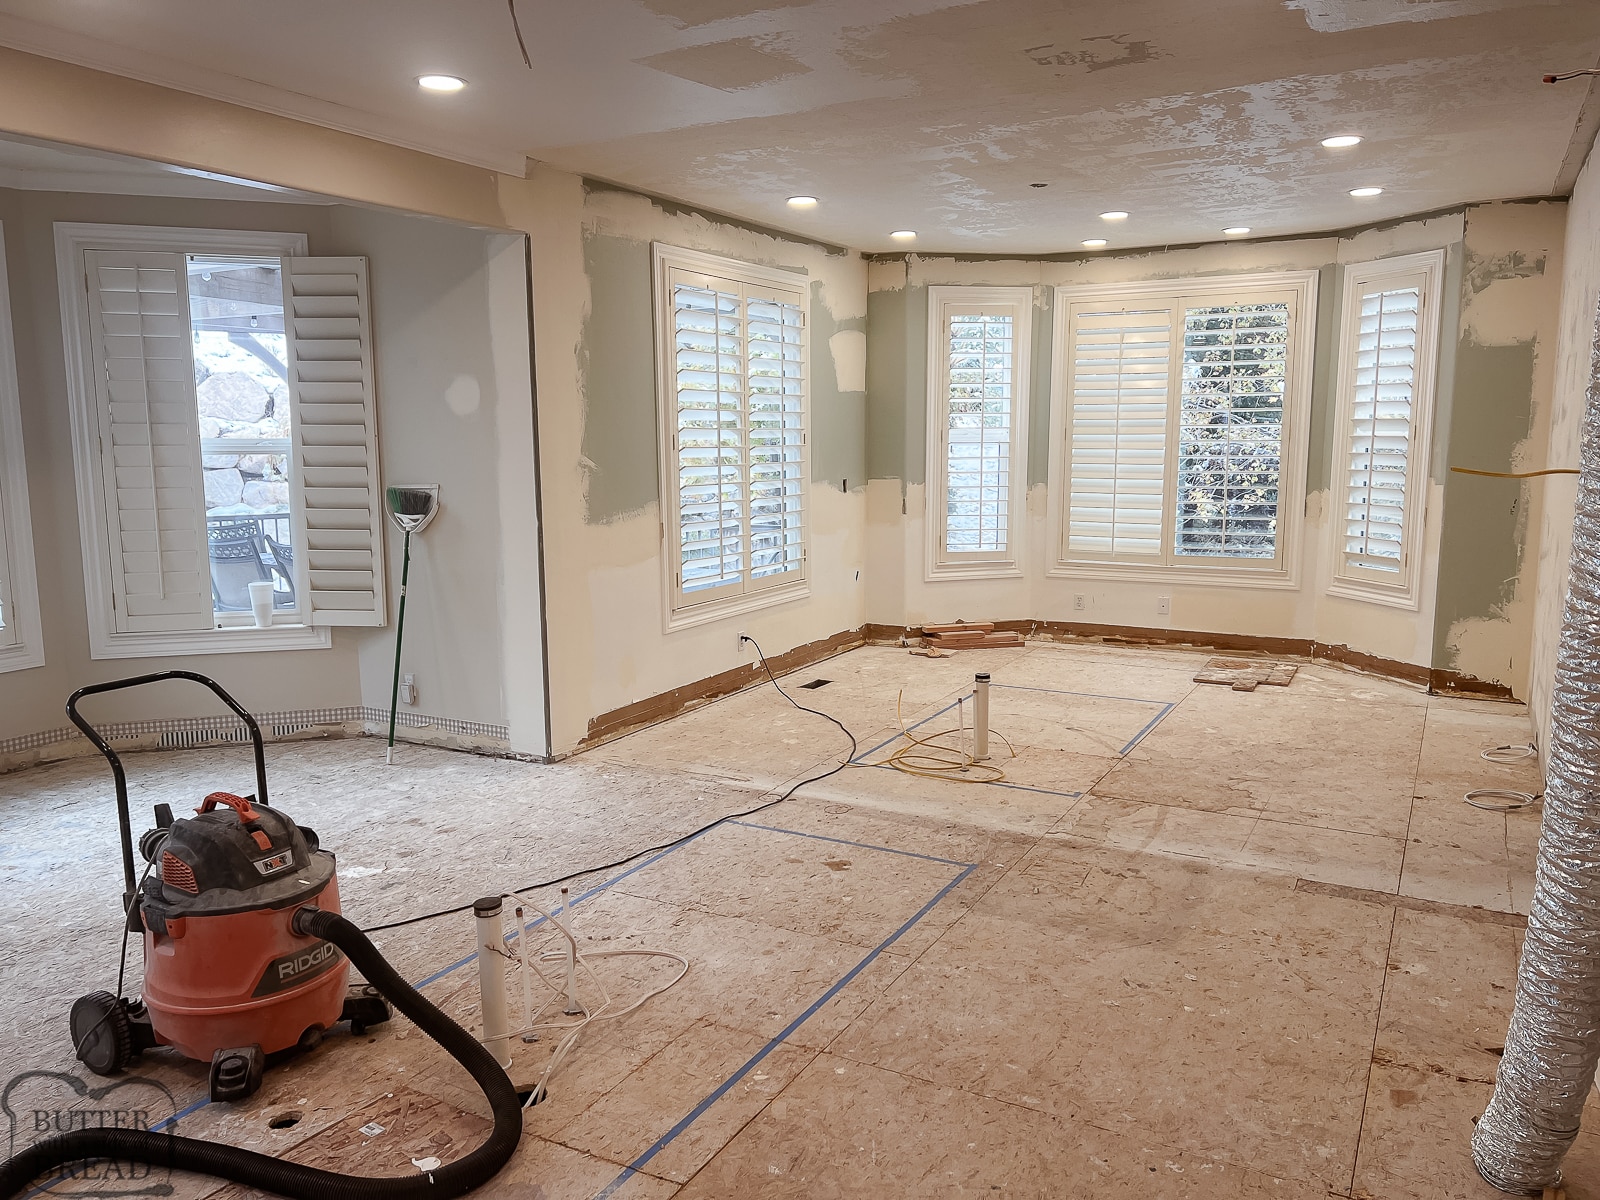
After the lighting was complete, we brought in the drywall guy to patch all of the billion holes all over the new kitchen. That was a week long process filled with drywall dust! But wow it looks amazing.
Herringbone Kitchen Floor
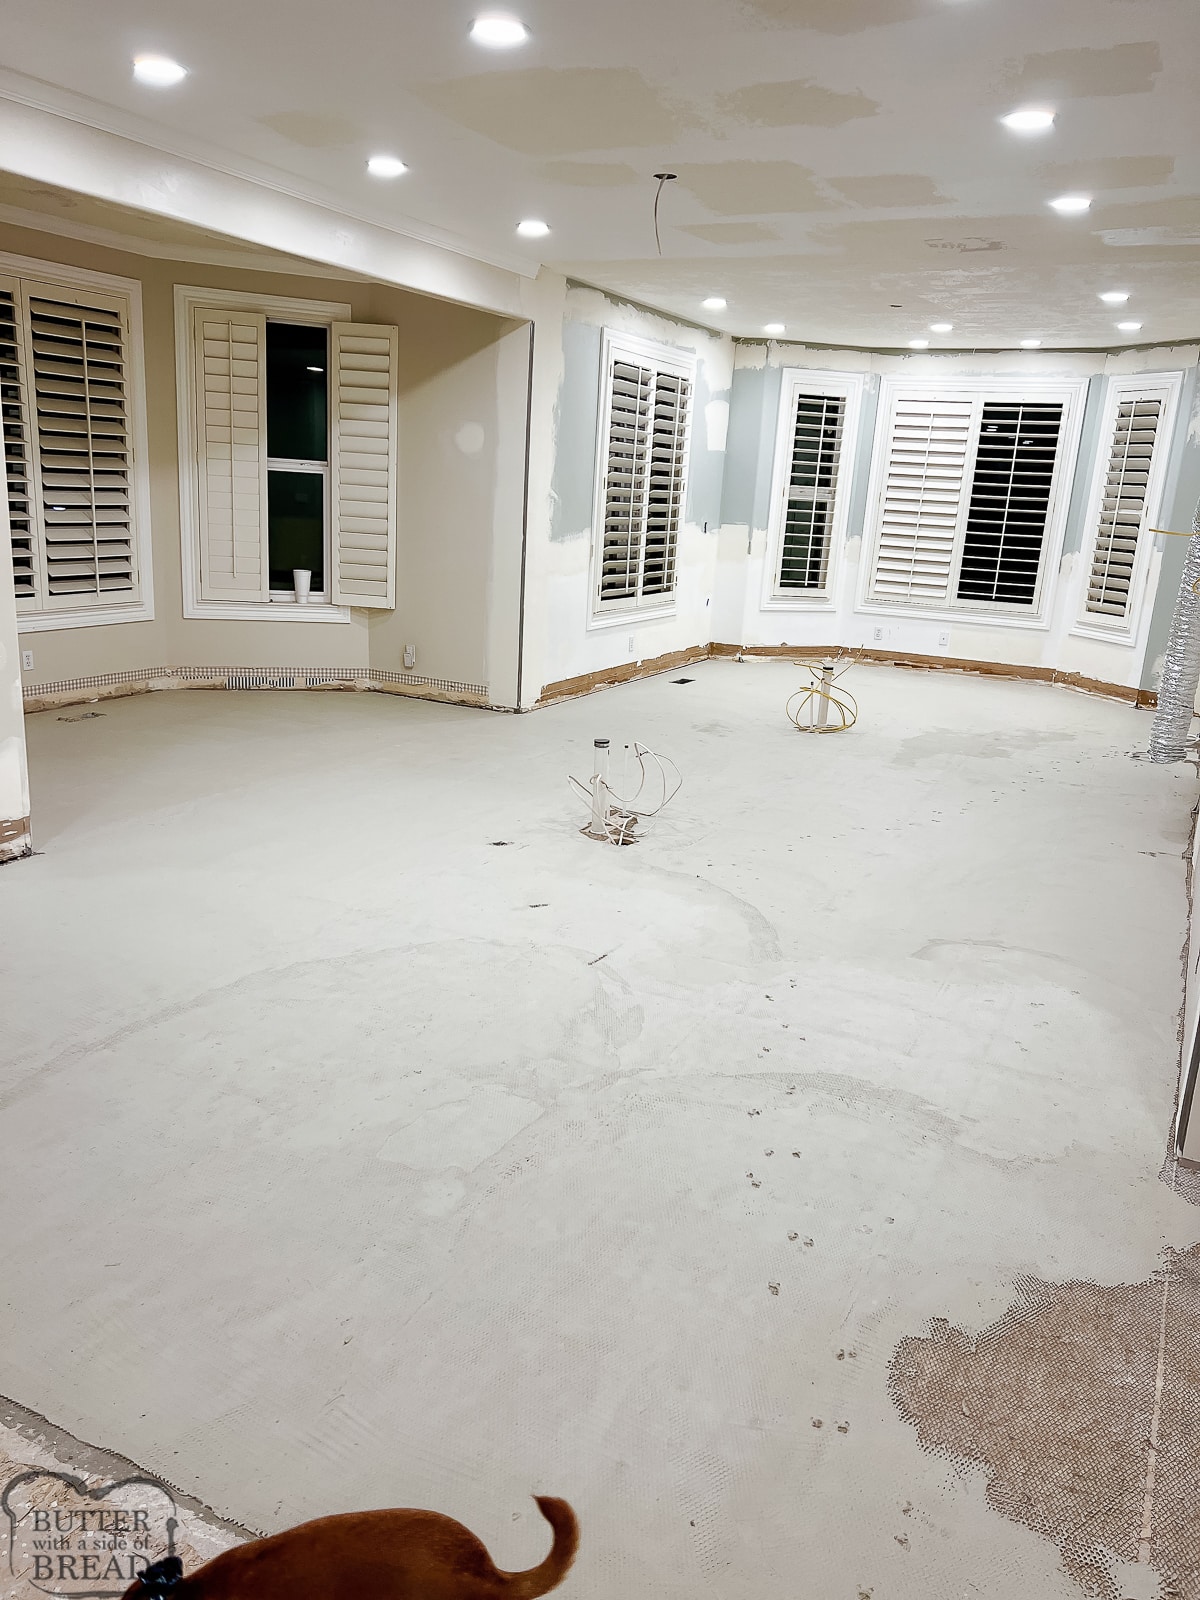
Then came the floor.
Oh the floor.
I first had the idea to have a herringbone tile floor using porcelain tiles that look like wood over a year ago. But I talked myself out of it oh about a dozen times. I was worried it’d look too busy. I went back and forth… and back and forth. As a matter of fact, I still hadn’t fully made up my mind when the tile crew was anticipated out the next week!
Then I just decided to go for it. I planned to use a grout that blended into the tile as opposed to a contrasting grout so that it would lessen the busyness of the design.
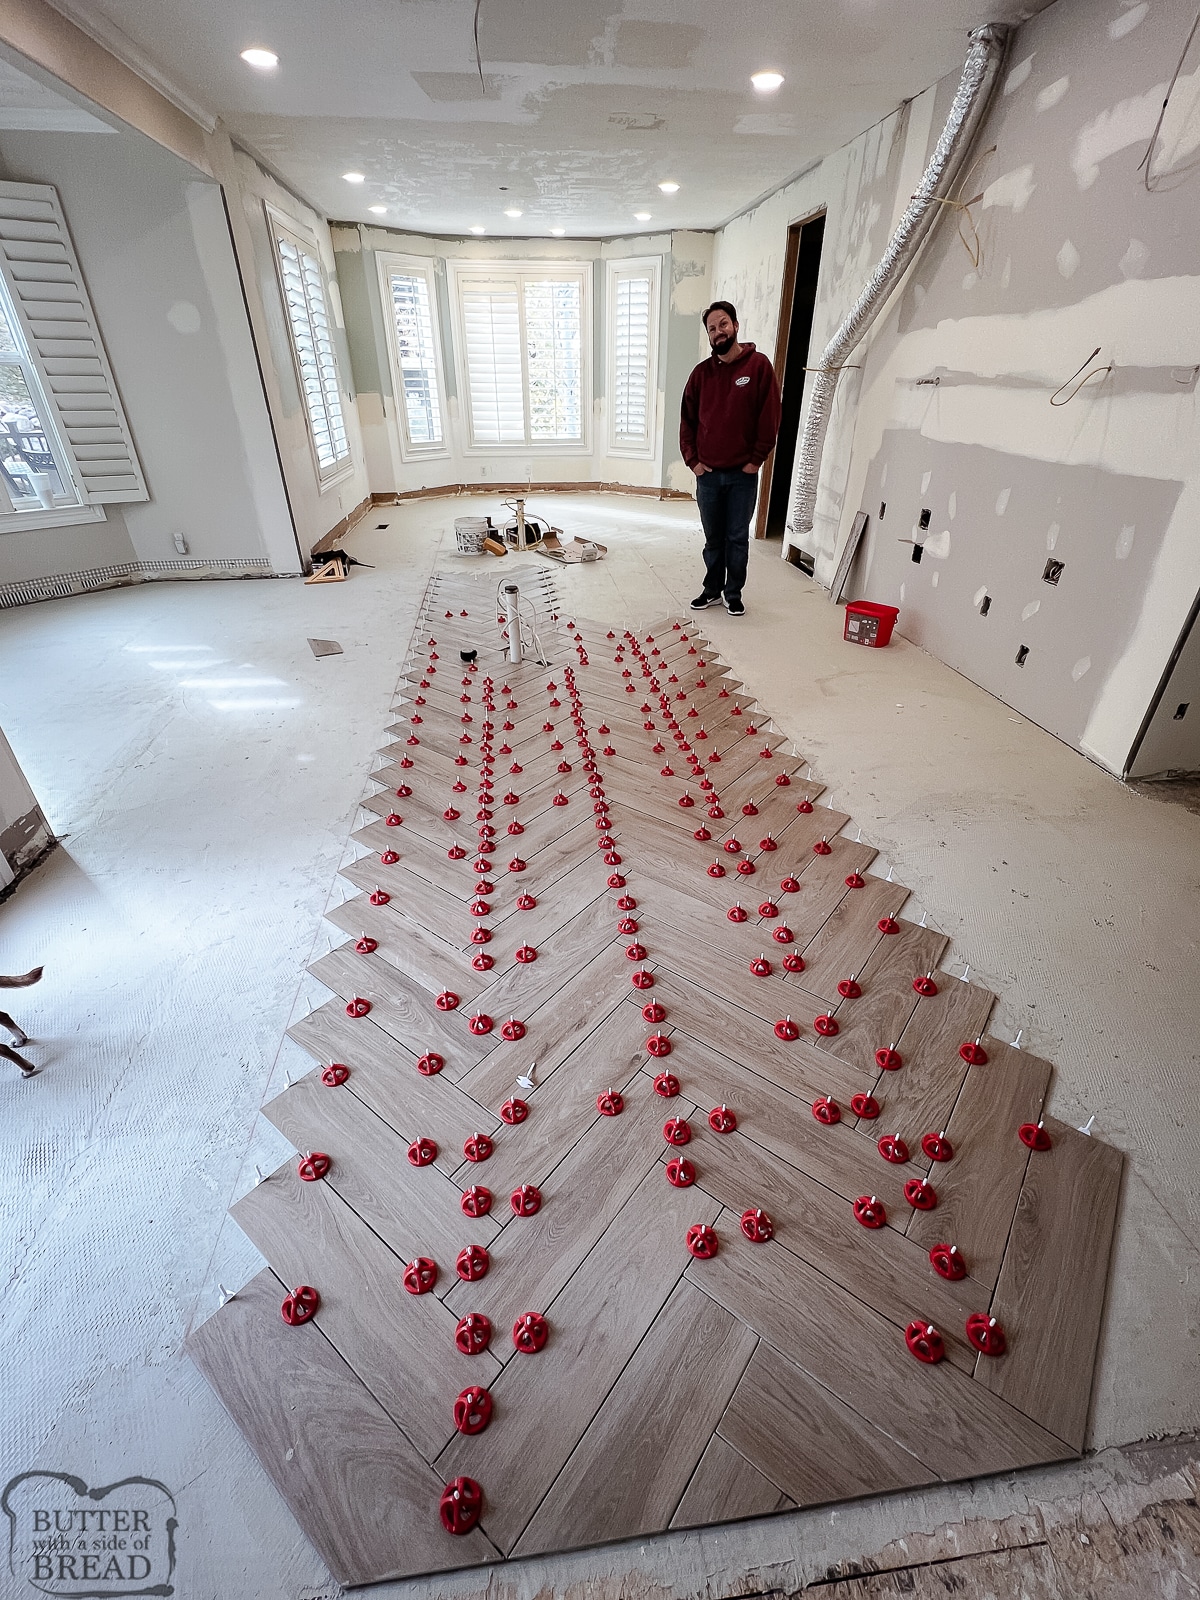
My tile guy Chris was NOT thrilled with the idea of herringbone but he rallied and brought in a local herringbone expert and together they got to work.
OH MY WORD. I LOVE IT SO MUCH.
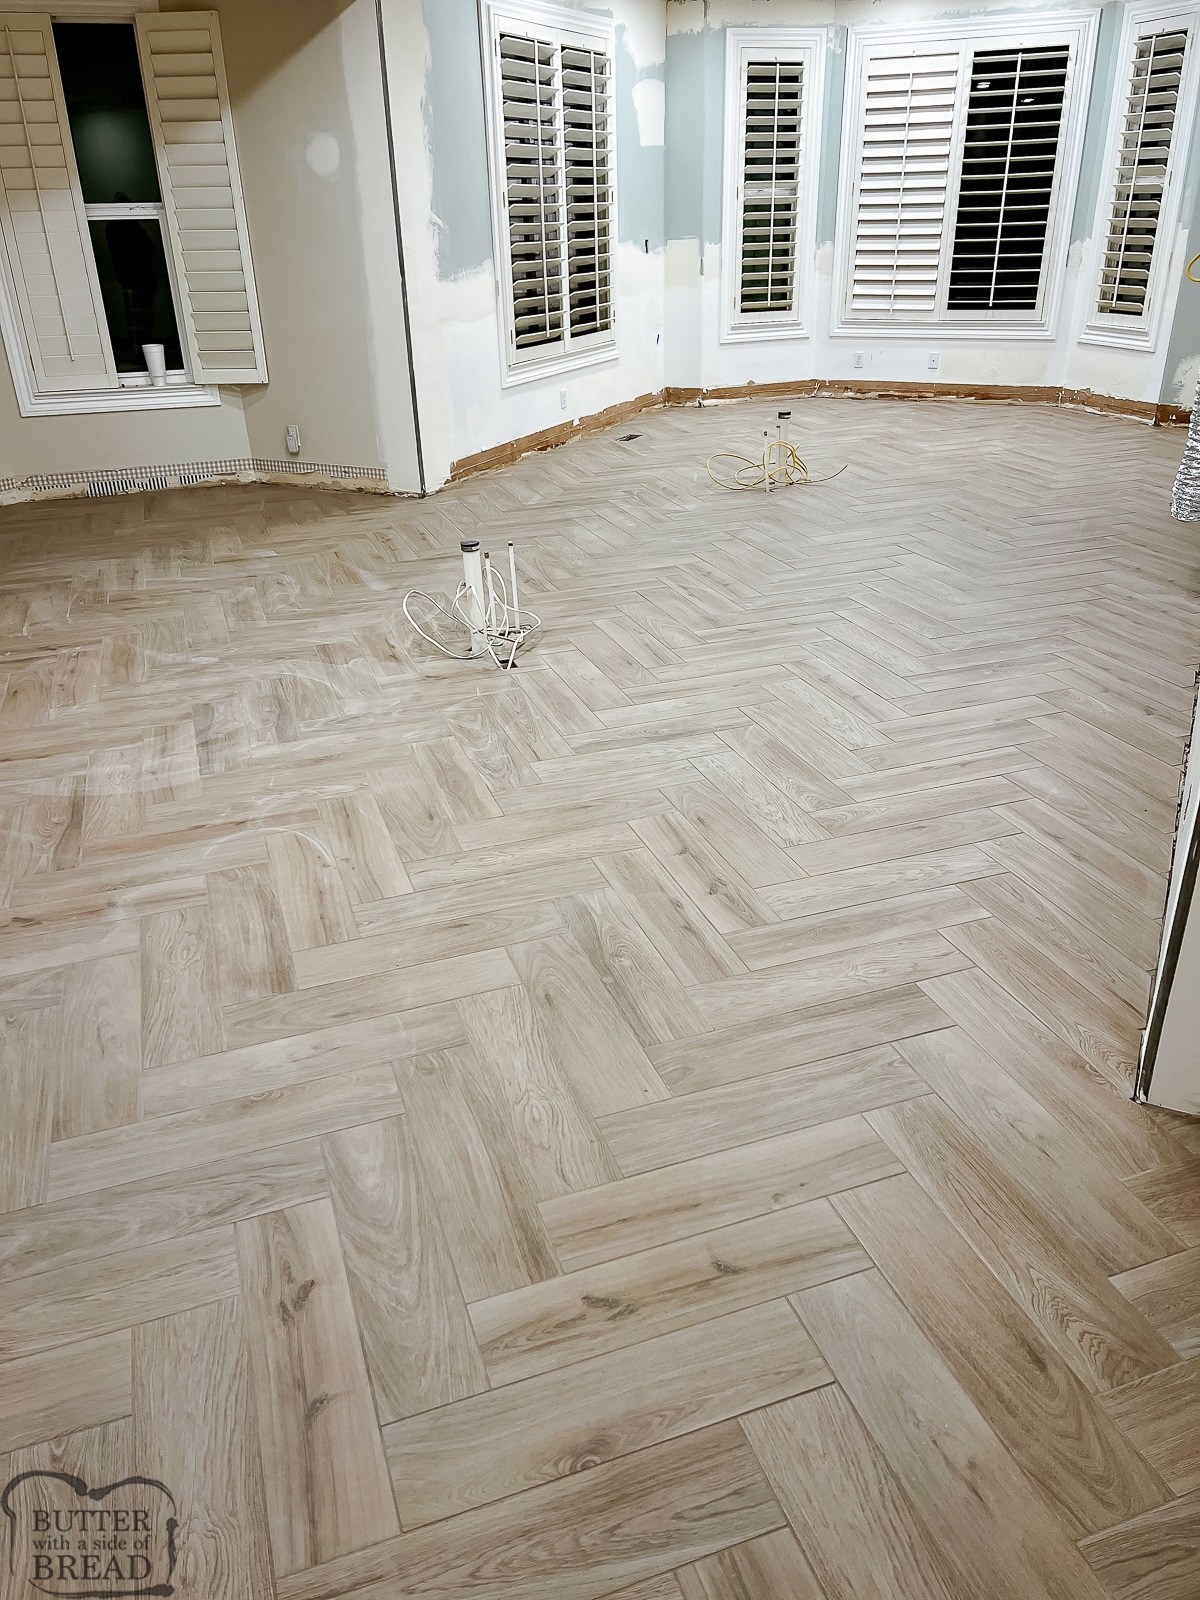
As a matter of fact, before installation even started, my husband laid several boxes of the tile in a herringbone pattern out for me and I knew it was the right choice. SO GORGEOUS.
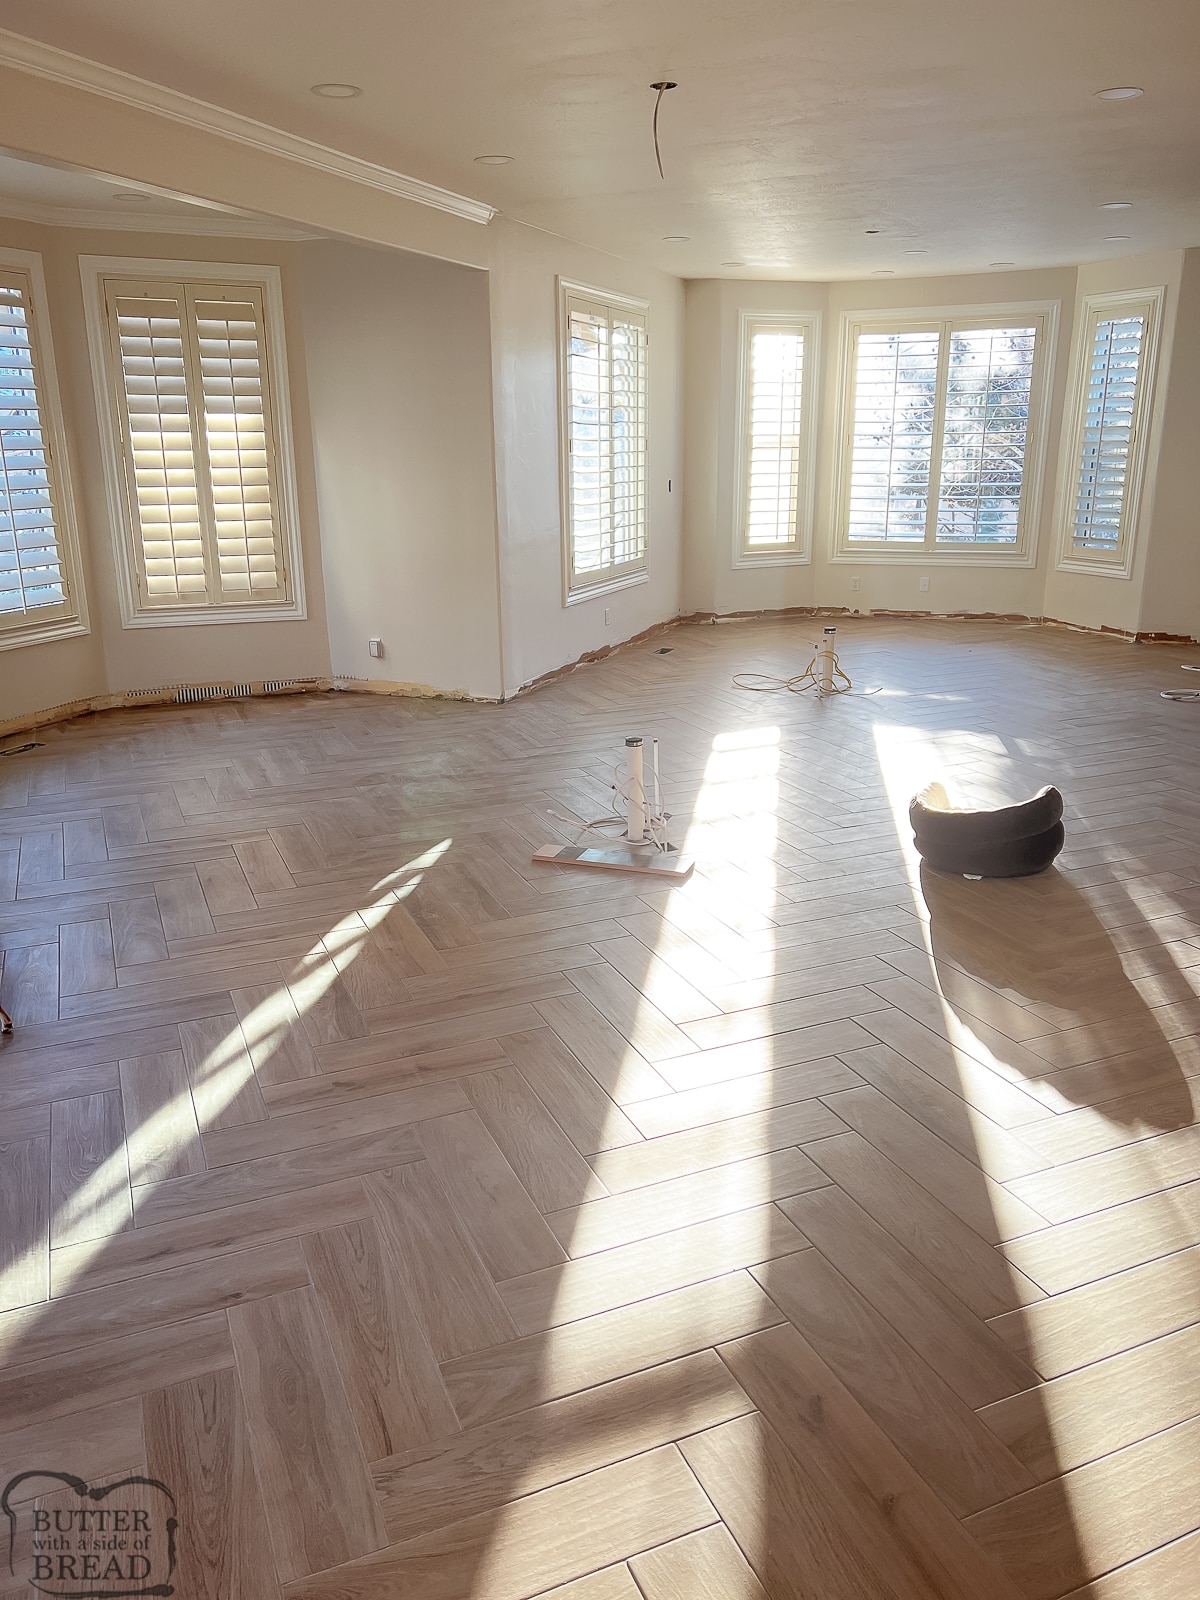
Installing the tile took about a week. It was not an easy process at all as the kitchen is a good 800+ square feet! But Chris just did a fantastic job and I’m thrilled with the result.
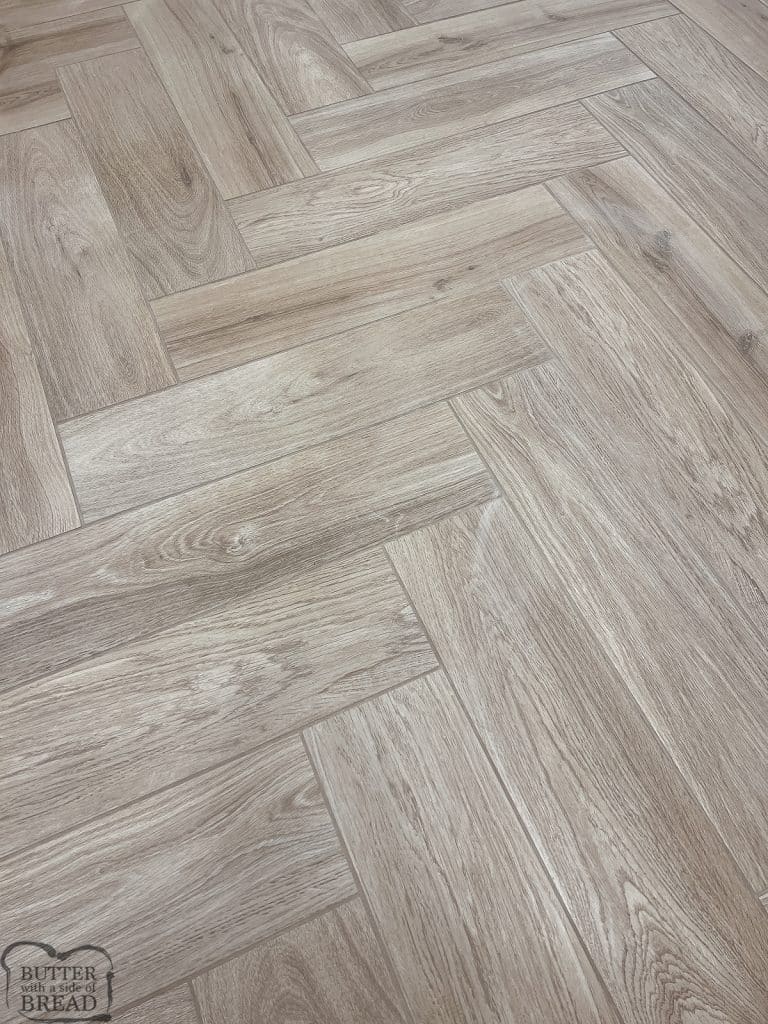
We used Tescot Natural Porcelain Tile from Floor and Decor. Online it looks warmer, in reality, it has a lot more gray in it. The grout was called Walnut.
Kitchen Paint Colors
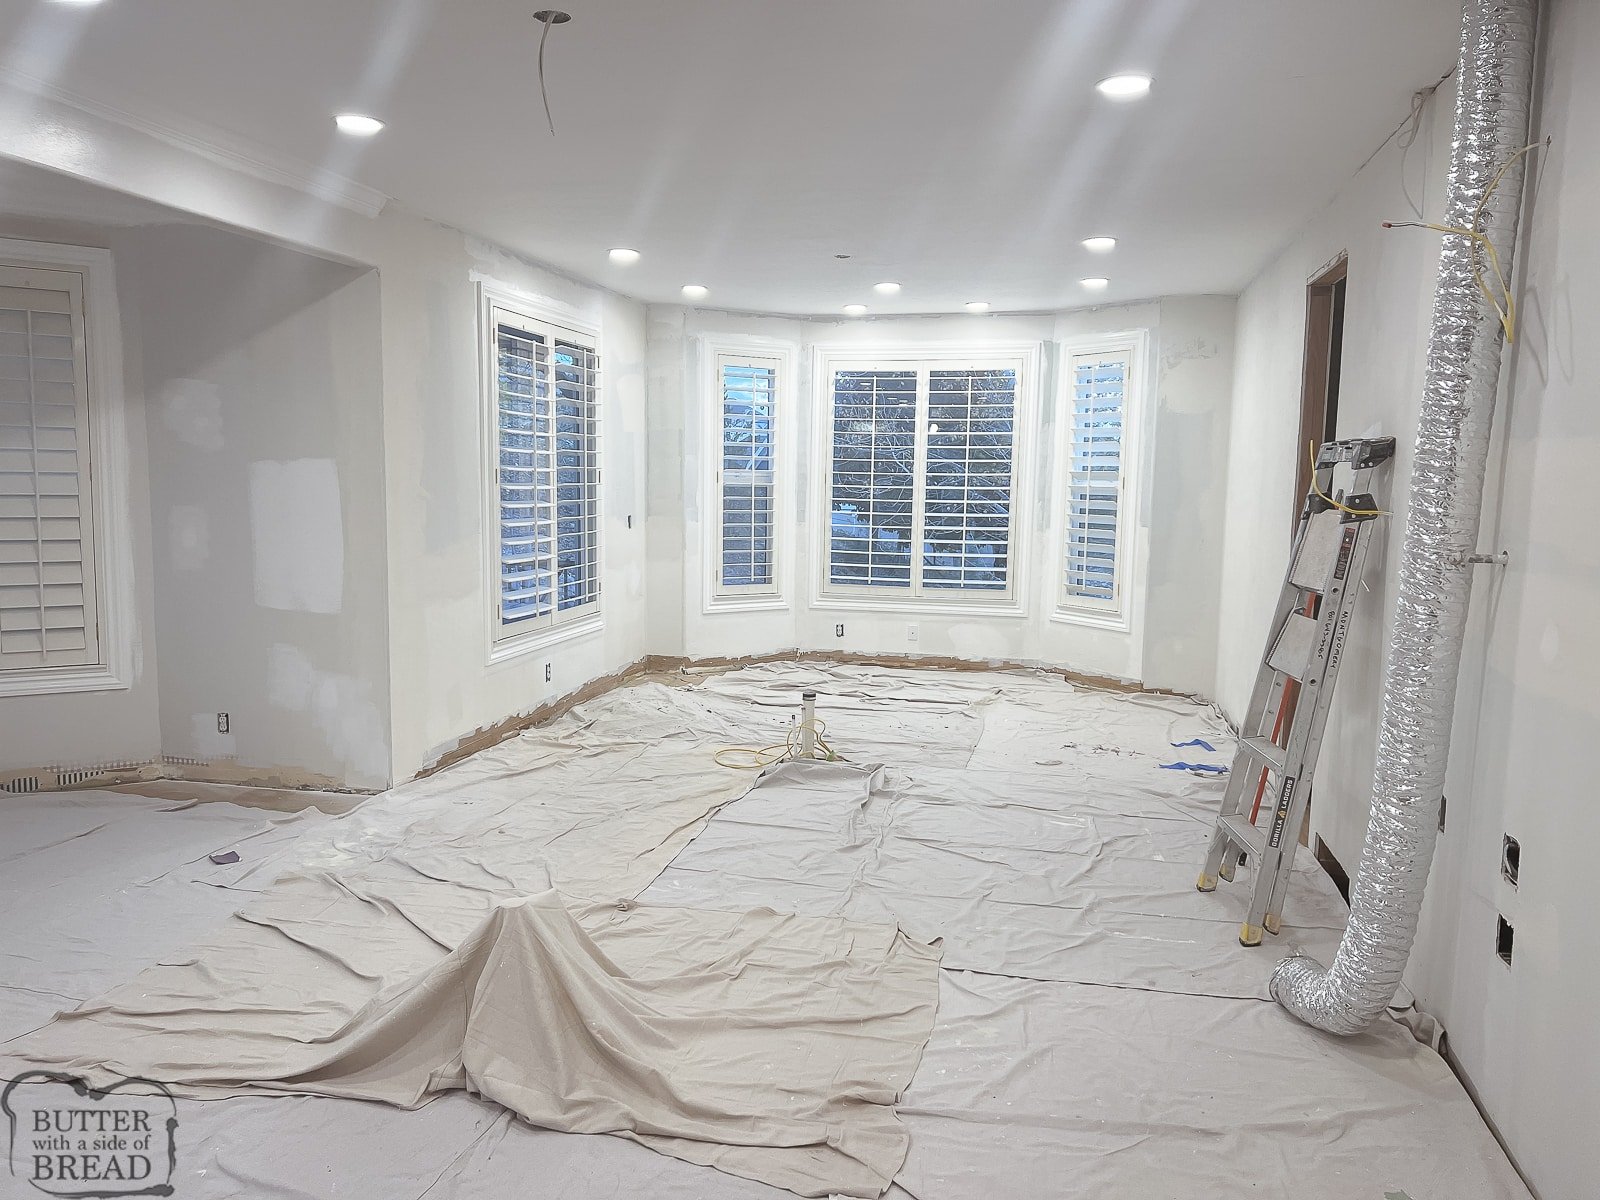
Just as the floors were done, we covered them all up and painted the space. As we were aiming to brighten the space up, I went with Origami White (Sherwin Williams from Lowe’s) for the walls and Fundamental White for the trim. Or at least I will have the trim that color once all the trim is installed! I’ve used Origami White in several spaces around my house and love the subtle greige tint it has. It looks really pretty in the space!
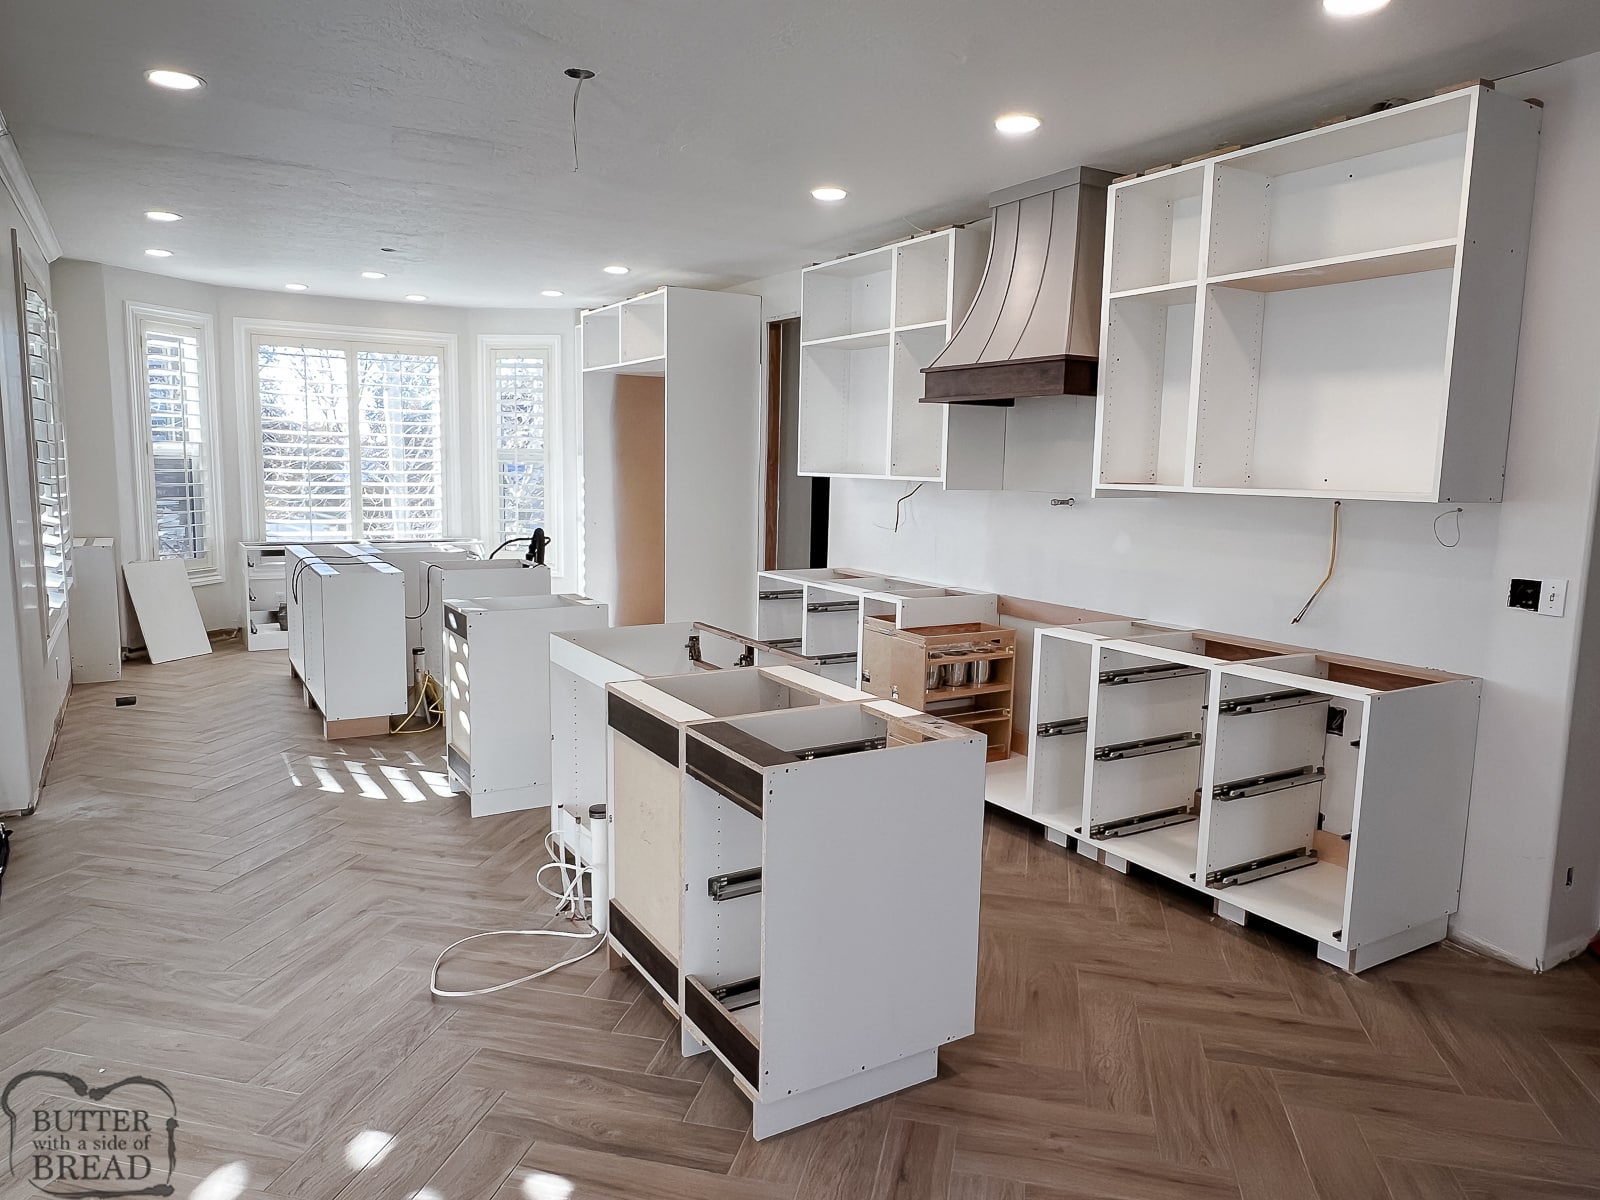
There is a delay with the cabinet doors, so in an attempt to not hold up templating for the countertops, our contractor sent over the cabinet boxes to be installed. Now that was fun! Seeing it all take shape is amazing. Spacing decisions I agonized over are now visible and so far, we chose well!
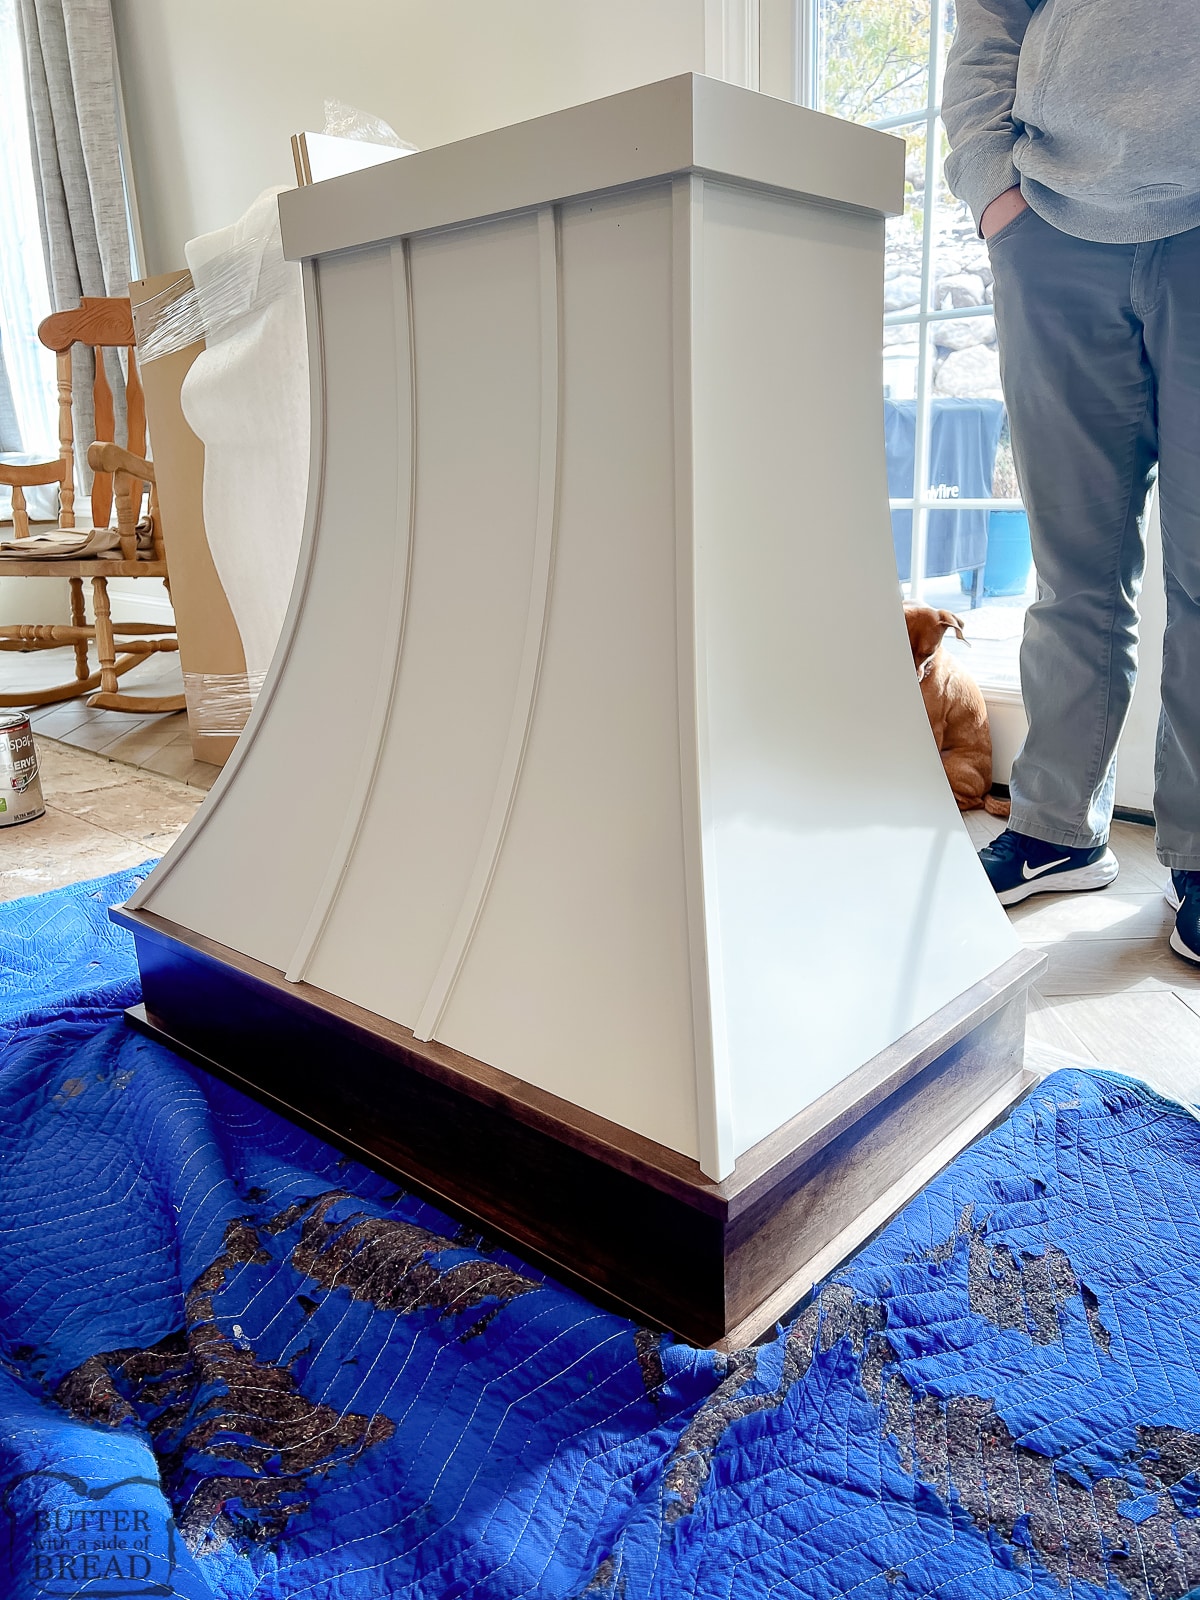
Custom Hood Vent from Blue Fig Artisan
Our hood vent arrived and was partially installed. I kind of wish we would have had less upper cabinets on that wall, to allow a bit more space around the hood vent because it’s just GORGEOUS. But I also know I’ll enjoy having more space in that area to store items.
Our hood vent was designed and handmade by BlueFigArtisan, which I found on Etsy. LOVE it. This was actually the very first piece I selected for our new kitchen, so much of the design is centered around this hood vent. I adore the natural wood accent, the shape of the hood and the functionality will be appreciated.
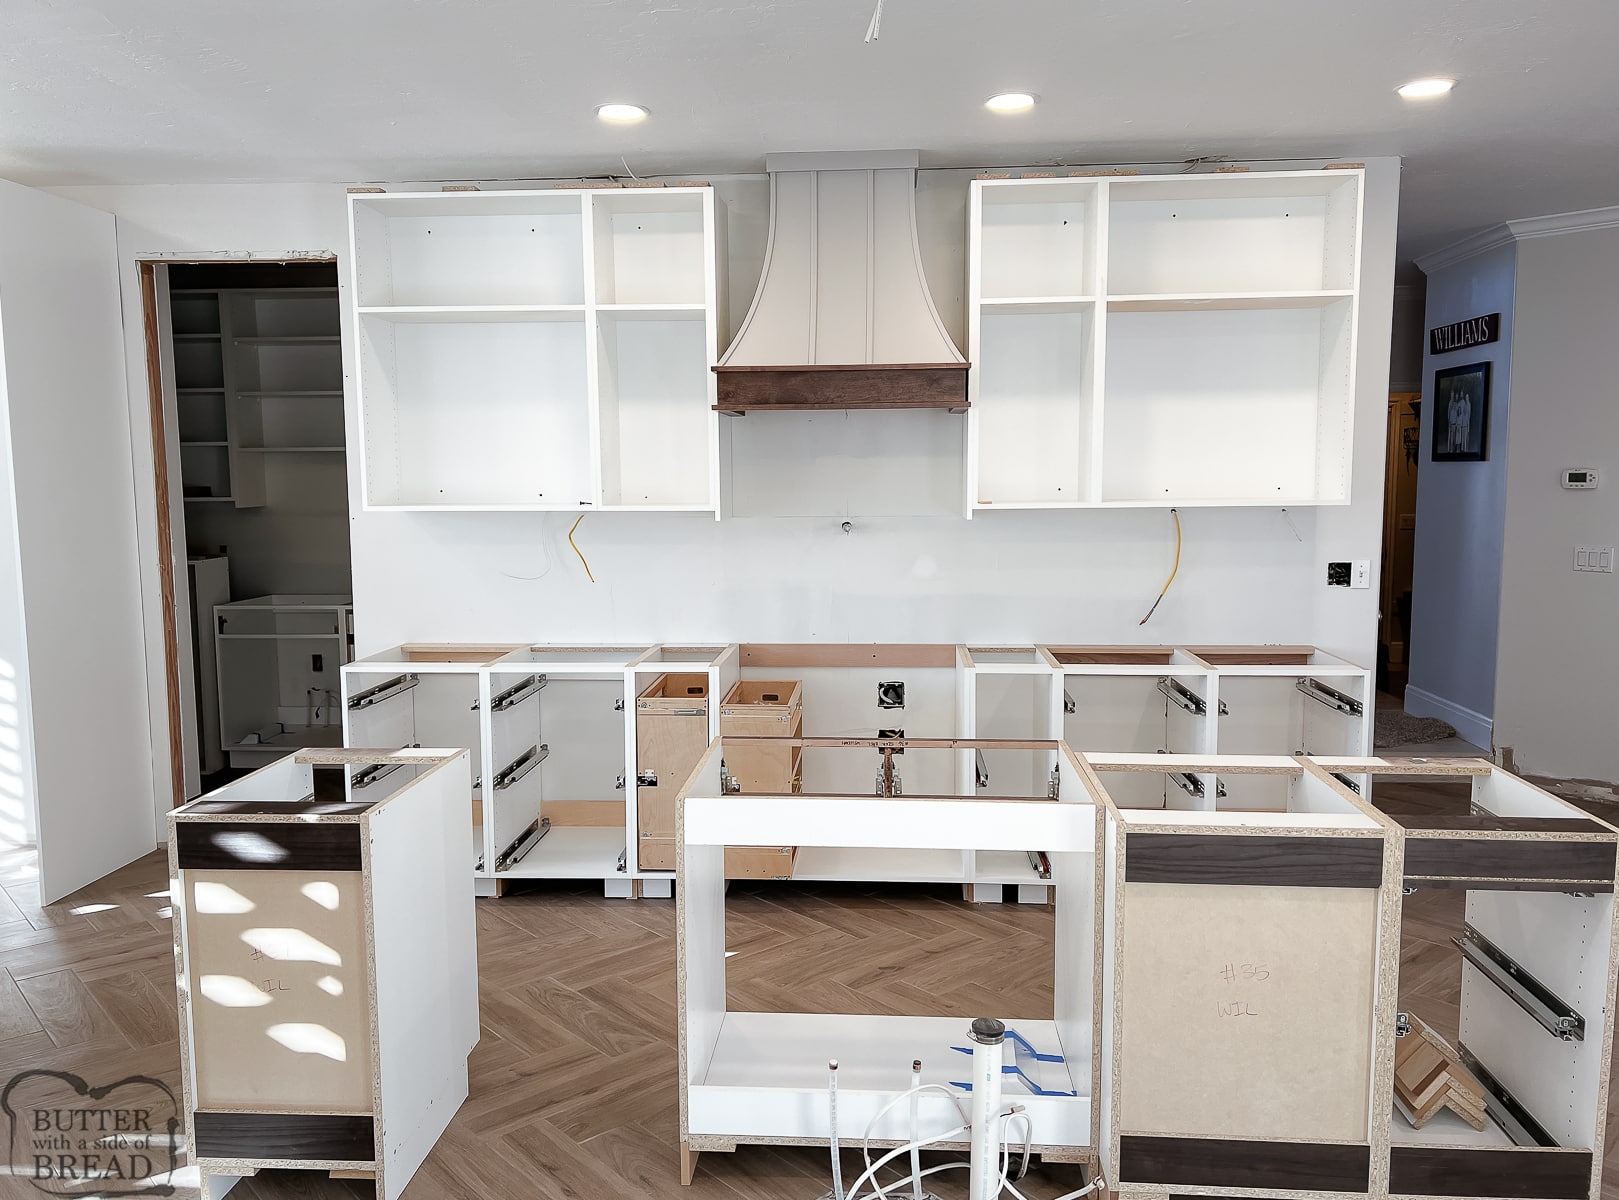
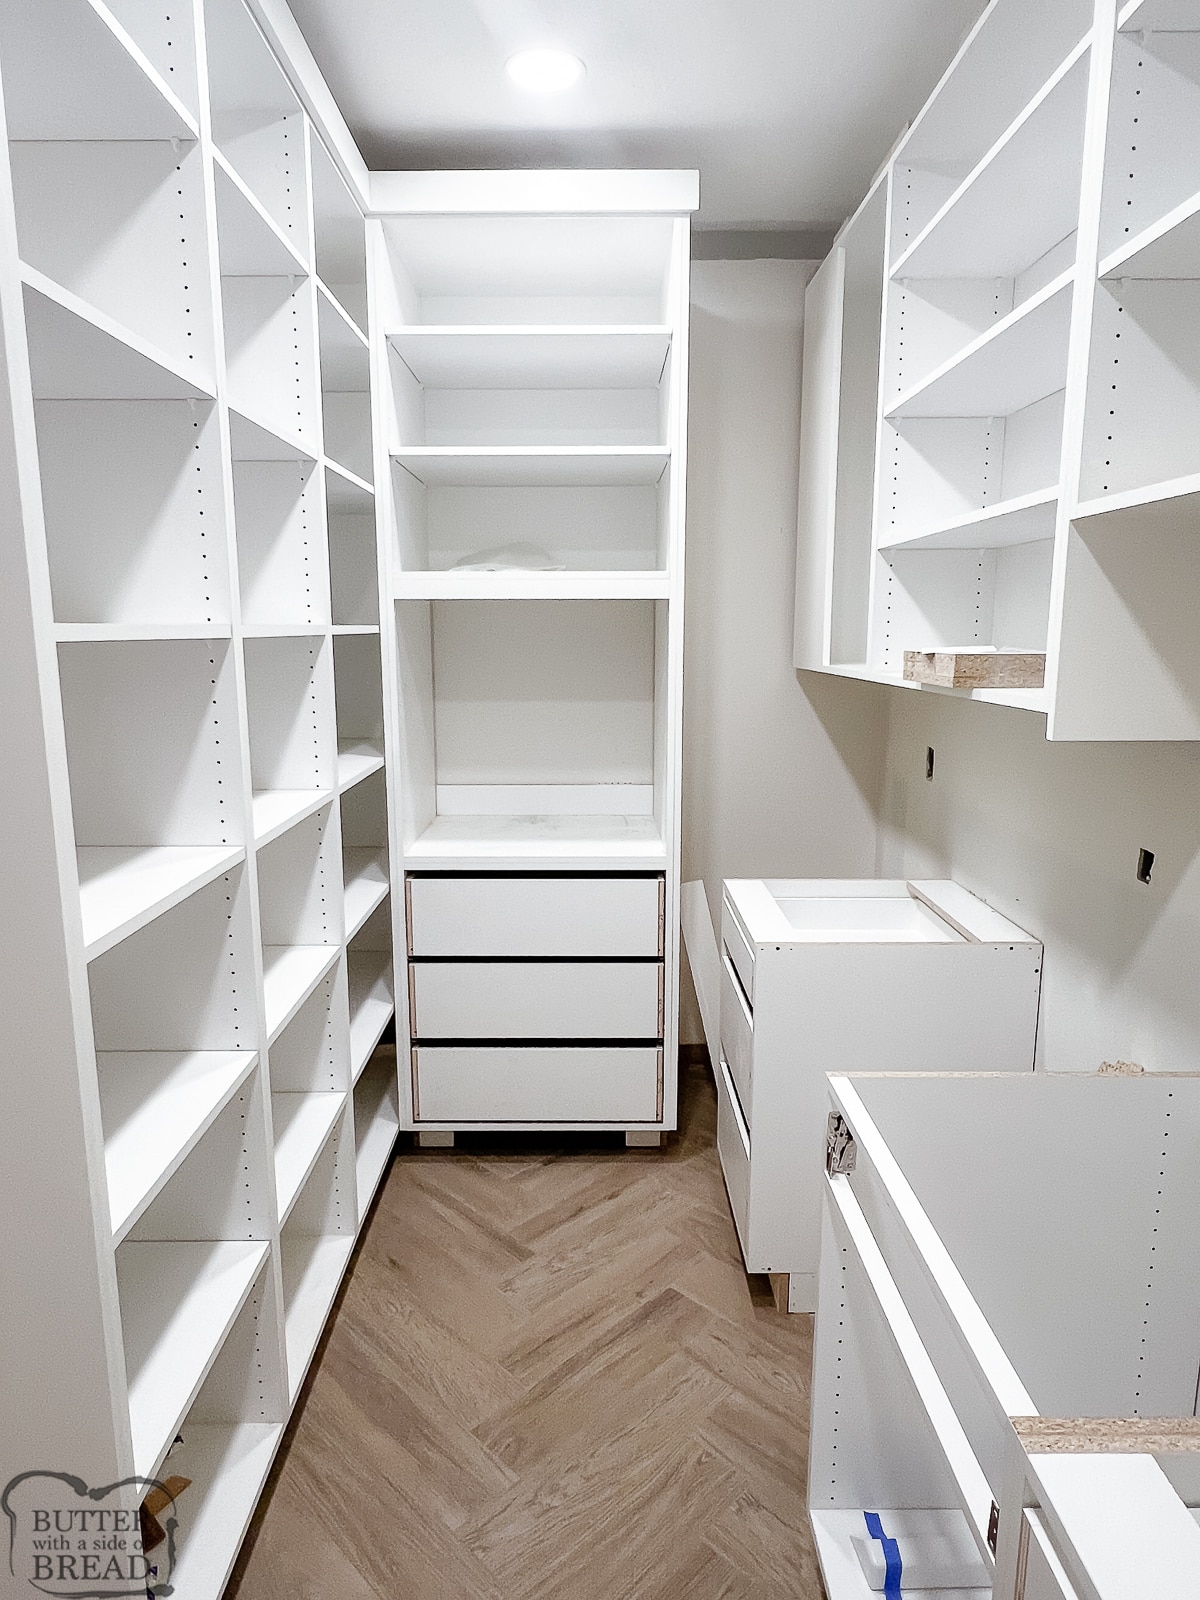
Check out the cabinets and drawers in the pantry! WHAAAT?! Storage galore. I’m already planning what I’m going to put where. This is heaven for me as my former pantry was about 1/10th of this!
Giant Pantry with Open Shelving and Countertops
The square towards the middle is where my 2nd oven will go. Countertops on the right, open shelving to the left. Not pictured is the huge storage closet on the other side of the pantry which will house my mop, brooms, vacuum and all the cleaning supplies. I’ve never actually had a place for my mop and vacuums! They currently reside in my office, which I bet you can imagine just made me so happy.
Family room & Fireplace Before & After
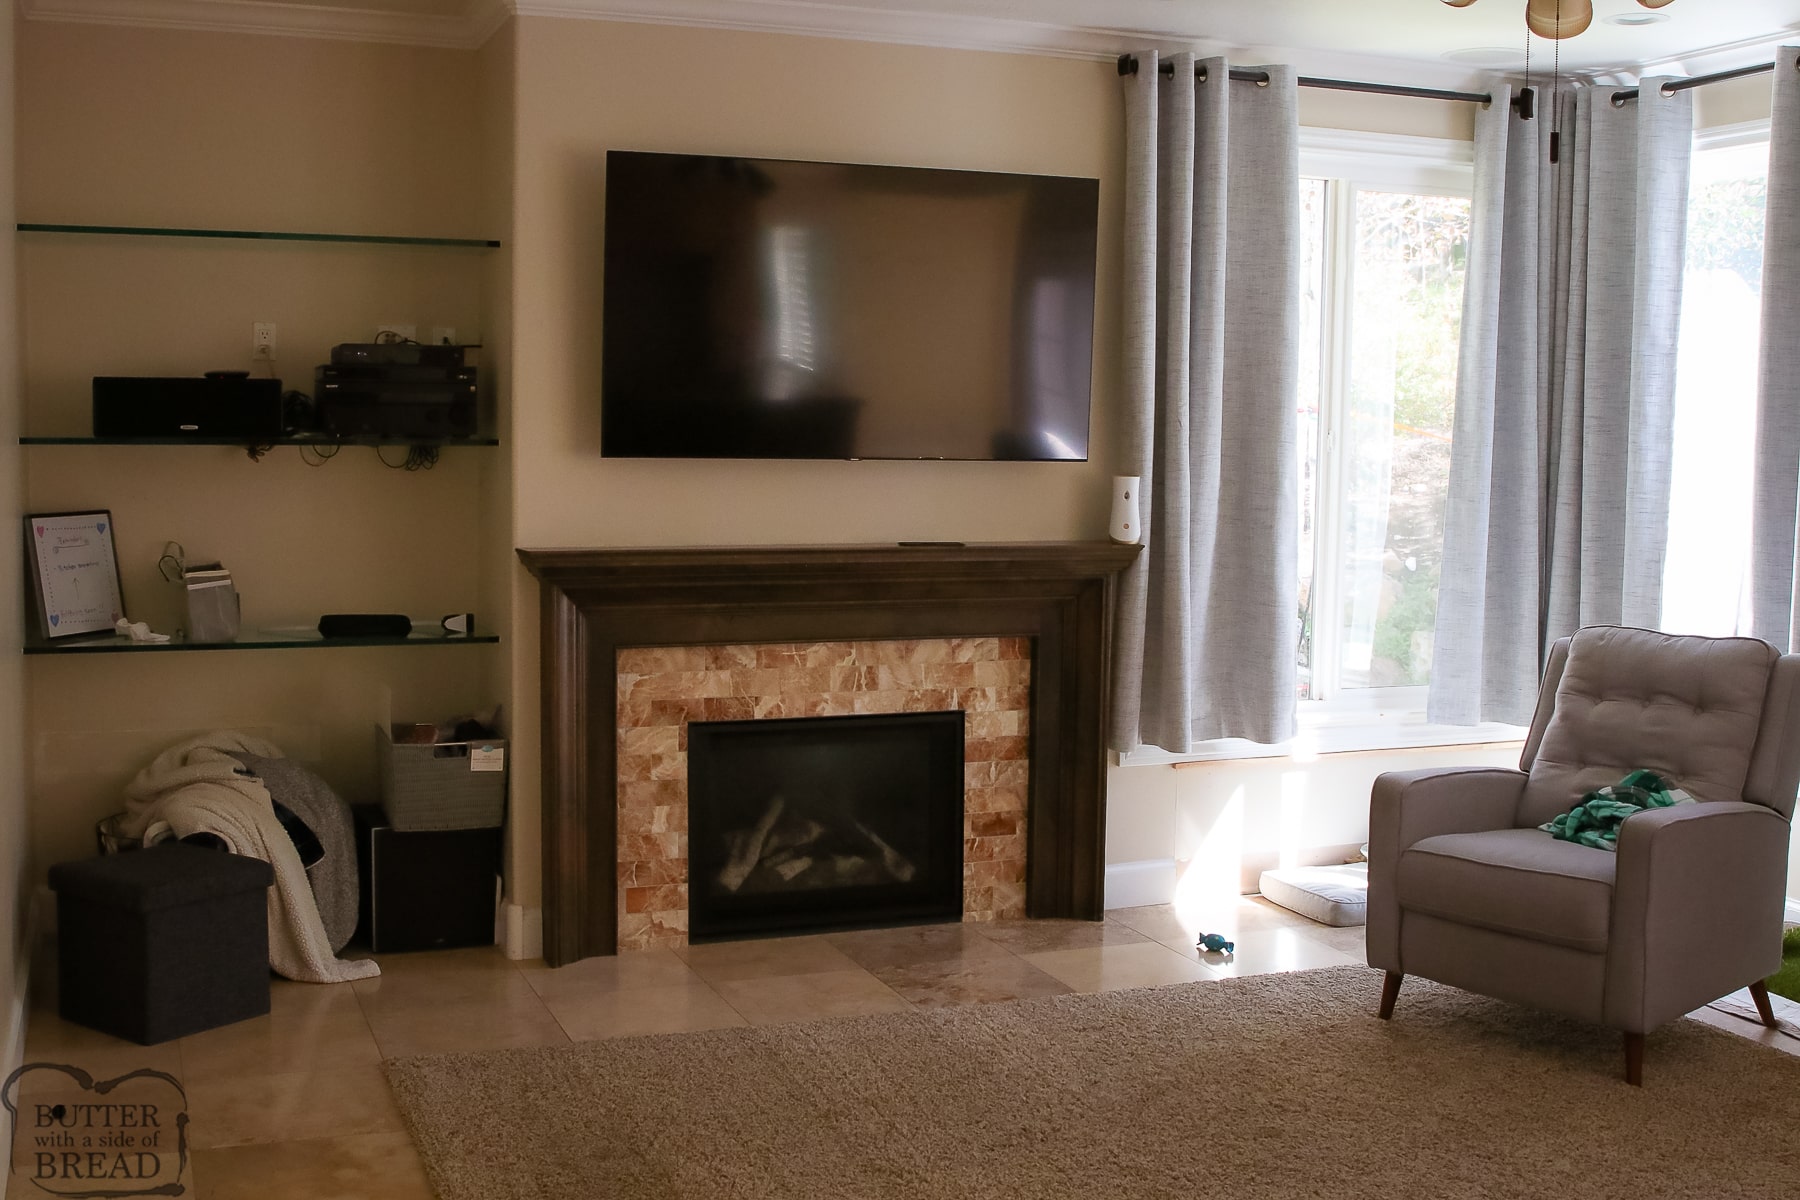
Just before construction on the kitchen began, we tacked on an overhaul of this small space in my family room. Really, it made sense to include it since it’s part of the great room that includes the kitchen. Here’s what it looked like before and what it looks like now. Those open shelves!! I can’t wait to see the space once the cabinet doors are on!
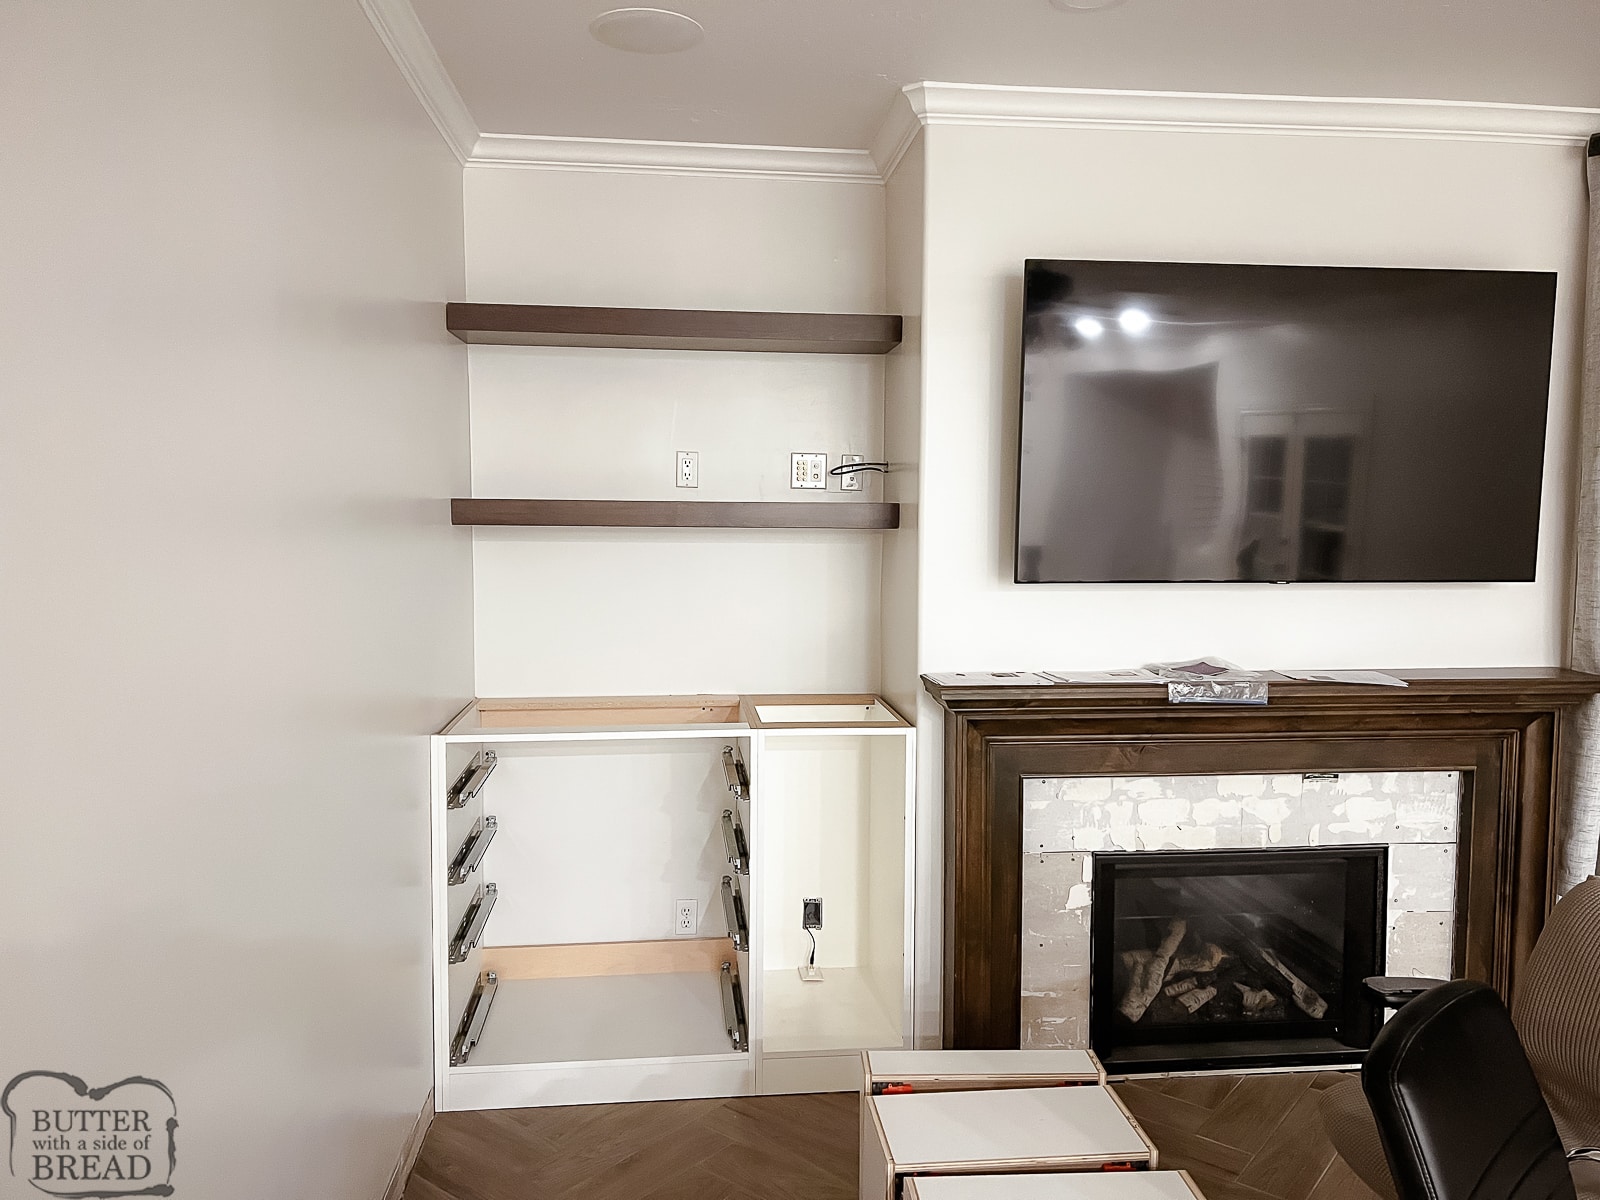
We’re experiencing a few delays, and of course, Thanksgiving is tomorrow. In reality, we likely have another 6-7 weeks left. But it’s coming together so nicely!




Leave a Reply