The Creative Mastermind behind Butter, with a side of Bread, Jessica, has been asking me for a while to do a tutorial on covering a cake with fondant. After having baby #3, I’ve been a little busy… it’s quite the adjustment, I must say. My next door neighbor is getting married and asked me to do her cake. I thought this would be the perfect time to also do a tutorial for you!! If you have any questions at all, please leave a comment and I’ll answer them as soon as I can.
As with most things in life, anything that you want to last needs a good foundation. This is also true for Cake Decorating, especially when fondant is involved. A great looking cake starts with a solid cake. The regular cake mixes at the store make yummy cakes but they don’t hold up well when covered with fondant. They tend to sag under the weight of the fondant.
My favorite cake recipe is what I have called “The Very Vanilla Cake.” I found the recipe on Cake Central and changed it just a little. I get so many complements on it. I can’t help but lick the bowl when I’m all done… yummy!!
THE VERY VANILLA CAKE
INGREDIENTS
- 1 box white cake mix – my favorite is Pillsbury
- 1 cup flour
- 1 cup sugar
- 1 box vanilla pudding – 4 oz – the powder, not the pudding cups.
- 1 cup sour cream
- 1 1/4 cups vanilla coffee creamer
- 1/3 cup oil
- 4 egg whites
- 1 tsp clear vanilla extract (if you use pure vanilla, the cake wont be pure white.)
Sift dry ingredients together. Mix in wet ingredients until combined. Mix on medium speed for 2 minutes.
Bake at 325 degrees until the toothpick comes out clean. The time varies for the size of the cake but it is always at least 30 minutes. Also, don’t open the oven during the first 20 minutes of baking as this leads to uneven baking.
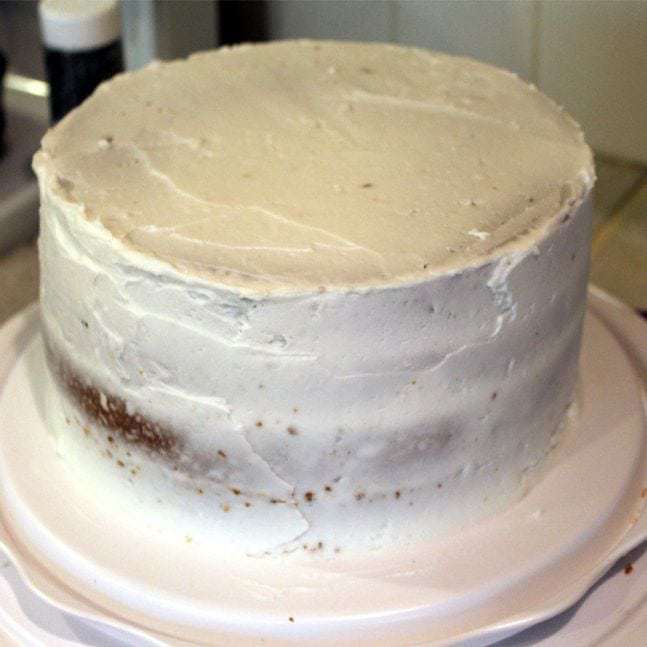
Once you have your cake ready to go, apply a light coating of buttercream, or another frosting. You don’t want this too thick as it will cause the fondant to ripple. Just enough to “glue” the fondant to the cake. This is called a crumb coat but if you watch Cake Boss, they call this “Dirty Icing.” As you can see on the picture below, it doesn’t have to be pretty.
- 16oz Marshmallows (1 bag mini marshmallows)
- 1 cup of All Vegetable Crisco (the ready made blocks)
- 2 lbs of Powdered Sugar
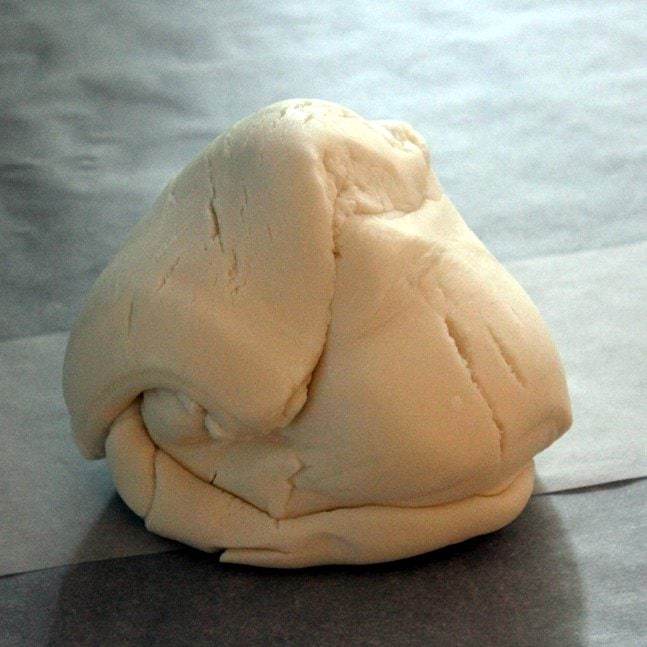
Then it’s time to roll out the fondant. My 6’3″ 230lb hubby loves to show off his muscles doing this part. I like to flatten the fondant a little bit with my hands before I start to roll it out. It is tough to do, I’d love to have one of those machines that do it for you. Maybe someday when I’m rich…
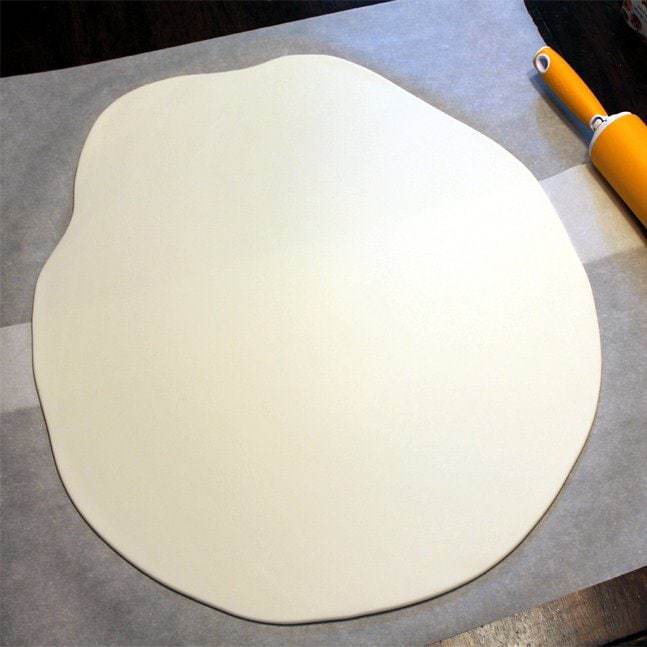
Its best to roll out the fondant till it’s between 1/8th and 1/16th of an inch thick. If its thicker than that, it’s hard to work with and if it’s thinner than that, it will tear easily. You want the fondant to be rolled out big enough so that it covers the cake, with some left overs. Add together the height of your cake (times two) and the diameter of your cake. Make sure the fondant is rolled out bigger than that in all directions.
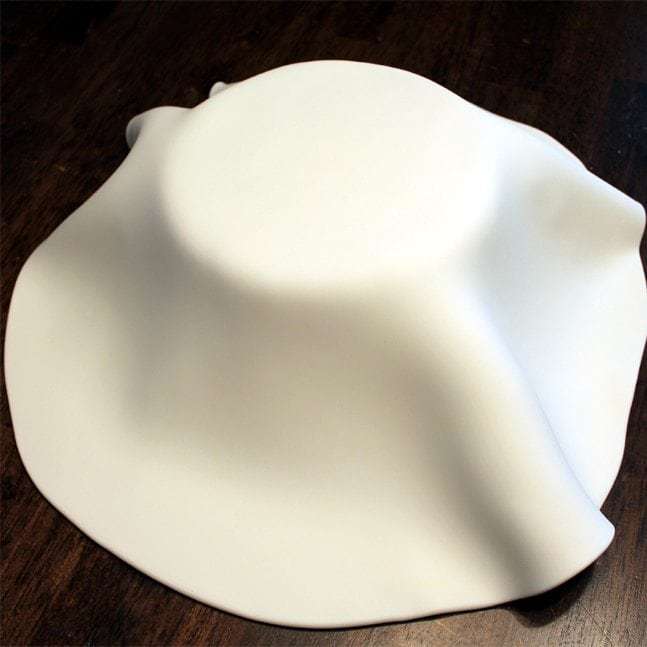
Once the fondant is rolled out, carefully remove it from the parchment paper, or whatever you have rolled it onto. Then place it on top of your cake and let it drape over the sides.
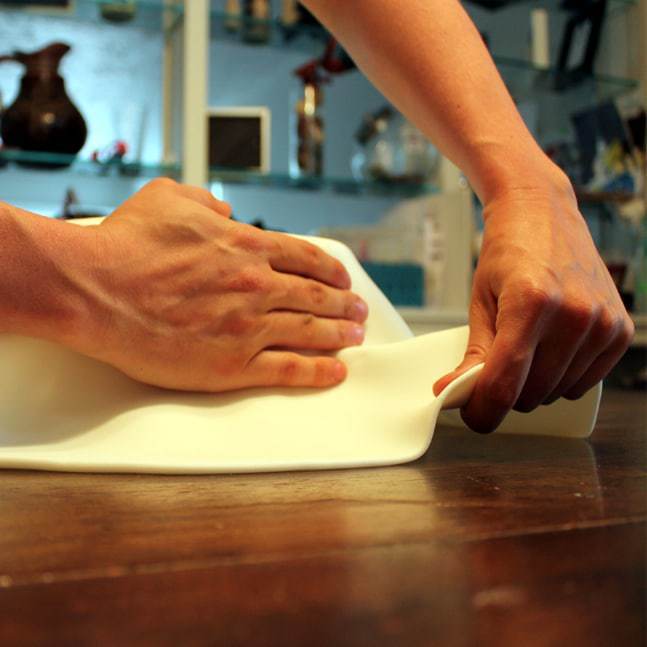
Here comes the tricky part. I have been known to take the fondant off and re-knead it, re-roll it and try again, over and over to get it right. When you are attaching the fondant to the side of the cake, take your non-dominant hand and very gently pull the fondant away from the cake, while taking your dominant hand and rubbing the fondant against the side of the cake. Pulling the fondant helps to get rid of the over lap that occurs on the sides of the cake. Do this all the way around your cake. Don’t be afraid to pull the fondant off a bit and re-attach it. Just be gentle as fondant tears easily.
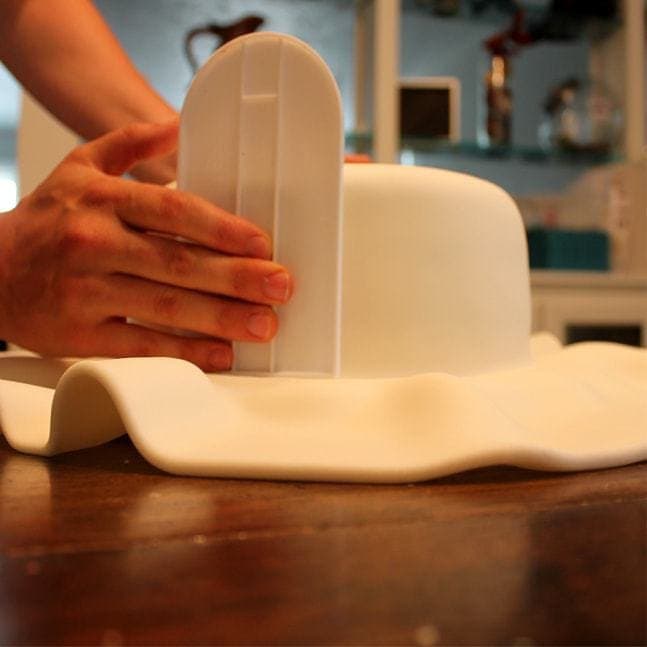
Once you have attached the fondant to the whole cake, take something hard, plastic and smooth and use it to smooth out the fondant on the cake. Wilton sells a paddle specifically for this purpose. This helps to remove any hand prints and bumps that may have formed while you were attaching the fondant to the cake.
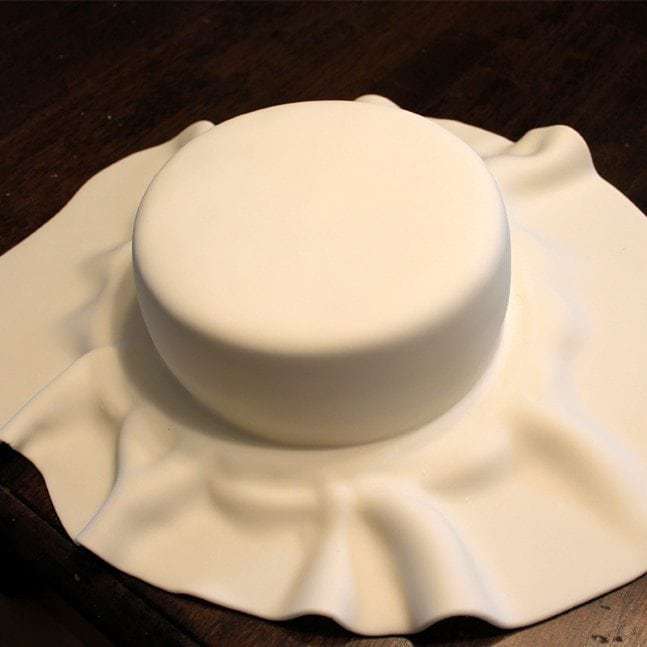
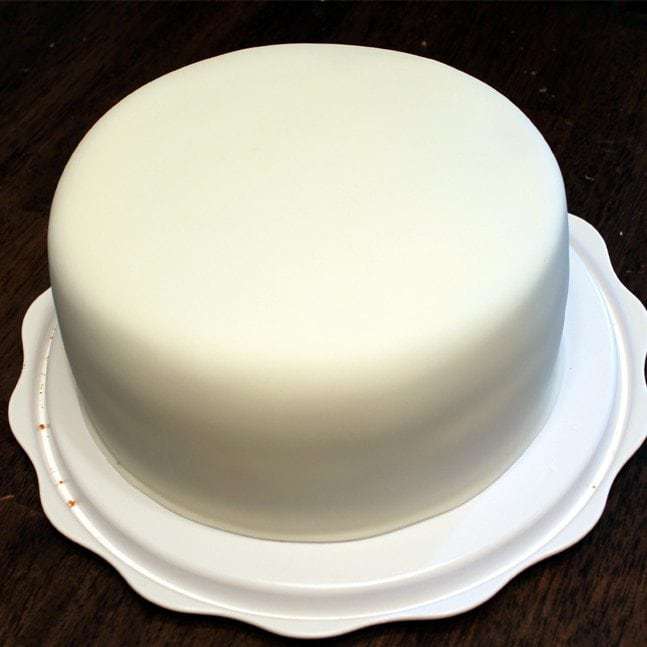
This is what it looks like when the cake is completely covered.
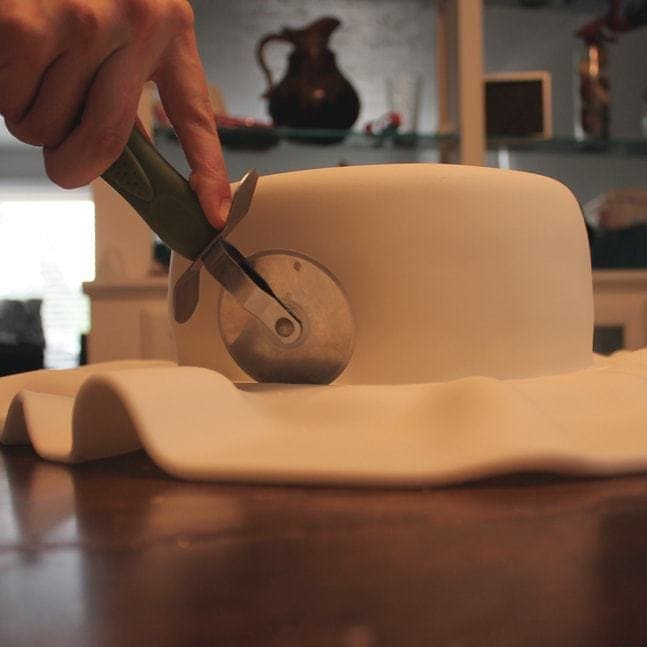
Then I take a pizza cutter and remove the excess fondant from around the edges. I like to leave a small amount, maybe 1/8th inch of fondant around the cake and tuck it under to make the edges smooth.
This is what a covered cake looks like.
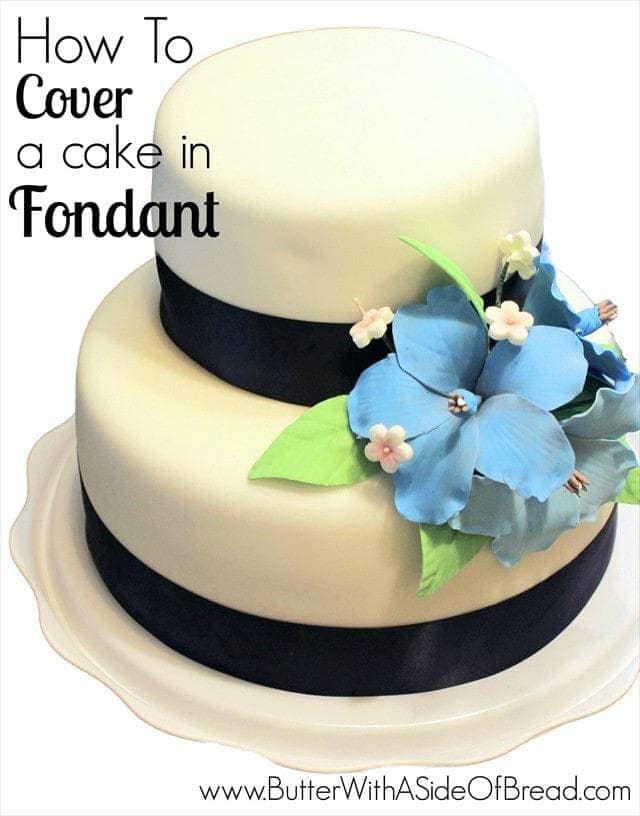
Here comes the super fun part, decorating. For my neighbors wedding, they have asked for navy blue and white. They wanted navy blue satin ribbon on the bottom. I attached the ribbon using two sewing pins.
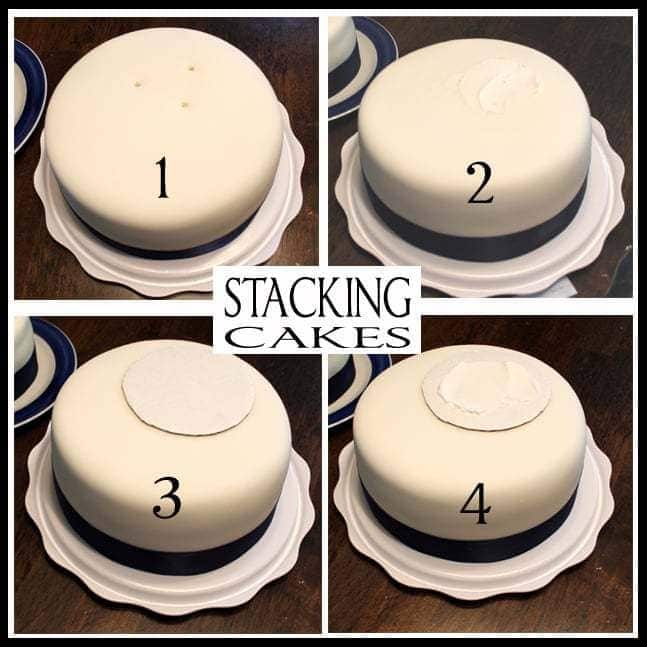
The cake for the wedding is a two-tiered cake and so I thought I’d do a quick tutorial on stacking cakes. This only works for two layered cakes, sitting one on top of the other.
Step 1 (picture 1) – Put dowels in the bottom cake that are slightly shorter than the height of the cake. The number of dowels depends on the size of the cake that is sitting on top. My calculation for this is take the diameter of the top cake and divide it by two. That is how many dowels you need. The top layer on this cake is 6 inches so 6 / 2 = 3. I have placed 3 dowels in the bottom cake where the top cake will sit.
Step 2 – Put a little bit of frosting over the dowels and on the cake, just enough to “glue” the cardboard down. This is only for a two tiered cake. For a three tier or more, you’ll need a dowel going straight through the middle of all three + tiers of the cake for stability.
Step 3 – Place a piece of cardboard ( I use cake boards) on the frosting. This needs to be slightly smaller than the top layer of cake. This is used as a stand on the dowels to prevent the top layer from crushing the bottom layer.
Step 4 – Put a little bit of frosting on top of the cardboard / cake board to help “glue” the top layer to the bottom layer.
As previously mentioned, this only works for two layer cakes.
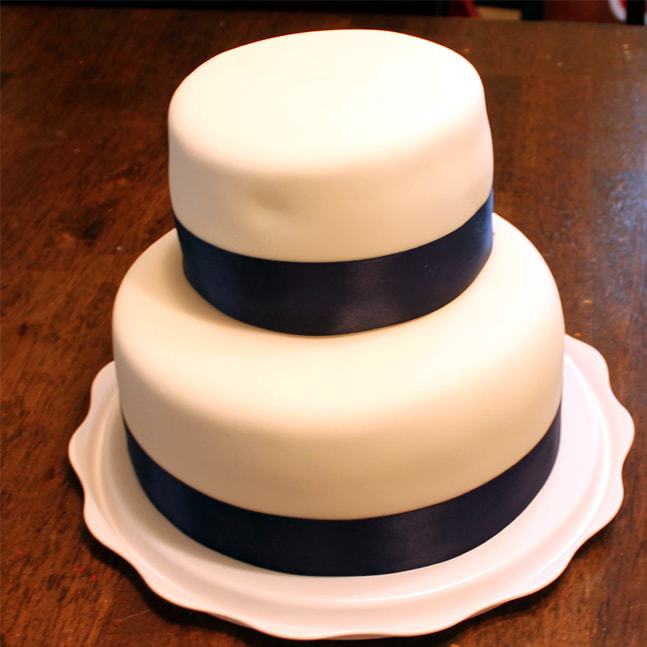
Then place the top layer on top of the bottom layer and VOILA!! Here you have a two tiered cake.
Decorate the cake with what you would like and present at your next event!! Watch the compliments roll in!
Let me know if you have any questions…






Tamara Philip says
Thankyou for this recipe. it is amazing!!! your site is fantastic.
Tori Justice says
How many layers does this recipe make? I didn't see it listed above.
The_Book_Queen says
I've never made or used fondant . . . Question: I've seen a few "easy fondant recipes" that do not call for Crisco. How does Crisco change the recipe?
Connie Faircloth says
Looking for sugar free fondant recipe
randi says
Is this dry coffee creamer or liquid coffee creamer for the cake mix ?
Jessica says
It’s the liquid coffee creamer. 🙂 Great question! Sorry it wasn’t clear!
Good says
Thank you ,I will try to do it.
I have never tried cake , These cake looks awesome!
Lisa says
Hi just wondering how many/how much cake this recipe makes? Seems like the BEST recipe. Looking forward to trying it!
Sweet Girl says
Can the cake recipe be used for cupcakes?
Jessica says
It can!
Yadira Bennett-Clark says
What size cake pans did you use for this and what are the baking times for each?
Nicole E says
I used this recipe for my best friends birthday cake with a swiss chocolate cake mix and instead of vanilla coffee creamer I used coffee ,instead of using vanilla extract I used a package of double chocolate hot coco and I switched the pudding mix to chocolate. It came out amazing!!! It was so moist and delicious this is now my go to cake recipe! Thank you so much , everyone loved it
Nellie says
Great ideas for substitutes! So glad it turned out for you!