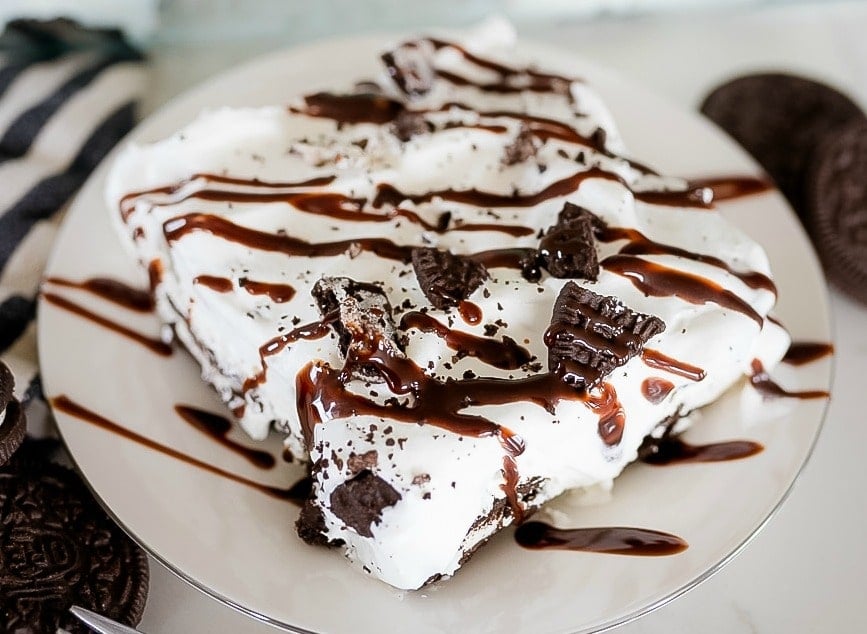
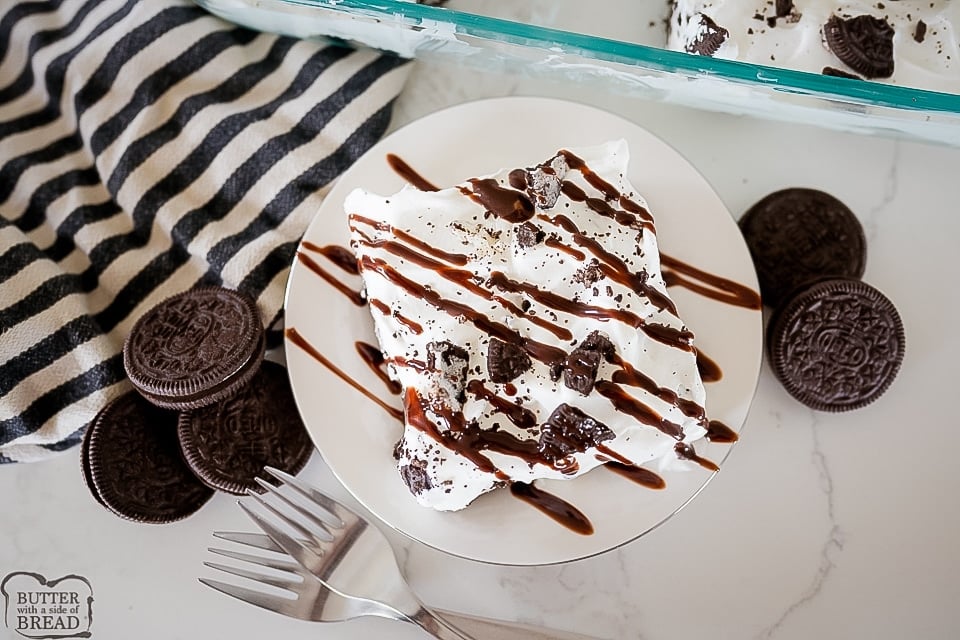
No Bake Oreo Cake is a rich & creamy layered dessert made with frozen whipped topping, cream cheese and Oreos. This is the perfect summer dessert for cookies & cream lovers!
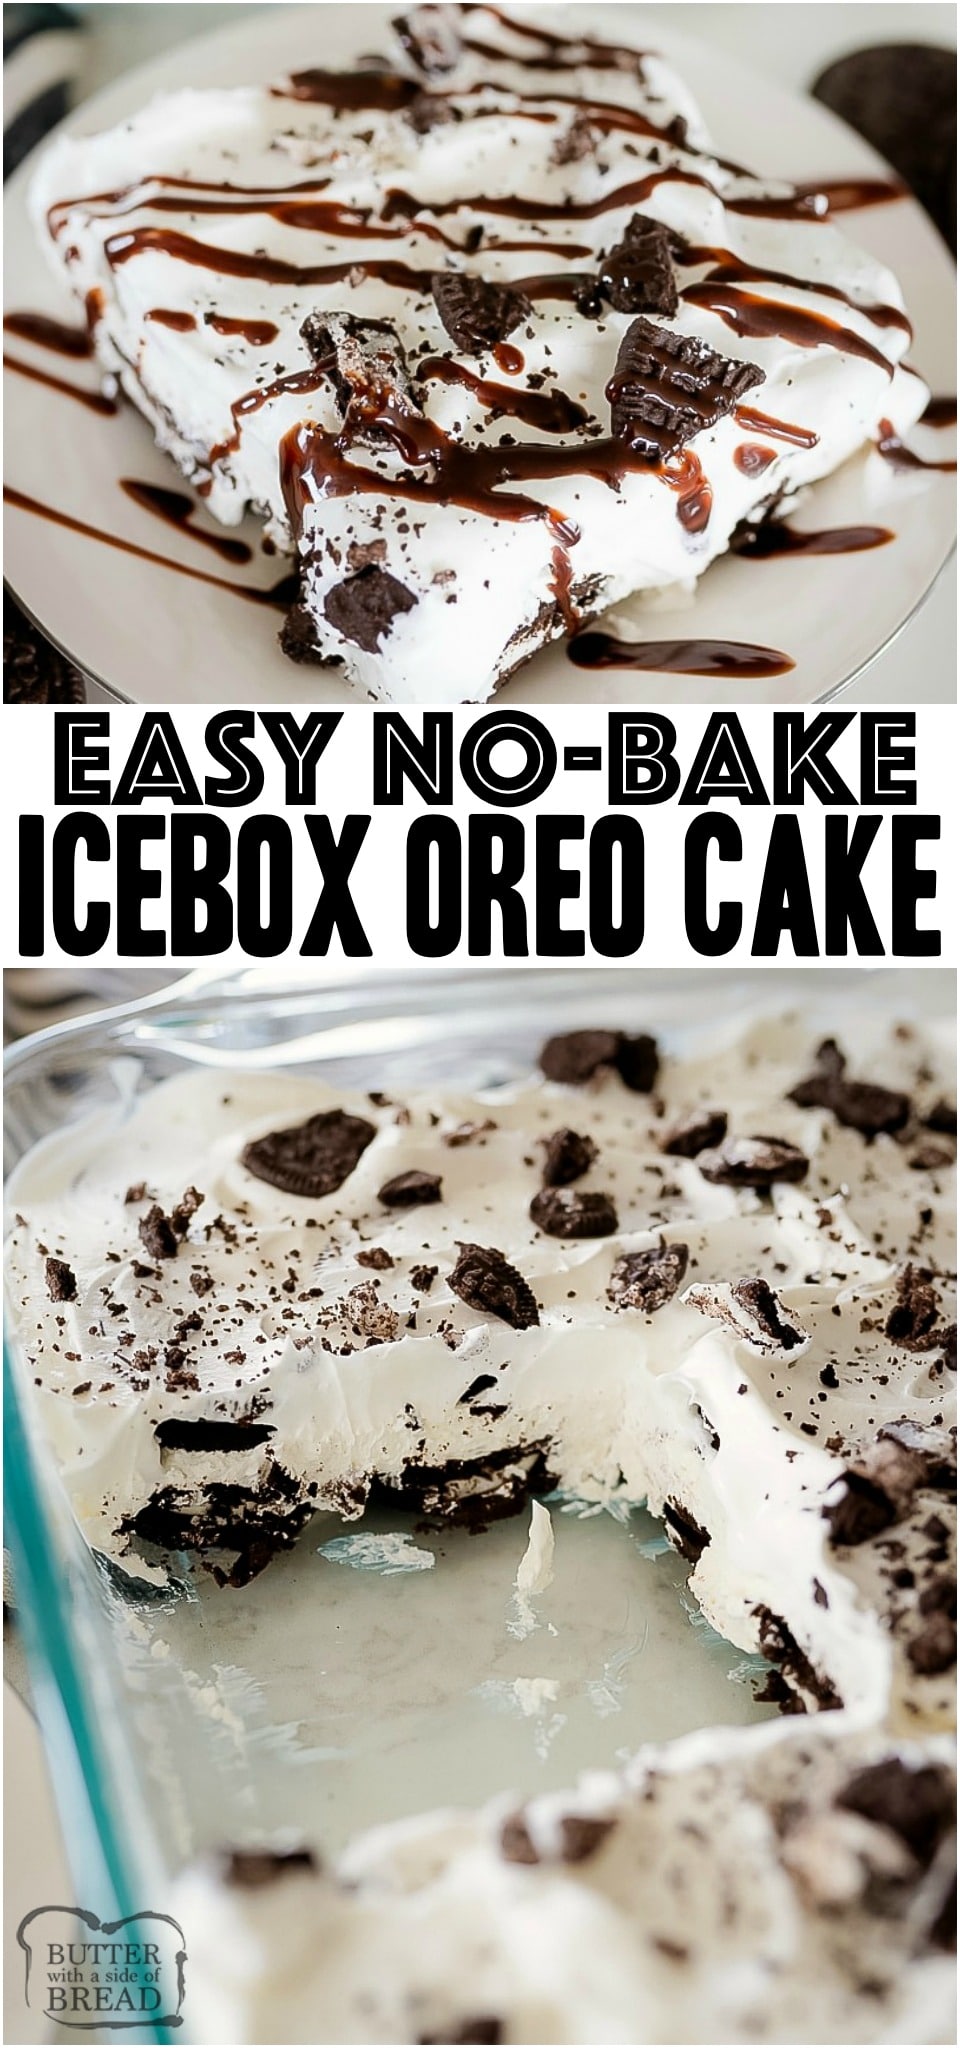
 Ice Box Cake Recipe
Ice box cakes are a super popular dessert during the warmer months of the year. Ice box cakes are a chilled, no bake dessert which makes it a great choice during Summer. Ice Box Cakes can be made in a variety of flavors and colors. Cookies and cream just happens to be my favorite, though.
There is very little prep that goes into this dessert, it can be made in minutes and it is a perfect dessert to make ahead. The cookies and cream flavor is rich, making this the perfect dessert for Oreo Lovers.
Serve this Oreo Ice Box Cake at your next potluck, family get together, or neighborhood shindig. This is a guaranteed home run of a dessert.
 Ingredients for Oreo Ice Box Cake
You’ll only need 3 ingredients for this ice box cake.. really, that is it! Plus, it serves a lot of people!!
- Oreo Cookies: This is the bread and butter of the recipe. We will use a whopping 80 Oreos to make a double layer of Oreos in this ice box cake.
- Cream Cheese: This needs to be room temperature. The cream cheese isn’t very noticeable in the recipe but it gives the inside layer a richness that is unmatched!
- Frozen Whipped Topping: We will use 16 oz of whipped topping. The inside creamy layer is a combination of cream cheese and whipped topping, then the top of the cake is 100% whipped topping.
- Chocolate Sauce for serving (100% optional): optional but I totally recommend it. One can never have too much chocolate!!
How to Layer your Ice Box Cake
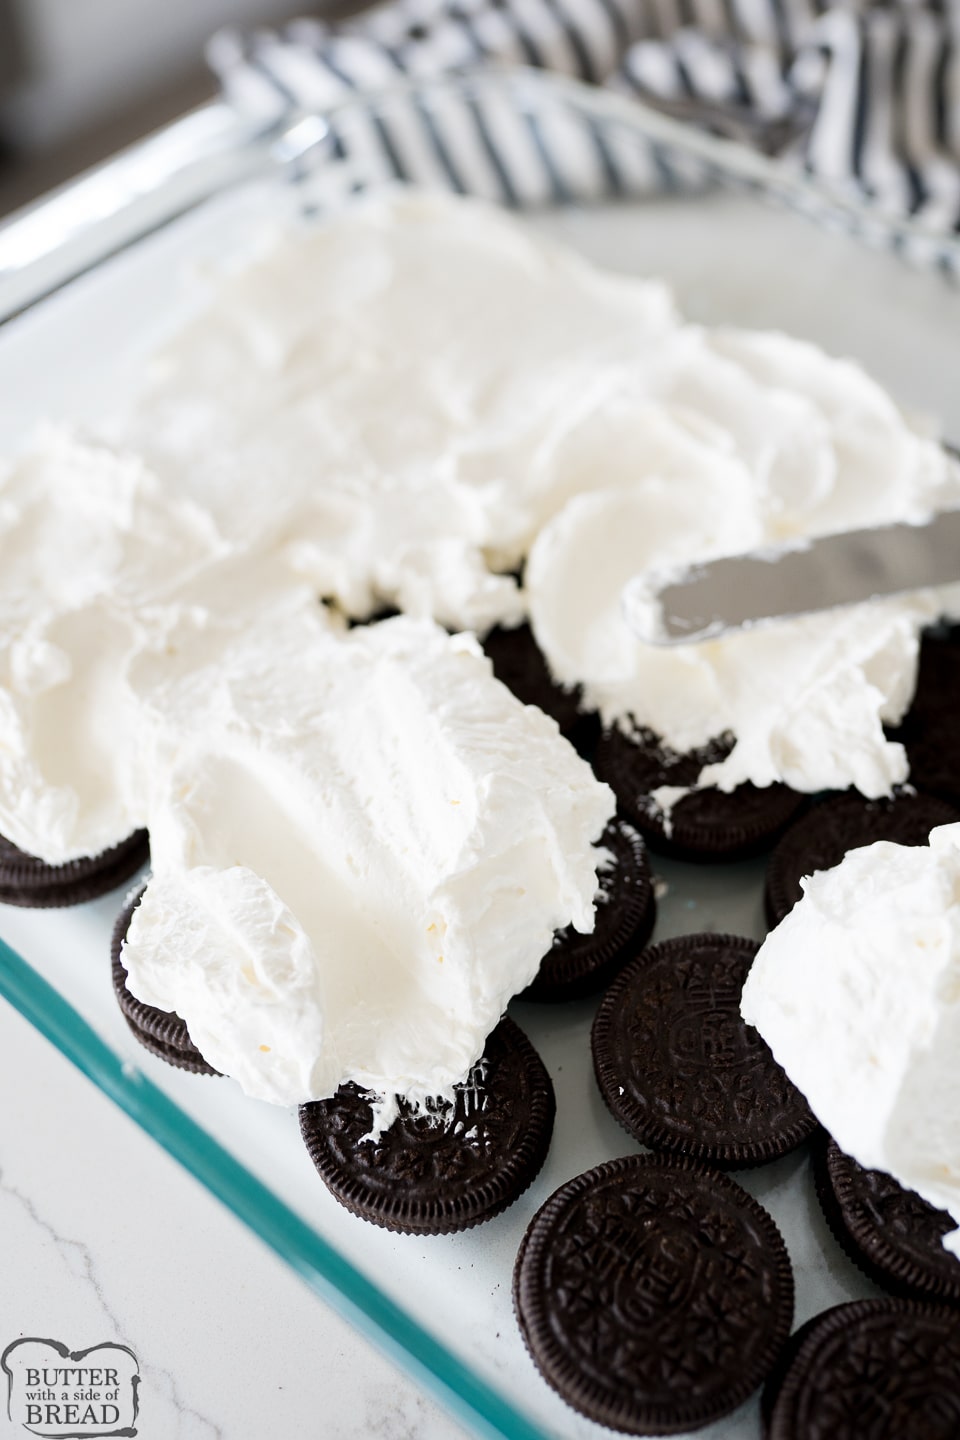
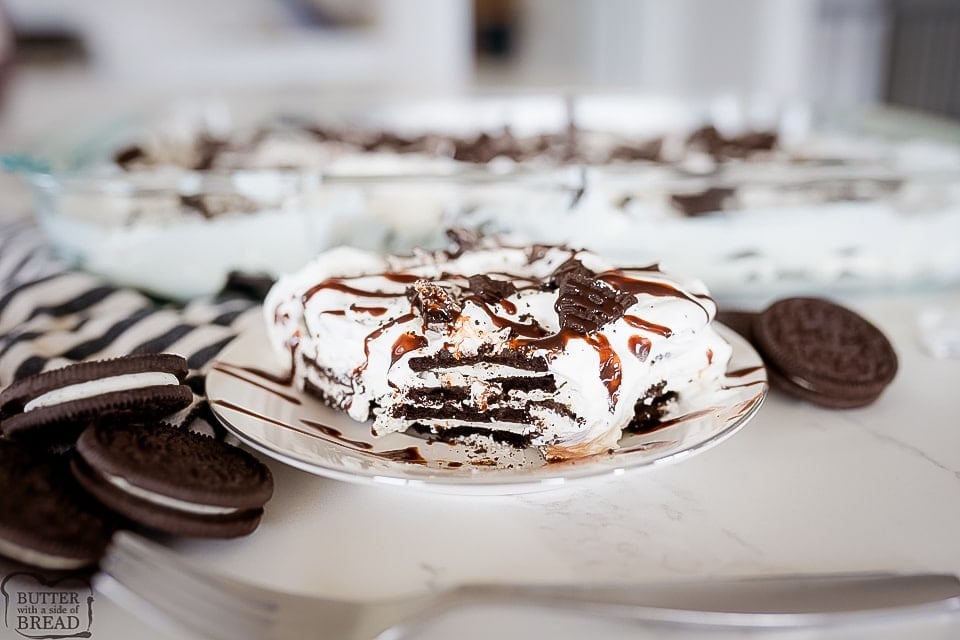
To make this ice box cake, you’ll need a 9×13 pan. First, layer the bottom of the pan with Oreos. This will take 40 Oreos. Next, gently spread the cream cheese and whipped topping layer on top of the Oreos. It is easier if you spoon it out all over the tops of the oreos before spreading. You may need to hold some oreos in place while you spread to make things a bit easier.
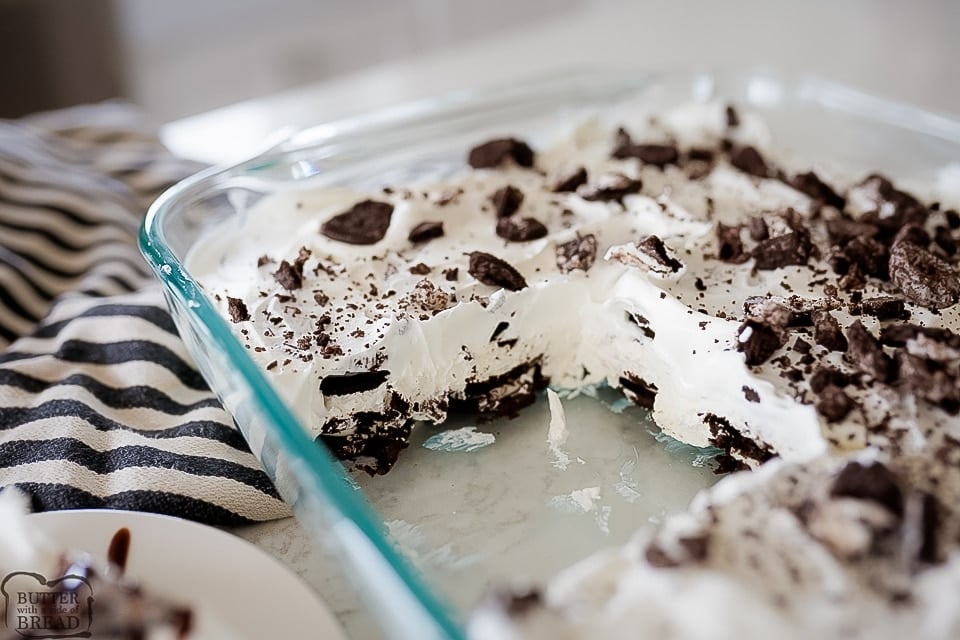
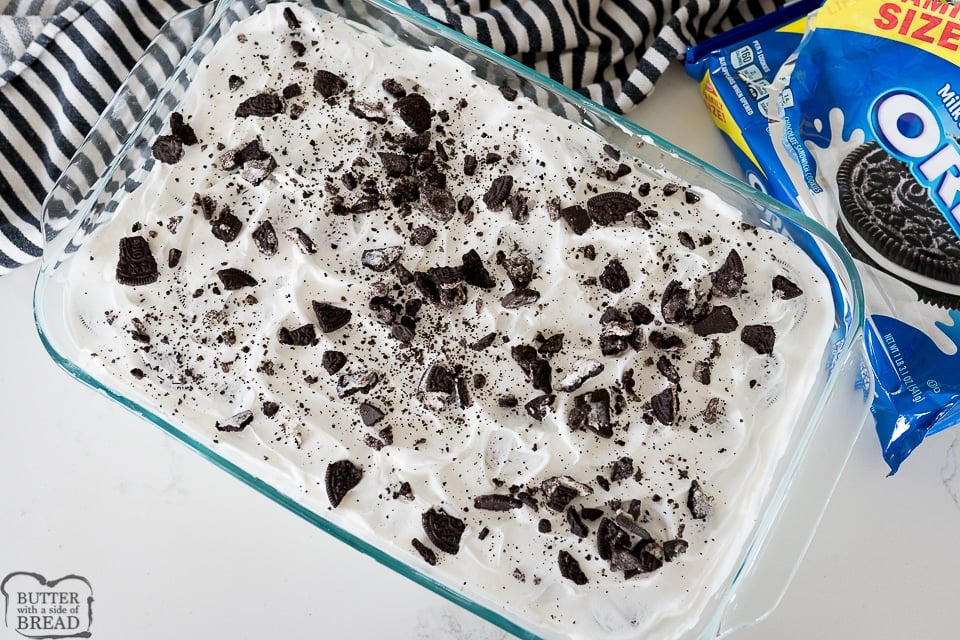
Next, press another layer of oreos on top of the cream cheese layer. Finally, spread the remaining whipped topping onto the top of the oreos and garnish with crushed oreos, if desired.
For best results, let the cake sit, covered, in the fridge overnight before serving. The Oreos will soften and become melt in your mouth delicious! You can serve right away if needed, but it is better day 2.
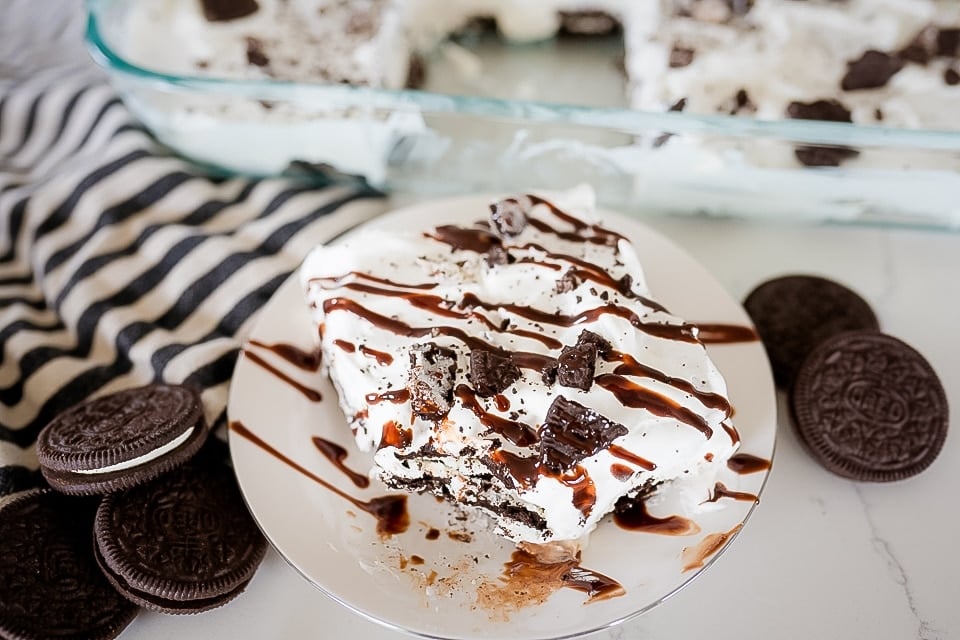
Cut into squares when serving and drizzle with chocolate sauce. When I serve this, I usually cut around each Oreo, making this serve 40! It is really rich and perfect for kids. 🙂
How to store an Ice Box Cake
Store in the fridge unless serving. This can be frozen if you don’t think you’ll be able to eat it all within about 4 days. To freeze, cut into serving slices and then freeze individually. Allow the frozen ice box cake to sit on the counter for 15 minutes before eating.

No Bake Oreo Ice Box Cake
Ingredients
- 2 family pkg oreo cookies (about 85 cookies)
- 8 oz cream cheese room temperature
- 16 oz whipped topping divided
- 1/4 cup chocolate sundae topping
Instructions
- Mix together the cream cheese and 8 oz of the whipped topping until combined and smooth. This can be done with a stand mixer or electric hand mixer. Set aside.
- Cover the bottom of a 9x13 pan with oreos (this should take 40 oreos). Drizzle with half the chocolate syrup topping.
- Spoon the cream cheese mixture over the oreos and then spread to cover.
- Press a second layer of Oreos onto the cream cheese layer.
- Top the oreos with the remaining frozen whipped topping.
- Garnish the top with any leftover cookies (crush them up). Drizzle with remaining chocolate syrup.
- Refrigerate until serving. For best results, refrigerate over night. (Cookies will need to soften, so plan to make this recipe a day ahead!)
Notes
- 8 ounces of cream cheese (softened to room temperature)
- 1/3 cup powdered sugar
- 1 tsp vanilla
- 1 cup heavy whipping cream.
- Beat the whipping cream just until stiff peaks form.
- Add in the cream cheese, powdered sugar and vanilla. Whip on high until mixture is smooth.
- Store in the refrigerator until ready to use, up to 3 days.
Nutrition
📫 Save this recipe! Send it to your email! 📩
I consent to receiving emails from this site.
CAN YOU REPLACE THE COOL WHIP?
Cool Whip is the best “whipped topping” to use in this recipe. However, if you can’t find Cool Whip where you live or you prefer not to use it in recipes, you can use stabilized whipped cream instead. If you just use regular whipped cream, the consistency will be too light and the cream will not hold up very well. It’s very simple to make your own stabilized whipped cream and it just takes a few minutes!
See Homemade Whipped Cream recipes here.
NOTE: If you opt to use this homemade stabilized whipped cream in place of the Cool Whip, just use the entire 8 oz block of cream cheese, as is called for in the recipe! Then just use the stabilized cream to layer in the dessert.
HOW DO YOU MAKE STABILIZED WHIPPED CREAM?
To make stabilized whipped cream, you will need the following ingredients:
- 4 ounces of cream cheese (softened to room temperature) + the remaining 4 oz cream cheese for the Oreo dessert recipe- use the whole 8 oz block!
- 1/3 cup powdered sugar
- 1 tsp vanilla
- 1 cup heavy whipping cream.
- Beat the whipping cream just until soft peaks form.
- Add in the cream cheese, powdered sugar and vanilla. Whip on high until mixture is smooth.
- Store in the refrigerator until ready to use, up to 3 days.
A little tip for making whipped cream faster: use a metal bowl and place the bowl in the freezer for about 30 minutes before you make the whipped cream. This will significantly decrease the amount of time that you will need to beat the whipped cream – the process will go much faster!
More No-Bake Desserts:
- NO BAKE MINI LEMON CHEESECAKES
- NO BAKE S’MORES BARS
- EASY NO BAKE CHEESECAKE
- NO-BAKE LEMON CHEESECAKE
- NO-BAKE PEACHES & CREAM BARS
- NO-BAKE PEACHES N’CREAM PIE
- REESE’S KRISPIE NO BAKE COOKIES
 No Bake Oreo Cake is a rich & creamy layered dessert made with frozen whipped topping, cream cheese and Oreos. This is the perfect summer dessert for cookies & cream lovers!


Leave a Reply