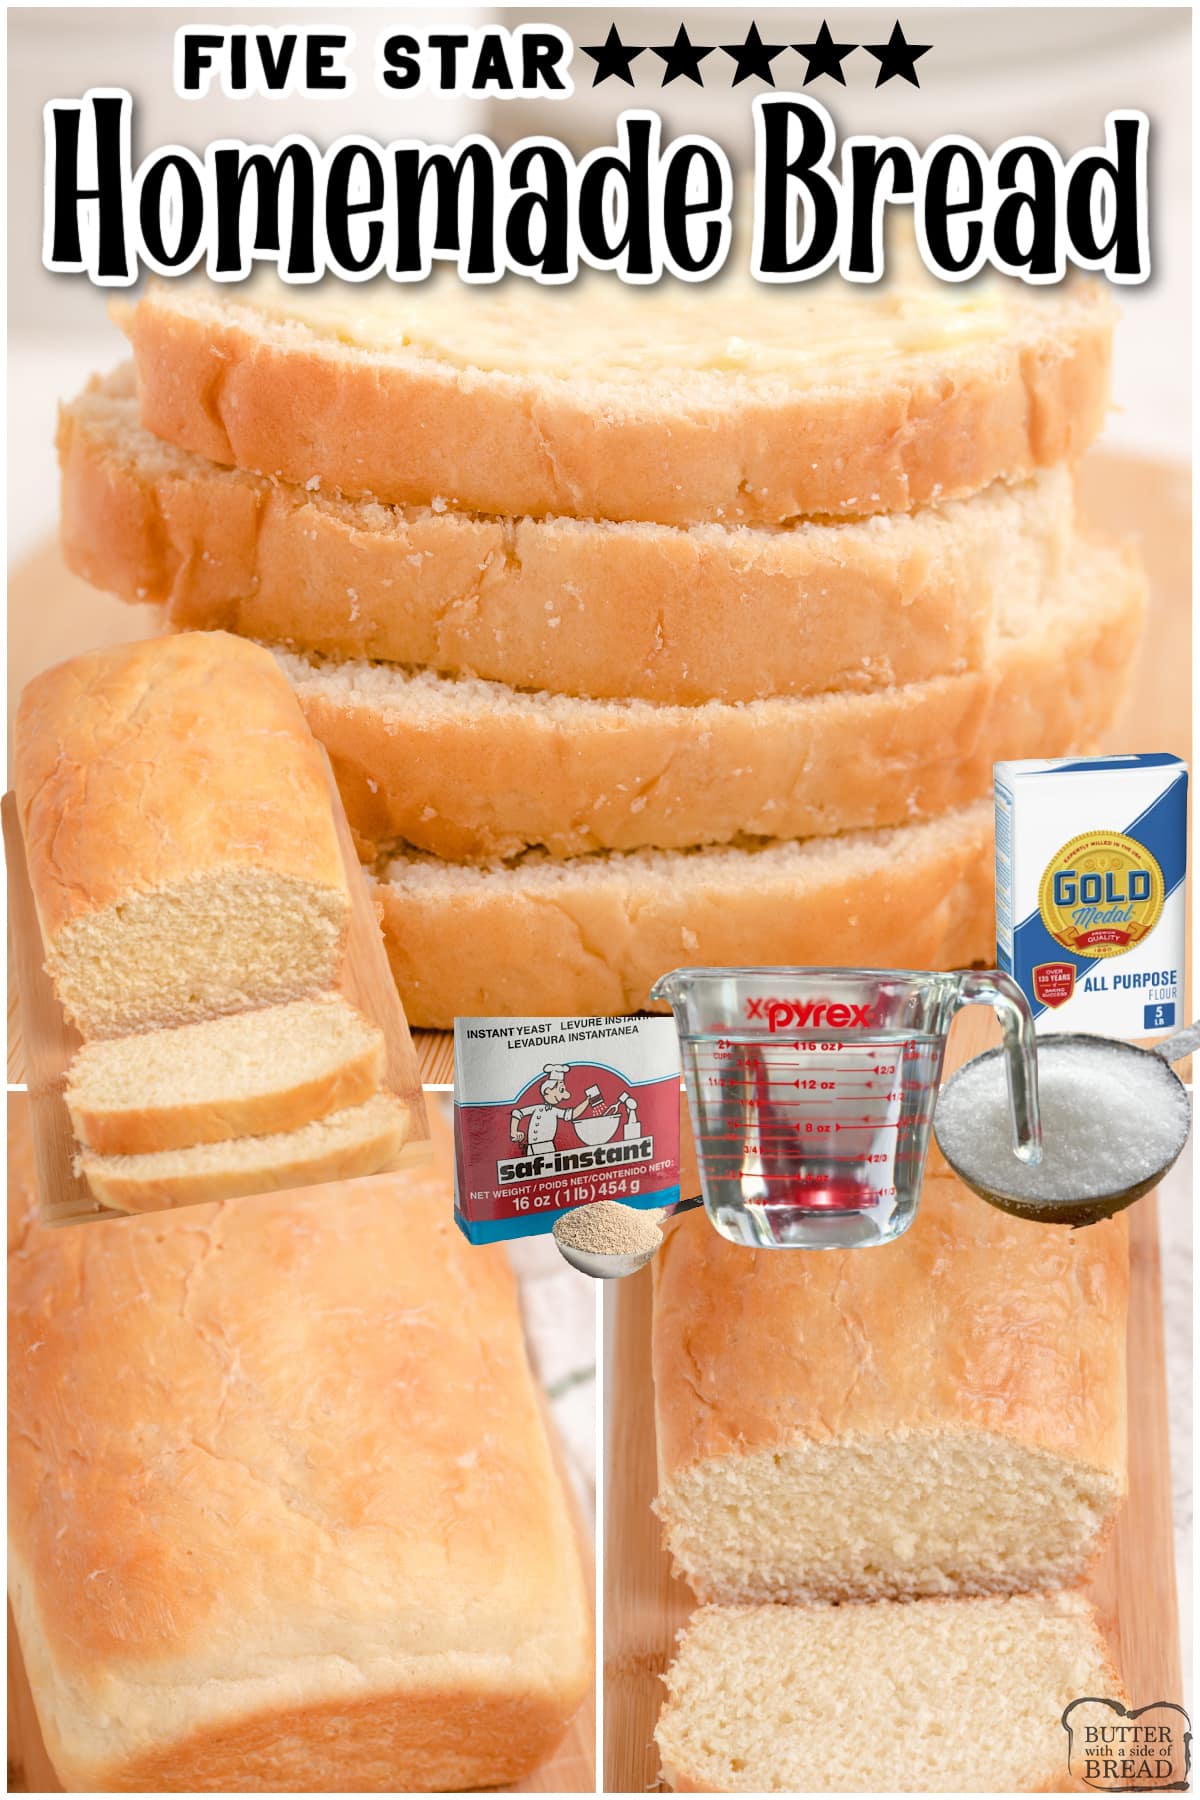
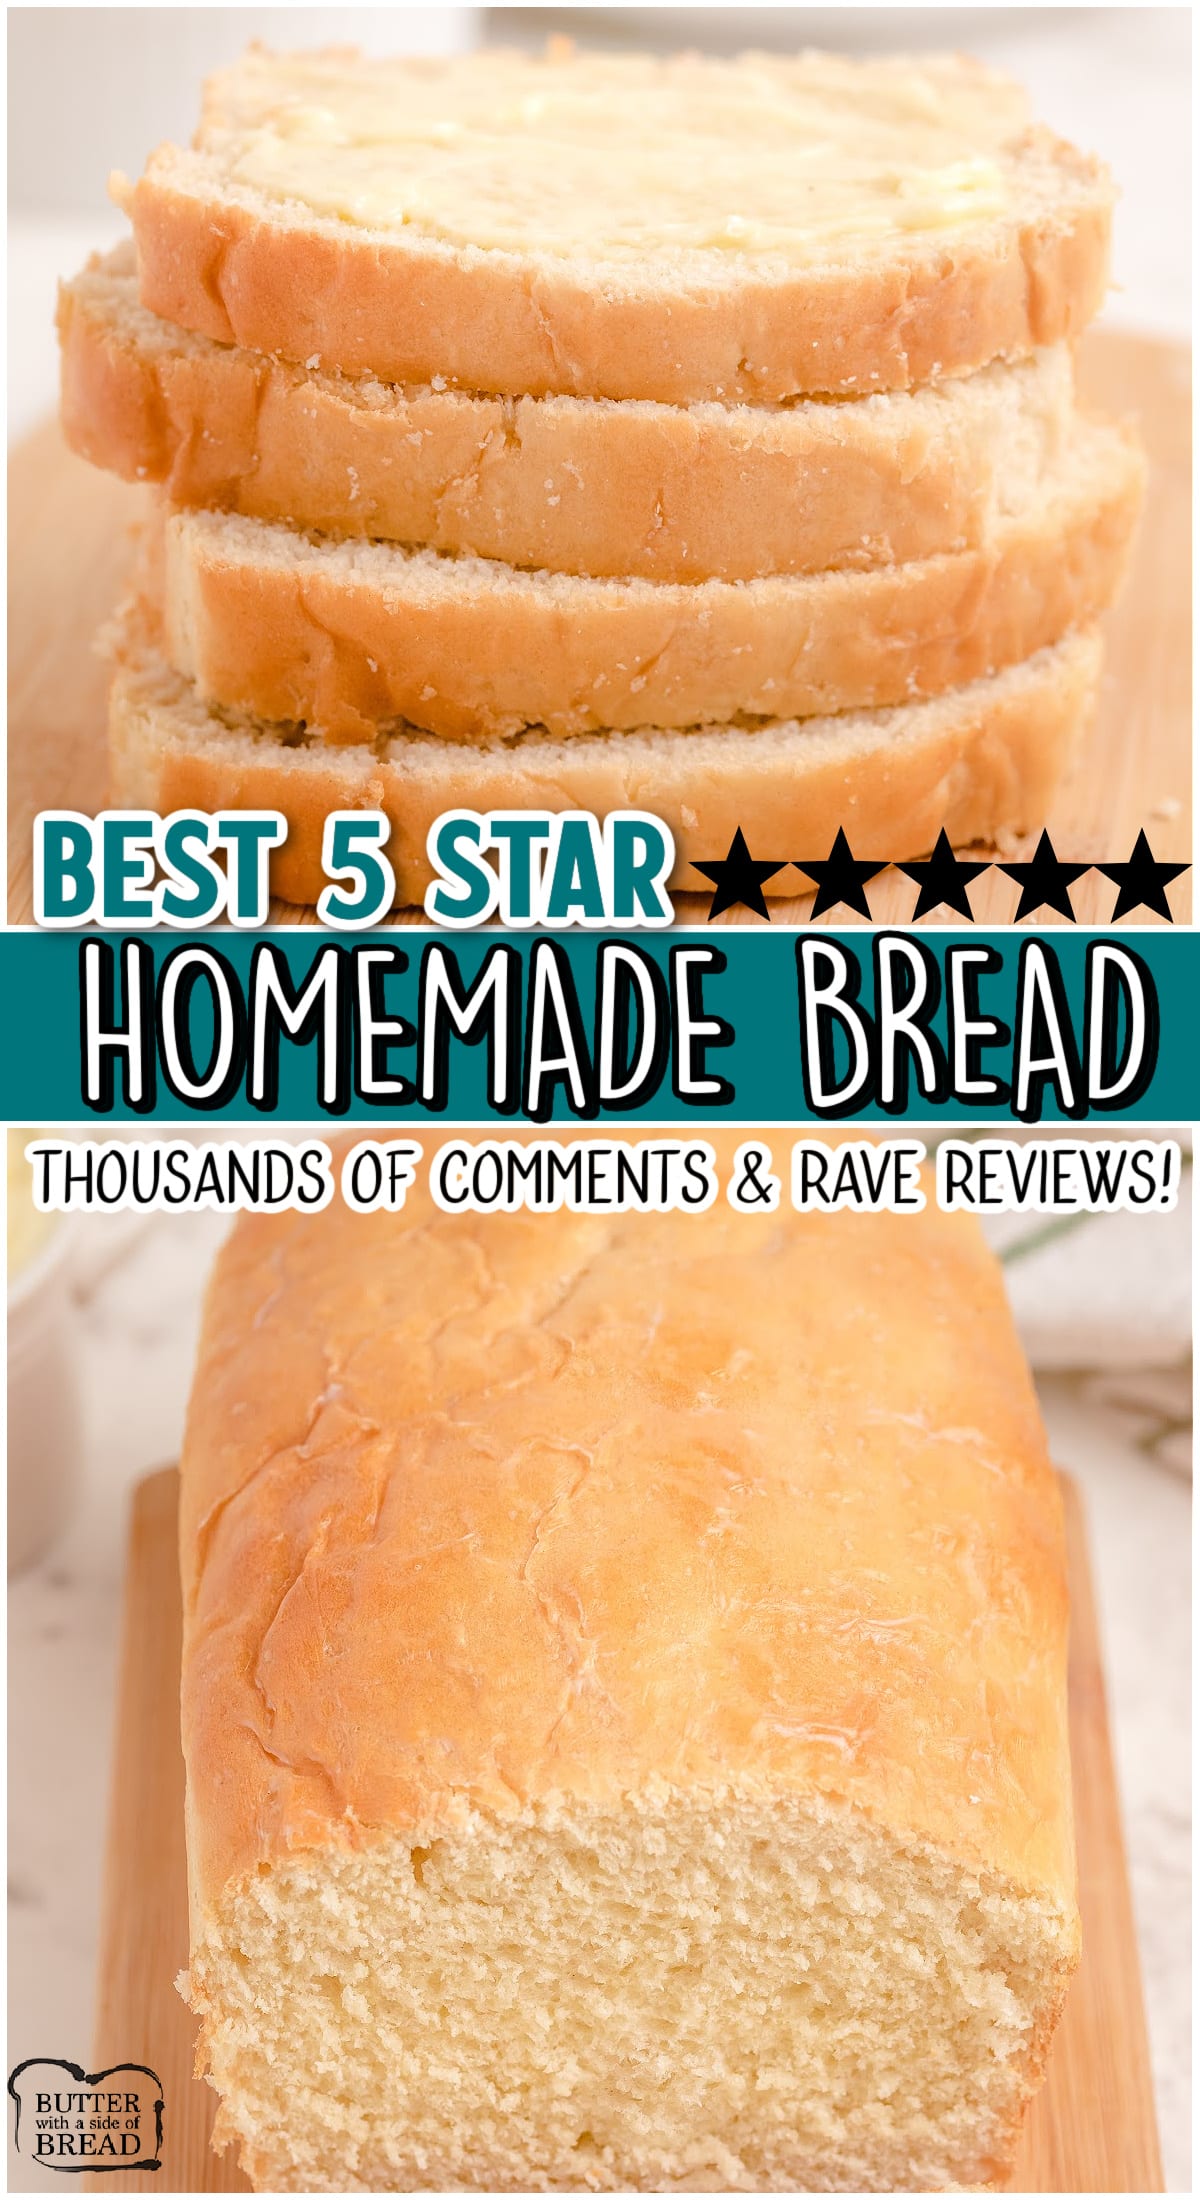
Easy 5 Star Homemade Bread recipe made with simple ingredients & detailed instructions showing how to make basic bread! Thousands of comments & reviewers agree this is the BEST homemade loaf for both beginners and expert bakers.
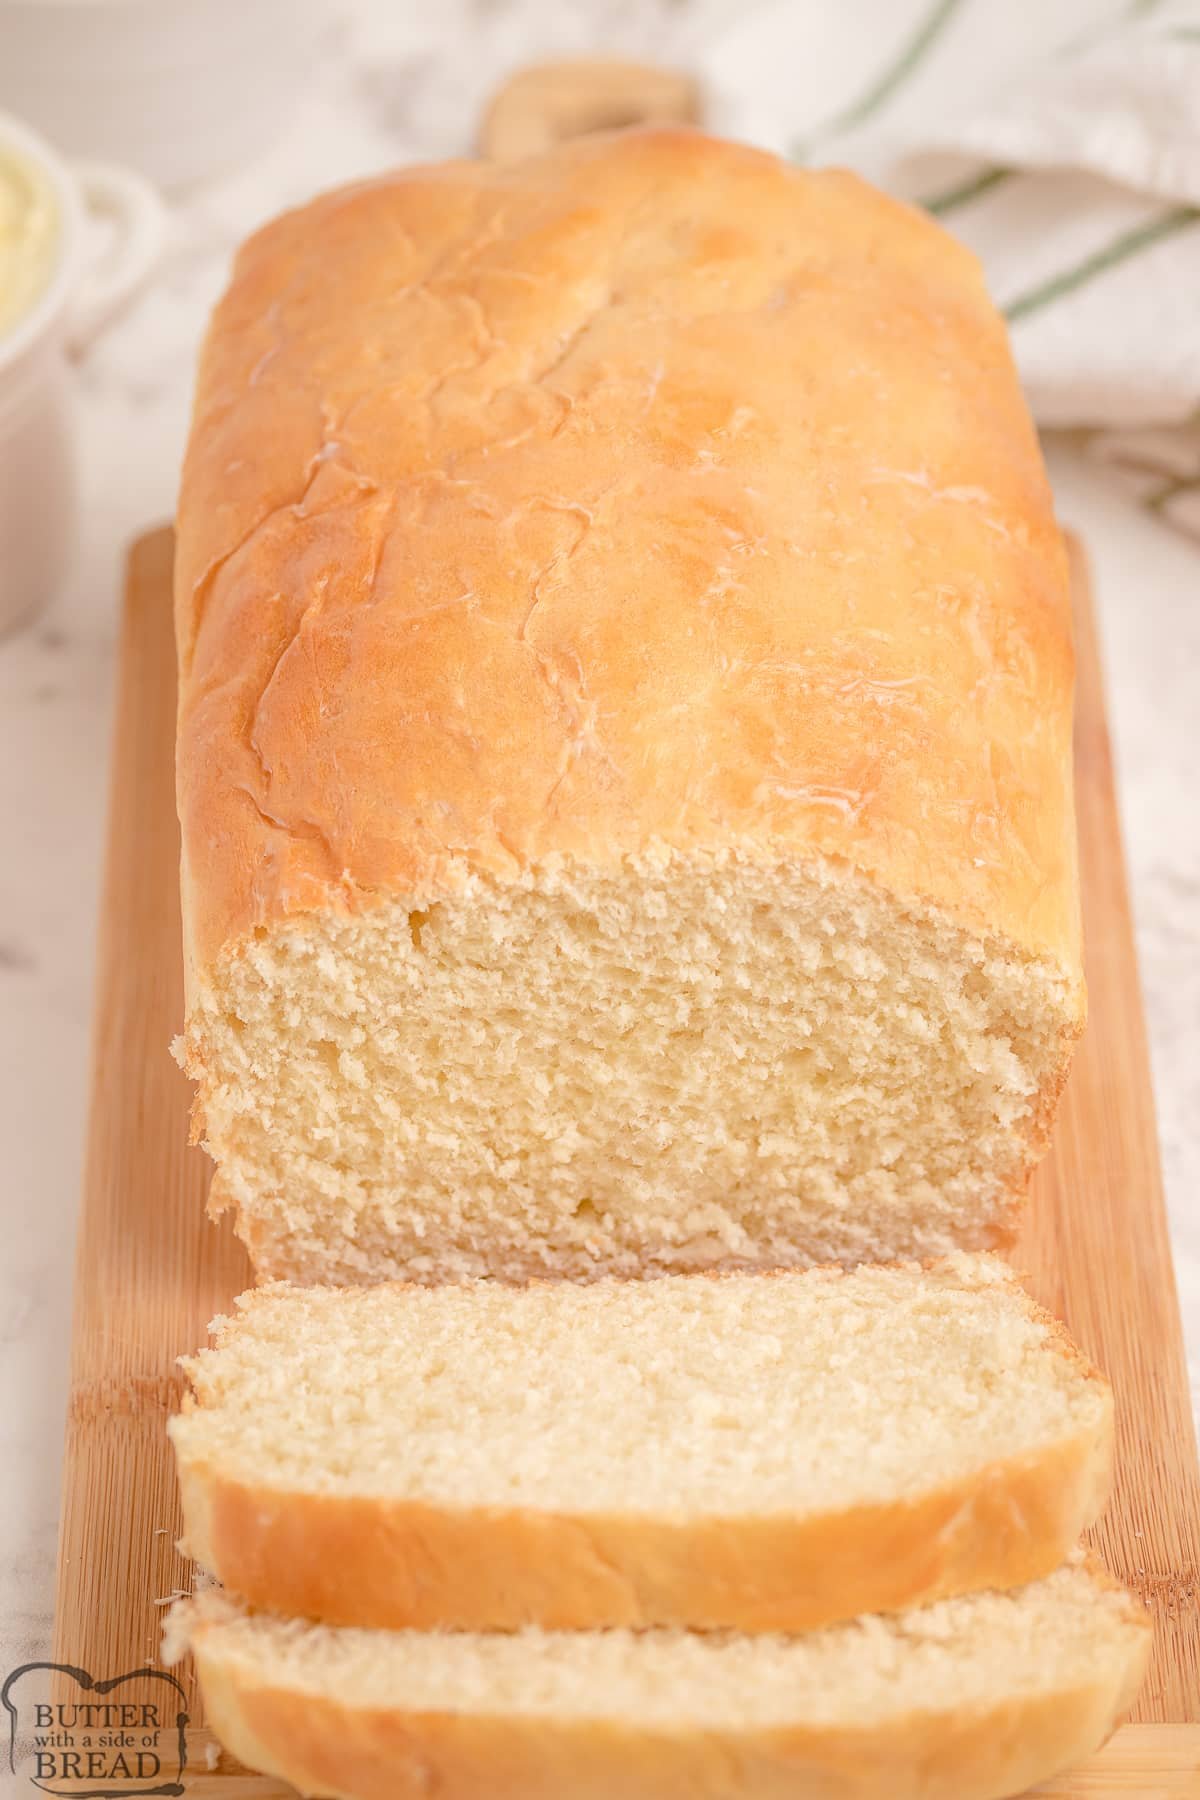
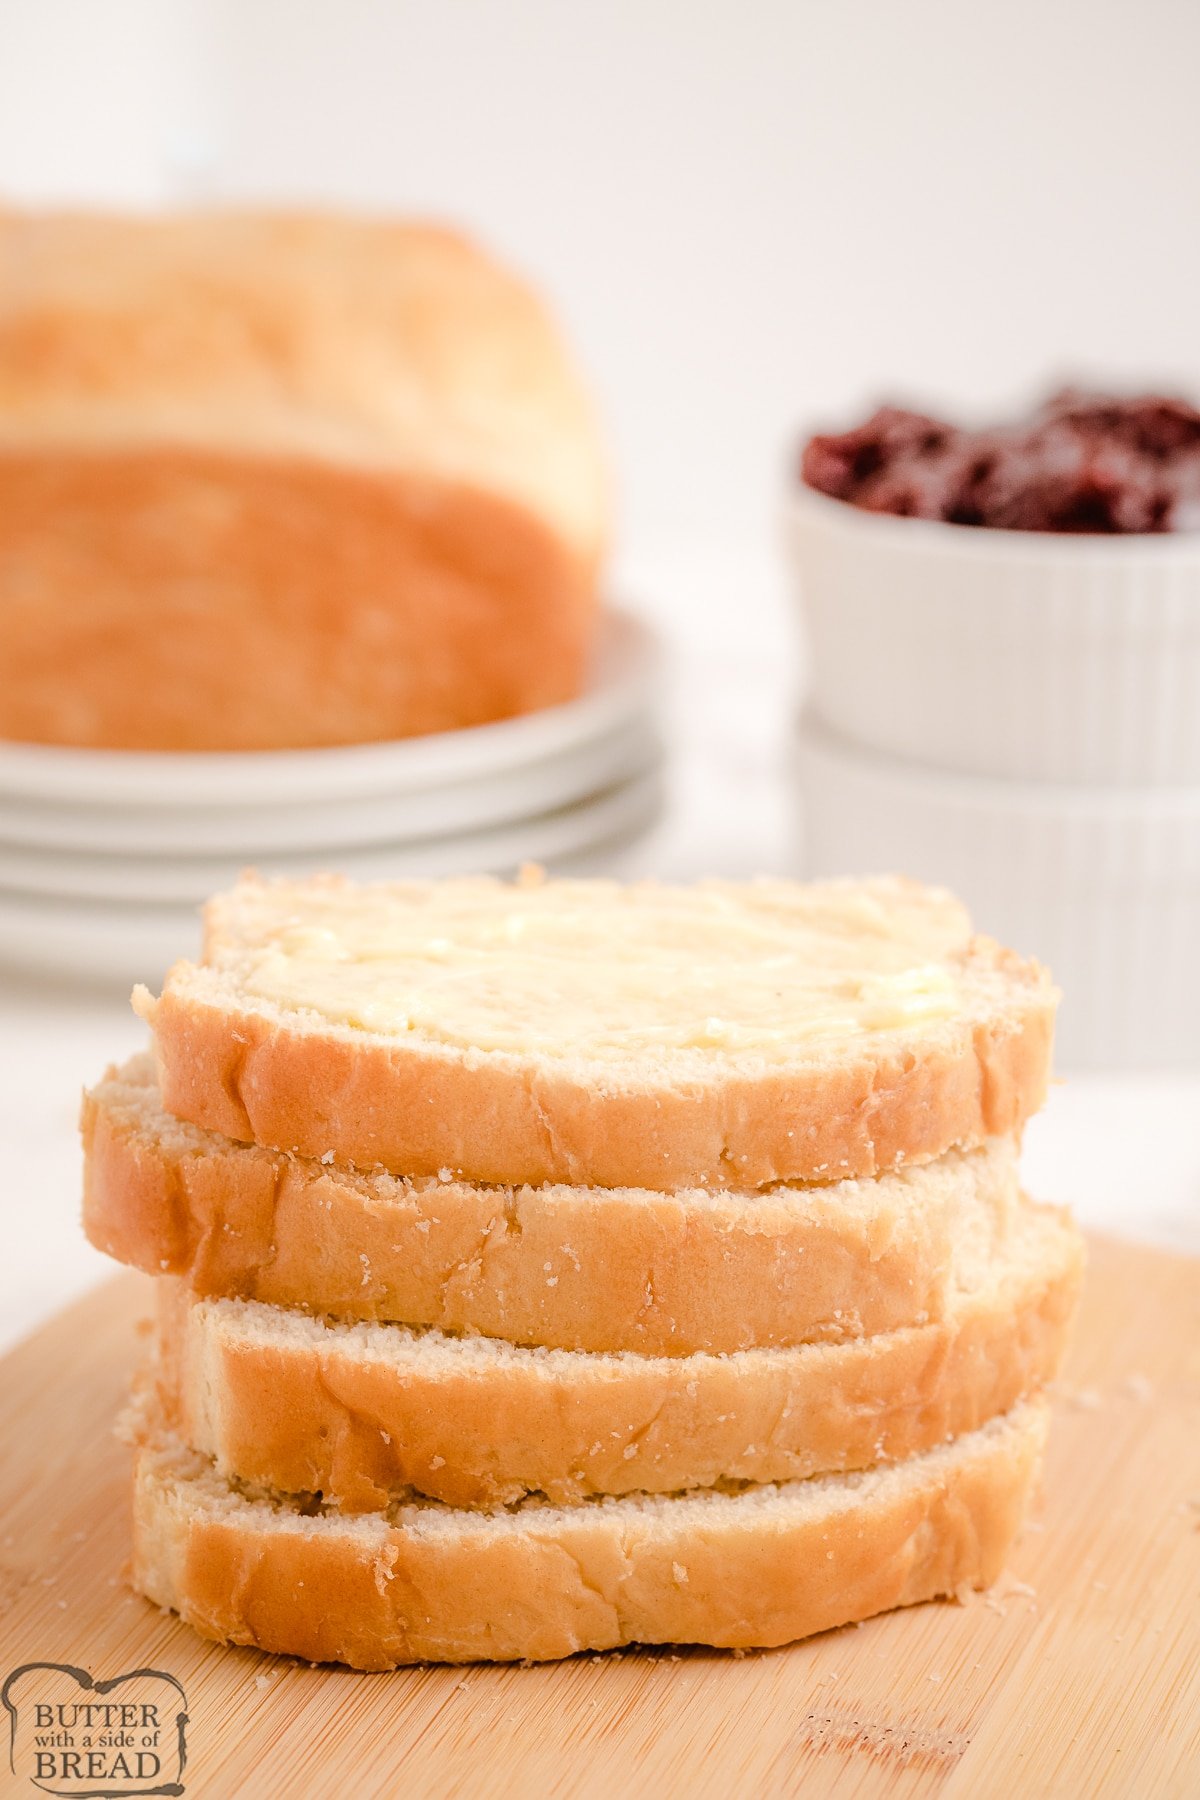
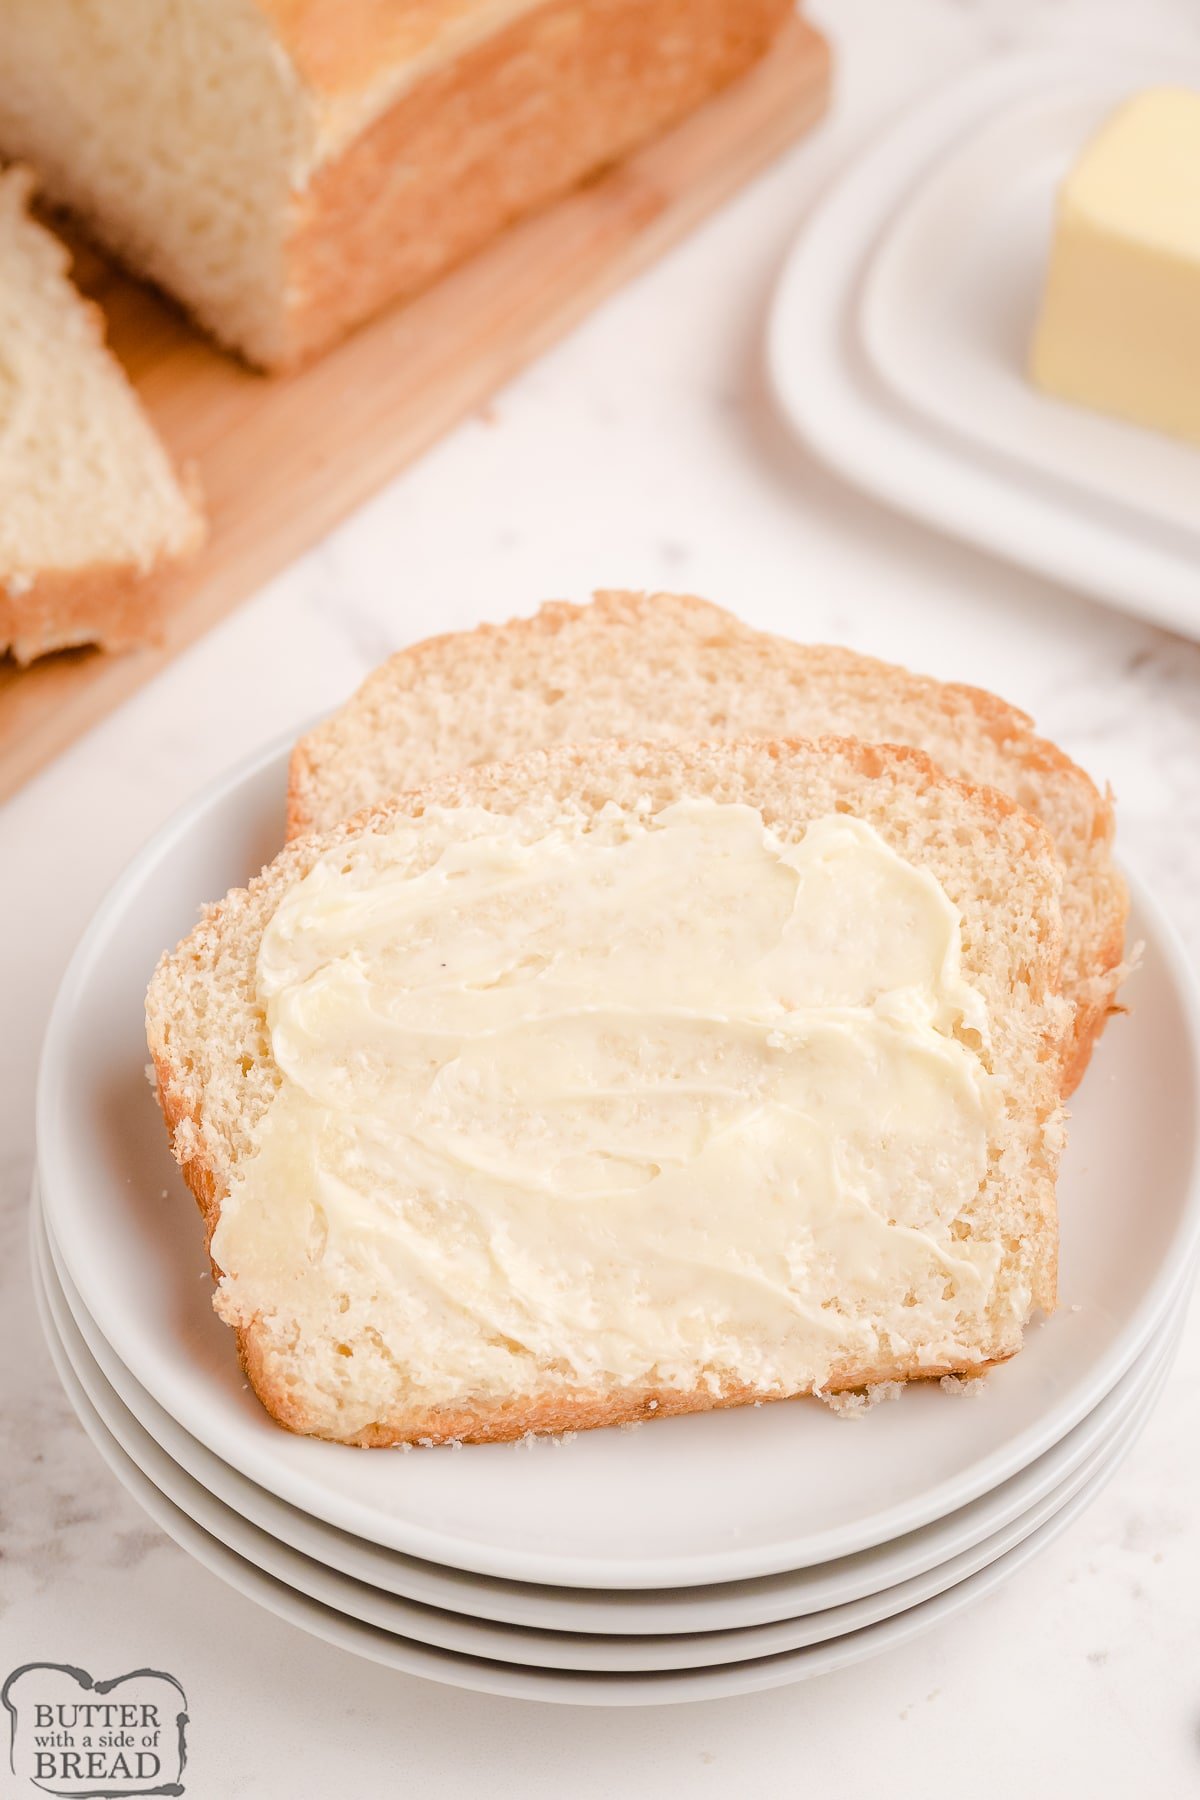
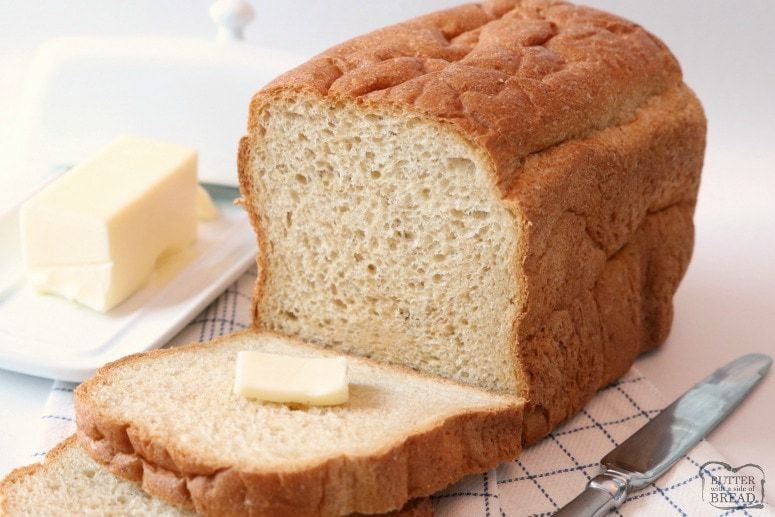
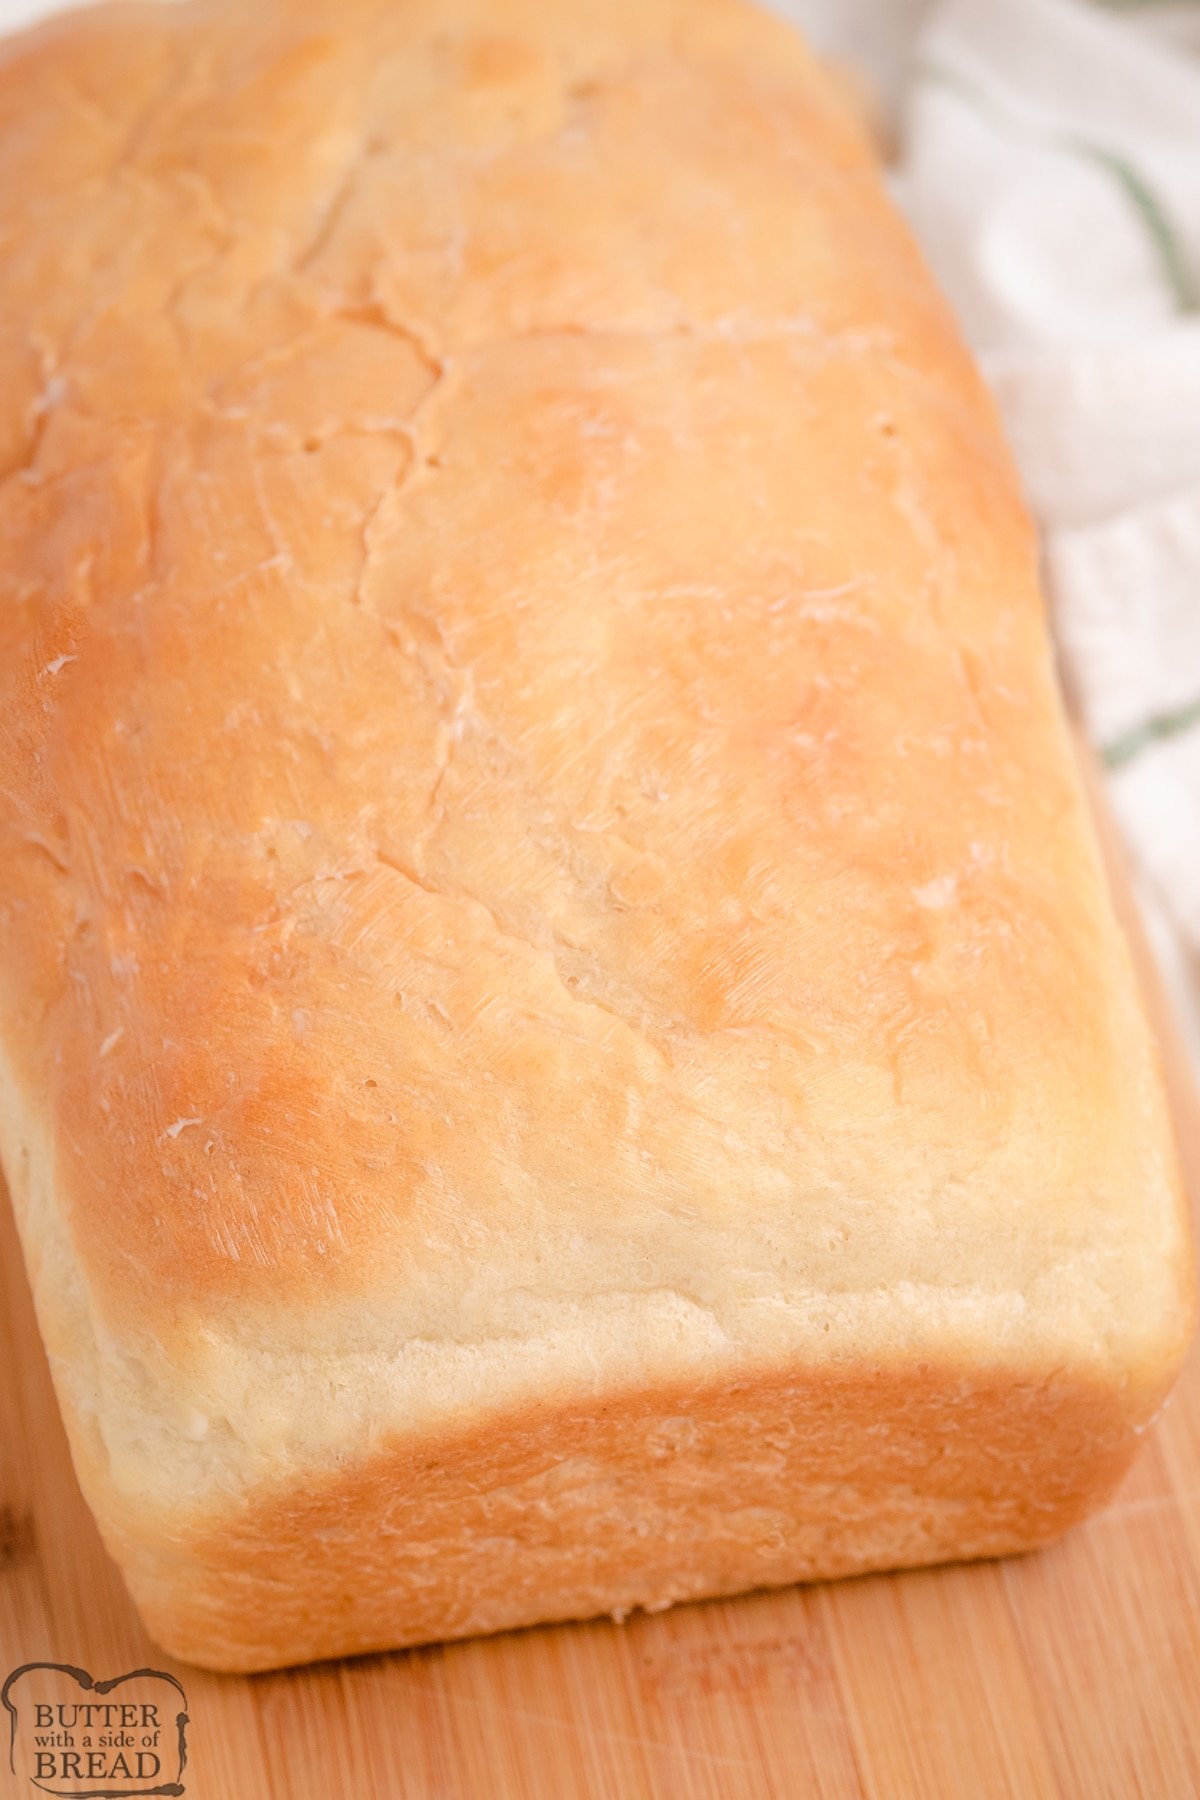
Homemade Bread is one of my favorite foods of all time. Can you tell by the name of this site?! There really is nothing quite like a warm slice of fresh bread served with a thick pat of butter on top. Mmmmm! This recipe is perfect. It’s simple to follow, takes about 2 hours to make and yields 2 loaves of wonderful bread. It’s quite versatile too, so feel free to use part whole wheat flour if you’d like. Brush butter on top when it’s out of the oven and partially cooled and everyone will thank you.
Yes, you can make this recipe in a bread machine! Scroll down to see full Homemade Bread recipe and ingredients, with printable instructions for your bread machine.
A decade ago when I was just beginning to bake confidently, I still struggled with making bread. I tried countless recipes and none of them were quite right. I found this one and never looked back. It uses basic ingredients, comes together fast and I love the bread it makes. It’s soft, chewy with fantastic flavor. Feel free to reduce the sugar if you prefer. Enjoy the process and enjoy that bread!
Where to start on your bread making journey
This is a very comprehensive post with tons of information I’ve gleaned over the years making bread. Where would you like to start first?
JUMP TO–> LEARN THE BASIC STEPS TO MAKING BREAD
JUMP TO–> HELPFUL TIPS FOR MAKING YOUR FIRST LOAF OF BREAD
JUMP TO–> GET THE OVEN BAKED BREAD RECIPE
JUMP TO–> GET THE BREAD MACHINE BREAD RECIPE
Basic Steps for Making Basic Yeast Bread Recipes
If you’ve never made bread before, here is the basic formula for making your own at home. My recipe below follows this perfectly. It’s so much easier and trust me, the scent of fresh bread baking will make everyone really, really excited for dinner!
Step 1: Assemble Bread Ingredients
You’ll need warm water, granulated sugar, instant OR active dry yeast, salt, vegetable or canola oil and flour. That’s it!
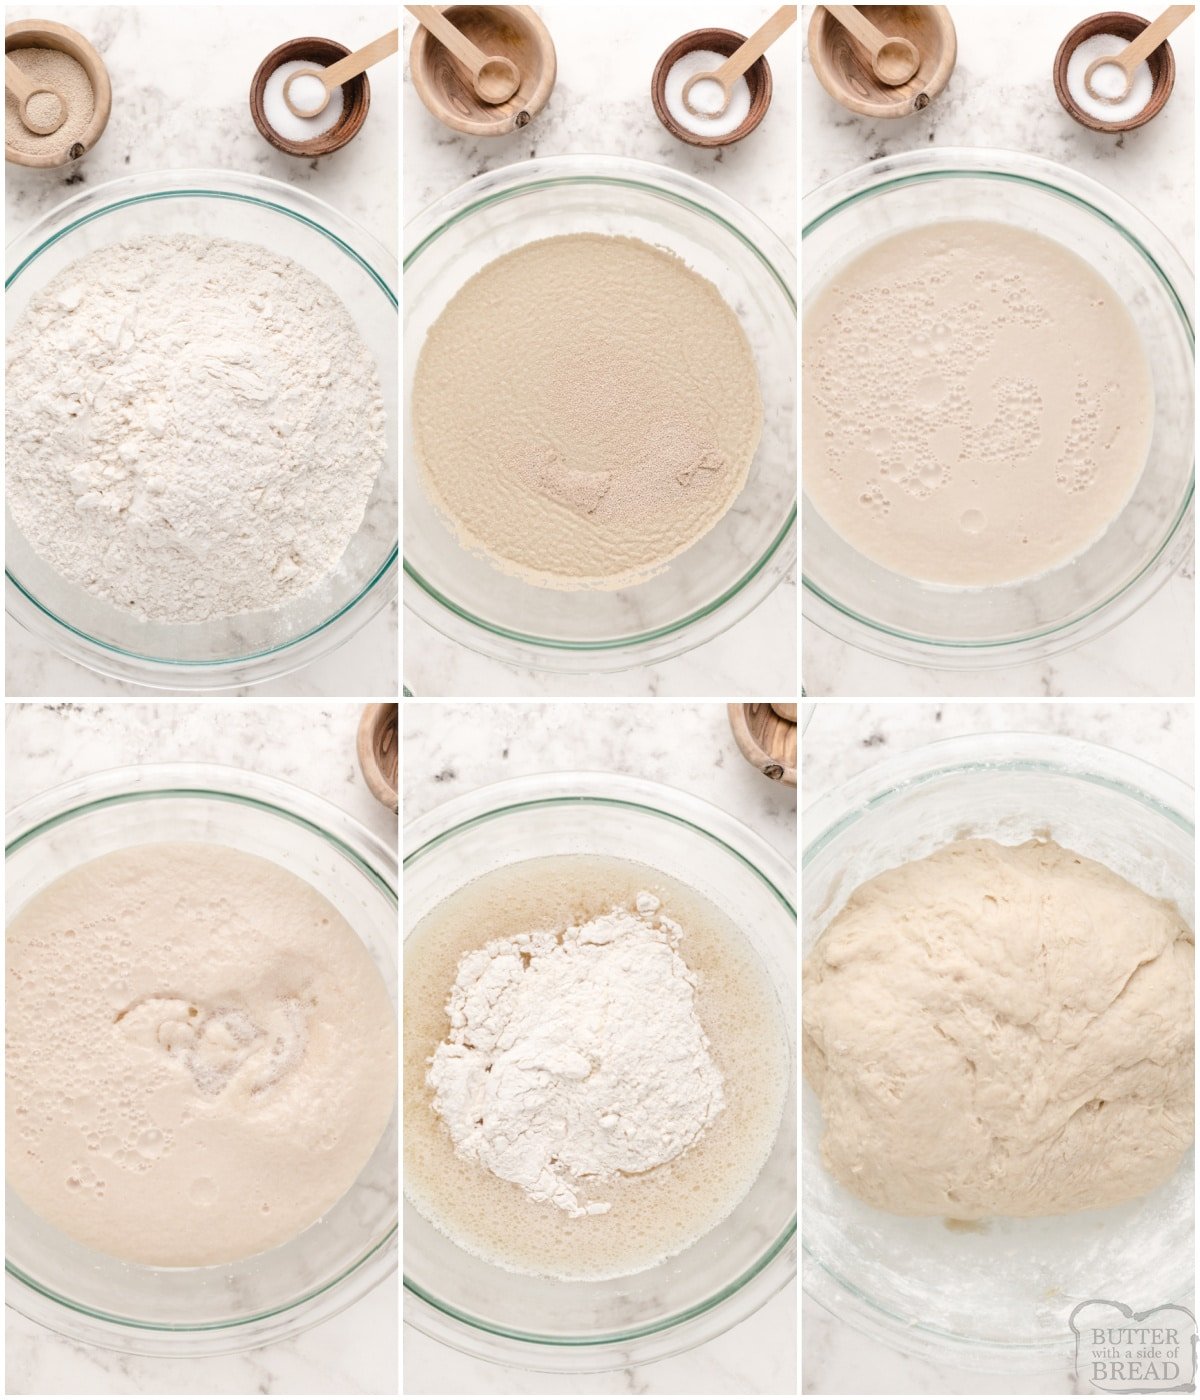
Step 2: Dissolve the yeast and activate it by Proofing
This is a simple process that takes about 5 minutes. You can see a picture below what yeast looks like when it’s proofed. It’s possible to kill yeast if you use too hot of water, so aim for slightly warmer than luke-warm, or about 105°F. Combine warm water, yeast and 1 TBSP of the granulated sugar in your mixing bowl. Give it a quick stir and then let it sit for 5 minutes. You’ll begin to see the yeast puff up until it covers the entire surface of the water.

Step 3: Add remaining ingredients and mix
Add the rest of the sugar, the oil, salt and flour (You can use all-purpose flour OR bread flour!), then mix using an electric mixer until it’s well combined, about 2 minutes. You can mix by hand but it will take longer.
Step 4: Knead the Bread
You might be thinking, “Wait! It’s already mixed!” Ha! Not so fast! Going through the process of kneading bread dough is crucial for bread with great texture. Kneading dough allows gluten to form which enables dough to rise better, be lighter and fluffier. you can knead by hand or with a mixer. I use the dough hook on my mixer and knead for 7 minutes. If you knead by hand, you’ll want to knead for 10-11 minutes, depending on how consistent you are.
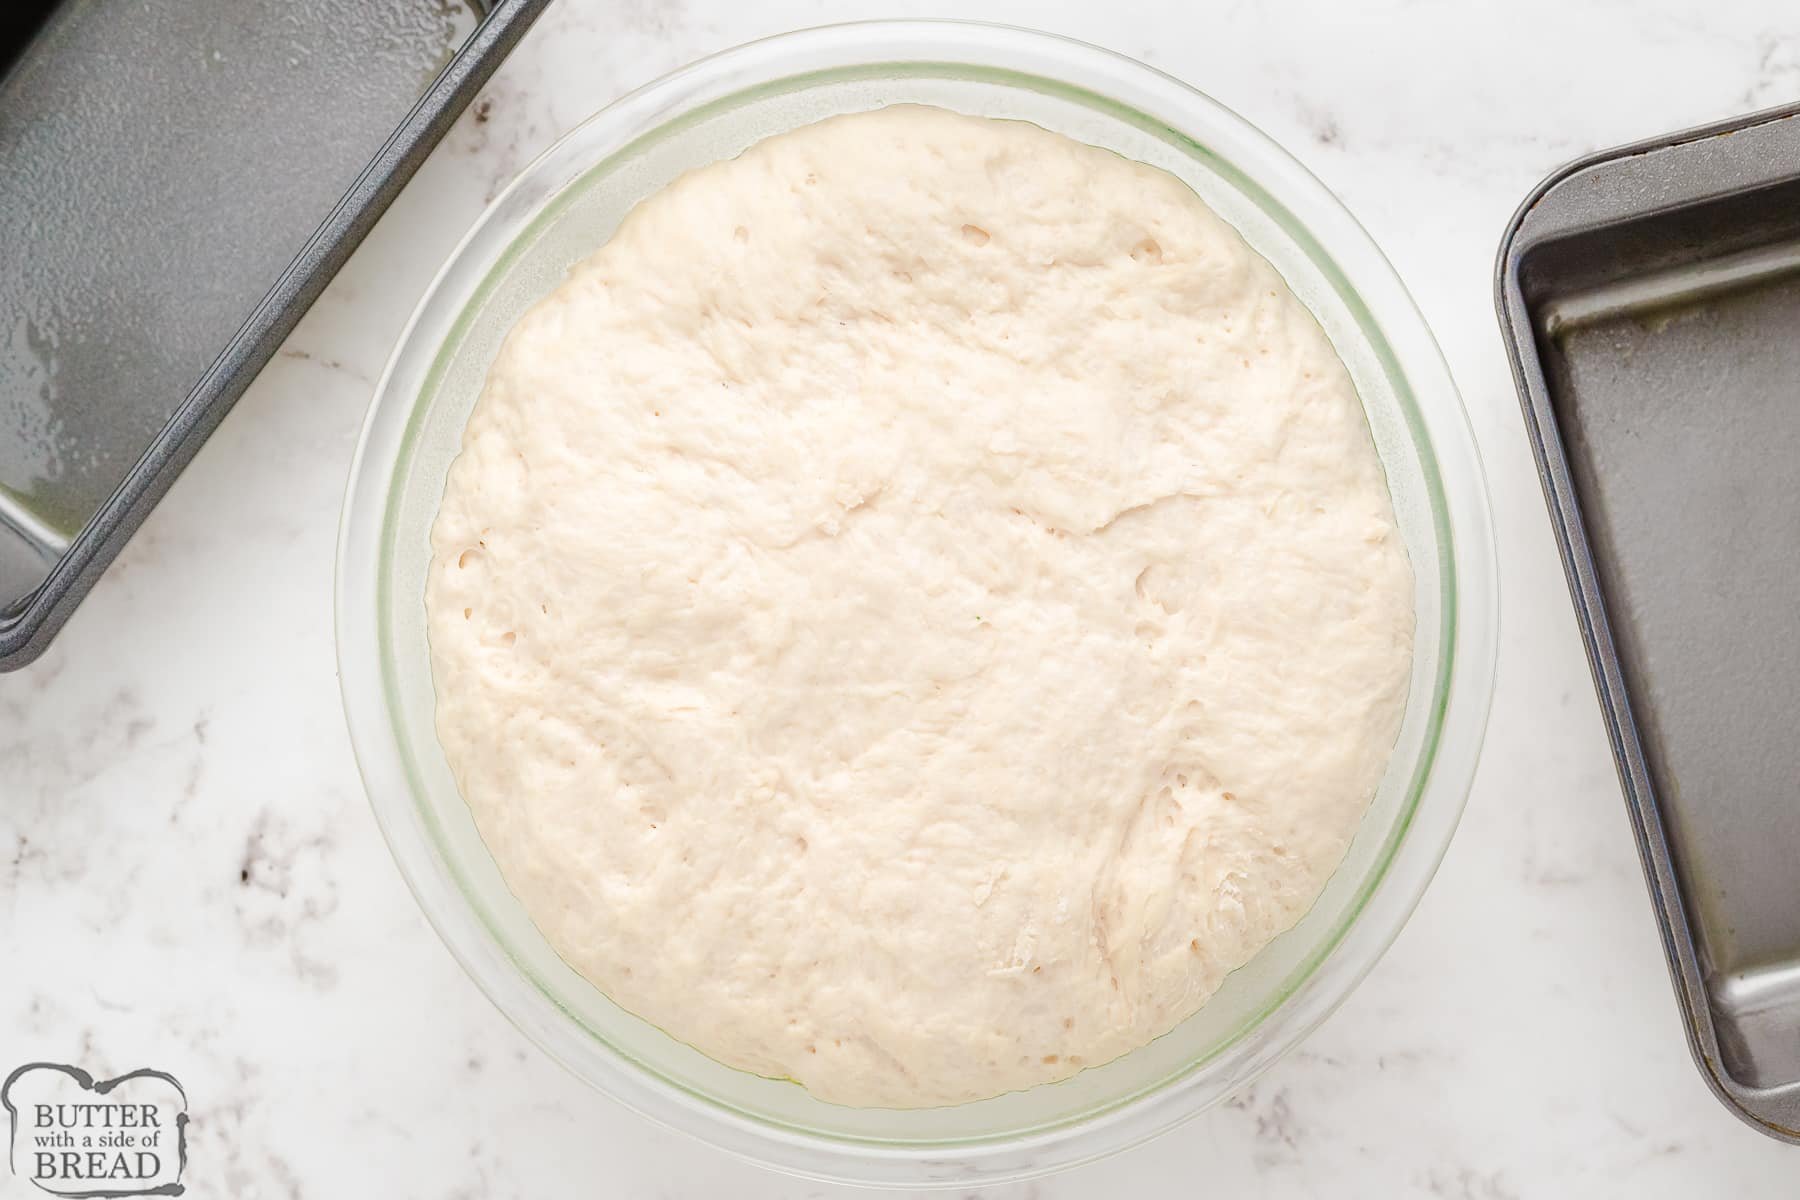
Step 5: First Rise
Place your lovely smooth, elastic bread dough in an oiled bowl and cover it with plastic wrap or a clean towel. I think plastic wrap works better because it traps hot air inside and thus, my dough requires a shorter first rise. Be sure to spray the side of the plastic wrap that will touch the dough with oil!
If your house is cool, your bread will take longer to rise. In the wintertime when my house is cooler than normal, I like to turn the oven on for 2-3 minutes, then turn it off and let the bowl of dough rise in there. The oven traps the heat for a longtime and it’s the perfect atmosphere for rising dough.
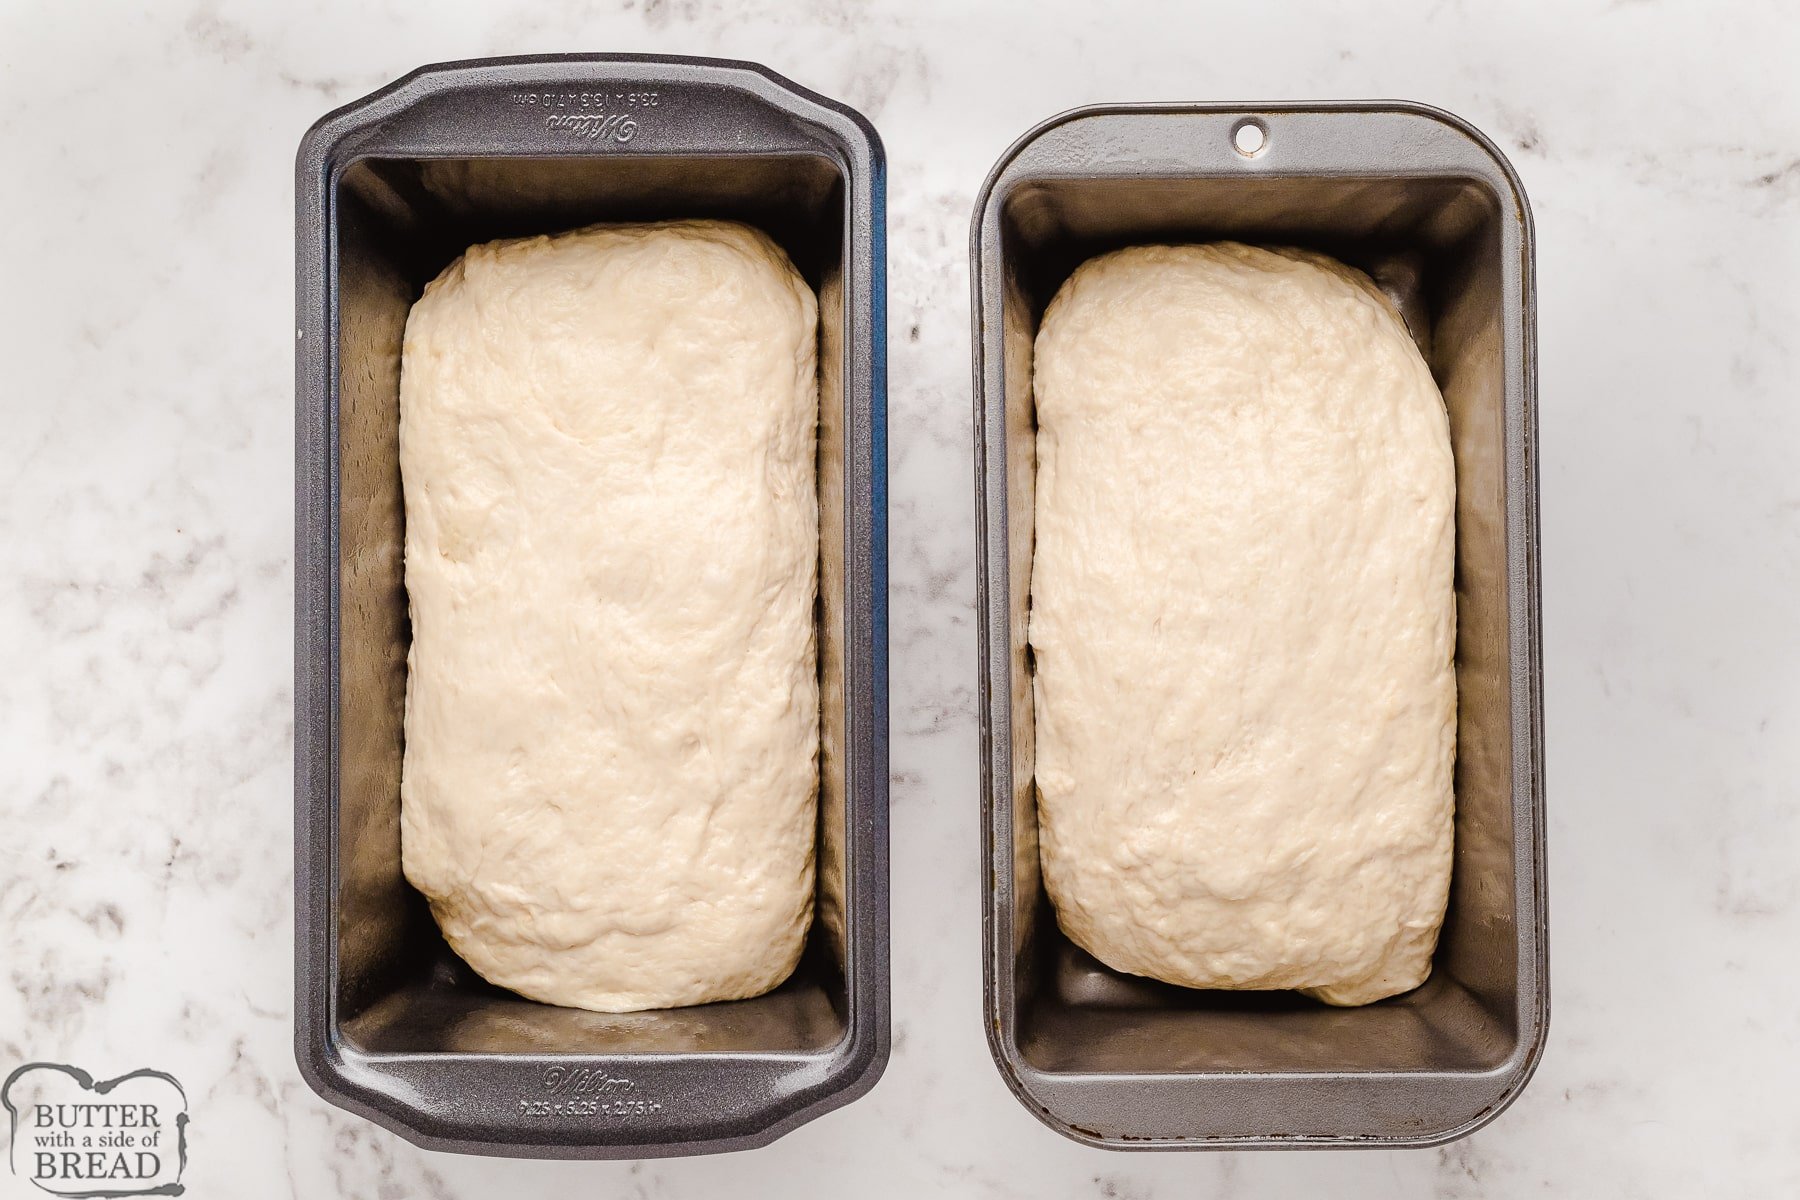
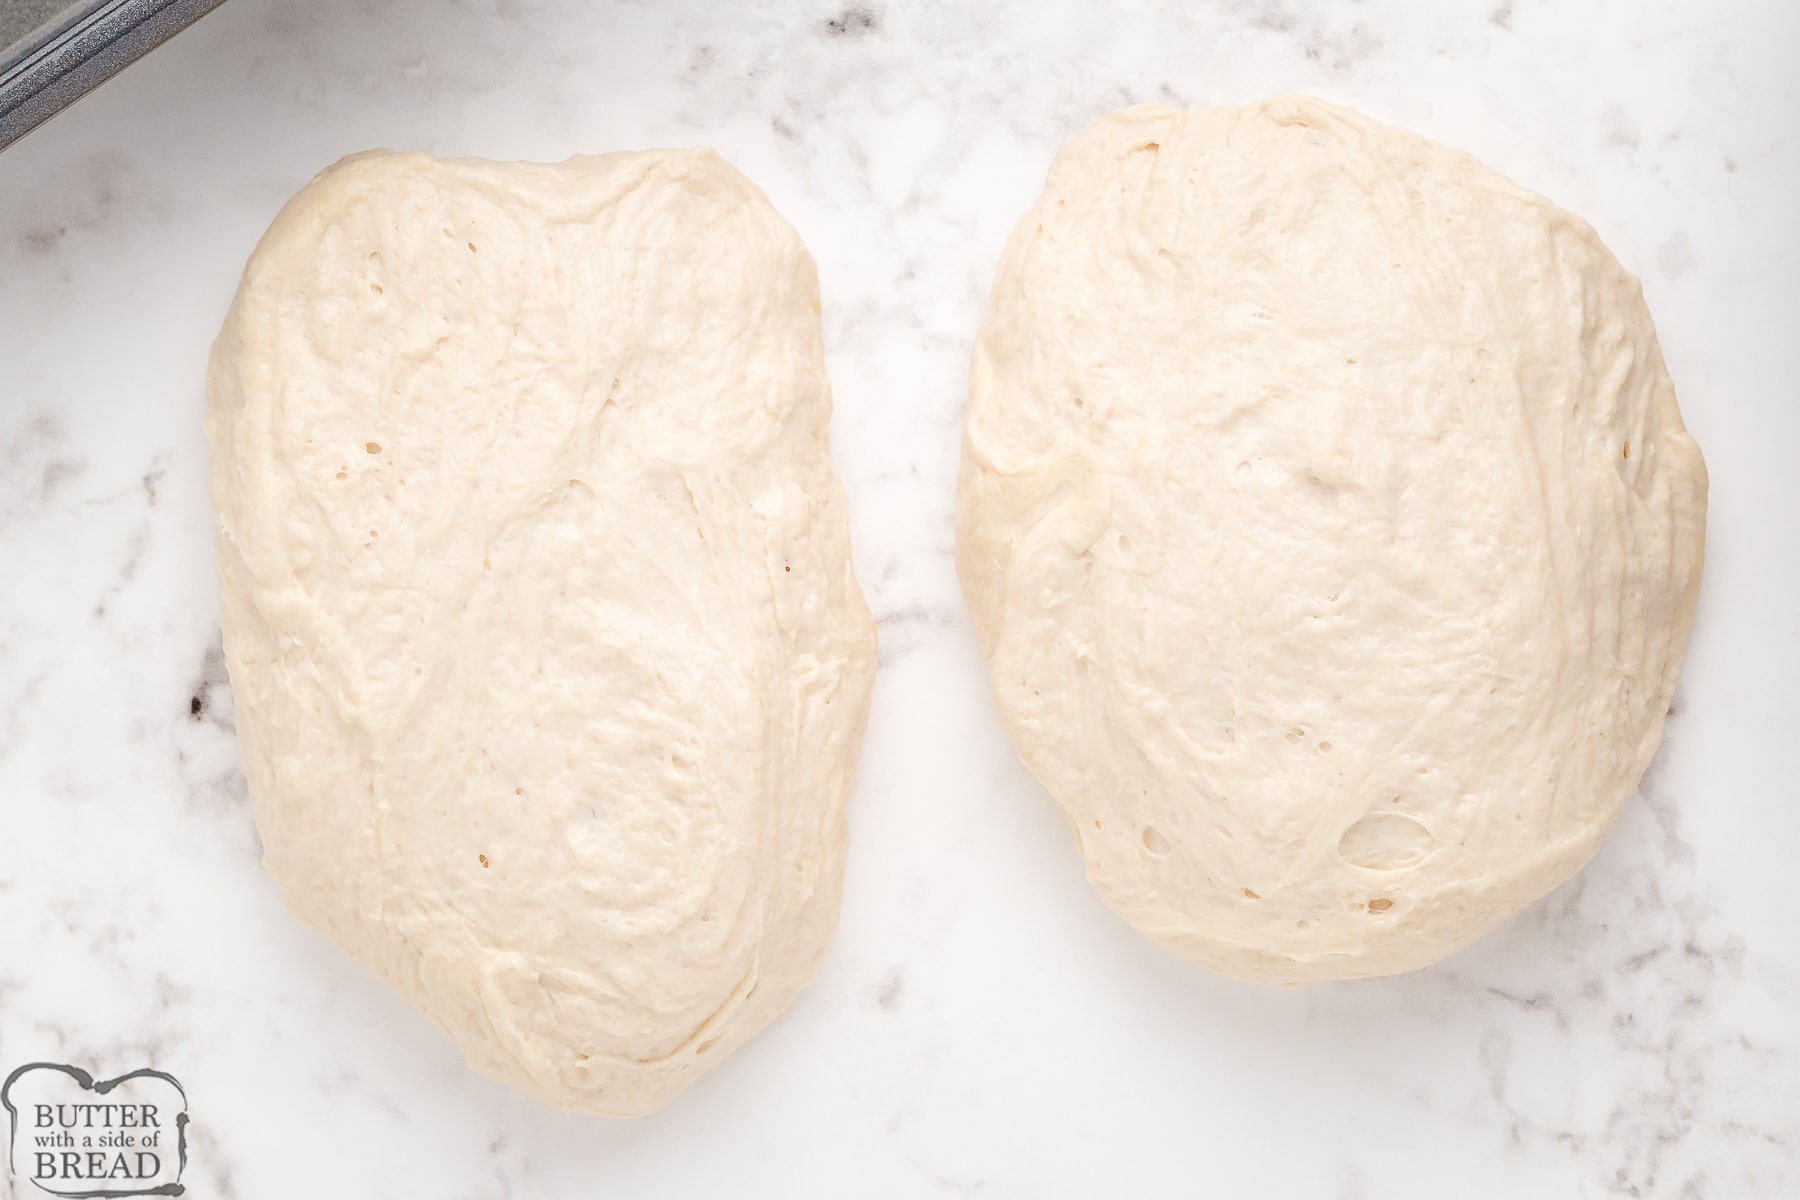
Step 6: Punch Dough and Shape it
Punching the dough down quickly releases any air pockets that have developed and helps your bread have a more consistent rise and texture. Shape your dough by rolling it gently into a ball and rolling it 2 or 3 times on the countertop so that the ball is more oblong. I usually punch down and shape the dough quickly, then place in a greased bread pan.
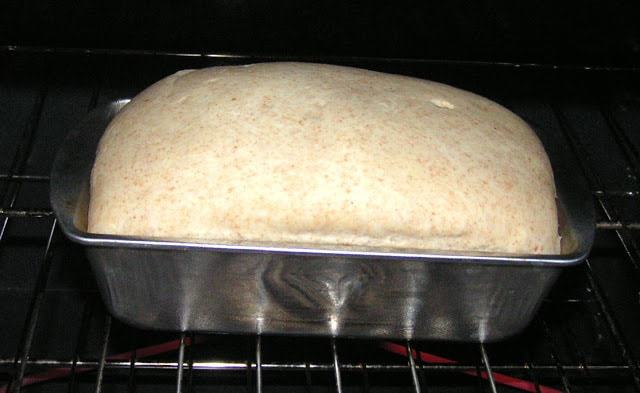
Step 7: Second Rise
I like to do my second rise in a warm oven that’s not turned on. I turn the oven on just before I punch my dough down, then turn it off once I place the dough in the oven for the 2nd rise. It’s really only on for a minute or two, which is fine! The second rise will help shape your loaf of bread and takes about 30 minutes.
Step 8: Bake the Bread
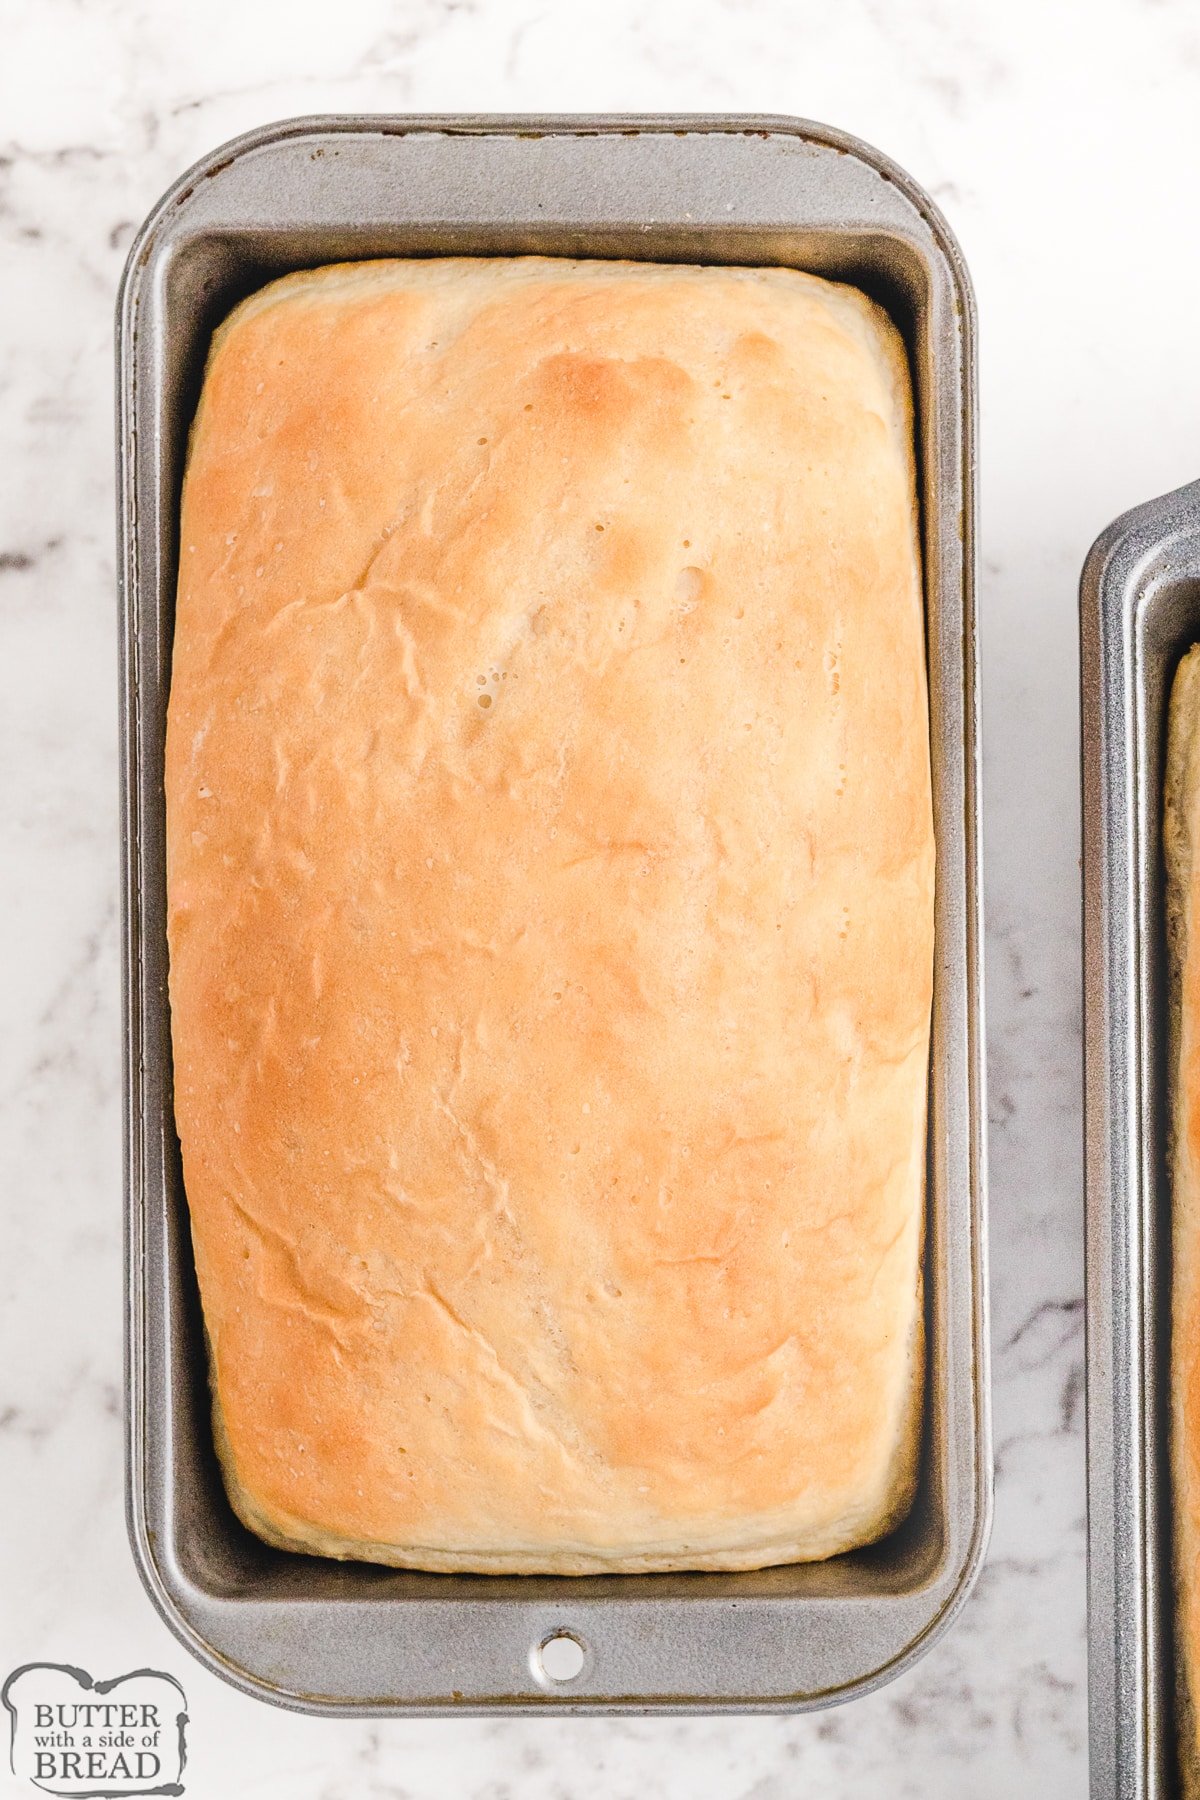
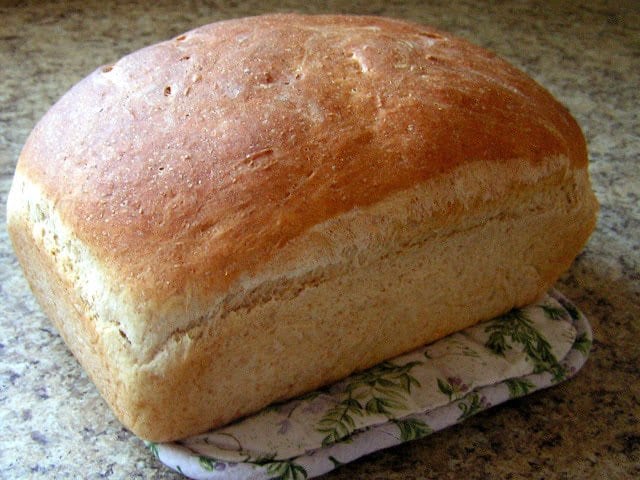
You’re nearly there! Bread bakes for about 30-40 minutes. You know what I do to make sure my bread is perfectly cooked? I use a digital cooking thermometer! Fully cooked bread will be 190-200 degrees F. Bread recipes that include milk will need to cook until 200 degrees, but since this one doesn’t, I take it out once it reaches 190 degrees. The top will be golden brown.
My all-time favorite cooking thermometer is the Thermapen. It’s super fast and incredibly durable. Another great thermometer is the ThermoPop which is a more basic version that works just as well!
Step 9: Cool the Bread
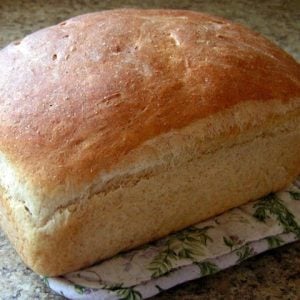
Cool baked bread in the pan for 10-15 minutes, then overturn pan and turn loaf out onto a cooling rack or folded towel to finish cooling. If you leave the bread in the pan for much longer than that, you’ll steam it, which may cause some parts of your loaf to go soggy. No one likes soggy bread!

BEST BREAD PAN?
I bake a lot of bread and the pans I prefer are either ceramic, glass or cast iron. These pans will bake bread more evenly and release the bread more easily after baking. I don’t like using dark or nonstick pans because the bread cooks unevenly. It darkens on the outside before the bread is cooked on the inside, so the coloring is uneven. Read more about which bread pan is the best here!
Helpful Tips when Making Your First Loaf of Homemade Bread:
If you’ve never baked homemade bread before, here are a few tips:
1. Remember to fully knead
The recipe below kneads for 7 minutes and it’s worth it! Kneading dough helps to develop the flavor and texture of the bread, so don’t skimp on kneading time.
2. Weather can affect your ingredients
If you live in a moist climate, chances are you’ll need at least the recommended amount of flour, maybe even 1/4 cup to 1/2 cup more. Bread dough should be sticky, but still manageable, especially after the first rise. While you’re kneading, the dough should come together and pull away from the sides of the bowl, leaving the bowl mostly clean. I usually aim to have the very bottom of the dough still attached to the bowl. Try not to add too much flour because your bread will be more dense. When you pick the dough up, some will stick to your fingers. After the first rise, it will be easier to handle!
3. Temperature affects how long your bread takes to rise
If your house is cool, your bread will take longer to rise. In the wintertime when my house is cooler than normal, I like to turn the oven on for 2-3 minutes, then turn it off and let the bowl of dough rise in there. The oven traps the heat for a longtime and it’s the perfect atmosphere for rising dough.
4. Don’t overwork the dough
Try not to go crazy kneading your bread after the first rise. I usually knead and shape my dough in about 1 minute, then it’s back in the pan to rest, for the 2nd rise. I like to have the pan rise in the oven for this second rise so that I don’t have to worry about moving risen dough. When it’s fully risen, I just turn the oven on and set the timer to bake!
Easy Homemade Bread Recipe
Here are the ingredients for the oven baked recipe, which yields 2 loaves of bread:
— WATER: You need 2 cups warm water. (110° F/45° C) I recommend you take the temperature using a cooking thermometer until you get the hang of how warm the water should be. If your water is too hot, it will kill the yeast and your bread will be dense and flat!
— SUGAR: We add 1/2 cup white sugar. You are welcome to reduce this even further and use just 1/4 cup.
— YEAST: We add 1 TBSP + 2 tsp active dry yeast to the dough to help it rise.
— SALT: You need 1 1/2 teaspoons salt to enhance the flavors in the bread. If you’ve never had bread with not enough salt, it does not taste good! I forgot to add it once. Don’t do that.
— OIL: We used 1/4 cup vegetable oil but you can also use coconut oil or canola oil. I’ve tried it with light olive oil and it just has a strange aftertaste that I don’t love.
— FLOUR: You’ll need 5-6 cups flour. You can use all-purpose flour OR bread flour!
How to Make 5 Star Homemade Bread
In a large bowl, or a stand mixer, dissolve the sugar in the warm water. I just combine the two and whisk it slightly to dissolve the sugar. Stir in yeast. Allow to proof until yeast resembles a creamy foam, about 5 minutes.
Add in the salt and oil. Begin to mix, using a rubber scraper or the dough hook on your stand mixer. Add the flour one cup at a time, reserving the last cup of flour to see if you need it. You might not use all of the flour. The dough should pull away and clean the bowl, sticking on the bottom in a small circle about the size of a quarter. If your dough does this with just 5 cups of flour, do not add more. However, if your dough still sticks to the bowl, add more a couple tablespoons at a time until it cleans the bowl, sticking in just a small circle on the bottom.
Now knead dough for 7 minutes. Set a timer as a full knead is important! Place in a well oiled bowl, and turn dough to coat. Cover with a damp cloth. Allow to rise in a warm area until doubled in bulk, about 1 hour.
Punch dough down. Knead for 1 minute and divide dough in half. Shape into loaves and place into two greased 9×5 inch loaf pans. Allow to rise for 30 minutes, or until dough has risen 1 inch above pans.
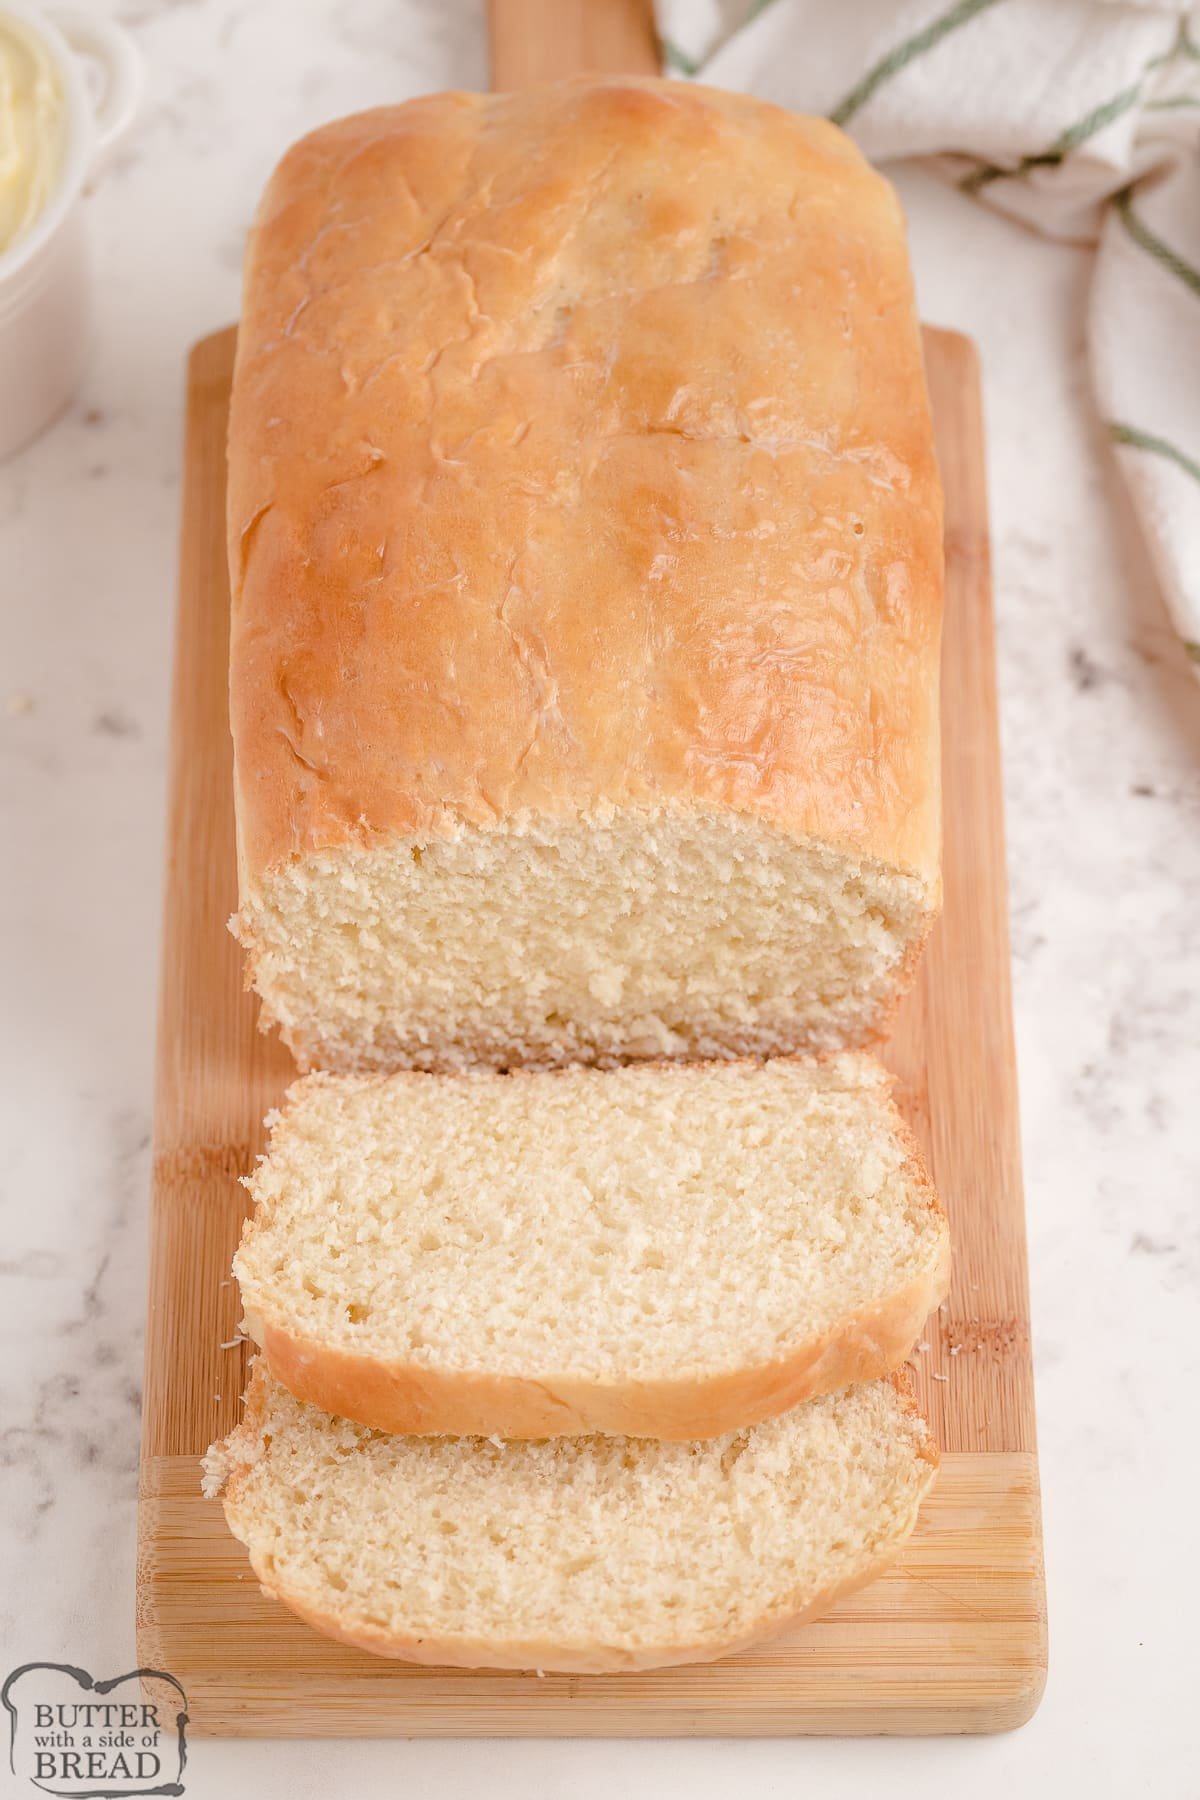
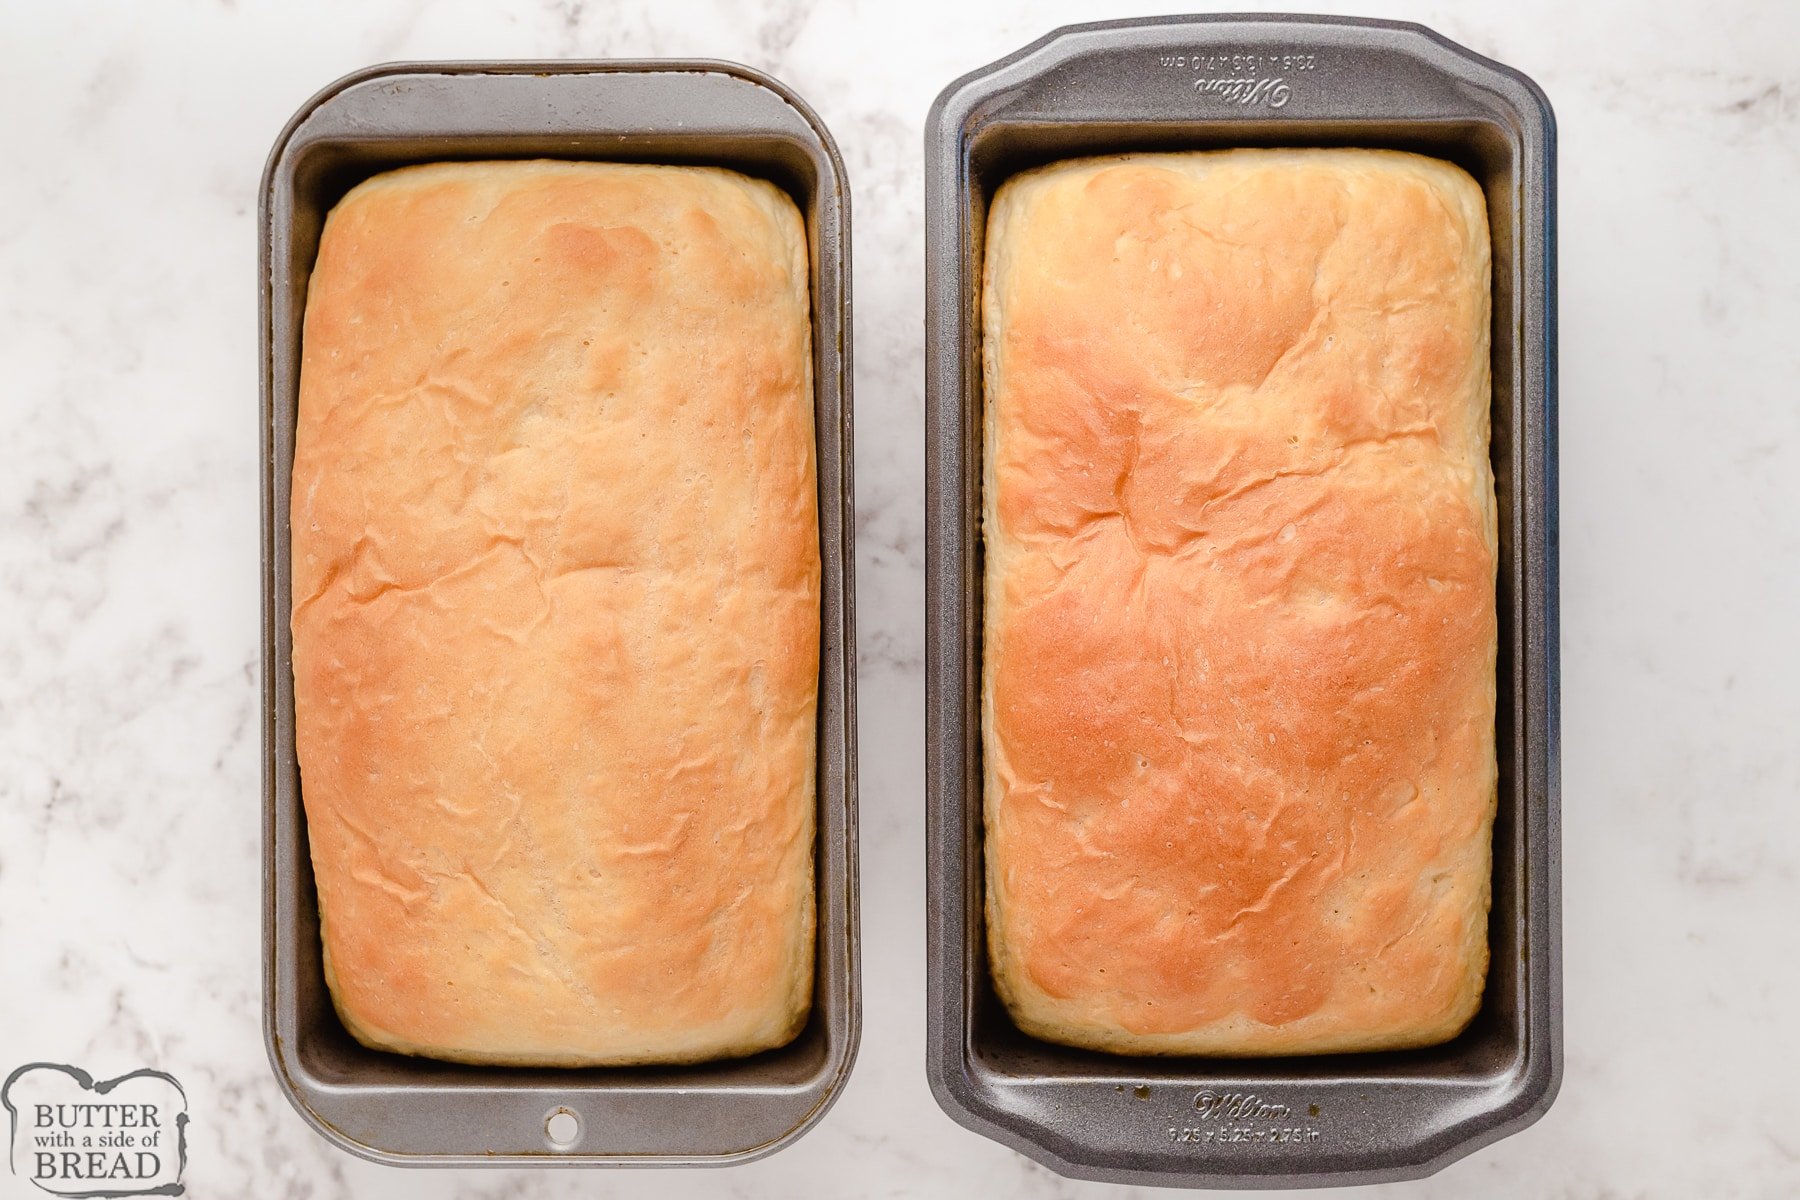
Bake at 350° F (175° C) for 30-40 minutes. Cool, brush with butter and enjoy!
How can you tell if bread is fully baked?
I like to use a food thermometer. Mine is digital, so it’s very easy to use. Fully cooked bread will be 190-200 degrees F. Bread recipes that include milk will need to cook until 200 degrees, but since this one doesn’t, I take it out once it reaches 190 degrees. The top will be golden brown.
AVOID SUNKEN BREAD
The easiest and best way to avoid sunken bread is to use a cooking thermometer to check the inside of the loaf. Fully cooked bread will register 200°F on a thermometer. My all-time favorite thermometer is the Thermapen. It’s super fast and incredibly durable. Another great cooking thermometer is the ThermoPop which is a more basic version that works just as well!
EASY HOMEMADE BREAD RECIPE
Ingredients
- 2 cups warm water 110° F/45° C
- ½ cup white sugar
- 1 ½ TBSP active dry yeast
- 1 ½ tsp salt
- ¼ cup vegetable oil
- 5-6 cups flour all-purpose flour OR bread flour
Instructions
- In a large bowl, or a stand mixer, dissolve 2 TBSP of the sugar in the warm water. I just combine the two and whisk slightly to dissolve the sugar. Stir in yeast. Allow to proof until yeast resembles a creamy foam, about 5 minutes.
- Add in remaining sugar, salt and oil. Begin to mix, using a rubber scraper or the dough hook on your stand mixer. Add the flour one cup at a time, reserving the last cup of flour to see if you need it. You might not use all of the flour. The dough should pull away and clean the bowl, sticking on the bottom in a small circle about the size of a quarter. If your dough does this with just 5 cups of flour, do not add more. However, if your dough still sticks to the bowl, add more a couple tablespoons at a time until it cleans the bowl, sticking in just a small circle on the bottom.
- Now knead dough for 7 minutes. Set a timer as a full knead is important! Place in a well oiled bowl, and turn dough to coat. Cover with a damp cloth. Allow to rise in a warm area until doubled in bulk, about 1 hour.
- Punch dough down. Knead for 1 minute and divide dough in half. Shape into loaves and place into two greased 9×5 inch loaf pans. Allow to rise for 30 minutes, or until dough has risen 1 inch above pans.
- Bake at 350° F (175° C) for 30-40 minutes. Cool, brush with butter and enjoy!
Video
Notes
Nutrition
📫 Save this recipe! Send it to your email! 📩
I consent to receiving emails from this site.
Instant or Active Dry Yeast for Making Bread
If you use instant yeast, you can add it directly to your other dry ingredients when making bread. If you use active dry yeast, you’ll need to first dissolve it in warm water before using it in a recipe. For the sake of ease, I just always buy instant yeast. BUT, this recipe works for both!
Can you Make this bread in a Bread Machine? YES! Here’s how:

I’ve found this recipe works really well in a bread machine! I just had the halve the ingredients so it would fit. You can see and print out the recipe below.
Bread Machine Ingredients
You’ll use the same ingredients, only HALF of them, so you can fit them in a 1-lb bread machine.
— WATER: You need 1 cup warm water. (110° F/45° C)
— SUGAR: We add 1/4 cup white sugar. You are welcome to reduce this even further and use just 1-2 tablespoons.
— YEAST: We add 2 1/2 tsp active dry yeast to the dough to help it rise.
— SALT: You need 3/4 teaspoons salt to enhance the flavors in the bread. If you’ve never had bread with not enough salt, it’s… not good. I forgot to add it once. Don’t do that.
— OIL: We used 2 TBSP vegetable oil but you can also use coconut oil or canola oil. I’ve tried it with light olive oil and it just has a strange aftertaste that I don’t love.
— FLOUR: You’ll need 3 cups flour. You can use all-purpose flour OR bread flour!
Making your Loaf of Bread in a Bread Machine
Add the ingredients to the bread pan of your machine in the following order: water, oil, flour, sugar and salt. Make a small well in the dry ingredients and add yeast.
Place bread pan in machine. Close lid and set bread machine to bake a loaf of basic white bread.
Let bread cool when bread machine has completed the full cycle. (Mine takes 3.5 hours.) Remove from machine & pan. Brush with butter and enjoy!
Easy Bread Recipe for a Bread Machine
Ingredients
- 1 cup warm water 110 degrees F/45 degrees C
- 1/4 cup white sugar
- 2 1/2 tsp active dry yeast
- 3/4 teaspoons salt
- 2 TBSP vegetable oil
- 3 cups flour all purpose OR bread flour!
Instructions
- Add the ingredients to the bread pan of your machine in the following order: water, oil, flour, sugar and salt. Make a small well in the dry ingredients and add yeast.
- Place bread pan in machine. Close lid and set bread machine to bake a loaf of basic white bread.
- Let bread cool when bread machine has completed the full cycle. (Mine takes 3.5 hours.) Remove from machine & pan. Brush with butter and enjoy!
Nutrition
📫 Save this recipe! Send it to your email! 📩
I consent to receiving emails from this site.
How to Store Basic Bread
You’ll want to store leftover bread in an airtight container. I bought bread bags off Amazon and LOVE them!
Enjoy this bread recipe? Here are even more recipes for homemade bread to try:
Yeast Bread Recipes:
- Homemade Buttermilk Bread recipe
- Homemade Hawaiian Bread
- Honey Oat Bread recipe
- Cinnamon Raisin Bread
- Parmesan Garlic Dinner Rolls
- Fabulous French Bread
- Sweet Orange Dinner Rolls
- Homemade Hawaiian Bread
- Easy Homemade Cheesy Breadsticks
- Tomato Parmesan Flatbread
- Potato Bread Recipe
- Soft Cornmeal Dinner Rolls
- Honey Wheat Bread
- Soft White Sandwich Bread
Quick Bread Recipes:
- Best Zucchini Bread
- Pineapple Bread
- Sweet Coconut Bread
- Easy Banana Bread
- Caramel Banana Nut Bread
- Best Pumpkin Bread
Easy 5 Star Homemade Bread recipe made with simple ingredients & detailed instructions showing how to make bread! Thousands of comments & reviewers agree this is the BEST homemade bread for both beginners and expert bakers.


Holly Giesbrecht says
OH MY GOODNESS!! FINALLY found the perfect recipe!! This will be the only bread I ever make again. Thank you for the perfect recipe!!
Jessica says
So glad you enjoyed it Holly!! So simple, right?!
Corrine Leon says
I love this bread! It didn’t have a yeast aftertaste and was so soft and fluffy. I cut the sugar down to 1/4 cup but other than that followed the recipe exactly as written. Thanks for sharing
Nellie says
So glad you enjoyed the recipe Corrine!
Ellie says
Easy to make and a great recipe!
Made a pull apart bread the first time using half the recipe. The second time I let the bread rise for two hours and added a little butter while kneading. It came out beautifully – brushed a little olive oil, salt, pepper and oregano and served it with soup. Yum!
Nellie says
Your ideas are so creative and sound amazing Ellie!
Rachel says
Made this recipe for the first time a couple of week ago, worked incredibly well! I used half to make a loaf for sandwiches and then made a boule – before putting it in the oven I scored the dough mixed oil, mixed herbs and some garlic and drizzled it over served with Camembert when it was ready!
Nellie says
I love that you added herbs and garlic – that sounds amazing!
Shawnie says
I asked for feedback. It was unanimous. We all loved it.
Patricia says
Thanks for sharing your recipe. My bread turned out wonderful. this is an easy recipe and you guide us tru clearly.
It had been years that I had made bread. I will try this recipe next with less sugar.
Joanna says
I haven’t made bread in many years, but this came out perfect…the first time!
I’ll definitely be making this again, as it was easy, delicious, and had a great texture.
Nellie says
So glad you enjoyed the bread recipe!
Glen says
I love to bake but usually use mixes or pre-made pie shells. I rarely need to let the dough rise and didn’t need to work with yeast in making dough. I loved this recipe as it is easy to make, instructions were great, and bread was wonderful! Looking forward to using this recipe again and trying others!
Jessica says
So glad you enjoyed it Glen!
Ann says
Can I store this in a bread bin after? Or does it have to be in an airtight ziplock?
Jessica says
I’m a fan of an air tight bag or container for homemade bread, since it doesn’t contain preservatives.
annie goh says
Hi, I have made the Easy Bread on Mon, 18 May with no mixer. Just hand mixing and kneading. The results turned out to be my first successful bread making. My whole family enjoyed it very much and I can keep in tuppeware for 5 days. Today is my last slice.
Thanks for sharing your bread recipe.
Christie McEwan says
Hi;,
I wonder if you or anyone else on here has substituted instant yeast for the active dry yeast. I have read elsewhere that you have to change the recipe and though this recipe calls for active dry and mixing in water, the baker discusses the use of instant. I have enjoyed this recipe for the past few months as I had active dry yeast but now that I only have instant yeast (yay), I’m confused and don’t want to waste all of the ingredients by making it wrong.
thank you!!
Alison says
Hi Christie! This recipe does call for Active Dry yeast so if you have that then you can go ahead and use it just as the recipe states! If you do need to use Instant Yeast then you can simply use the instant yeast just as the printed directions state with no problems- I truly find that’s the easiest way. If you want to just mix the yeast in with the flour, mix it in with 3 cups.
Robin says
Is it okay to use EVOO?
Jessica says
Absolutely!
Nancy says
I find the directions confusing..Do you proof the yeast in 2 cups of water? What about using a yeast alternative like baking soda and lemon juice?
Jessica says
Yes, you proof the yeast. I don’t think baking soda and lemon juice will mimic real yeast, just fyi. Here is a recipe for no-yeast dinner rolls that are fantastic- https://butterwithasideofbread.com/no-yeast-dinner-rolls/
MK says
Perfect bread loaf it was:) thank you for this recipe
Alison says
You are so welcome! Enjoy!
Christie McEwan says
Before I make it, I’m wondering if you change any of the amounts of ingredients, temperature of the water, or amount of instant yeast? I only have instant yeast:)
thank you!
Alison says
You can simply use the instant yeast just as the printed directions state with no problems- I truly find that’s the easiest way. If you want to just mix the yeast in with the flour, mix it in with 3 cups.
Wes says
Easy Peasy and Delicious! Thanks.
Alison says
Thanks Wes!
Christie McEwan says
Hi;,
I wonder if you or anyone else on here has substituted instant yeast for the active dry yeast. I have read elsewhere that you have to change the recipe and though this recipe calls for active dry and mixing in water, the baker discusses the use of instant. I have enjoyed this recipe for the past few months as I had active dry yeast but now that I only have instant yeast (yay), I’m confused and don’t want to waste all of the ingredients by making it wrong.
thank you!!
Jessica says
You can most certainly use instant yeast with this bread. The difference is, you technically don’t *have* to proof it and the dough will rise a bit faster in warm conditions.
Ward Haynes says
my bread machine bit the dust, can’t find one anywhere….so i googled it and found this to my surprise it was easy and worked great for my !st crack at it was a little sweet but the wife said no and the neighbor loved it, going to do another today,,,,Thank You….
Alison says
I’m so happy this could get your Bread Machine going again! Enjoy!
Dawn says
This bread recipe is so good! I followed it exactly and the bread turned out perfect. I used my electric mixer/dough hook and baked the loaves in ceramic loaf pans. This will be a new go-to recipe for our family. Delish!!!
Alison says
Thank you so much Dawn! I’m so glad this will be your go-to!
Michael Novin says
If you don’t have loaf pans, can you just shape the dough and cook them on a baking sheet?
Thanks,
Michael
Jessica says
Absolutely! We call these “rustic loaves.” : )
Patty says
Never made bread before and this recipe was so easy to follow with fantastic results.
Alison says
Thank you so much Patty! I’m happy this could be a great first experience for you!